TBH Task Bar Hero Best Archer and Priest Synergy Build Guide (2026)
When I first installed TBH: Task Bar Hero, I honestly expected another simple idle game that would sit quietly on my taskbar while I worked. A few hours later, I found myself checking loot drops every couple of minutes, experimenting with character combinations, and reading community discussions far more than I probably should have.
Like many players, I started with the traditional setup: a tank in front, damage dealers in the back, and a healer trying to keep everyone alive. It worked for a while. Then Nightmare difficulty arrived and completely changed my perspective.
After dozens of hours of testing, I keep returning to one team composition that feels almost unfair in the current meta: Priest + Archer.
This combination doesn’t just perform well. It completely changes how you approach progression, farming, and late-game content. Here’s why I believe it remains one of the strongest setups available right now.
Why the Archer and Priest Combo Feels So Strong
One thing that makes TBH: Task Bar Hero surprisingly deep is how different classes interact with each other.
At first glance, putting a Priest on the frontline sounds like a terrible idea. In most RPGs, healers belong safely behind tanks. TBH breaks that rule.

The Priest can become incredibly durable when built correctly. Once you invest in survivability, healing power, and health scaling, she transforms into a walking fortress that simply refuses to die.
Meanwhile, the Archer excels at doing one thing exceptionally well: firing attacks at absurd speed.
The magic happens when these two mechanics meet.
The Priest continuously buffs damage while keeping herself alive. The Archer converts those buffs into an avalanche of arrows that erase enemies before they become a real threat.
Instead of relying on a low-damage defensive tank, you’re essentially turning your support class into a tank while allowing your damage dealer to operate at maximum efficiency.
My Preferred Frontline Priest Build
After experimenting with several variants, I found that survivability is far more important than trying to squeeze extra damage out of the Priest.
If the Priest stays alive, the entire formation keeps functioning.
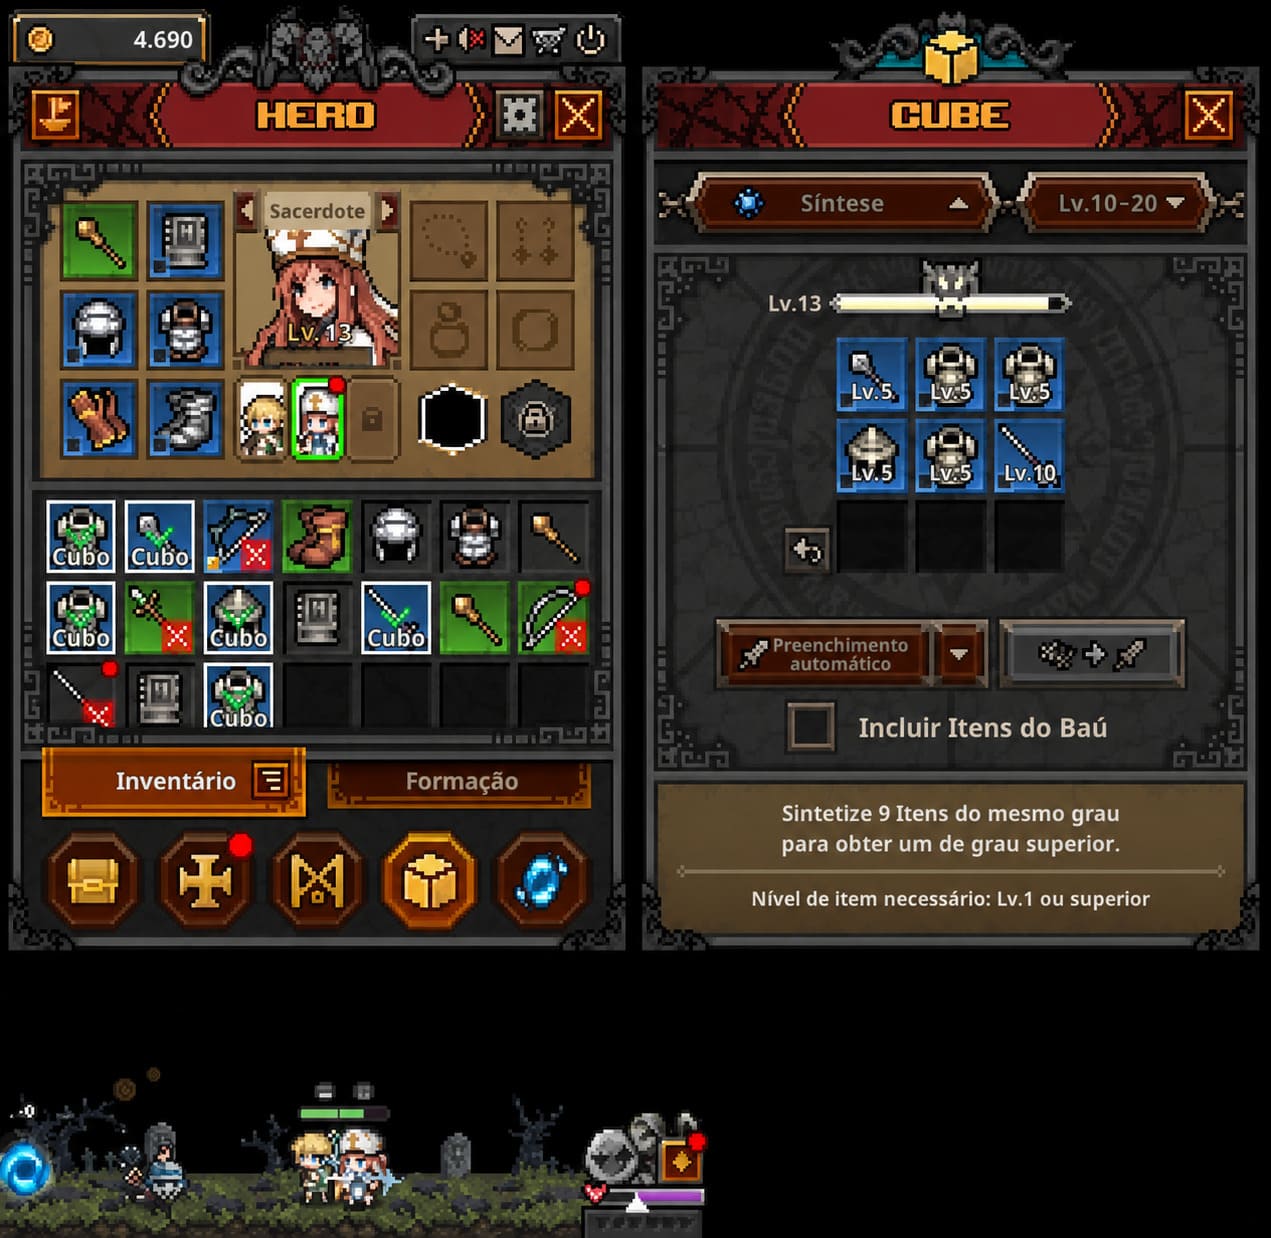
Priority Skills
| Skill | Importance | Reason |
|---|---|---|
| Heal | Essential | Main survival tool |
| Blessing of Might | Essential | Massive team DPS boost |
| HP Passive | Very High | Improves overall durability |
| Damage Reduction Passive | Very High | Makes incoming hits manageable |
| Utility Skills | Medium | Useful but secondary |
The biggest mistake I see newer players making is spreading skill points across too many abilities.
Instead, focus heavily on your healing and survivability core first.
A Priest that survives every fight is infinitely more valuable than one that occasionally contributes extra damage.
Gear Priorities
I always look for:
- Maximum HP
- HP regeneration
- HP on Hit
- Damage Reduction
- Cooldown Reduction
Many players chase armor early, but in my experience, stacking health feels significantly stronger once enemy damage begins scaling aggressively.
Large health pools combined with strong healing create incredible staying power during long encounters.
Building an Archer That Actually Melts Bosses
The Archer is where most of your damage comes from.
What I love about this class is how satisfying progression feels. Every attack speed upgrade is immediately noticeable.
You don’t need complicated rotations or perfect timing.
You simply build around attacking faster and hitting harder.
Skill Investment Strategy
The abilities that scale with basic attacks are usually my first priority.
Whenever I see:
- Multi-shot upgrades
- Additional projectile effects
- Attack speed passives
- Physical damage passives
I invest heavily.
These upgrades create a snowball effect where each improvement boosts the effectiveness of every future upgrade.
Best Stats for Archer Equipment
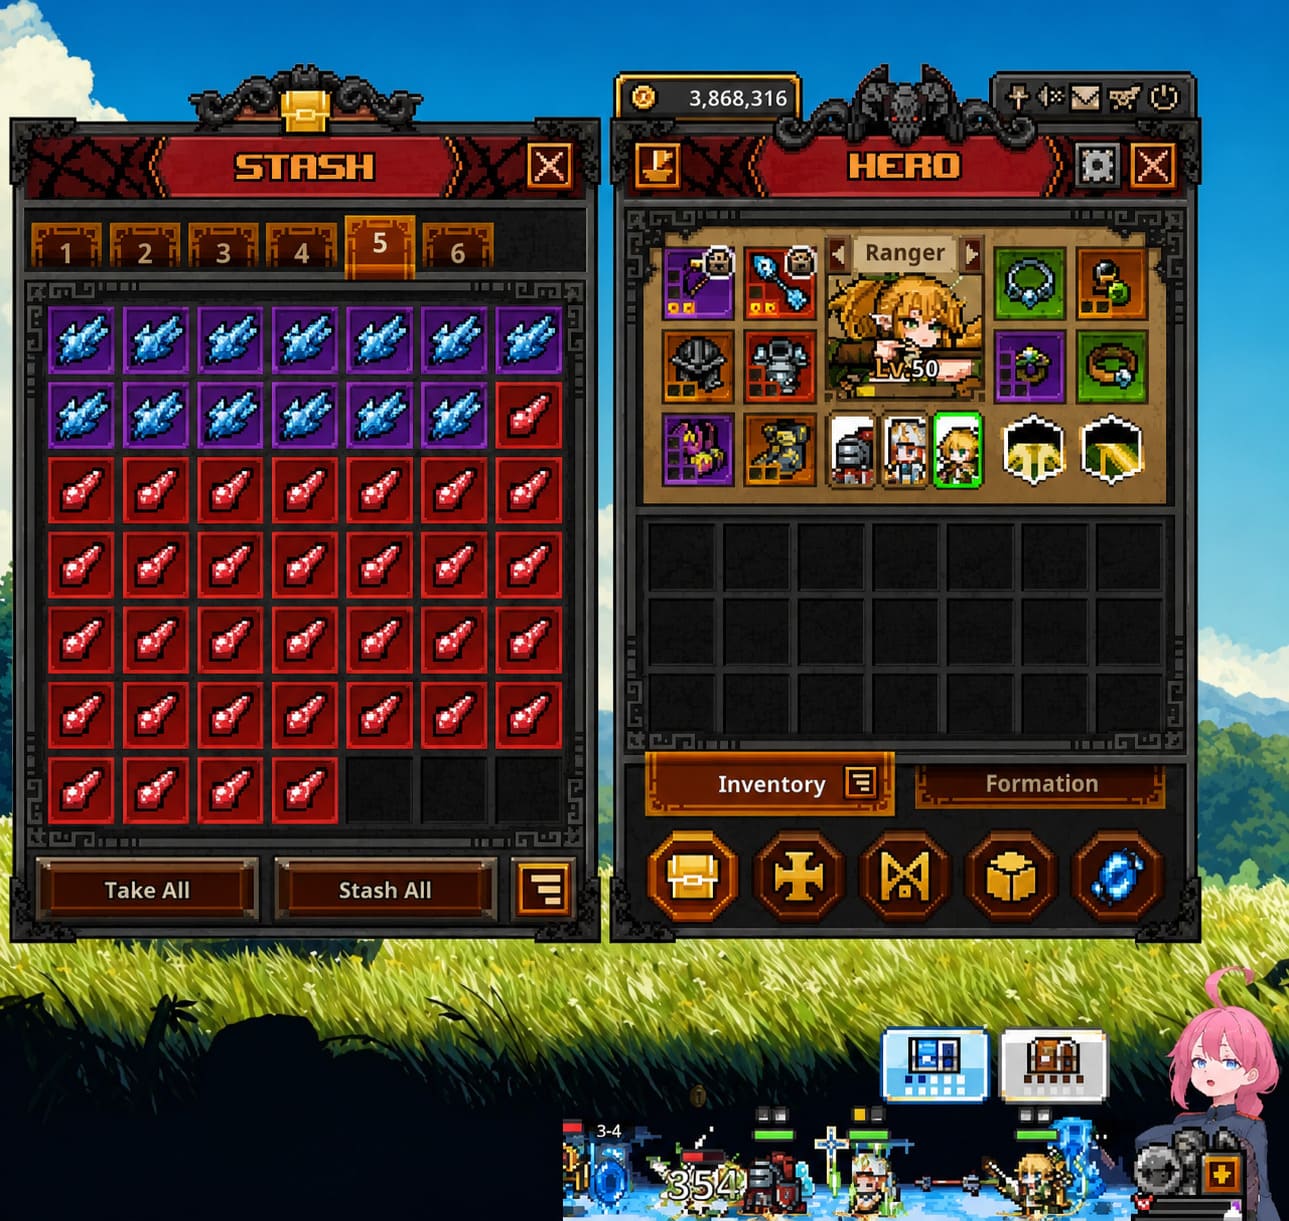
| Priority | Stat |
|---|---|
| 1 | Attack Speed |
| 2 | Physical Damage |
| 3 | Critical Chance |
| 4 | Critical Damage |
| 5 | Accuracy |
One lesson I learned the hard way: don’t become obsessed with critical strikes too early.
Attack speed provides much more reliable value during the early and mid-game. Critical-focused builds start shining later when gear naturally provides larger crit bonuses.
Until then, speed wins.
Every time.
Why I Stopped Using Traditional Tanks
This might be controversial, but I rarely run a dedicated tank anymore.
The classic Knight setup feels safe, but safety isn’t always efficiency.
In Nightmare stages, the Priest often survives just as well while contributing healing and powerful buffs.
The result is:
- Faster stage clears
- Better farming efficiency
- Higher overall DPS
- More productive AFK sessions
For players trying to maximize progression speed, that difference adds up quickly over hundreds of farming runs.
Understanding Gear Progression
One of the smartest things TBH: Task Bar Hero does is make loot hunting genuinely addictive.
Even when you’re not actively playing, the possibility of finding a perfect item keeps you checking back.
For this specific build, I recommend separating your loot goals:
Priest Targets
- Maximum HP rolls
- Defensive bonuses
- Regeneration modifiers
- Damage mitigation effects
Archer Targets
- Attack speed bonuses
- Physical damage increases
- Critical chance upgrades
- Critical damage modifiers
Trying to mix defensive and offensive stats usually creates weaker items for both characters.
Specialization tends to produce better results.
Best Third Character Options
Eventually you’ll unlock an additional party slot.
At that point, the question becomes: what complements the Priest-Archer core?
Here are my favorite choices.
Sorcerer – Best Farming Partner
If your goal is efficient stage clearing and resource farming, the Sorcerer is incredibly effective.
While the Archer focuses on priority targets, the Sorcerer eliminates groups of enemies with devastating area damage.
For players grinding materials and gear, this is probably my favorite setup.
Hunter or Slayer – Maximum Damage
For pure boss killing, these classes can be incredible additions.
Stack enough offensive power behind your frontline Priest and bosses often disappear before dangerous mechanics become relevant.
This composition is aggressive, fast, and extremely satisfying.
Knight – Emergency Survival Option
There are situations where extra durability helps.
Certain encounters punish fragile backline characters more than others.
When that happens, bringing a Knight temporarily can smooth progression until your gear catches up.
Small Tricks That Made a Big Difference
Over time, I’ve discovered several habits that dramatically improved my progression speed.
Keep the Game Running
One of the biggest advantages of TBH is that it consumes very little screen space.
Leaving it active while working or watching videos often produces significantly better rewards than relying exclusively on offline gains.
Manage Inventory Constantly
This sounds boring, but it matters.
Nothing feels worse than realizing your inventory filled up hours ago and valuable drops stopped accumulating.
Regular cleanup sessions save a lot of frustration.
Focus on One Upgrade Goal
Many players spread resources across multiple projects simultaneously.
I get much better results when I focus entirely on one objective at a time:
- Finish Priest survivability
- Upgrade Archer damage
- Improve decorations
- Enhance crafting systems
The progression feels much smoother this way.
TBH Task Bar Hero Class Tier List 2026: Best Characters and Meta Party Compositions
Final Thoughts
After spending a ridiculous number of hours experimenting with builds, I keep returning to the Priest and Archer combination.
It delivers everything I want from an idle RPG:
- Strong survivability
- Excellent farming speed
- Reliable boss damage
- Smooth progression
- Simple but effective gameplay
The Priest acts like an unbreakable wall that continuously empowers the team, while the Archer transforms those buffs into relentless damage output.
Is it the only viable strategy in TBH: Task Bar Hero?
Of course not.
But if a friend asked me for a build that works from mid-game all the way into Nightmare content with minimal frustration, this would be my recommendation without hesitation.
Sometimes the strongest builds are also the most enjoyable, and right now the Priest-Archer duo feels like the perfect example of that philosophy. Whether you’re grinding gear during work hours or pushing difficult endgame stages late at night, this setup offers one of the smoothest and most rewarding experiences the game currently has to offer.