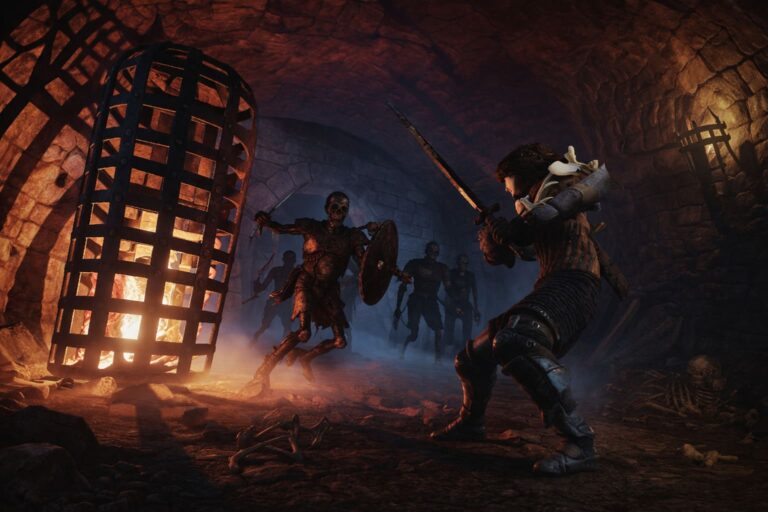
Echoes of Aincrad Sentry Golem Boss Guide: How to Beat the First Major Threat
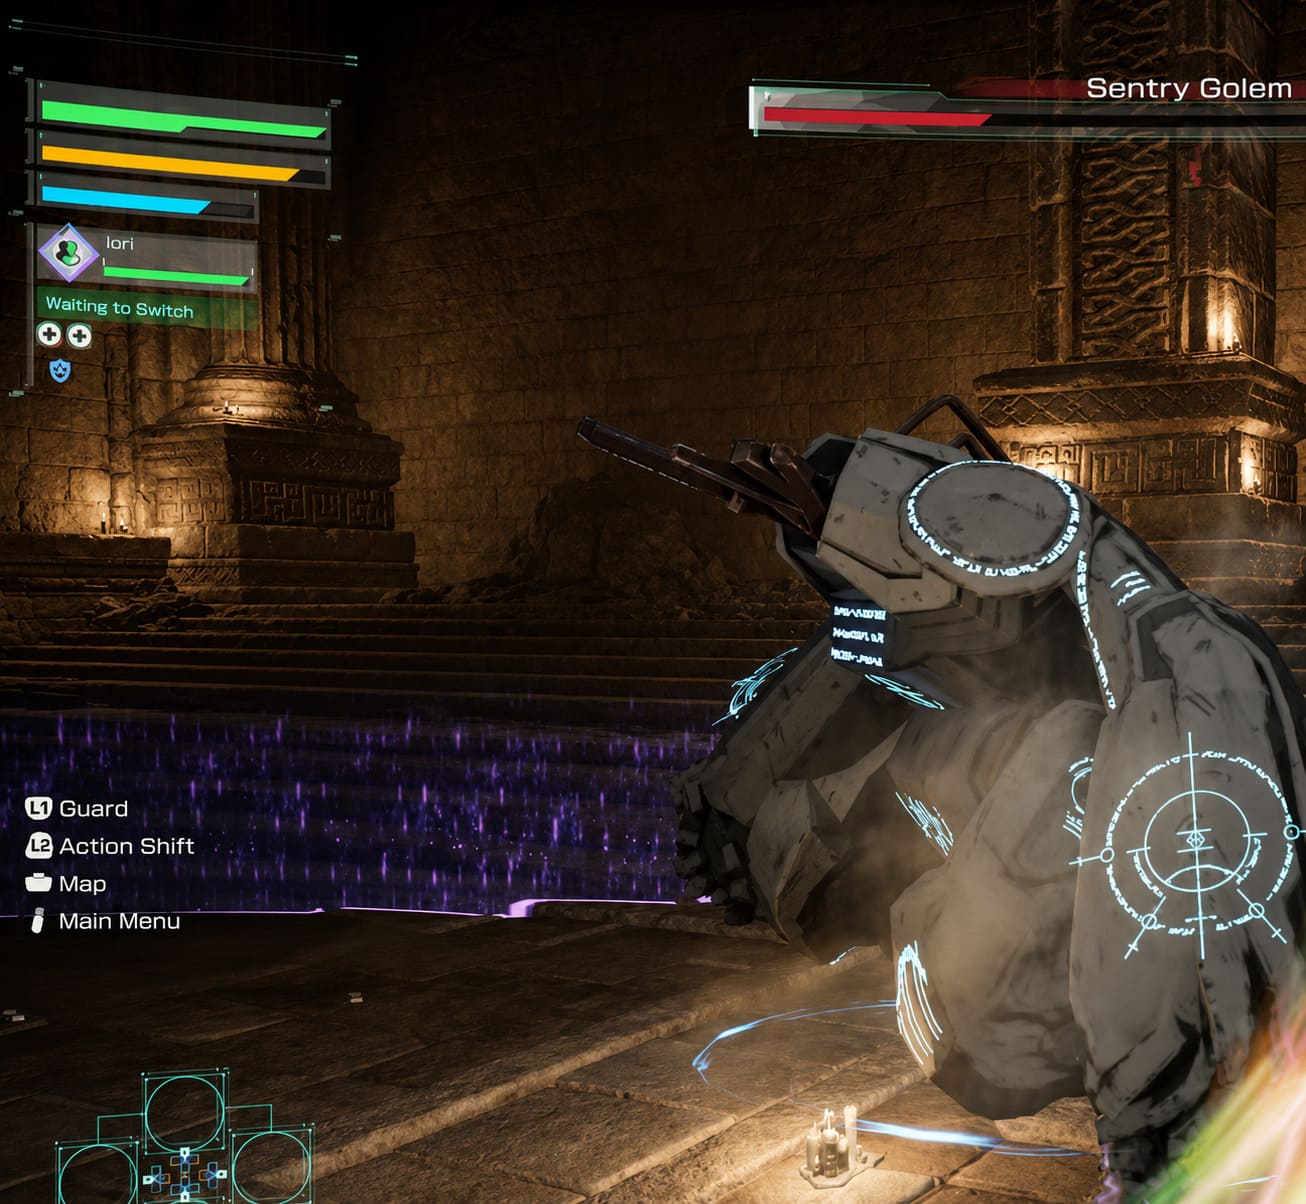
Every action RPG has that one early boss designed to send a clear message: button mashing ends here. In Echoes of Aincrad, that role belongs to the intimidating Sentry Golem, a massive mechanical guardian that quickly became one of the most talked-about encounters among players. After watching countless community discussions, comparing strategies, and spending several attempts learning the fight myself, I honestly think this boss is one of the smartest early-game challenges Bandai Namco has created in recent years.
It doesn’t rely on cheap tricks or impossible mechanics. Instead, it asks a simple question: Have you actually learned how Echoes of Aincrad works?
If the answer is no, the golem will flatten you within minutes.
If the answer is yes, the battle becomes surprisingly satisfying and serves as the perfect introduction to the game’s combat philosophy.
This guide explains everything that helped me consistently defeat the Sentry Golem, from preparation and equipment to attack patterns and positioning.
Why the Sentry Golem Feels So Difficult
Unlike many RPGs where early bosses mainly serve as health sponges, the Sentry Golem actively punishes bad habits.

Players coming from more casual action games often make the same mistakes:
- Spamming long attack strings
- Using all available stamina offensively
- Dodging too early
- Ignoring defensive mechanics
- Wearing whatever equipment they found first
The boss exposes every one of those weaknesses.
The arena itself also contributes to the challenge. You’re fighting inside a relatively confined stone chamber without many places to safely reset the encounter. The limited space means positioning matters almost as much as raw damage.
Rather than overwhelming players with speed, the Sentry Golem relies on deliberate, slow attacks that hit incredibly hard. Nearly every move has a visible wind-up, but mistiming your response usually costs a huge chunk of health.
Prepare Before You Enter the Arena
One thing I noticed while browsing player discussions is that many people rush straight into the fight after unlocking it.
That’s usually a mistake.
A little preparation dramatically reduces the difficulty.
Recommended Priorities Before Fighting
| Preparation | Why It Matters |
|---|---|
| Upgrade your armor | Surviving one extra hit often decides the battle. |
| Bring Healing Crystals | Health doesn’t magically recover during combat. |
| Improve your weapon | Even one upgrade noticeably increases damage output. |
| Stock SP recovery items if available | Longer damage windows become much more valuable. |
| Learn Perfect Evasion timing | This mechanic carries the entire encounter. |
The blacksmith deserves a visit before every major boss anyway, and this fight proves exactly why.
Best Early Weapons Against the Golem
Different weapons are absolutely viable, but some clearly make life easier.
One-Handed Sword + Shield
This is probably the safest option for first-time players.
The shield provides additional security if your dodge timing isn’t perfect, while the sword offers reliable speed without leaving you trapped in lengthy animations.
For beginners, it’s hard to recommend anything else.
Two-Handed Weapons
If you’re comfortable reading enemy animations, greatswords and heavy axes become extremely rewarding.
Their biggest advantage isn’t simply higher damage.
They build stagger significantly faster, allowing you to reach the boss’s vulnerable phase much earlier.
The downside, of course, is commitment. Miss your timing and you’re usually eating a massive counterattack.
Annealed Blade Builds
This setup has become surprisingly popular among experienced players.
Since the Annealed Blade rewards maintaining offensive momentum, skilled players can stack consecutive hits and produce impressive sustained damage during stagger windows.
It’s less forgiving but very satisfying once mastered.
Should You Level Dexterity or Vitality?
This depends on your confidence more than anything else.
DEX-focused builds reward aggressive gameplay.
Higher Dexterity noticeably improves your offensive pressure, letting you remove the boss’s health bar much faster.
Meanwhile, Vitality provides breathing room.
If you’re still learning attack timings, those extra health points often prevent frustrating deaths from simple mistakes.
Personally, I found a balanced approach worked best during my first playthrough before shifting toward Dexterity later.
Understanding Every Major Attack
Learning the boss’s moves is far more important than maximizing damage.
Fortunately, every attack follows recognizable animations.

Overhead Slam
The golem slowly raises both fists before smashing them directly into the ground.
The animation feels intimidating, but it’s actually one of the easiest attacks to punish.
Instead of blocking, wait until the fists begin descending and dodge sideways at the last possible moment.
You’ll end up beside its legs with enough time for several quick attacks.
Circular Spin
This attack catches surprisingly many players.
The golem twists its upper body before performing a full spinning sweep.
Backing away often doesn’t create enough distance.
Instead:
- Perfect Evade through the swing.
- Perform a properly timed True Parry.
- Stay close instead of retreating.
Counterintuitively, standing near the boss is frequently safer than running away.
Shockwave Stomp
The ground stomp sends an expanding wave across the arena floor.
Many new players instinctively sprint backward.
Unfortunately, the shockwave expands faster than expected.
Jumping cleanly over it requires very little effort and doesn’t consume stamina, making it one of the safest defensive options available.
High-Speed Charge
Whenever players attempt to create too much distance, the Sentry Golem often responds with a devastating shoulder charge.
Fortunately, this move has weak tracking once it begins.
Run horizontally rather than backward.
If the boss crashes into the arena wall, you’ll receive one of the best offensive opportunities in the entire encounter.
The Real Goal Isn’t Damage—It’s Breaking the Boss
One misconception I frequently see online is that players obsess over raw DPS.
That’s actually the wrong priority.
The true objective during the first portion of the battle is filling the Break meter.
Heavy attacks.
Well-timed Sword Skills.
Successful defensive counters.
Everything contributes toward staggering the boss.
Once the meter empties, the encounter changes completely.
How the Stagger Window Changes Everything
This is where the fight becomes incredibly rewarding.
After enough pressure, the Sentry Golem collapses, exposing its vulnerable core.
Its armor protection temporarily disappears.
Damage skyrockets.
This is not the time for basic attacks alone.
Instead:
- Activate Focus Mode if available.
- Spend accumulated SP.
- Chain your strongest Sword Skills.
- Continue attacking until the boss begins recovering.
A well-executed stagger phase can remove an enormous portion of the golem’s health bar.
Trying to save resources for later usually isn’t worth it.
Don’t Forget About Companion Mechanics
One feature that many players underestimate is the Switch System.
Companions aren’t simply extra damage dealers.
They’re survival tools.
If the boss locks onto you while you’re low on health, activating Switch immediately redirects its attention.
That creates valuable seconds for:
- Healing.
- Restoring SP.
- Repositioning.
- Preparing another combo.
Alternatively, while your companion has aggro, you can attack safely from behind and score consistent critical hits.
It’s one of the smartest mechanics in the game and deserves far more attention than it usually receives.
Stamina Management Wins Boss Fights
One lesson the Sentry Golem teaches better than almost any tutorial is stamina discipline.
Every offensive action costs resources.
If your stamina bar reaches zero immediately after finishing a combo, you’ve already made a mistake.
Always leave enough stamina available for:
- Emergency dodges.
- Sprinting.
- Defensive repositioning.
Greedy damage almost always results in getting flattened moments later.
Ironically, attacking slightly less usually produces faster victories.
Common Mistakes I See Players Make
Even experienced action RPG fans often fall into predictable traps.
Here are the biggest ones.
| Mistake | Better Approach |
|---|---|
| Finishing every combo | Stop after two or three attacks. |
| Standing against arena walls | Fight near the center whenever possible. |
| Using every Sword Skill immediately | Save most of them for stagger phases. |
| Ignoring companions | Use Switch regularly throughout the battle. |
| Panicking after taking damage | Wait for safe healing opportunities instead of forcing one. |
Most failed attempts come from impatience rather than lack of skill.
How to Fix Controller Input Lag in Cat Mail Co. (2026 PC & Console Guide)
My Overall Impression of the Fight
After finally mastering the encounter, I came away appreciating it much more than I expected.
The Sentry Golem isn’t memorable because it’s enormous.
It isn’t memorable because it deals ridiculous damage.
It’s memorable because every mechanic teaches something you’ll continue using throughout the rest of Echoes of Aincrad.
Perfect Evades.
Resource management.
Proper positioning.
Stagger optimization.
Companion coordination.
Nothing introduced here becomes irrelevant later.
That’s good boss design.
Sure, the camera occasionally struggles when the boss rushes across the arena, and a few hitboxes still feel slightly inconsistent, but overall the encounter succeeds at preparing players for the much tougher bosses waiting higher inside Aincrad.
Final Thoughts
The Sentry Golem represents the moment when Echoes of Aincrad stops holding your hand.
Victory doesn’t come from having the highest level or the strongest equipment alone. It comes from understanding timing, conserving stamina, recognizing attack animations, and capitalizing on every stagger opportunity.
Once you stop treating the fight like a race and start treating it like a mechanical puzzle, everything begins to click. The rhythm becomes obvious, openings appear naturally, and what initially feels impossible slowly transforms into one of the most enjoyable boss battles in the game’s opening hours.
If you’re still struggling, don’t get discouraged. Spend a few attempts learning the animations instead of chasing damage, keep your equipment upgraded, make full use of the Switch system, and stay patient during every attack cycle. Before long, the Sentry Golem will go from an intimidating wall to a boss you’ll wonder how you ever found difficult—and that’s exactly what makes this encounter such a satisfying first milestone in Echoes of Aincrad.