Subnautica 2 Halfmoon Jerky Guide: How to Craft, Find Salt, and Master Early-Game Food Survival
When I first jumped into Subnautica 2, I honestly expected the same relaxed survival rhythm from the original game — grab fish, cook fish, keep swimming. Instead, Unknown Worlds completely flipped the formula upside down. Within my first couple of hours, I realized this sequel is way harsher about food management, and if you ignore the new digestion mechanics, the ocean will punish you fast.
That’s exactly why Halfmoon Jerky has become one of the most important items in the entire early game. After spending way too many hours testing food efficiency, exploring cave systems, and comparing strategies from the community, I can confidently say this recipe is the closest thing Subnautica 2 currently has to an “easy mode” survival trick.
And honestly? I kind of love it.
The new food system finally makes survival feel meaningful again. You’re not just vacuuming up random fish anymore — you’re planning routes, storing supplies, and thinking ahead before every deep dive.
Why Food Feels So Different in Subnautica 2
One of the smartest changes in the sequel is the new biological adaptation mechanic. Your character is basically incompatible with a lot of the alien ecosystem when the game starts. Eating raw creatures is risky, and even cooked food doesn’t always provide great nutrition early on.
In the original game, survival eventually became trivial. Here, though, your first hours feel genuinely desperate.
You begin with several emergency Nutrient Blocks inside your Lifepod storage. These are incredibly valuable because they restore huge chunks of hunger. The trick most experienced players already figured out is simple:
- Don’t waste Nutrient Blocks at high hunger levels
- Wait until your food drops significantly
- Use crafted meals for daily survival
- Save emergency rations for long expeditions
That’s where Halfmoon Jerky changes everything.
What Makes Halfmoon Jerky So Powerful?
The biggest reason this item dominates the current early-game meta is efficiency.
Instead of barely surviving on weak cooked fish, jerky gives you a massive nutritional payoff while also being easy to mass produce once you establish a proper farming loop.
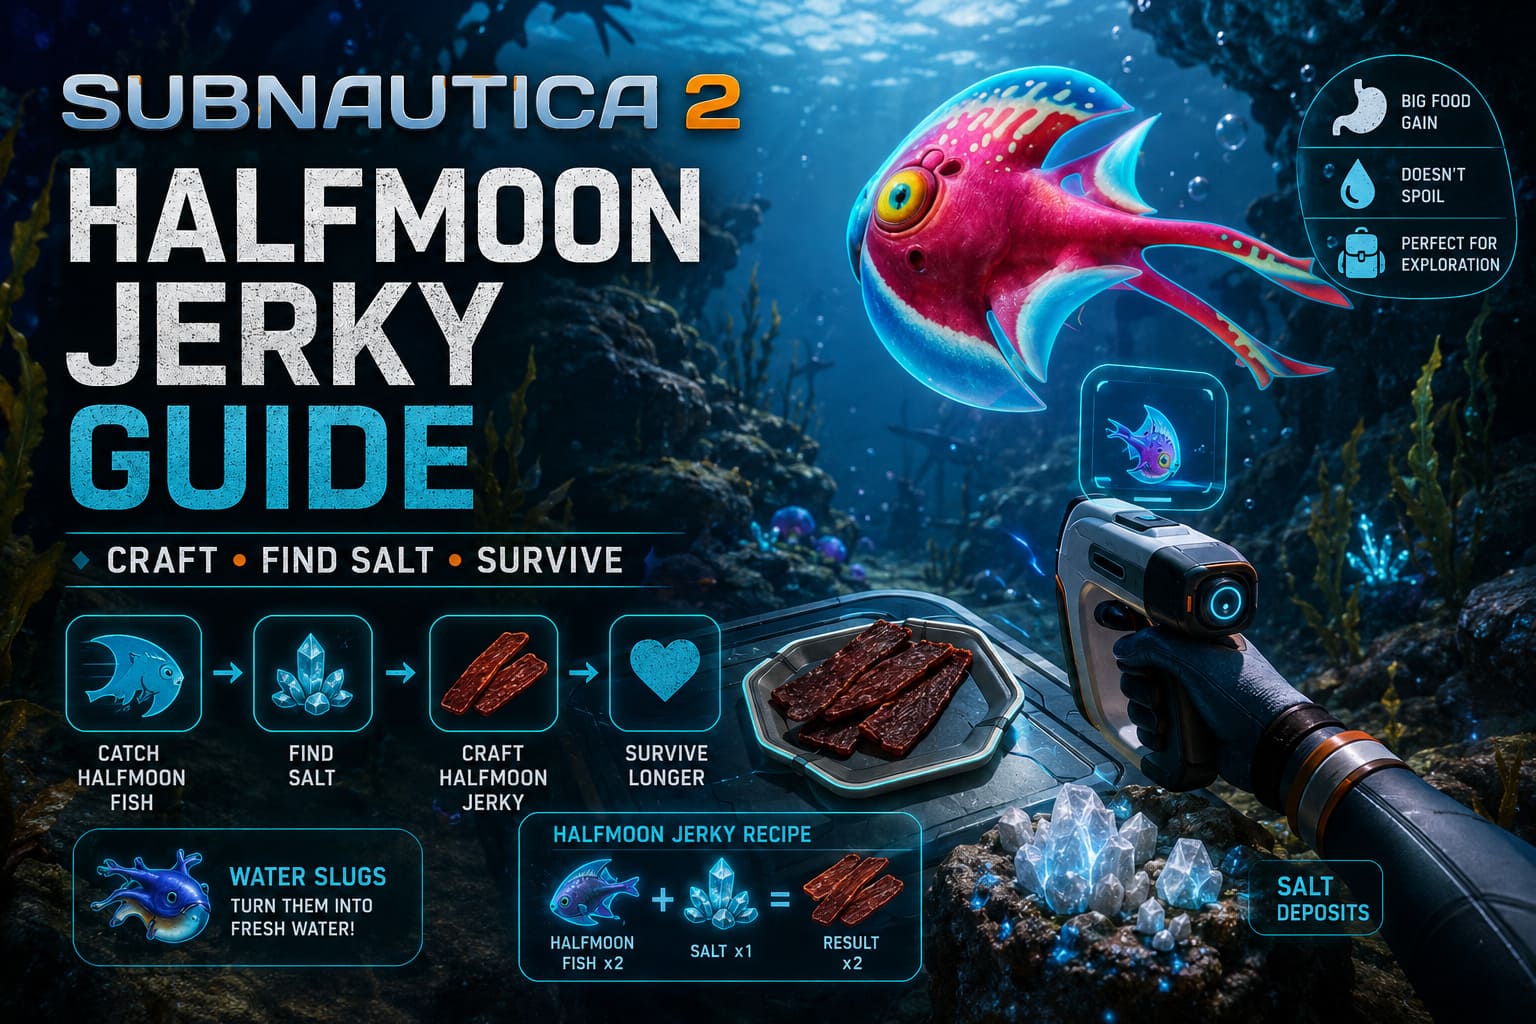
Here’s the recipe:
| Ingredient | Amount |
|---|---|
| Halfmoon Fish | 2 |
| Salt | 1 |
Crafting Result:
2x Halfmoon Jerky
That sounds simple, but the numbers behind it are honestly ridiculous.
Food Efficiency Comparison
| Food Type | Result |
|---|---|
| Raw Halfmoon Fish | Damages hydration and health |
| Cooked Halfmoon Fish | Moderate food gain |
| Halfmoon Jerky | Huge food restoration and better efficiency |
Using one piece of Salt basically doubles the value of your fish haul. Once I realized this, I stopped cooking regular fish almost entirely.
Another huge advantage is storage.
At least in the current Early Access build, jerky doesn’t spoil. That means you can:
- Fill lockers with emergency food
- Carry stacks during exploration
- Prepare supplies before long biome runs
- Ignore hunger stress for extended periods
For a survival game, that level of reliability is priceless.
Where to Find Halfmoon Fish Quickly
Thankfully, Halfmoon Fish are everywhere near the starting biome.
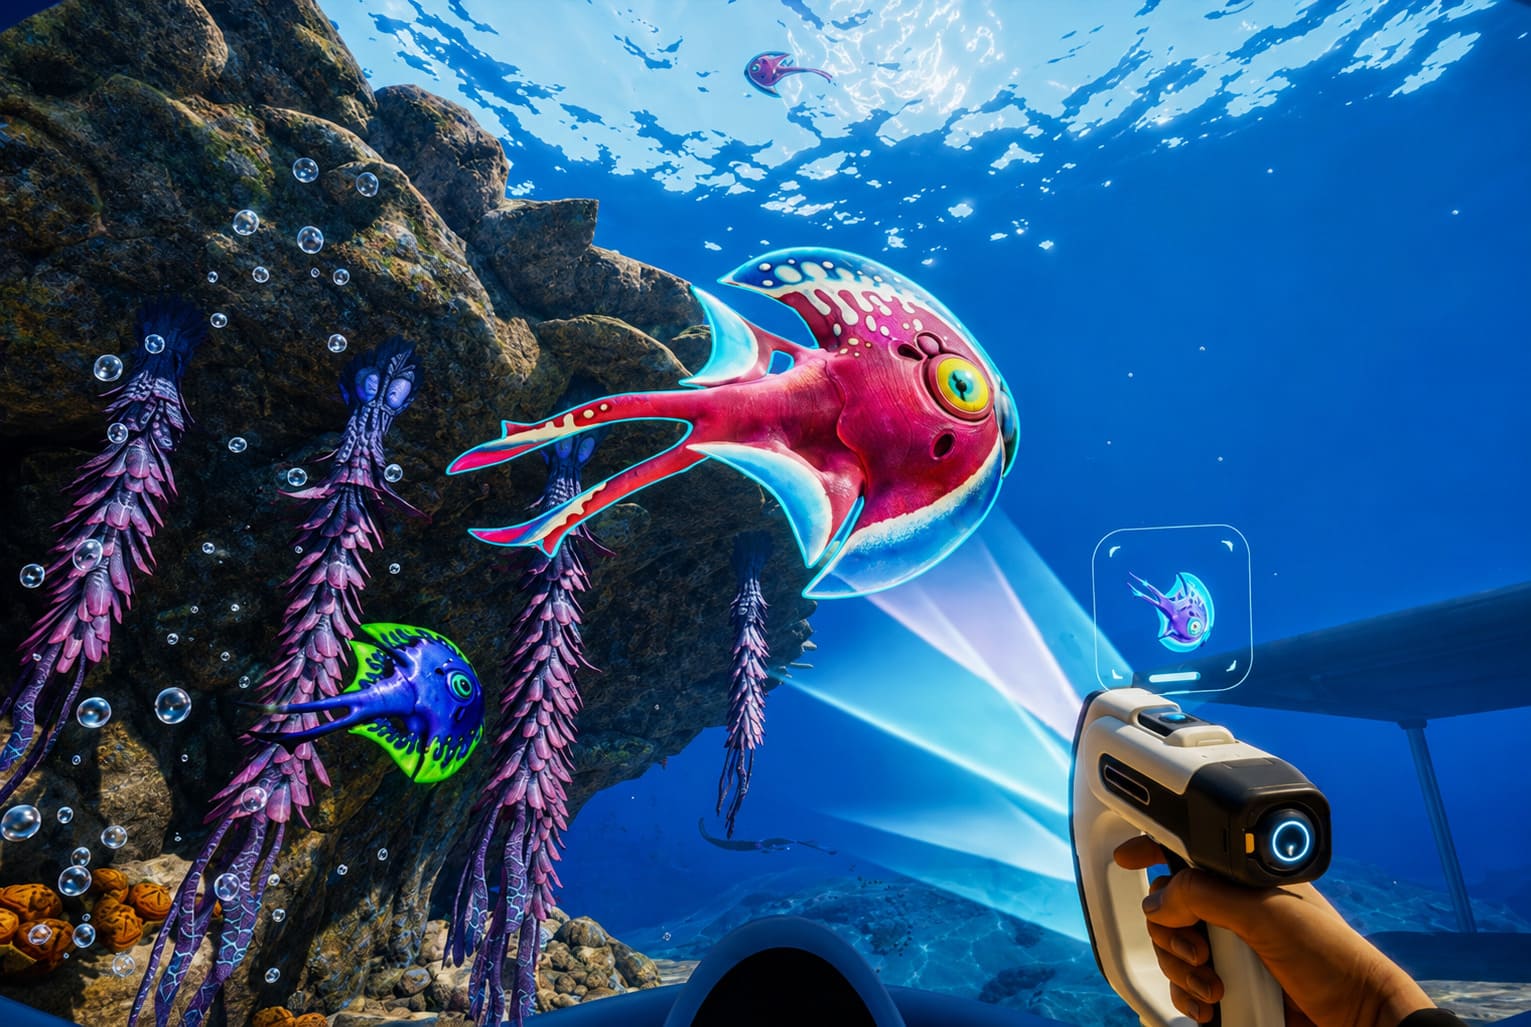
They’re easy to recognize because of their glowing crescent-shaped bodies and slow swimming behavior. Compared to some of the more annoying creatures in the shallows, these fish are incredibly easy to catch by hand.
My advice is simple:
Never swim past a school without grabbing a few.
Even if your inventory is partially full, stocking up early saves tons of frustration later.
Best Farming Strategy
I found the fastest method is:
- Swim circular routes around the Lifepod
- Catch fish while gathering Titanium
- Return before oxygen becomes risky
- Convert everything immediately at the Fabricator
Once you repeat this loop a few times, food stops being a constant problem.
Salt Is the Real Bottleneck
Fish are easy.
Salt is the actual challenge.
This is where most new players struggle because the game doesn’t explain mineral farming very clearly yet. You can spend ages wandering shallow areas without finding enough resources for consistent jerky production.
The best early Salt source I discovered is the cave network southeast of the starting zone.
These caves are dangerous early because oxygen management becomes critical, but the reward is worth it.
Types of Salt Deposits
| Resource Type | Description |
|---|---|
| Loose Salt | Small pickup crystals |
| Salt Nodes | Medium breakable formations |
| Large Deposits | Massive mineral veins |
The deeper cave sections often contain larger clusters, especially near darker rock formations.
Craft the Survival Multitool ASAP
If there’s one crafting recommendation I’d give every beginner, it’s this:
Build the Survival Multitool immediately.
Without it, resource collection feels painfully slow. Once you unlock the tool, gathering Salt and minerals becomes dramatically more efficient.
You’ll need Titanium early anyway, so prioritizing the multitool naturally improves your entire progression route.
I ignored it during my first playthrough attempt and completely regretted it.
The Best Early-Game Survival Loop
After experimenting for several hours, I ended up developing a routine that made survival incredibly stable.
Here’s the loop I personally use:
Northern Route
- Exploration
- Adaptation progression
- Story discoveries
- Biological upgrades
Southeastern Cave Route
- Salt farming
- Water Slugs
- Titanium
- Resource stockpiles
Combining these two routes creates a perfect balance between progression and sustainability.
By the time I established this cycle, hunger basically stopped being stressful altogether.
Water Slugs Are Secretly Amazing
A lot of players are focusing entirely on food right now, but hydration is just as dangerous in Subnautica 2.
That’s why Water Slugs are surprisingly important.
These weird little creatures can be processed into drinkable water, which pairs perfectly with your jerky stockpile. Once you start collecting both resources together, your survival setup becomes incredibly reliable.
Honestly, this combo feels almost overpowered in the current Early Access build.
Subnautica 2 Axum Bacterial Culture Guide: Locations, Map Coordinates, and Farming Tips
Why I Think This System Is Better Than the Original

I know some longtime fans miss the simplicity of the first game, but personally, I think the new survival mechanics are a huge improvement.
The original eventually became too easy. Food turned into background noise.
In Subnautica 2, survival actually matters again.
Planning expeditions feels tense. Cave diving feels risky. Resource management feels rewarding.
And Halfmoon Jerky sits right at the center of that entire progression system.
It’s not just “good food.” It’s the first moment where the player truly starts mastering the game’s ecosystem instead of barely surviving inside it.
Subnautica 2 Deepwing Egg Clump Location: Guide to Harvesting Deepwing Brooder Eggs
Final Thoughts
Right now, Halfmoon Jerky is easily one of the smartest crafting investments you can make during the early hours of Subnautica 2.
The recipe is cheap, the ingredients are accessible, and the long-term payoff is enormous. Whether you’re preparing for deep exploration, building your first real base, or simply trying to stop starving every twenty minutes, jerky completely changes the pacing of survival.
Of course, Unknown Worlds will probably rebalance crafting values and nutrition numbers throughout Early Access. But even if future patches tweak the stats, the core strategy will likely remain strong:
Salt + preservation = survival dominance.
So stock your lockers, monitor your oxygen carefully, and never ignore a school of Halfmoon Fish when you see one glowing beneath the waves.