Graveyard Keeper 2 Building Guide: How to Craft and Upgrade Workstations
Graveyard Keeper 2 looks like a cemetery management game on the surface, but anyone who has spent more than a few hours with it quickly realizes that the graveyard is only one part of a much bigger machine. Behind the graves, sermons, corpses, and dark jokes sits a surprisingly deep production system where wood, stone, clay, metal, and increasingly complicated components all have to move through the right workstations.
Having played plenty of crafting and management games, I always look for the same thing: whether the production system actually rewards planning or simply throws more machines at the player. Graveyard Keeper 2 leans heavily toward planning. A badly organized workshop can become a frustrating mess of missing materials and blocked stations, while a properly designed production area can feel almost like a medieval factory.
This Graveyard Keeper 2 building guide focuses on the practical side of that system. We will go through workstation placement, technology progression, important materials, upgrade paths, zombie automation, and the annoying problems that can make an otherwise perfectly good production line stop working.
Graveyard Keeper 2 Anatomy & Alchemy Guide: How to Craft Perfect Corpses
How the Building System Works in Graveyard Keeper 2
The first thing to understand is that workstations are not completely independent crafting boxes. Your production areas work more like connected sections of a larger industrial network. The main grounds, workshop yard, basement, and other specialized areas each have their own role, and learning where a particular machine belongs saves a ridiculous amount of time later.
The Building technology branch is also much larger than it initially appears. Fully developing it requires 942 Green Points, 1,705 Red Points, and 640 Blue Points. Across the branch, there are 27 technologies, 59 crafting recipes, 14 major workstations, and 36 material types. You absolutely do not need everything immediately, but understanding where the important branches eventually lead makes early research choices much easier.
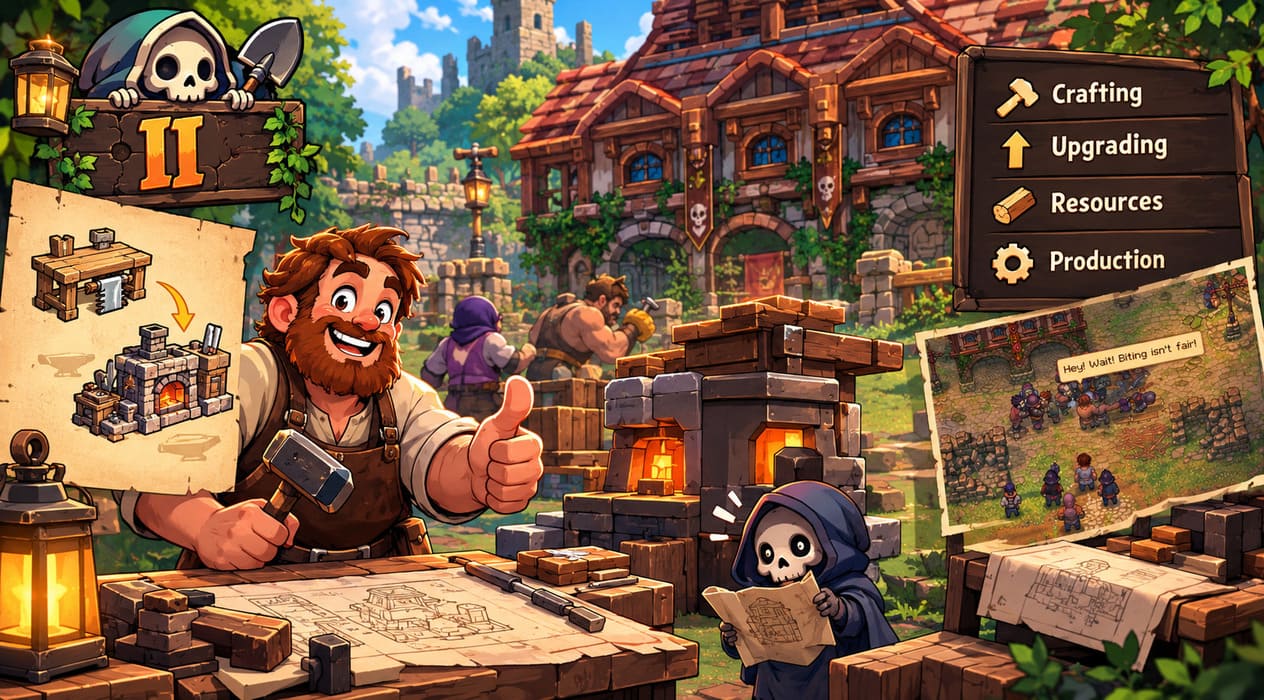
Construction begins through the Blueprint Builder Desk in the appropriate construction area. From there, you can see which structures are available and which ingredients are currently accessible through nearby storage. This is one of those systems that seems simple until your workshop grows large enough that moving one chest can suddenly break an entire production chain.

Watch the Construction Zones
Every workstation has a specific location where it can be built. Outdoor equipment such as heavy furnaces, timber-processing machines, and larger sawmill structures belongs in the workshop or other appropriate exterior areas. More delicate equipment, including certain writing, pottery, and alchemical stations, needs to stay in its designated indoor or underground location.
There is another detail that is easy to ignore: access space matters. A workstation can technically have all the required resources and still fail to function if its interaction tiles are blocked. Chests, decorative objects, neighboring machines, and badly positioned furniture can turn a perfectly good production station into dead weight. I strongly recommend leaving a little breathing room around important machines rather than trying to squeeze every possible object into one room.
Technology Points and Unlocking Better Workstations
Your workshop progression is tied directly to the Technology Tree. Three types of points are especially important here, and each is generally associated with a different part of the Keeper’s strange daily routine.
- Red Points: Primarily connected to physical labor, mining, chopping, quarrying, and processing harder materials.
- Green Points: Closely associated with nature, farming, gathering, organic materials, and other biological resources.
- Blue Points: Connected to knowledge, spirituality, anatomy, writing, research, and higher-level religious activities.
The important thing is not simply collecting points, but spending them in a sensible order. It is very easy to look at an attractive advanced workstation and immediately want to unlock it. The problem is that advanced recipes often require components produced by earlier machines, so skipping the foundations can leave you with a shiny blueprint that you cannot actually use.
For that reason, I prefer to treat the technology tree as a production ladder. First unlock the ability to gather a material, then unlock the station that refines it, then move toward the advanced workstation that consumes those refined components. It sounds obvious, but following this logic prevents a lot of unnecessary backtracking.
Recommended Technology Progression
The opening section of the Building branch begins with three basic concepts: Dirt, Stone, and Wood. These establish the foundation for gathering and eventually lead into the more specialized branches. Dirt and clay, stone and mining, and wood and sawing become the three major early routes through the system.
| Technology | Main Requirement | What It Unlocks |
|---|---|---|
| Clay | Concept of Dirt | Polishing Paste, Ceramic Bowls |
| Mining | Concept of Stone | Stone and Iron Gathering |
| Sawing | Concept of Wood | Wood Billets, Flitch |
| Stoneworking | Concept of Stone | Stone Pieces, Stone Repair Kits |
| Firewood | Concept of Wood + Sawing | Firewood, Wood Wedges, Chopping Spot |
| Woodworking | Concept of Wood + Sawing | Wooden Planks, Wood Repair Kits |
| Ceramic Firing | Clay + Concept of Dirt | Ceramic Jugs, Porcelain Pitchers |
Once those early technologies are established, the tree starts branching into more serious industrial production. Stone Carving, Precious Metals, Zombie Mining, Assembly Stand, Circular Saw, and Marble Quarrying become increasingly important. This is where the game starts feeling less like simple crafting and more like running a weird medieval manufacturing business.
Mid-Game and Advanced Building Technologies
The Assembly Stand is particularly important for players concentrating on woodworking because it leads toward more advanced carpenter equipment and jointing. The Circular Saw is another major step because it introduces efficient production of wooden beams. These upgrades may look like incremental improvements on paper, but the number of recipes that eventually depend on refined wood makes them much more valuable than they first appear.
Stone-focused players have a similarly demanding path. Stone Carving leads into polished and carved stone components, while Marble Quarrying and The Art of Stone open the door to higher-end marble construction. The costs can become substantial, especially when Red, Green, and Blue Points are required together, so I would avoid spending points randomly just because a technology happens to be available.
At the upper end of the tree, technologies such as Fine Woodworking, Gems, Scent of Gold, Tricks of the Trade, Zombie Quarrying II, and Zombie Woodcutting push the production system into its late-game territory. Best Friend sits even deeper in the progression and requires a large investment of Blue Points. These technologies are much more about completing an established industrial setup than rescuing a poorly planned one.
The Most Important Workstations
There are 14 major workstations connected to this production branch, and they do not all have the same importance. Some machines handle a wide range of recipes, while others exist almost entirely to produce one specific item. Knowing that difference helps you decide which stations deserve the most space and which can live in a quieter corner of the workshop.
| Workstation | Role |
|---|---|
| Stone Cutter II | Advanced stone production, 9 recipes |
| Stone Cutter | Early stone production, 6 recipes |
| Carpenter’s Workbench II | Advanced woodworking, 5 recipes |
| Carpenter’s Workbench | Mid-tier woodworking, 4 recipes |
| Furnace II | Mid-tier smelting, 3 recipes |
| Furnace III | Advanced smelting, 3 recipes |
| Chopping Spot | Wood processing, 3 recipes |
| Furnace | Basic smelting, 2 recipes |
| Sawhorse | Basic manual wood processing, 2 recipes |
| Potter’s Wheel | Specialized ceramic production |
| Circular Saw | Efficient beam production |
| Desk | Basic writing and schematic work |
| Desk II | Advanced writing |
| Big Tree Sawmill | Large-scale lumber processing |
If you are trying to keep your workshop efficient, the Stone Cutter II and Carpenter’s Workbench II deserve particular attention because they support multiple recipes. In my experience with management-heavy crafting games, multi-purpose stations are usually where the biggest efficiency gains come from. Building five specialized machines sounds impressive, but sometimes upgrading one versatile station is the smarter move.
Which Materials Should You Always Keep Stocked?
Not every material deserves the same amount of storage space. Some components appear constantly throughout the crafting system, while others can sit untouched for long periods until a particular construction project or recipe calls for them.
Flitch, Wooden Planks, and A Piece of Stone are the big three I would keep an eye on. Flitch is used in 101 recipes, wooden planks appear in 66, and basic stone is required by 51. Running out of one of these materials can bring several different production chains to a halt at the same time.
After those, keep a healthy supply of Polished Stone Bricks, Stone Repair Kits, Polished Marble Bricks, and Wooden Beams. Repair kits are particularly easy to underestimate. You may not be crafting them every minute, but when something needs maintenance, discovering that you have none available is exactly the kind of tiny inconvenience that turns into a twenty-minute resource-gathering trip.
Materials Worth Keeping in Smaller Quantities
Marble Pieces, Carved Marble, Ceramic Bowls, Carved Stone, Wood Billets, Firewood, Ceramic Jugs, Polishing Paste, Wood Wedges, Jointing, Wood Repair Kits, Graphite, Porcelain Pitchers, Prayer for Excellence, and Carved Wood all have useful roles. Their consumption is simply more situational than the major structural materials.
I would not fill half the warehouse with these items. Instead, make a small reserve and increase production when you know a specific construction project is coming. That keeps storage manageable and prevents the classic crafting-game problem where you have hundreds of materials but somehow no room for the things you actually need.
Zombie Automation Changes Everything
This is where the workshop system gets really interesting. Once you unlock the relevant zombie technologies, your undead workforce can take over some of the repetitive gathering and production jobs that would otherwise eat up your time. Zombie Mining, Zombie Quarrying I and II, and Zombie Woodcutting are the technologies to watch if your goal is long-term automation.
The biggest advantage is obvious: your character gets to do something else. Instead of constantly returning to a quarry for more stone or spending another round cutting timber, you can build an automated production chain and let your zombies handle the boring part. That is exactly the sort of progression I want from a management game because automation feels like a genuine reward for investing in the system.
Zombie efficiency is tied to the worker’s white skull rating. Higher-quality zombies can work faster, making the difference between an automated station that constantly feels sluggish and one that actually keeps up with your demands. Once you start building a serious production network, the quality of your undead workforce becomes worth paying attention to.
Build a Proper Logistics Network
Automation is only useful when the resources actually reach the machines. A zombie sitting beside a sawmill does nothing if there are no logs available, and a production station cannot magically pull materials from an unrelated storage area simply because the item exists somewhere on your property.
For that reason, I recommend designing your workshop around short, obvious supply routes. Keep gathering points connected to storage, keep production stations close to their relevant material reserves, and avoid creating a maze of chests that forces you to constantly remember where everything is. A simple layout is often faster than a clever one.
Why a Working Station Suddenly Stops Producing
One of the most annoying things about a large crafting setup is when everything appears correct and production simply stops. Before rebuilding the entire workshop, check the obvious stuff first. The problem is often storage capacity, a disconnected resource container, blocked access, or a missing fuel supply rather than a broken blueprint.
- Check output storage: A station may stop if there is nowhere to put the finished product.
- Check nearby storage connections: Ingredients may need to be available within the appropriate production area.
- Check fuel and energy: Advanced furnaces and similar machinery cannot continue indefinitely without their required inputs.
- Check access tiles: A chest or another workstation can physically block the interaction area.
- Check the recipe itself: Advanced recipes may require several intermediate components rather than just the final raw resource.
The storage problem is especially easy to overlook. I have lost plenty of time in crafting games because I assumed a production machine was bugged, only to discover that its output slot was full. In a game with this many interconnected systems, always check the boring explanations before assuming something has gone wrong.
How I Would Organize a Graveyard Keeper 2 Workshop
If I were rebuilding my workshop from scratch, I would divide it into broad production zones instead of putting stations wherever there happens to be an empty tile. One area would focus on wood, another on stone, and another on smelting and advanced processing. Storage would sit close to the machines that use the relevant materials most frequently, with enough open space around each station for character access and future upgrades.
I would also avoid building the final layout too early. The workshop expands considerably as new technologies become available, and a compact early-game arrangement can become a nightmare once larger machines enter the picture. Leave expansion corridors and empty spaces where possible. Planning for the workstation you will need later is much cheaper than rebuilding the entire production area after unlocking it.
Most importantly, do not rush automation simply because zombies are available. Automation works best when the underlying production chain is already organized. A badly designed manual workshop with zombies attached to it is still a badly designed workshop; it just has more undead workers standing around wondering why nobody brought the logs.
Final Thoughts on Building and Crafting
The building system in Graveyard Keeper 2 is much deeper than its grim medieval presentation might suggest. What starts with basic wood, stone, and clay quickly turns into a layered manufacturing network involving advanced workstations, refined materials, repair components, marble construction, and eventually zombie-powered automation.
For me, the best part is the feeling of progression. Early on, you are manually processing almost everything, and the amount of work can feel ridiculous. Later, once the right technologies are unlocked and your storage and production routes are organized, the same workshop starts behaving like a proper little factory. That transformation is exactly why it is worth taking the time to understand the Building tree instead of blindly unlocking whatever technology looks interesting.
Keep Flitch, Wooden Planks, Stone, repair kits, and other high-demand structural materials moving through your production network, upgrade the stations that support multiple recipes, and think about storage before your workshop becomes overcrowded. Once zombie automation enters the picture, focus on reliable supply chains rather than simply throwing undead workers at every available machine.
Graveyard Keeper 2 rewards players who enjoy tinkering with systems. If you approach construction as one giant production puzzle rather than a collection of individual crafting stations, the whole process becomes considerably easier to manage. And honestly, there is something wonderfully appropriate about turning a creepy medieval graveyard into a brutally efficient industrial operation run by the dead.