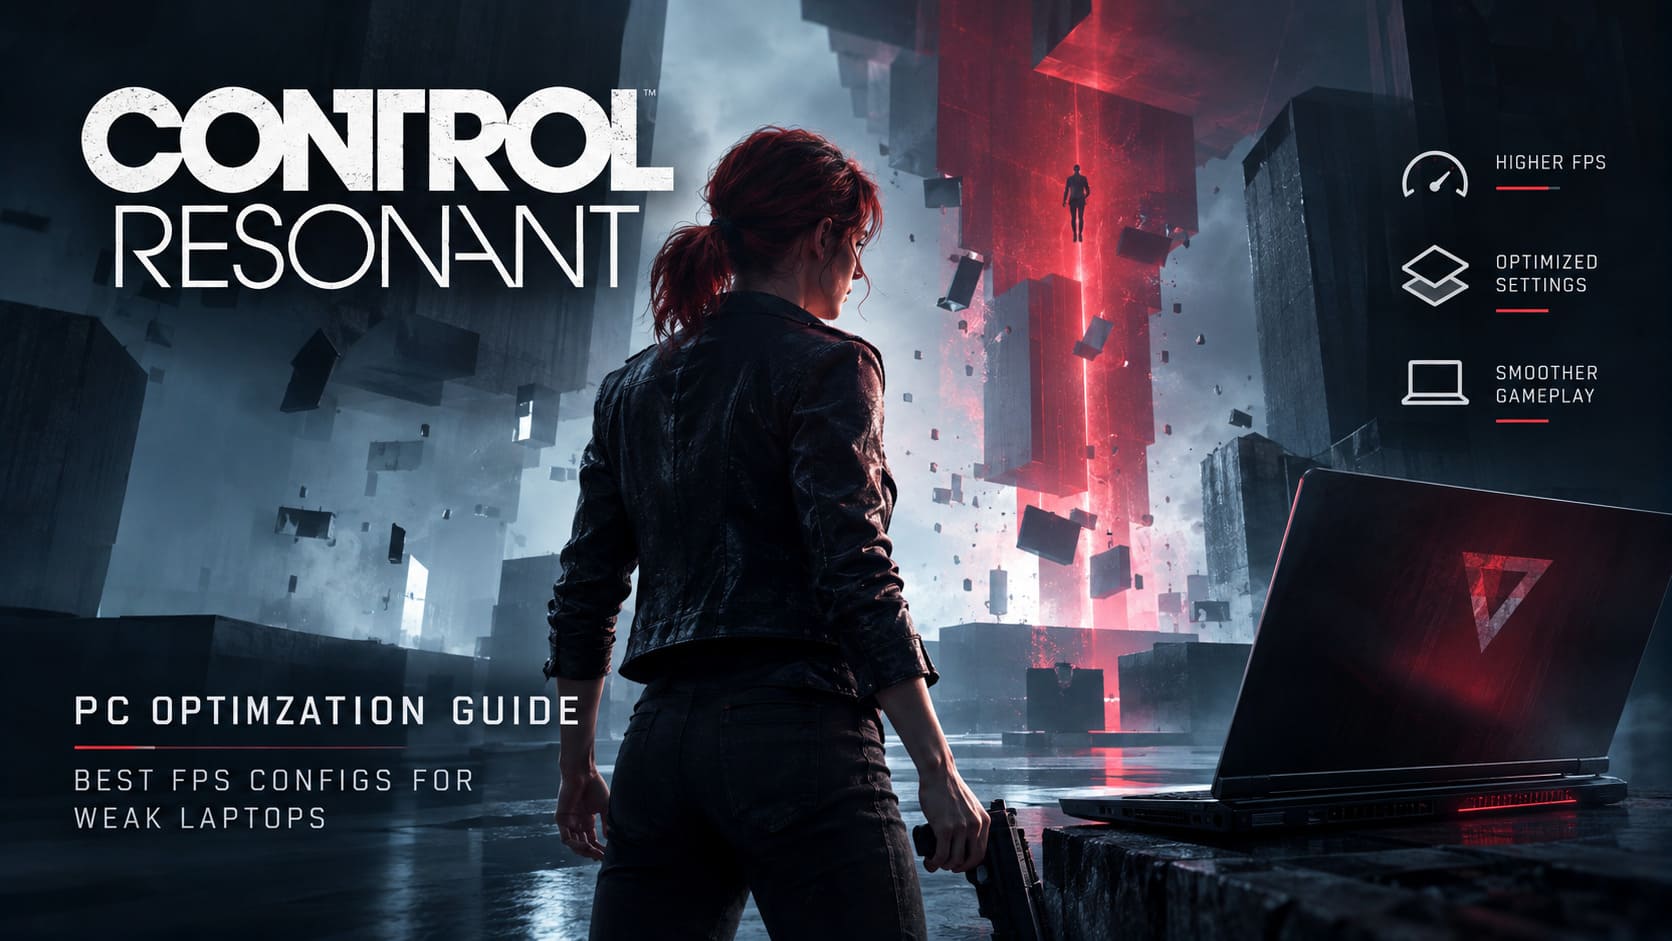
Control Resonant Low End PC Optimization Guide: Best FPS Configs for Weak Laptops (2026)
Let me be honest: Control Resonant is not the kind of game I would normally associate with a weak laptop. Remedy has pushed the Northlight engine considerably further, with dense environments, heavy lighting effects, destructible objects, reflections, and demanding global illumination. On a gaming desktop, that technology can look fantastic. On an entry-level laptop, it can turn every room into a small performance benchmark.
The official hardware requirements already tell us what we’re dealing with. The minimum target includes a desktop-class GTX 1070, Radeon RX 5600 XT, or Intel Arc A580, along with 6GB of VRAM and 16GB of system memory. That’s a pretty serious starting point for anyone hoping to run the game comfortably.
Laptop hardware makes the situation even more complicated. Even when the GPU name looks similar to a desktop model, mobile versions generally have tighter power limits and considerably less thermal headroom.
But there is some good news.
Control Resonant has enough graphics scalability that you can make meaningful performance gains without turning the entire game into a blurry mess. I’ve always preferred lowering the settings that actually hurt performance instead of blindly putting everything on Low, and that’s especially important here.
My goal with a low-end configuration would be simple: stable 30 FPS first, then 40–45 FPS if the hardware allows it. Chasing an unstable 60 FPS on a machine that clearly isn’t designed for it usually isn’t worth the constant stuttering.
Start With the Laptop, Not the Game
Before touching the graphics menu, I would deal with the hardware limitations first.
A surprisingly large number of “bad FPS” problems on laptops aren’t caused by the game itself. They’re caused by heat, power management, background applications, or the laptop simply refusing to give the GPU enough wattage.
1. Keep the Laptop Cool
Thermal throttling can absolutely destroy performance.
When the CPU or GPU reaches its thermal limit, the laptop reduces clock speeds to protect itself. The result is exactly what you don’t want: FPS starts high and then collapses after several minutes of gameplay.
- Raise the rear of the laptop slightly to improve airflow.
- Use a cooling pad if temperatures are consistently high.
- Clean dust from the cooling system.
- Avoid playing on beds, blankets, or other surfaces that block the intake vents.
I wouldn’t underestimate this. A laptop that maintains its clocks can sometimes feel dramatically faster than the same machine running hot.
2. Use a Performance Power Profile
In Windows, open Settings → System → Power & Battery and set the power mode to Best Performance.
If your manufacturer provides its own control software, use the performance profile there as well. Depending on the laptop, this could mean a Turbo, Performance, or similar mode.
Just remember that higher performance means more heat and fan noise. That’s the trade-off.
3. Make Sure the Game Uses the Correct GPU
This one is particularly important for laptops with integrated and dedicated graphics.
Open Windows Graphics Settings, add the Control Resonant executable, and set it to High Performance.
You don’t want Windows deciding that your integrated GPU is perfectly adequate for a game that already struggles on dedicated desktop hardware.
For hybrid-GPU laptops, this is one of the first things I’d check before changing a single graphics option.
The Best Control Resonant Settings for Weak Hardware
This is where the biggest gains are available.
The mistake I see most often with demanding PC games is treating every setting equally. They aren’t equal. Some options barely change performance while others can destroy your frame rate.
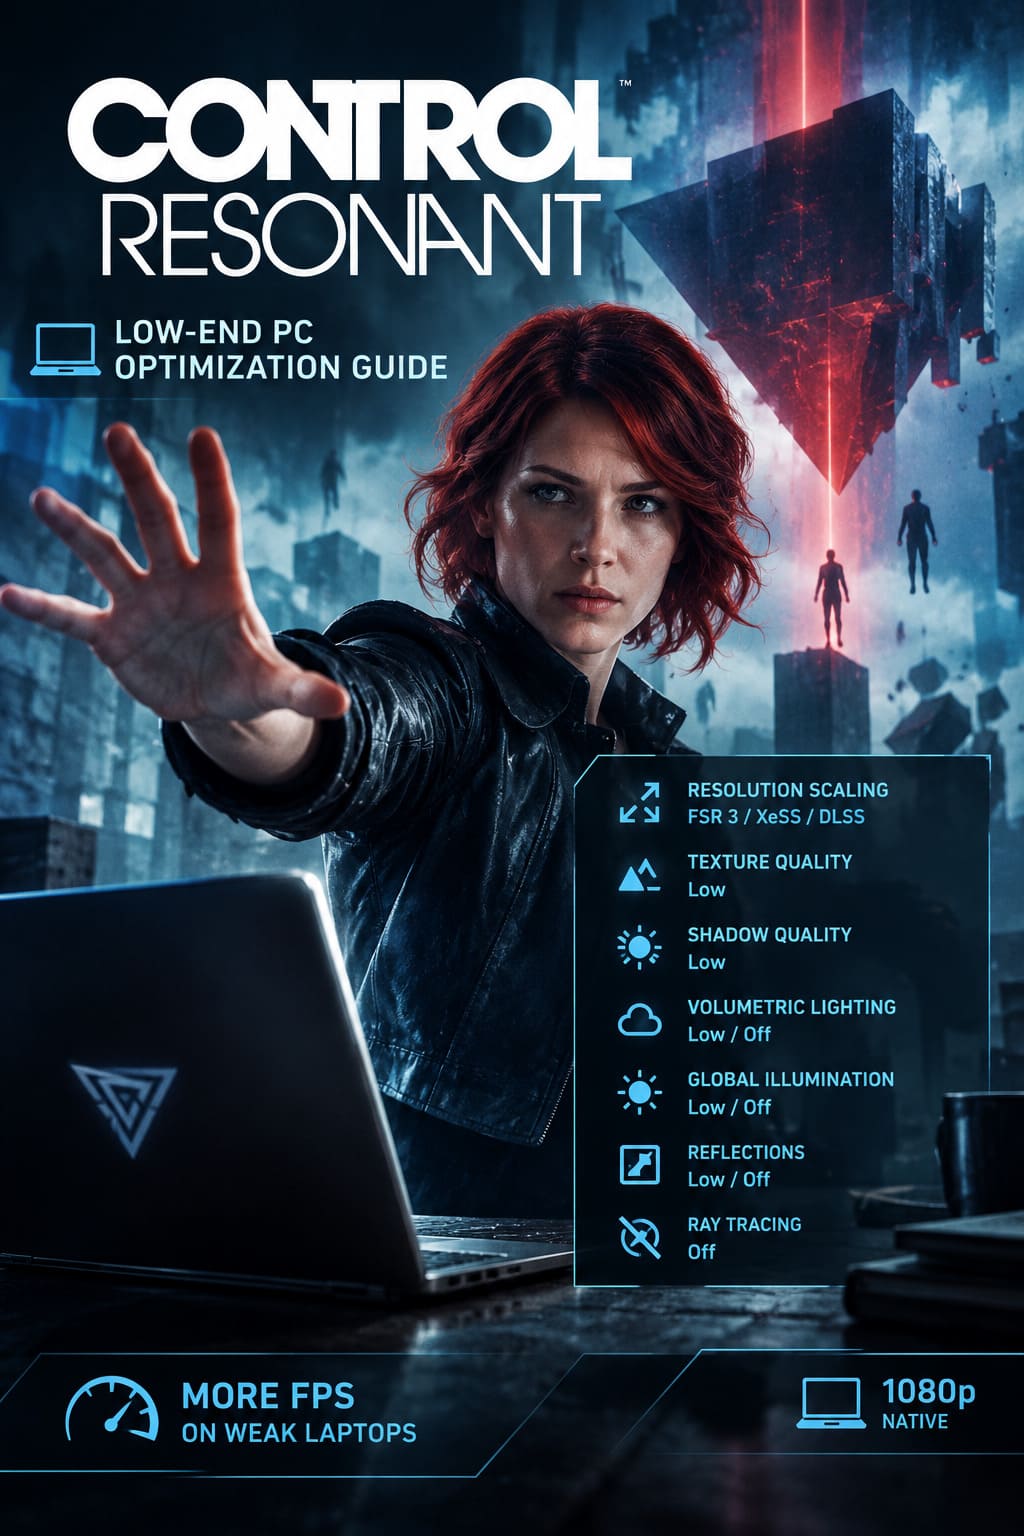
For a low-end laptop, I would concentrate on resolution scaling, shadows, volumetrics, reflections, and global illumination.
My Recommended Low-End Configuration
| Setting | Recommended Value | Why |
|---|---|---|
| Display Mode | Fullscreen | Helps minimize unnecessary desktop overhead |
| Display Resolution | Native 1080p | Keeps the interface sharp |
| Upscaling | FSR 3 / XeSS / DLSS | Major FPS improvement |
| Upscaling Preset | Performance or Balanced | Best starting point for weak GPUs |
| Texture Quality | Low | Reduces VRAM pressure |
| Texture Filtering | 2x–4x | Small performance cost |
| Shadow Quality | Low | One of the easiest major FPS gains |
| Volumetric Lighting | Low / Off | Removes expensive lighting calculations |
| Global Illumination | Low / Off | Large performance savings |
| Screen Space Reflections | Low / Off | Reduces reflection workload |
| SSAO | Low | Preserves some depth without heavy cost |
| Ray Tracing | Off | Too expensive for low-end hardware |
| Motion Blur | Off | Cleaner image and less visual clutter |
| Film Grain | Off | Free clarity improvement |
I wouldn’t necessarily recommend putting everything on the lowest possible setting. Some options provide almost no meaningful FPS benefit while making the game look considerably worse.
Resolution Scaling Is Your Best Friend
If I had to choose just one optimization for a struggling laptop, it would be upscaling.
Keeping the display at 1920×1080 while allowing the game to render internally at a lower resolution is much smarter than simply changing the monitor resolution to something like 1280×720.
Why?
Because your desktop and UI remain sharp while the game image is reconstructed from a lower internal resolution.
Depending on your hardware, I’d try:
- DLSS Performance for supported NVIDIA RTX GPUs.
- FSR Performance or Balanced for AMD and broader hardware compatibility.
- XeSS Performance or Balanced on compatible Intel hardware.
If the image looks too soft, move from Performance to Balanced before touching other settings.
For extremely weak hardware, however, a lower internal render resolution may be unavoidable. At that point, I would rather have a slightly soft image at a playable frame rate than a beautiful 1080p screenshot that runs at 18 FPS.
Textures: Don’t Confuse Quality With Performance
Texture quality is an interesting one because it doesn’t behave like shadows or volumetric effects.
Higher textures don’t necessarily hammer the GPU’s shader performance in the same way. VRAM capacity is the real problem.
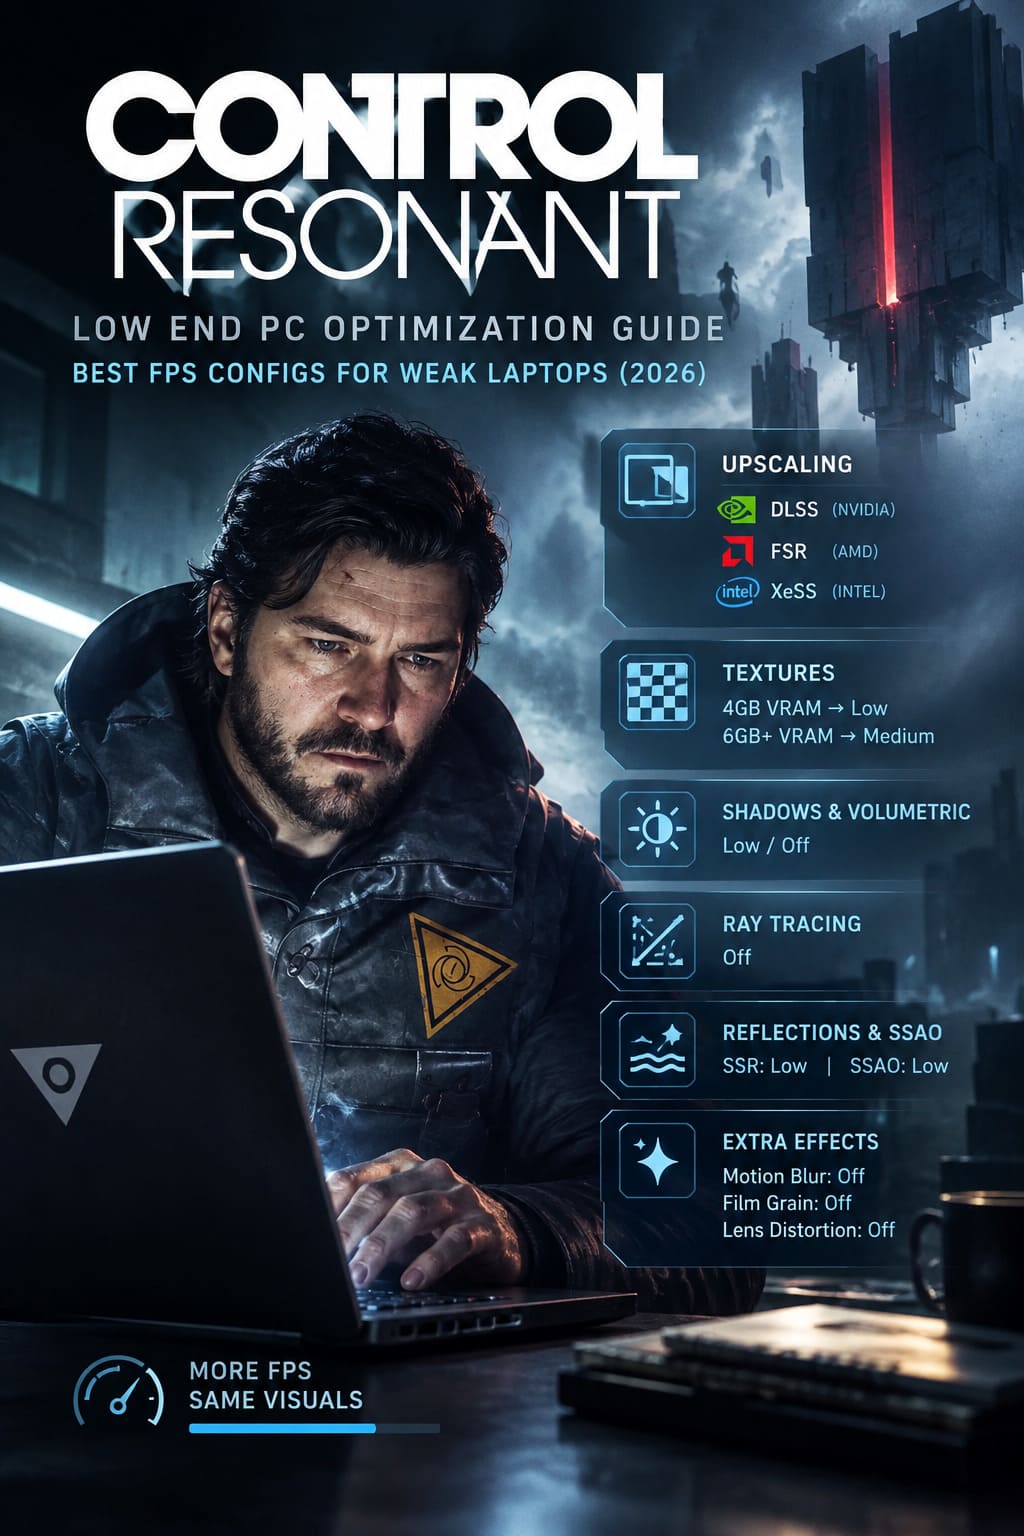
If your laptop has 4GB of VRAM or less, I’d start with Low textures.
With 6GB or more, Medium may become practical depending on the rest of your hardware.
The reason is simple: once the game runs out of usable video memory, assets have to move between different memory pools. That’s when you can get texture pop-in, hitching, and nasty frame-time spikes.
And honestly, I’d rather have slightly lower-quality walls than constant stuttering.
Texture filtering is different. 2x or 4x anisotropic filtering is usually a reasonable compromise and can make surfaces viewed at an angle look significantly cleaner without becoming a major performance problem.
Shadows Are Where I’d Start Cutting
Shadows are usually one of the easiest ways to recover performance in a demanding game.
Control Resonant’s environments are packed with geometry and lighting interactions, so high-quality shadows can become expensive surprisingly quickly.
I recommend:
Shadow Quality: Low
This isn’t glamorous, but it works.
If you’re struggling to maintain 30 FPS, I would absolutely sacrifice shadow quality before lowering every texture setting.
The same philosophy applies to volumetric lighting.
Volumetric Lighting
Fog, atmospheric lighting, and volumetric effects can make a scene look incredible, but they are exactly the kind of visual extras a low-end laptop can’t afford.
Set volumetric lighting to Low or Off.
You may notice the difference immediately in areas with heavy fog or dramatic light shafts, but the additional performance headroom is usually more valuable when you’re targeting consistent frame times.
Turn Off Global Illumination and Ray Tracing
This is where I would make some hard decisions.
If your laptop is already struggling, ray tracing should be completely disabled.
Don’t compromise here.
Ray tracing: Off.
Path tracing: Off.
That performance budget is better spent on maintaining a consistent frame rate.
The same goes for heavy global illumination.
Set it to Off or Low, depending on what the game allows.
Yes, the world will lose some of its visual richness. But I’d much rather play at a stable 35–40 FPS with simplified lighting than constantly bounce between 22 and 35 FPS because the engine is trying to calculate expensive lighting effects.
Reflections and SSAO Need a Little More Balance
Reflections are another major performance drain.
Control Resonant makes heavy use of reflective architectural surfaces, so Screen Space Reflections can become expensive.
I’d start with:
SSR: Low
If you’re still below your target FPS, turn it off completely.
Global reflections can also be disabled.
SSAO is slightly different. I don’t recommend immediately turning it off because ambient occlusion provides useful contact shadows around objects and surfaces.
Set SSAO to Low first.
This preserves some of the game’s depth and grounding without spending too much performance.
Ray Tracing Isn’t Worth It on a Weak Laptop
If you’re trying to optimize Control Resonant for a genuinely low-end machine, don’t spend half an hour trying to find a magical combination of ray-tracing settings.
There isn’t one.
Ray tracing: Off.
Path tracing: Off.
That performance budget is better spent on maintaining a consistent frame rate.
The same goes for cosmetic post-processing.
I would disable:
- Motion Blur
- Film Grain
- Lens Distortion
These effects aren’t necessarily huge FPS killers individually, but they can make a low-resolution image look worse. Once you’re already using aggressive upscaling, clarity becomes important.
A Note About Configuration Files
There is another level of tweaking for players who really want to squeeze every frame out of their hardware: configuration files.
Depending on the final PC build and installation, configuration files may be stored inside a Remedy/Control Resonant directory under:
C:\Users\[YourUsername]\AppData\Local\Remedy\ControlResonant\
However, I would not blindly assume that every reported filename or variable from community guides exists in your installation. Game builds can change, and configuration structures may differ after updates.
If you find a renderer configuration file, make a backup before editing it.
Potentially useful settings to investigate include ray tracing, volumetric lighting, shadow quality, and screen-space reflections. But I would treat manual configuration as an advanced step rather than the first thing you do.
And definitely don’t mark files as read-only until you’ve confirmed the game is actually using those settings. Locking an outdated or incorrect configuration file can create its own problems after patches.
What About Integrated Graphics?
This is the toughest scenario.
Modern integrated solutions such as Radeon 680M/780M and newer Intel Arc-based integrated graphics can be surprisingly capable, but Control Resonant is still a demanding game.
If you’re running integrated graphics, memory allocation matters because system RAM is shared with the GPU.
If your BIOS exposes a UMA Frame Buffer Size option, you may be able to increase the reserved graphics memory. However, I wouldn’t automatically set it to 8GB and forget about it.
Reserved memory is still system memory.
If you only have 16GB of RAM, allocating a huge portion of it to the GPU can potentially leave less memory available for the CPU and the game itself. In other words, more dedicated UMA memory isn’t automatically better.
For an integrated-GPU laptop, I’d focus first on dual-channel memory, cooling, upscaling, and aggressive lighting reductions.
Control Resonant Best PC Settings: Maximize FPS for 144Hz Smooth Gameplay
My Practical 30–45 FPS Target
For a weak laptop, I think the most sensible goal is a consistent frame rate rather than a high number that constantly fluctuates.
Here’s how I’d approach it:
| Hardware Situation | Starting Target | Main Strategy |
|---|---|---|
| Entry-level integrated GPU | 30 FPS | Performance upscaling + Low settings |
| Older dedicated GPU | 30–40 FPS | Low/Medium mix + aggressive upscaling |
| Modern entry-level mobile GPU | 40–45 FPS | Balanced upscaling + Low shadows |
| Better mid-range mobile GPU | 45–60 FPS | Balanced settings + selective Medium options |
I would also recommend testing your settings during busy combat and heavily destructible environments, not just while standing in an empty corridor.
A configuration that looks great while exploring a quiet room can completely fall apart once particles, physics, lighting, enemies, and destruction all appear simultaneously.
Control Resonant Talent Points Guide: How to Farm Skill Points Fast
Final Thoughts: Don’t Chase Pretty Numbers
Optimizing a demanding game on a weak laptop is always a compromise.
You aren’t going to turn an entry-level GPU into a high-end gaming desktop with a few configuration changes. What you can do is remove the unnecessary performance drains and make the hardware you already own work smarter.
For me, the ideal Control Resonant low-end PC setup would prioritize:
- Performance or Balanced upscaling
- Low shadows
- Low or disabled volumetrics
- Low/off global illumination
- Low/off reflections
- Low textures on GPUs with limited VRAM
- No ray tracing
- No unnecessary post-processing
- A sensible FPS cap
And most importantly, I’d chase consistent frame times rather than maximum average FPS.
A locked 30 or 40 FPS experience that stays stable during combat will feel much better than a game that jumps from 55 FPS to 24 FPS every time the environment gets busy.
That’s the real sweet spot for low-end Control Resonant hardware: cut the effects that don’t matter, preserve the details that do, and let upscaling handle the rest.
Control Resonant – RTX 3050 6GB | Low to Max Settings