Valheim Ashlands Base Defense Guide: How to Build Unbreakable Bases Against Late-Game Raids (2026)
The Ashlands completely changed the way I think about base building in Valheim. Before this biome arrived, I could throw up a raised earth wall, dig a ridiculous-looking moat around it, and feel pretty confident that nothing on two legs was getting through. It was ugly, but it worked. After spending enough time in the Ashlands, I stopped trusting that approach.
The problem is that the Ashlands doesn’t play by the old rules. Lava Blobs, Morgens, Fallen Valkyries, Charred enemies, and the brutal raid events put pressure on your defenses from directions that older biomes simply didn’t prepare you for. A wall that looks completely safe on paper can suddenly become a ramp. A roof that has survived dozens of raids can get punished by attacks from above. And if your base is sitting in the wrong location, you can spend hours building defenses only to discover that the terrain itself is working against you.
So, if you’re planning an Ashlands base in 2026, my advice is simple: stop trying to make a normal base survive Ashlands raids and start building around the game’s mechanics. The best defenses aren’t necessarily the biggest walls. They are the locations, structures, spawn-control tricks, and protective systems that make it difficult for enemies to attack you in the first place.
Why Traditional Valheim Base Defense Starts Falling Apart in the Ashlands
One of the biggest mistakes I see players make is bringing their Plains-era fortress design into the Ashlands and expecting the same results. The classic raised-earth wall is still useful, but the margin for error is much smaller here.
Lava Blobs are probably the biggest reason. Their explosions don’t just damage whatever structure happens to be nearby. They can also interact with terrain in ways that gradually ruin the clean defensive shape you spent time creating. A steep dirt wall can become less intimidating after repeated explosions, giving other enemies an easier route toward your buildings.
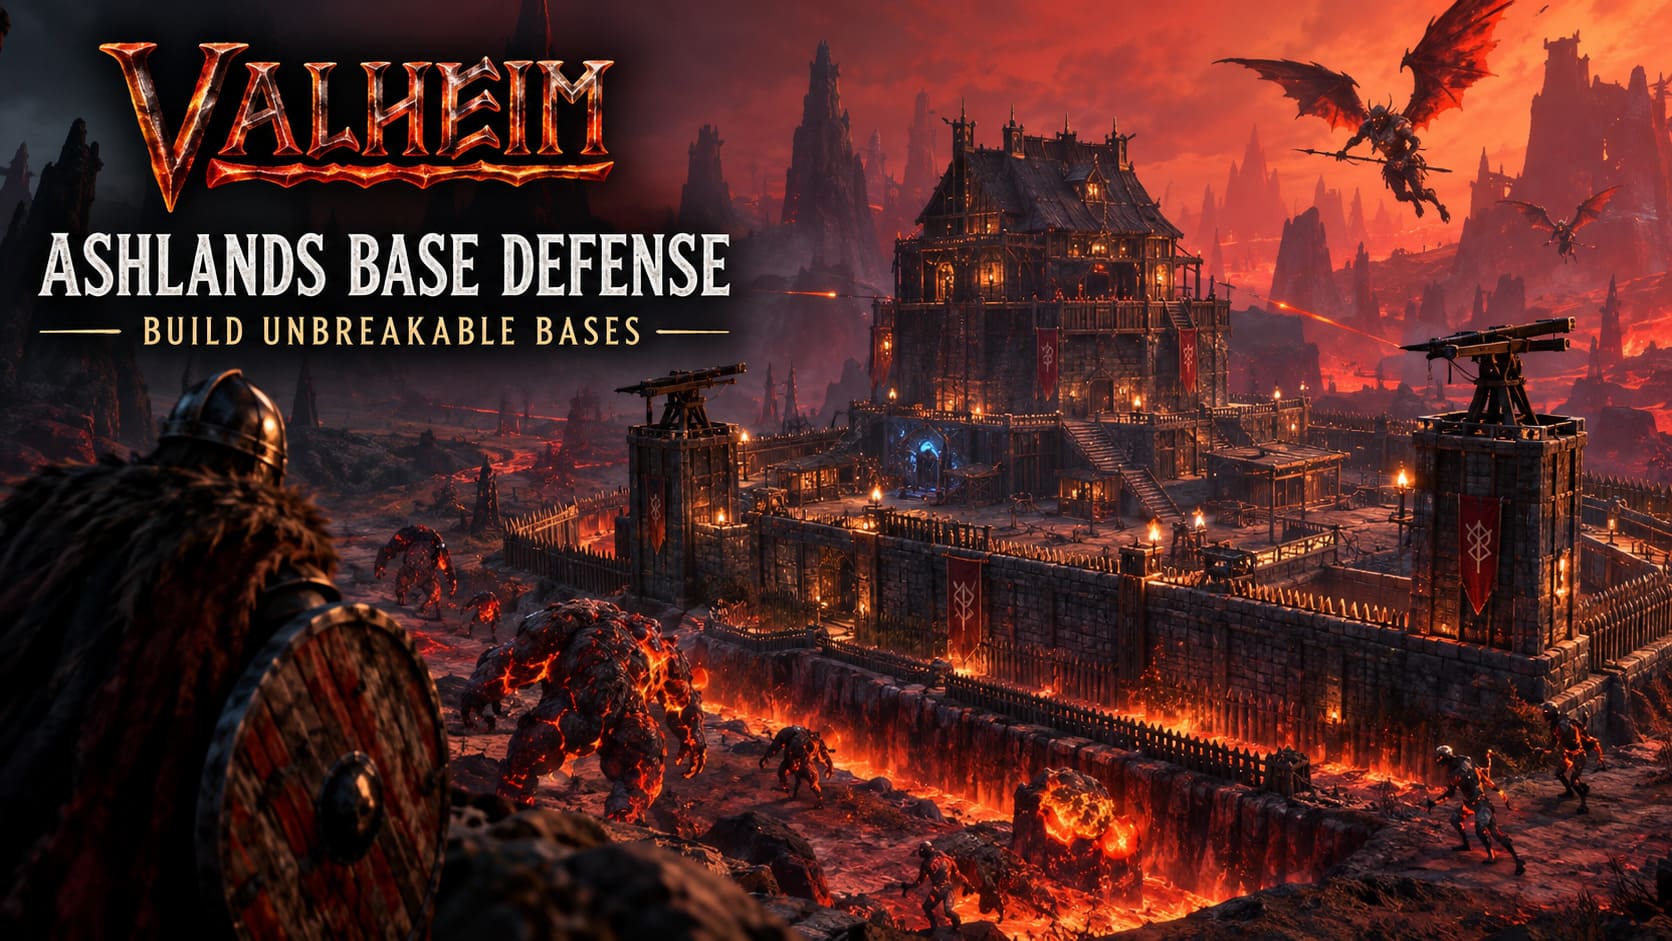
Then there are Morgens. These monsters aren’t exactly polite guests. Their huge health pool, powerful attacks, and rolling behavior make them particularly unpleasant around defensive walls. Even Grausten isn’t something I would treat as magical protection that can never fail if enemies are given enough time to attack it.
And walls don’t help much against Fallen Valkyries. They are one of the clearest examples of why Ashlands defense has to be three-dimensional. Your fortress can be completely surrounded by a moat and still be vulnerable from the sky.
That leaves us with three things to think about: where the base is located, where enemies can spawn, and how attacks reach the buildings.
My Favorite Option: Take Over a Charred Fortress
If I were starting an Ashlands world today and wanted a serious endgame headquarters without spending half my life constructing enormous walls, I would look very closely at a Charred Fortress.
This is one of those situations where the game has already done most of the hard work for you. Instead of building a massive defensive perimeter from scratch, you’re effectively turning an existing fortified location into your own stronghold.
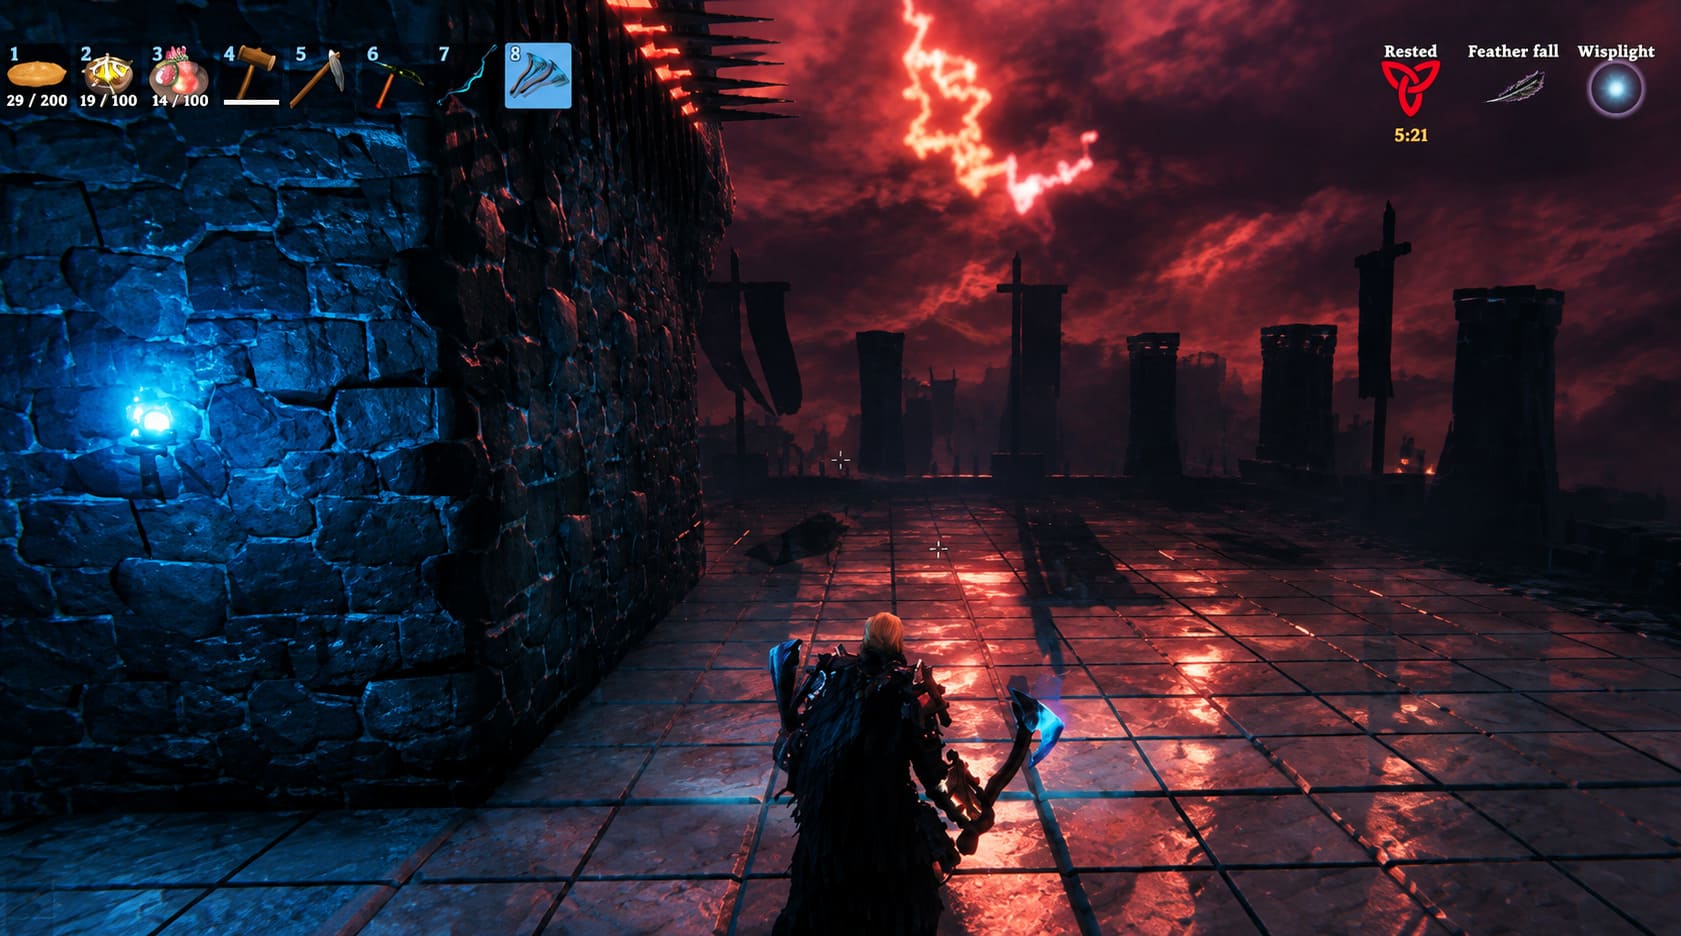
The large fortress structures are especially valuable because they aren’t comparable to ordinary player-built walls. Their environmental construction gives you a defensive shell that is extremely difficult for normal enemies to deal with.
My preferred approach is to get inside without unnecessarily destroying the exterior. A dirt ramp or temporary Grausten staircase can give you a way over the wall. Once inside, the first priority should be clearing the fortress rather than immediately decorating it.
Use whatever endgame tools you’re comfortable with to eliminate the enemies and internal threats. A Staff of Frost, Mistwalker, or other strong late-game weapon can make this considerably easier depending on your character build.
After the fortress is secure, you can start treating it like a real base. A portal, storage area, crafting stations, sleeping quarters, and a Shield Generator can turn what was previously an enemy stronghold into one of the safest places you can have in the biome.
Personally, this is much more appealing to me than building a giant rectangle from scratch. It feels like you’re actually conquering the Ashlands instead of simply placing another wooden house in it.
Morgen Caves Make Surprisingly Good Defensive Foundations
Another option worth considering is building around the natural structures associated with Morgen caves. The important idea here isn’t that the cave suddenly makes every player structure invincible. It’s that you’re taking advantage of environmental geometry that enemies cannot simply demolish like a normal wall.
Clear the interior first, then look at the entrance and surrounding rock formations as part of your defensive layout. Instead of putting your valuable storage and crafting stations in the middle of an exposed courtyard, you can integrate parts of your base into the natural terrain.
I particularly like this concept for smaller bases. You don’t need a giant Ashlands castle if your actual objective is simply having somewhere safe to sleep, repair equipment, store materials, and use a portal.
| Base Location | Main Advantage | Best For |
|---|---|---|
| Charred Fortress | Existing heavy defensive structure | Large permanent bases |
| Morgen Cave | Natural terrain protection | Compact fortified bases |
| Offshore Rock Spire | Limited ground access | Players prioritizing raid safety |
| Open Ashlands | Maximum building freedom | Players willing to use advanced defenses |
The Offshore Rock Spire Strategy Is Weird — And That’s Why I Like It
There is something very satisfying about refusing to fight the Ashlands on its own terms.
Instead of building a giant wall around your base, you can look toward the ocean and find a suitable rock formation away from the mainland. A large offshore spire can provide something ordinary walls can’t: a complete lack of convenient ground access.
The basic idea is straightforward. Find a suitable rock, clear hostile creatures from the area, establish a Workbench, and begin building upward rather than outward. A vertical tower made from durable materials such as Grausten can become your little island fortress.
The farther you are from convenient land routes, the more awkward things become for ground-based enemies. This is especially useful when you’re trying to minimize the number of enemies that can naturally reach your buildings.
Of course, I wouldn’t call any location in Valheim “100% impossible to attack” without testing the exact version and circumstances myself. But from a defensive-design perspective, forcing enemies to deal with water, cliffs, and vertical terrain is one of the strongest tools available.
If You Insist on Building a Traditional Ashlands Base
Not everyone wants to live inside an abandoned fortress or balance their entire home on a rock in the ocean. Sometimes you just want to build your dream castle exactly where you found a beautiful view.
That’s completely fair. In that case, you need to combine several layers of defense rather than trusting a single wall.

1. Build a Real Anti-Blob Moat
Your moat should be more substantial than the classic “tiny ditch around the house” setup. Give yourself enough depth and width that an explosion occurring outside the main defensive line has less opportunity to damage the terrain supporting your wall.
Adding Grausten defensive elements along vulnerable sections can provide another layer between your main structure and whatever is throwing itself at your base.
The important thing is to think about the moat as a buffer rather than an absolute barrier. If enemies fall into it, that’s good. If their attacks can immediately damage the wall sitting directly behind it, you’ve gained much less than you expected.
2. Think About Spawn Suppression
This is one of the less glamorous parts of base building, but it may be more important than another ten meters of wall.
Spawn suppression can dramatically change how raids interact with your base. Workbenches and other appropriate structures can help control where enemies are able to appear, while carefully positioned campfires can be useful for creating a wider protected area.
I prefer thinking about this as a grid rather than randomly throwing objects around. Your goal is to cover the important areas around the base so there aren’t convenient gaps where enemies can suddenly appear right next to your walls.
Don’t turn the entire landscape into a ridiculous campfire field unless you actually need to. Focus on the areas that matter most: the perimeter, likely approach routes, and vulnerable sections outside the main walls.
3. Put a Shield Generator at the Heart of the Base
If you’re building a serious Ashlands headquarters, I consider the Shield Generator one of the most important pieces of infrastructure you can have.
It gives your base another layer of protection against the biome’s dangerous ranged and environmental threats. This becomes particularly valuable when your defenses are designed around surviving rather than simply killing every enemy that approaches.
Place it somewhere central and protected rather than leaving it exposed beside the front gate. Keep the required fuel available, too. A defensive system that isn’t maintained isn’t much of a defensive system.
Don’t Forget the Air: Ballistas Can Cover Your Biggest Blind Spot
One of my favorite things about Ashlands base defense is that it forces you to stop thinking horizontally.
Walls, trenches, gates, and spikes are excellent against things approaching from the ground. They don’t do nearly as much against a flying enemy that simply ignores your carefully constructed perimeter.
That’s where Ballistas can become useful. Put them on elevated towers or other positions with good visibility, then configure their targeting carefully so they don’t turn your own base into a firing range.
This is especially important in multiplayer. The last thing you want is to walk outside your storage room and get accidentally deleted by your own automated defense because you forgot to configure its targets.
In other words, automation is great until it starts recognizing your friends as ammunition.
Valheim Deep North Base Building Guide: Snow Collapse Mechanics & Ideas (1.0 Release)
The Ashlands Base Defense Setup I Would Actually Use
If I had to build one serious Ashlands base for a long-term survival world, I’d combine the ideas rather than relying on a single gimmick.
- Location: Prefer a Charred Fortress, defensible cave terrain, or a difficult-to-reach offshore position.
- Construction: Use Grausten and other durable materials for the important defensive sections, keeping vulnerable wood away from exposed areas.
- Spawn Control: Suppress enemy spawning around the base with an organized defensive grid.
- Protection: Keep a Shield Generator safely positioned inside the main compound.
- Anti-Air: Use carefully configured Ballistas to cover threats that can bypass ground defenses.
- Backup: Keep portals, spare equipment, food, and emergency materials somewhere protected in case the outer section of the base gets compromised.
Valheim Deep North Resource Guide: Where to Find Blood Gold, Idols, and End-Game Crafting Materials
My Final Take on Ashlands Base Building
The biggest lesson I took from building in the Ashlands is that the strongest base isn’t necessarily the one with the biggest walls. It’s the one that gives enemies the fewest good options.
If you put your home on open ground, you are giving raids plenty of opportunities. If you surround it with a simple dirt wall, you’re asking Ashlands enemies to test whether that old strategy still works. If you add a moat, you still have to think about explosions. If you only build walls, you’re ignoring the sky.
Instead, make the location do some of the work for you.
A captured Charred Fortress is probably my favorite solution because it combines atmosphere with practical defense. A Morgen cave is great for players who want something smaller and more natural. An offshore rock base takes the idea even further by making access itself the defense.
And if you insist on building your own castle in the middle of the Ashlands, that’s fine too. Just don’t build it like you’re still living in the Meadows.
The Ashlands rewards layered defense, smart terrain use, spawn control, and a little bit of paranoia. That’s what makes it fun. Your base isn’t simply a house anymore. It becomes part of your survival strategy, and every wall, trench, tower, and protected entrance has a reason to exist.
For me, that’s the real endgame of Valheim: not having a base that looks impossible to destroy, but having one where the enemy AI has almost no good way to reach the important stuff in the first place.