Shroom and Gloom Steam Deck Best Settings: Fix Slowdowns, Bugs & Maximize Battery Life
There is something strangely satisfying about playing Shroom and Gloom on Steam Deck. The game’s hand-drawn fungalpunk aesthetic feels like it was made for a small screen, and the combination of dungeon crawling, cards, and bizarre mushroom creatures makes it surprisingly easy to lose track of time.
The problem is that the Steam Deck doesn’t always get the smooth experience that this game deserves.
After spending time tweaking the graphics and SteamOS performance settings, I found that Shroom and Gloom responds really well to a few sensible changes. You don’t need to completely destroy the visual quality or run everything at the lowest possible settings. In fact, the game can still look excellent while running considerably more consistently.
This Shroom and Gloom Steam Deck settings guide focuses on what I consider the best balance between performance, image quality, controls, and battery life. I’ve also included some practical workarounds for the Early Access quirks that can make longer sessions frustrating.
Why Shroom and Gloom Can Struggle on Steam Deck
On paper, Shroom and Gloom seems like exactly the sort of game that should be effortless for the Steam Deck. It isn’t a huge open-world RPG, and its visual style is deliberately illustrated rather than photorealistic.
But the art direction hides some surprisingly demanding effects.
The game uses layers of post-processing, lighting effects, screen filters, particles, and shader effects to create its distinctive look. These effects are part of what makes the underground environments feel strange and atmospheric, but they can also create unnecessary work for the Steam Deck’s AMD APU.
The other issue is that this is an Early Access release. Performance isn’t necessarily consistent from one situation to another, and bugs can sometimes have a bigger impact than the graphics settings themselves.
For me, the goal isn’t simply to chase the highest possible frame rate. A stable frame rate feels much better than constantly bouncing between different performance levels, especially when you’re moving through tunnels and jumping between exploration and combat.
My Recommended Shroom and Gloom Steam Deck Settings
If you just want the settings without spending half an hour experimenting, this is where I’d start.
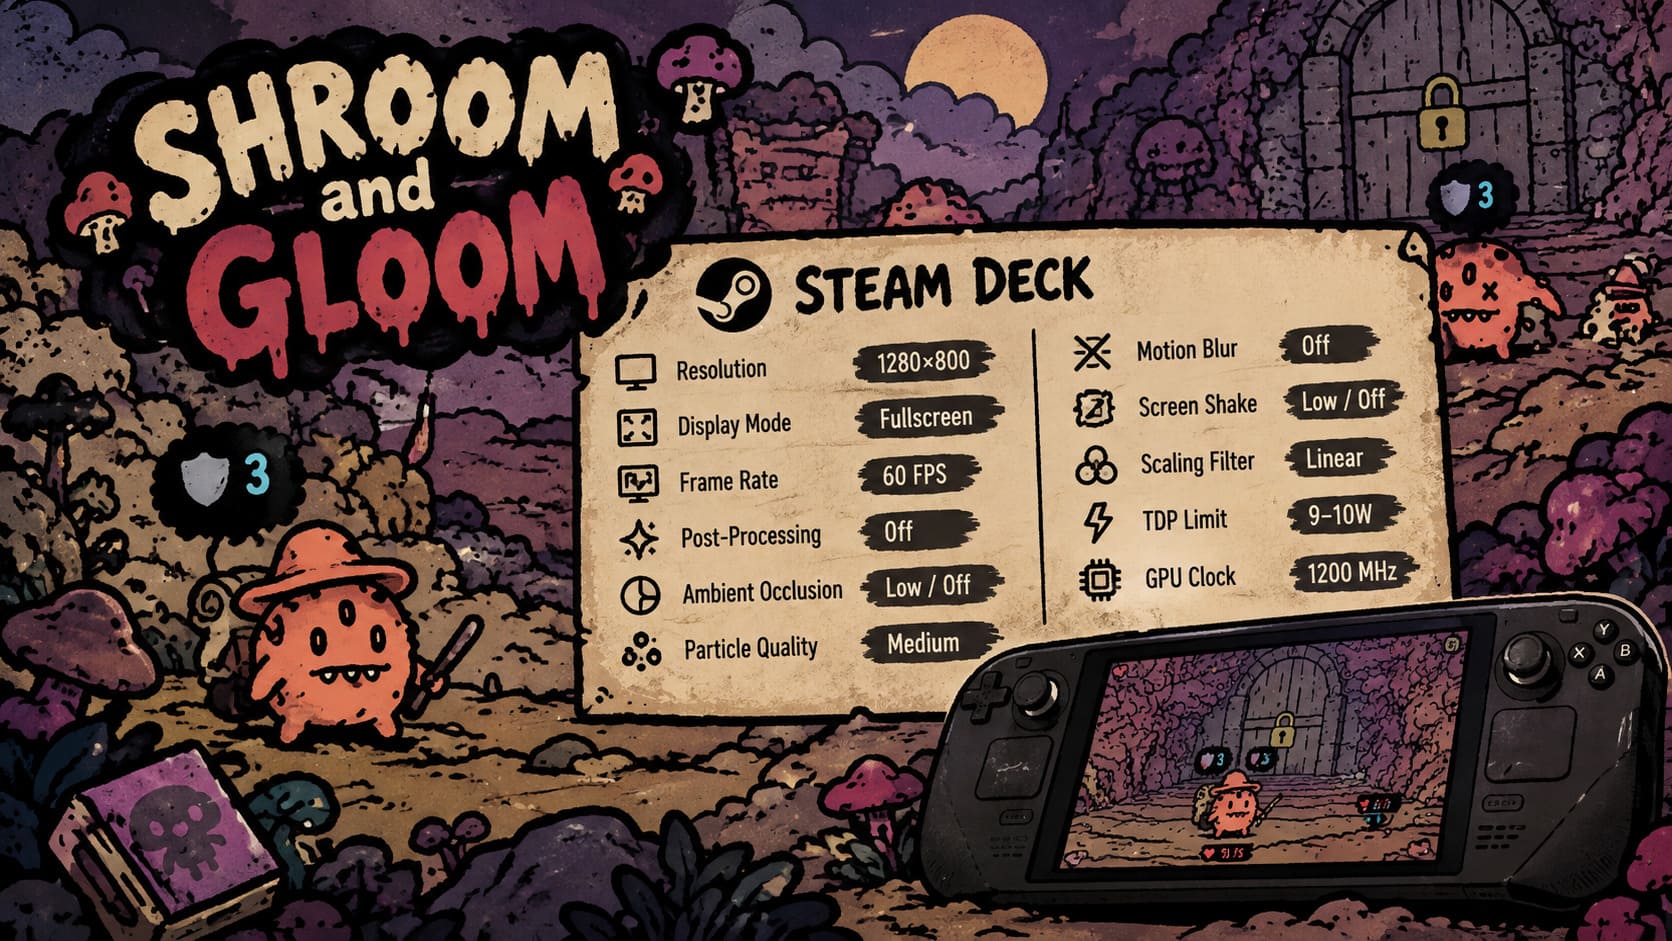
| Setting | Recommended Value |
|---|---|
| Resolution | 1280×800 |
| Display Mode | Fullscreen |
| Frame Rate | 60 FPS |
| Post-Processing | Off |
| Ambient Occlusion | Low / Off |
| Particle Quality | Medium |
| Motion Blur | Off |
| Screen Shake | Low / Off |
| Scaling Filter | Linear |
| TDP Limit | 9–10W |
| GPU Clock | 1200 MHz |
The important thing here is that I wouldn’t immediately lower the native resolution. The Steam Deck’s 1280×800 display is sharp enough that running the game natively makes the illustrated artwork look considerably cleaner.
I’d only experiment with 1152×720 if you are still seeing noticeable drops in demanding scenes.
Start With Post-Processing
If there is one setting I’d change first, it’s the heavy post-processing.
Shroom and Gloom already has a very distinctive visual identity. Personally, I don’t think the extra visual filters add enough to justify the performance cost on Steam Deck.
Turning them down or off makes the image feel cleaner, too. The game’s illustrated outlines become easier to appreciate instead of being buried underneath additional effects.
High-End Shaders / Special Post-Processing: Off
This is one of those rare situations where a performance optimization can actually make a game look better to my eyes.
Ambient occlusion is another setting worth reducing. In the narrow underground environments, there simply isn’t much benefit from pushing this effect aggressively.
Dynamic Ambient Occlusion: Low or Off
If your priority is consistent performance, this is an easy compromise.
Keep Particles at Medium
I wouldn’t necessarily turn every visual setting down.
Particle effects are one of the areas where going all the way to Low can make combat feel unnecessarily flat. Shroom and Gloom has plenty of colorful attacks, fungal effects, and strange visual reactions, so keeping particles at Medium provides a nice middle ground.
If you’re experiencing severe frame drops when multiple effects appear simultaneously, Low is worth trying. Otherwise, Medium is where I’d leave it.
And definitely turn Motion Blur off.
First-person movement already feels much clearer on the Steam Deck when the image remains sharp. Motion blur can make quick camera movements feel softer, particularly during combat.
60 FPS or Battery Saver?
This is where I think Steam Deck owners should avoid blindly copying other people’s settings.
Yes, 60 FPS is great.
The card animations feel responsive, menus are pleasant to navigate, and movement feels much more immediate. If I’m sitting at home with a charger nearby, 60 FPS is my preferred way to play Shroom and Gloom.
But you don’t always need it.
For longer handheld sessions, I’d rather have a stable 40 or 45 FPS than constantly worry about battery consumption.
My Two Steam Deck Profiles
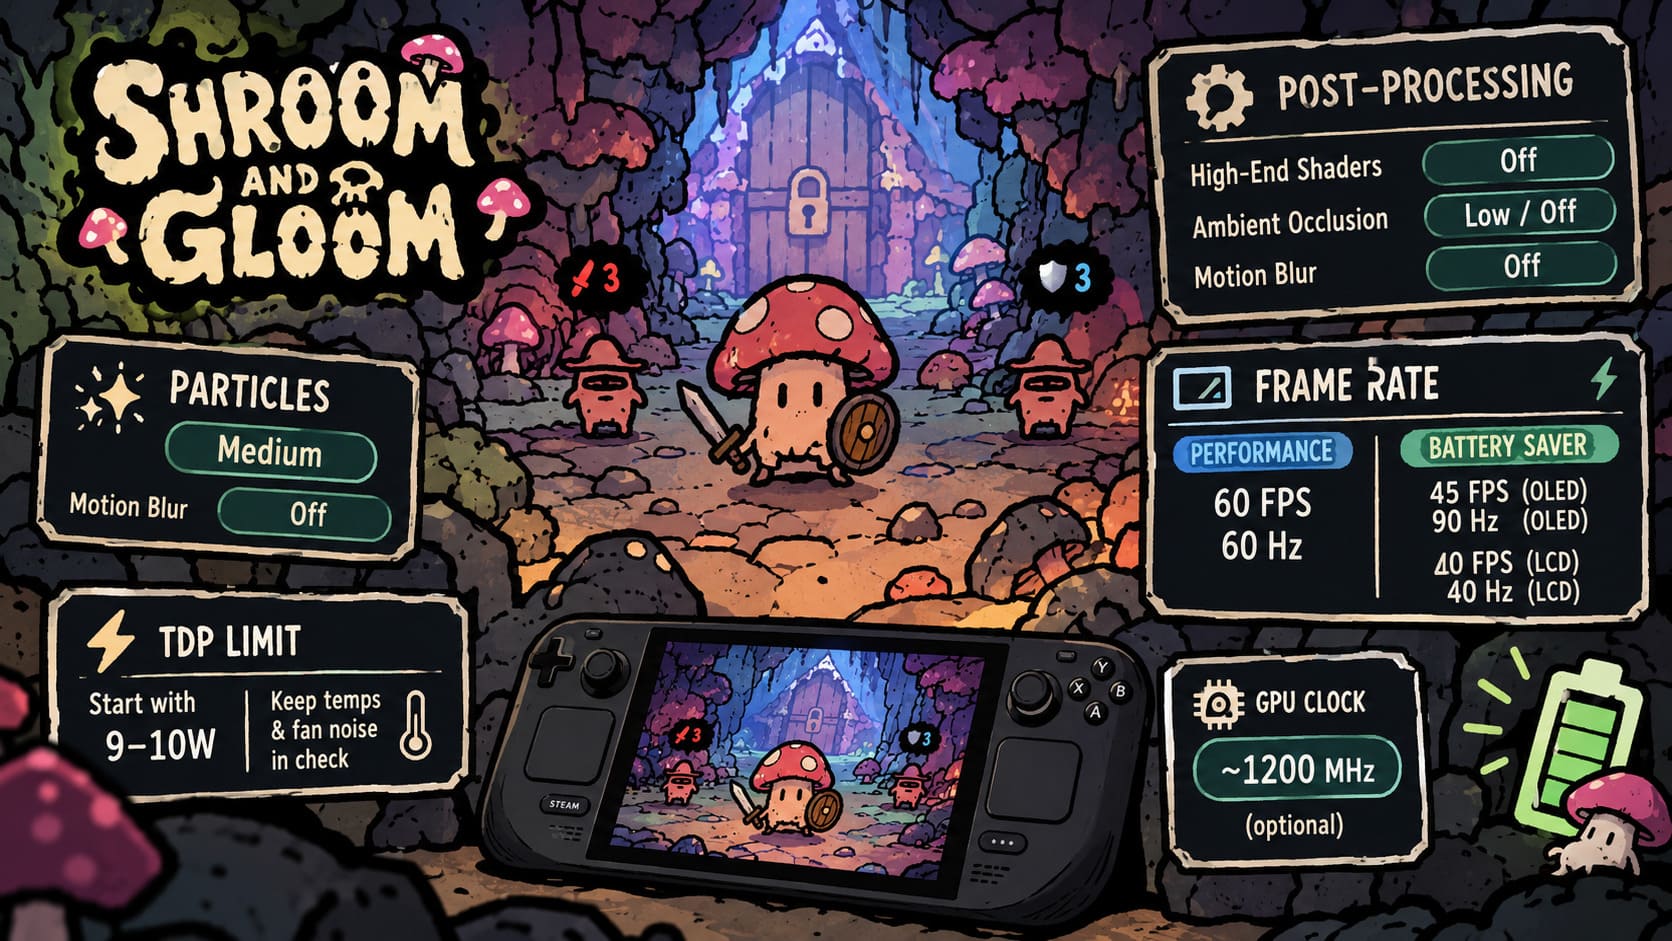
Performance Profile
- 60 FPS
- 60 Hz
- TDP around 9–10W
- Native 1280×800 resolution
Battery Profile
- Steam Deck OLED: 45 FPS / 90 Hz
- Steam Deck LCD: 40 FPS / 40 Hz
- Reduced TDP
- Keep post-processing disabled
The OLED model is particularly well suited to a 45 FPS profile because its 90 Hz display gives you a clean refresh-rate match.
The LCD Deck doesn’t have that same 90 Hz option, so 40 FPS at 40 Hz is the more straightforward battery-focused setup.
Don’t Be Afraid to Use a TDP Limit
Shroom and Gloom doesn’t need the Steam Deck to run at full power all the time.
I’d start with a 9W or 10W TDP limit and see how your particular unit behaves.
The advantage isn’t just battery life. A lower power ceiling can also keep temperatures and fan noise under control. There’s something especially nice about playing a relatively lightweight game without having the Steam Deck fan constantly reminding you that you’re running a game.
However, I wouldn’t treat 9W as a magical number.
If your Deck struggles in certain scenes, increase it. A stable 10–12W profile is better than forcing 9W and accepting unnecessary frame drops.
What About the 1200 MHz GPU Setting?
The manual GPU clock setting is a more advanced tweak, and honestly, I wouldn’t recommend changing it unless you’re comfortable experimenting with Steam Deck performance controls.
A setting around 1200 MHz can provide a useful baseline for testing, but different games and Steam Deck units can behave differently.
If you don’t notice any improvement, simply leave manual GPU control disabled.
The most important changes in this guide are the basic ones: reduce expensive visual effects, choose a sensible frame-rate target, and avoid wasting power on settings that don’t meaningfully improve the image.
The Early Access Bugs You Should Know About
Performance settings aren’t going to fix every problem.
One of the bigger concerns with an Early Access game is that some issues are simply bugs rather than performance limitations. Shroom and Gloom can reportedly behave badly after repeated minimizing, waking from sleep, or switching between the game and SteamOS.
Because of that, I’d avoid putting the Deck to sleep in the middle of an important dungeon run whenever possible.
If you’re finished playing, it’s safer to reach a natural stopping point before putting the system into sleep mode.
I know that’s not the most convenient advice. Steam Deck’s sleep-and-resume feature is one of the best things about the hardware. But until these Early Access issues are properly addressed, I’d rather spend a few seconds reaching a safer menu than potentially lose a good run.
If the game comes back to a black screen after sleep or minimizing, a full restart may be necessary.
Audio Settings Can Also Be Weird
Another minor Early Access annoyance involves audio settings not always behaving exactly as expected.
If Shroom and Gloom suddenly launches much louder than expected, don’t assume your Steam Deck is malfunctioning.
Open the game’s audio settings and move the volume slider slightly before returning it to your preferred level. If that doesn’t work, the Steam Deck’s physical volume controls are the simplest fallback.
It’s a tiny issue, but when you’re wearing headphones, it can be surprisingly annoying.
Shroom and Gloom Beginner Guide: Tips, Tricks, and Strategies
Make the Controls Feel More Like a PC Game
This is probably the part of the setup that made the biggest difference to me personally.
Shroom and Gloom has a lot going on in its interface. You’re not simply walking around and attacking enemies. You’re managing cards, checking descriptions, navigating menus, and interacting with different parts of the game’s double-deckbuilding system.
The right trackpad makes an excellent mouse replacement.
I’d configure it as a mouse rather than trying to force everything through the analog stick. Being able to move the cursor directly over a card and inspect its information feels much more natural.
The rear buttons are also worth using.
I like assigning L4 and R4 to scrolling functions so I can navigate long deck screens without constantly repositioning my thumb.
It’s a small change, but once you’ve become accustomed to it, going back to the default layout can feel unnecessarily awkward.
Is Shroom and Gloom Worth Buying? Price, Gameplay, and 2026 Review
My Final Steam Deck Setup
If I were setting up Shroom and Gloom from scratch today, this would be my starting point:
1280×800 resolution, fullscreen, 60 FPS, post-processing off, ambient occlusion low/off, particles medium, motion blur off, and a 9–10W TDP limit.
Then I’d play for 20–30 minutes and watch how the system behaves.
If everything stays smooth, I’d leave it alone.
If performance drops, I’d lower the resolution or particle quality before making more aggressive changes.
For battery-focused sessions, I’d switch to 40 FPS on LCD or 45 FPS on OLED rather than sacrificing image quality unnecessarily.
That’s ultimately what I like about optimizing games on Steam Deck: the best settings aren’t necessarily the lowest settings. They’re the settings that remove the stuff you don’t care about while preserving the parts of the game that make you want to play it in the first place.
And Shroom and Gloom has plenty worth preserving.
Its weird fungal atmosphere, hand-drawn visuals, card mechanics, and first-person dungeon exploration are exactly what make it such a fun fit for handheld gaming. With a few sensible tweaks, the Steam Deck can deliver a much more consistent experience without turning the game into a blurry mess.
As the Early Access version receives updates, some of these problems may eventually disappear completely. Until then, a little manual tweaking goes a long way.