STALKER 2 Console Commands: How to Enable Developer Mode & Debug Console Guide (2026)
There are few things more frustrating in S.T.A.L.K.E.R. 2: Heart of Chornobyl than getting stuck because the game decided that a quest trigger, door, NPC, or objective simply does not want to cooperate. The Zone is supposed to be unpredictable, of course. But there is a big difference between an atmospheric gameplay moment and a quest that refuses to continue because of a bug.
This is where the STALKER 2 developer console becomes interesting.
If you have played enough PC games, you probably have muscle memory for pressing ~ and expecting a console to appear. In STALKER 2, that old trick does not work in the standard retail build. GSC Game World did not leave the usual developer console openly accessible, so PC players who want debugging tools have to turn to community-created modifications.
I actually think this makes sense for a game like STALKER 2. Giving everyone a powerful console from the start would make it ridiculously easy to ruin the survival experience. At the same time, when a 40-hour save gets trapped behind a broken quest state, having some kind of emergency toolbox can be a lifesaver.
This guide explains how the community approach works in 2026, where the required files normally go, what kinds of commands these tools can expose, and what you should know before experimenting with them.
Why the Normal Tilde Key Does Nothing
In many PC games, the tilde key (~) is the traditional shortcut for opening a developer or debug console. STALKER 2 does not work that way in its retail configuration.
Pressing ~ or F10 on an unmodified installation will normally give you nothing useful.
That does not mean Unreal Engine 5 lacks developer functionality. Quite the opposite. The game is built on a powerful engine with extensive debugging capabilities. The problem is that those tools are not simply presented to normal players through an in-game menu.
Community mods can expose some of those functions by loading additional assets or blueprint-based tools.
And this is where things get a little more complicated.
There isn’t one permanent “official” developer console package that works forever. STALKER 2 receives updates, and a modification that works perfectly after one patch can become unstable after another. If you are installing a console tool, always check that its version is compatible with your current game build.
The Main Tools Used by PC Players
Several community solutions have been used to expose developer-style functionality in STALKER 2. Names and compatibility can change over time, but tools such as UETools, command-console mods, and Blueprint-based mod loaders are commonly associated with this type of functionality.
The important thing is not really which name is printed on the archive. What matters is whether the tool supports your current version of the game.
| Tool Type | Main Purpose | Best Use |
|---|---|---|
| UETools | Developer-style commands and debugging | Advanced experimentation |
| Commands Console Mods | Console access and custom commands | Quick debugging |
| Blueprint ModLoader | Loading custom blueprint modifications | Mod compatibility |
| Item Spawn Tools | Access to item-related functions | Testing equipment |
| Debug Utilities | Coordinates and technical information | Troubleshooting |
My advice: don’t install five different console mods at once. Start with one current, well-maintained solution. Mixing several tools that modify the same engine systems is a great way to turn a minor problem into a crash.
How to Install a STALKER 2 Console Mod
Before touching anything, back up your save files. The console itself does not necessarily destroy saves, but commands can absolutely put your character into strange states.
A backup costs almost nothing. A corrupted 60-hour playthrough costs considerably more.
Step 1: Find the Game Folder
For the Steam version, the easiest method is to open your Steam Library and locate S.T.A.L.K.E.R. 2: Heart of Chornobyl.
Right-click the game, choose Manage, and select Browse Local Files.
You should arrive at the main installation directory.
Epic Games installations can be located in the custom library folder you selected during installation. Game Pass and Microsoft Store installations are more restrictive, which makes traditional mod installation considerably less convenient.
For PC modding, Steam is generally the least troublesome option.
Step 2: Find the Paks Folder
Inside the STALKER 2 installation structure, locate:
Stalker2\Content\Paks\
This is where Unreal Engine package files are stored.
If your selected mod’s instructions require a ~mods directory, create it inside the Paks folder.
The structure should look approximately like this:
Stalker2\Content\Paks\~mods\
The tilde at the beginning matters. Don’t rename the folder to mods, Mod, or something similar if the mod specifically requires ~mods.
Step 3: Install the Console Files
Download the console or developer-tool package from its current mod page and extract the archive.
This is one of those moments where reading the mod’s installation instructions is more important than blindly following a generic guide. Different versions may use different file structures.
If the package contains files such as .pak, .ucas, .utoc, or related Unreal Engine assets, place them exactly where the mod author specifies.
Don’t bury the files inside another unnecessary folder.
A surprisingly large number of “the mod doesn’t work” reports are caused by a structure that looks like:
Paks\~mods\UETools\UETools\files
when the game actually needs the package files directly inside the designated mod directory.
How to Open the Console
Once the correct console mod is installed, launch STALKER 2 normally.
Load your save and test the key assigned by the particular mod. Depending on the tool and version, this may be F10, ~, or another configurable key.
Some console implementations use multiple presses to change the console interface.
You may see something similar to:
- First press: compact command line.
- Second press: expanded console or log window.
- Third press: closes the interface.
Don’t assume every mod behaves exactly this way. Keybinds and interface behavior can change between tools.
If nothing happens, don’t immediately start reinstalling the entire game. First check whether the mod is actually compatible with your current patch.
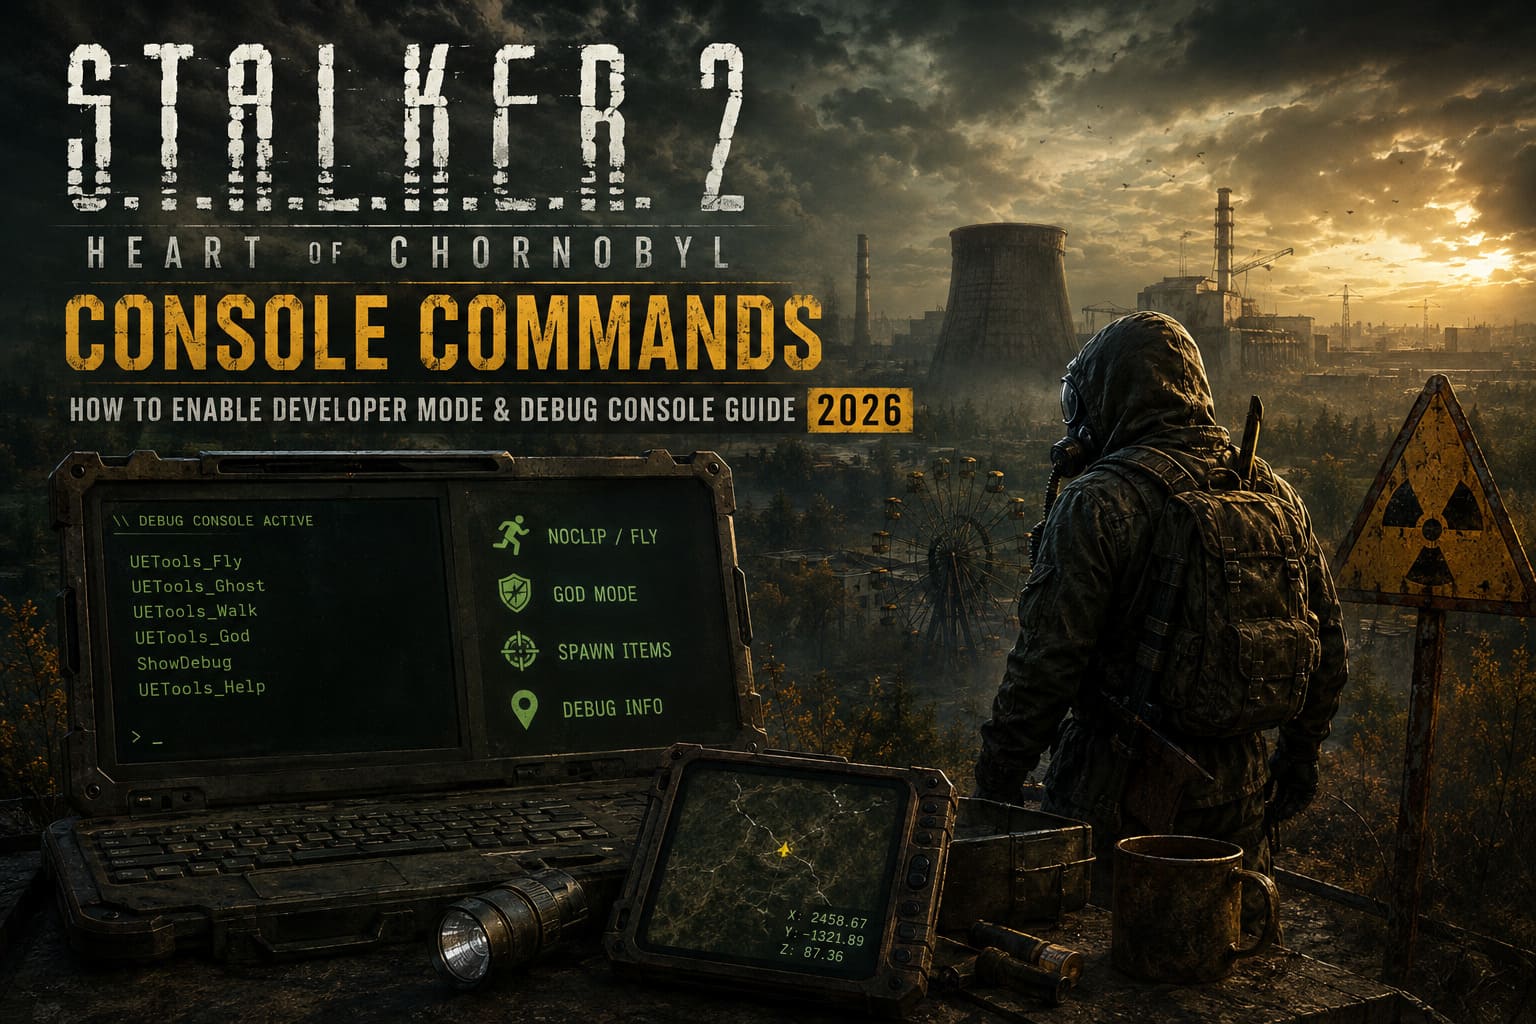
Useful Developer Commands
The commands available depend heavily on the tool you installed. That is important because not every command found on an old forum post will work with every version of STALKER 2.
Some community tools expose commands with names similar to the following.
Movement and Noclip
UETools_Fly
This can enable a flying-style movement mode, allowing you to move vertically and bypass some normal traversal limitations.
UETools_Ghost
A noclip-style command that can be particularly useful when you’re stuck behind geometry or inside an awkward location.
UETools_Walk
Used to return to normal movement after experimenting with flying or ghost movement.
Another command sometimes associated with movement debugging is:
XSetNoClipGSC true 1000
The numerical value can control movement speed in implementations that support this command.
God Mode and Debug Information
UETools_God
A god-mode style command that can prevent normal damage while active.
This is obviously useful for testing, but I wouldn’t recommend leaving it enabled during a normal playthrough. Half of STALKER’s personality comes from the fact that walking into the wrong anomaly can end badly.
ShowDebug
Depending on the console implementation, this can display technical information such as coordinates and other debug data.
For troubleshooting, coordinates can be surprisingly useful. If you’re trying to understand why an objective isn’t triggering or where the game believes your character is located, this kind of information is much more valuable than simply turning on invincibility.
UETools_Help
Some versions of UETools provide a help command that displays available functions.
This should be your first stop whenever you aren’t sure what a command does. Community command lists can become outdated surprisingly quickly.
Screenshot and Interface Commands
Some developer utilities also expose commands designed for testing presentation rather than gameplay.
For example:
UETools_PromoScreenshot 3
can be associated with screenshot functionality in compatible tools.
There may also be interface-related commands such as:
UETools_ForceWidgetsScale 2.5
These are more niche, but they can be useful if you’re experimenting with screenshots, unusual resolutions, or interface scaling.
I wouldn’t install a developer console purely for these features, though. There are much safer screenshot and accessibility options available through normal PC software.
Can You Spawn Weapons and Items?
This is where things become considerably more complicated.
STALKER 2 stores its weapons, armor, ammunition, attachments, and other objects through Unreal Engine assets and blueprints. A console tool may expose item spawning functionality, but there is no single universal command that magically understands every item name.
Many spawning systems rely on an exact asset or blueprint path.
That means a command might require a structure similar to:
[Command] [Soft Object Asset Path]
The exact syntax depends on the tool.
This is why random copy-pasted item commands from an old post can fail even when the console itself is working correctly.
If you’re experimenting with item spawning, use the documentation provided with the current mod rather than assuming a command from an older version remains valid.
A Few Rules That Can Save Your Save
Console commands are powerful, but STALKER 2 was not designed around players casually rewriting its game state.
Keep these rules in mind:
- Save before using any command.
- Don’t experiment on your only save.
- Avoid changing quest-related variables unless you know exactly what they do.
- Don’t spawn dozens of objects around your character.
- Exit your inventory before executing complicated commands.
- Restart the game normally after troubleshooting whenever possible.
The biggest danger isn’t usually the console crashing the game instantly. It’s changing something that the game expects to remain in a specific state.
A quest can look fixed while actually becoming even more broken later.
What to Do If the Console Crashes STALKER 2
The most common suspect is version incompatibility.
Imagine the game receives a major patch. The underlying engine assets or functions change, while your console mod remains based on the previous build. You press the activation key and suddenly the game crashes.
That’s not necessarily your fault.
First, remove the console mod and launch the game normally. If the crash disappears, you have a strong indication that the modification is responsible.
Then check for an updated version.
If the mod has not been updated, I’d rather wait than force it. STALKER 2’s updates can change enough behind the scenes that an old developer tool may become unstable.
STALKER 2 Exoskeleton Repair Guide: How to Fix Tier 3 Exo Suits Cheaply
What If Commands Do Nothing?
If the console opens but commands produce no result, check the basics:
- Confirm the command is supported by your specific console tool.
- Check spelling and capitalization.
- Verify that the mod files are installed in the correct location.
- Make sure the
~modsfolder is in the correctPaksdirectory. - Confirm that you’re running the PC version.
- Check the mod page for compatibility with your current game patch.
Also remember that some commands may simply not exist in your particular build.
A console opening successfully does not mean every command on the internet will work.
STALKER 2 Scar Lore Ending Explained: What Happened to the Clear Sky Protagonist?
Will Developer Commands Disable Achievements?
This is an area where you should be cautious.
Mods and developer tools can affect how a game session behaves, and achievement tracking can be unpredictable when you’re running modified files or cheat-style commands. Don’t assume that saving after using a console will automatically make everything “clean.”
If achievements matter to you, the safest approach is simple:
Keep a separate backup save for experimentation and return to an unmodified game session for normal progression.
That’s much better than discovering dozens of hours later that your achievement tracking has been affected.
Is the Developer Console Worth Using?
For a first playthrough? I’d say no.
STALKER 2 is at its best when you’re broke, bleeding, carrying too much junk, and wondering whether that distant gunshot means another Stalker or something much worse.
Giving yourself unlimited weapons and god mode destroys a lot of that tension.
But as a troubleshooting tool, the developer console is a completely different story.
If a quest is genuinely broken, your character is trapped inside geometry, or you want to test an unusual weapon setup without spending hours grinding for equipment, these tools can be extremely useful.
That’s the way I’d use them: as an emergency toolbox, not a shortcut through the Zone.
The important thing is to remember that community console tools live outside the official game. Their compatibility changes with patches, their commands can differ, and some experiments can permanently affect a save.
Back up first, install only the tools you actually need, and check compatibility before every major update.
Because in STALKER 2, the Zone is already dangerous enough without accidentally turning your own save file into the next anomaly.