Best DMZ 2.0 Loadout in Call of Duty Modern Warfare 4: Meta Guide (2026)
After spending enough time in extraction shooters to develop a healthy distrust of every friendly-looking silhouette, I’ve learned one thing: a flashy loadout means absolutely nothing if it falls apart the moment the AI starts swarming or another squad crashes your party.
That is exactly why my preferred Modern Warfare 4 DMZ 2.0 loadout is built around the M4.
The Hajin Exclusion Zone is not a place where you can simply sprint around looking for gunfights. DMZ 2.0 constantly asks you to make decisions. Do you take the long route around a stronghold? Do you risk fighting Tier 3 AI for better loot? Do you push that squad that just appeared on UAV, or do you disappear and head toward your extraction?
Your weapons need to support those decisions rather than force you into one particular playstyle.
For me, the ideal DMZ setup has three characteristics: consistent recoil, enough ammunition to survive prolonged PVE fights, and a secondary weapon that can save you when the engagement suddenly becomes personal.
That is where the M4 and ISO Nightshade combination shines.
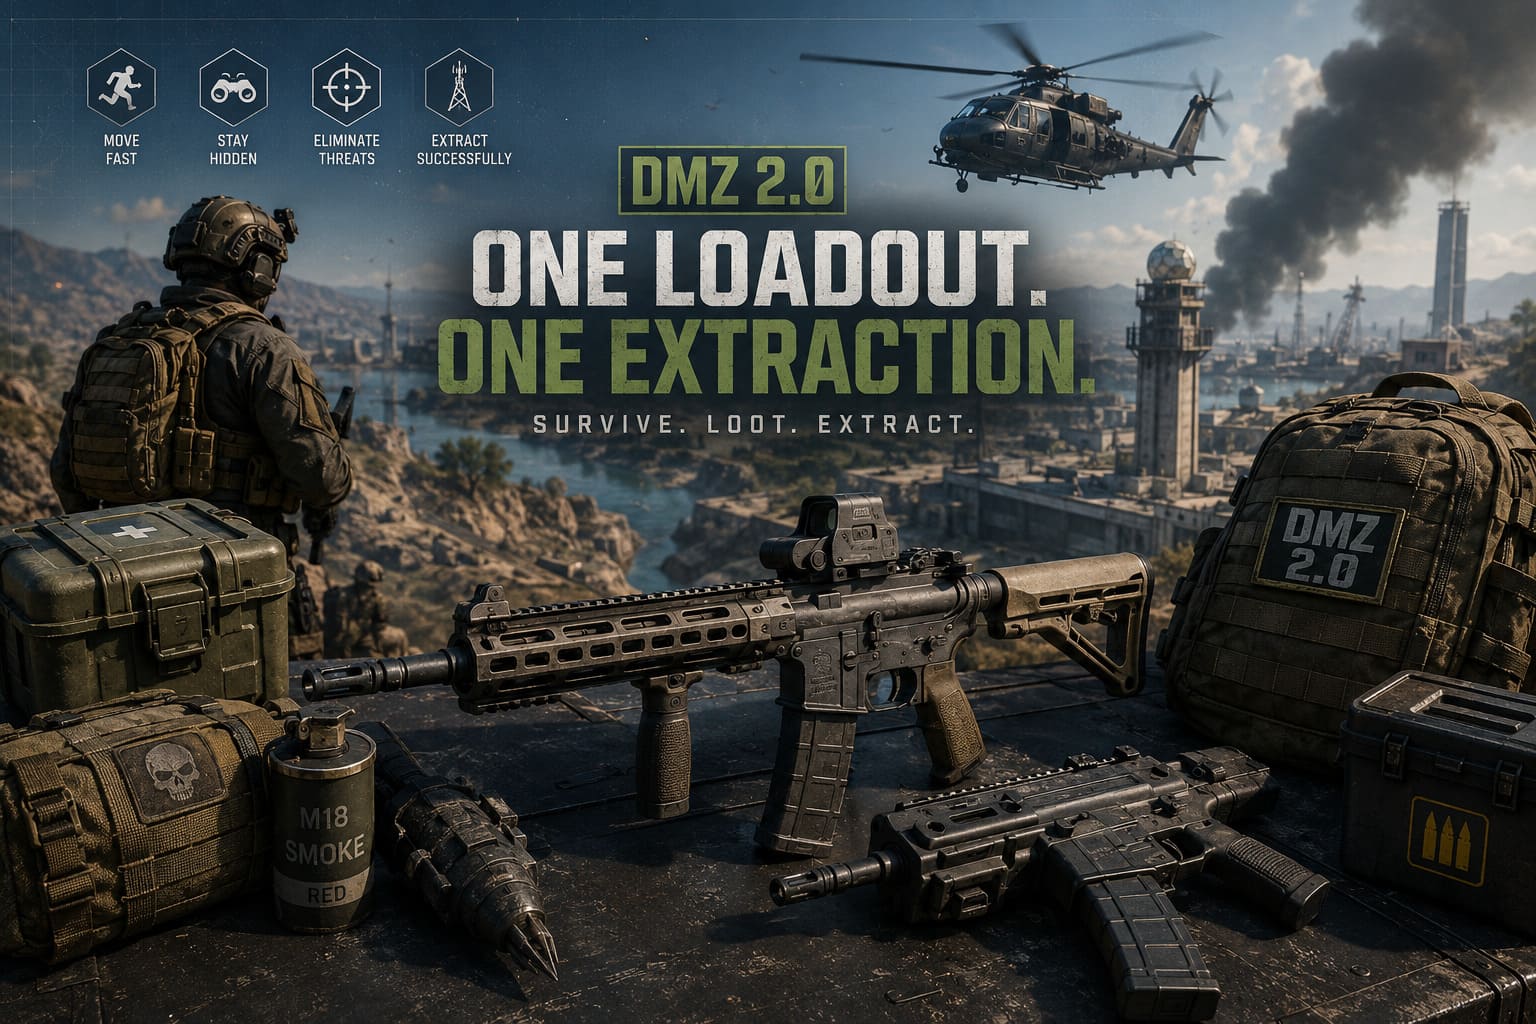
My Current DMZ 2.0 Meta Loadout
If I were dropping into Hajin with an expensive backpack and only one chance to extract, this is the setup I would take.
| Slot | Recommended Choice | Main Purpose |
|---|---|---|
| Primary | M4 | Medium-to-long range versatility |
| Secondary | ISO Nightshade | Close-quarters combat |
| Tactical | Smoke Grenade | Repositioning and emergency escapes |
| Lethal | Drill Charge | Clearing fortified positions |
| Field Upgrade | Armor Box | Squad sustain |
| Alternative Field Upgrade | Munitions Box | Extended firefights |
| Perk Focus | Double Time, Tracker, Spotter, Ghost | Mobility, hunting and stealth |
| Optic | Slimline Elite / JAK Glassless Optic | Clean target acquisition |
This isn’t a build designed to look impressive in a loadout screenshot. It is designed to get you home.
And in DMZ, getting home with your loot is the only stat that really matters.
The M4: Your Insurance Policy Against Almost Everything
The M4 is one of those rifles that doesn’t need much explanation. It simply works.
I’ve always liked weapons that feel predictable, especially in extraction modes where you can’t afford to discover halfway through a firefight that your supposedly amazing build has the recoil pattern of a shopping cart with one broken wheel.
The M4 gives you a comfortable middle ground between damage, control, range and handling. That balance becomes extremely valuable in Hajin because fights don’t stay inside neat engagement brackets.
One moment you’re shooting an armored AI at 50 meters. Thirty seconds later, somebody is sprinting through a doorway trying to turn your backpack into their retirement fund.
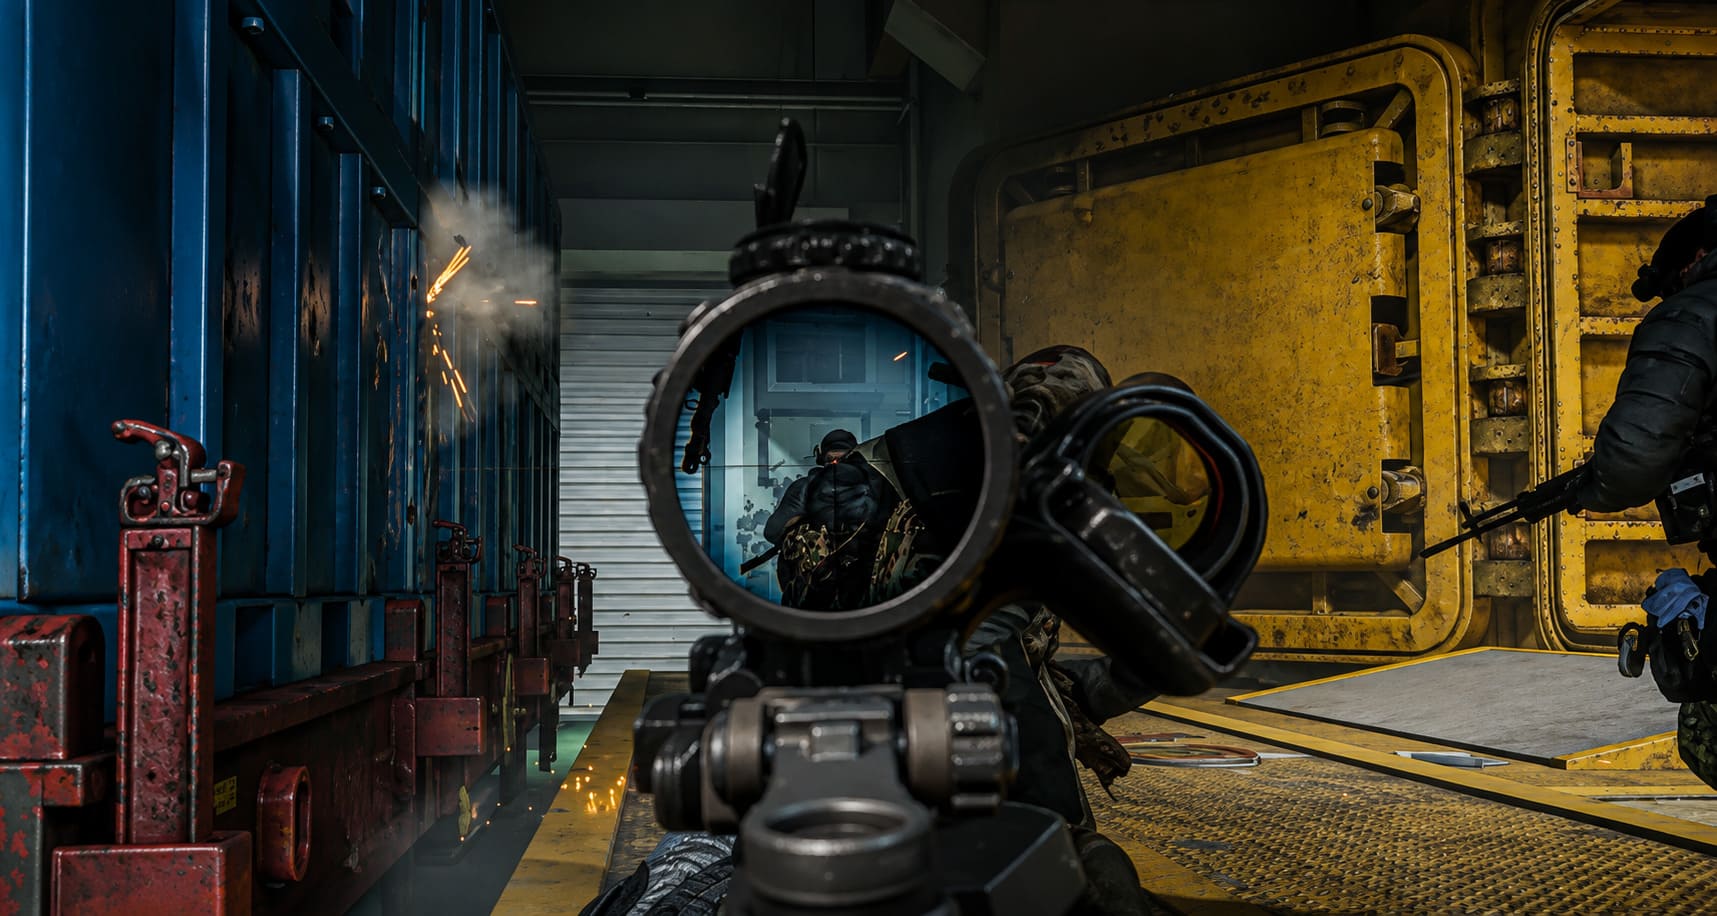
Recommended M4 Build
- Muzzle: ZLR Reverb90
- Barrel: 18 Inch LE Crosswind
- Stock: Demo Dozer Stock
- Underbarrel: FSS Fireline Grip
- Optic: Slimline Elite or JAK Glassless Optic
The 18 Inch LE Crosswind is the centerpiece of the build. I prefer the added range and bullet velocity because DMZ rewards players who can start winning an engagement before the enemy realizes they’re being shot.
The longer barrel also complements the M4’s natural versatility. You aren’t trying to turn it into a sniper rifle. You’re simply making it much more comfortable when targets move beyond typical assault-rifle comfort range.
The ZLR Reverb90 helps tighten the weapon’s behavior during sustained fire. That’s particularly useful against armored AI because you often have to commit to longer bursts instead of tapping away at individual targets.
Then there is the Demo Dozer Stock. This is where the build avoids becoming a slow, clumsy rifle. Heavy barrels and recoil-focused attachments can make an assault rifle feel miserable when someone suddenly appears five meters away. The stock helps preserve enough responsiveness to keep the M4 useful when the fight moves closer.
The FSS Fireline Grip rounds everything out by improving the rifle’s stability and making sustained aiming feel less chaotic.
For the optic, I’d personally start with the Slimline Elite. The clean sight picture is exactly what I want when fighting through smoke, muzzle flash and chaotic AI encounters. The JAK Glassless Optic is also a strong alternative if you prefer its visual presentation.
Why I Pair the M4 With the ISO Nightshade
The M4 covers most of the map, but there is one obvious weakness: close-range panic fights.
That’s where the ISO Nightshade comes in.
There is nothing worse than carefully building a balanced assault rifle only to get trapped inside a staircase with an enemy squad. Trying to force an M4 into that situation is how expensive insured weapons become somebody else’s insured weapons.
The ISO Nightshade gives you the mobility and fire rate needed to survive those ugly encounters.
ISO Nightshade Setup
- Barrel: 9.7 Inch Enmity Barrel
- Muzzle: LTI Stentorian Brake
- Underbarrel: EAM Steady-90 Grip
- Stock: Hawker Cub-55 Pad
- Magazine: Amplify Extended Mag I
The 9.7 Inch Enmity Barrel keeps the weapon focused on its intended role: aggressive close-range combat.
The LTI Stentorian Brake helps keep the weapon manageable when you’re dumping rounds into a target. That’s important because high fire rate is only useful if you can actually keep the gun on the enemy.
The Amplify Extended Mag I is the attachment I would be least willing to sacrifice.
In regular multiplayer, reloading can be a minor inconvenience. In DMZ, reloading at the wrong moment can become a death sentence.
You could be fighting three armored AI enemies, hear footsteps behind you, and suddenly realize your magazine contains approximately four bullets and a prayer.
An extended magazine gives you enough breathing room to finish targets and still have something left for the next problem.
When You Should Replace the SMG With a Sniper
The ISO Nightshade isn’t mandatory.
If your squad already has someone dedicated to close-range entry work, I’d seriously consider replacing it with a heavy sniper rifle.
This is especially effective for players who enjoy controlling engagements rather than rushing into them.
A good sniper gives you the ability to:
- Scout dangerous compounds before entering.
- Remove high-tier AI from safer distances.
- Pressure enemy operators without immediately committing to a push.
- Watch extraction zones.
- Counter enemy snipers.
- Create openings for your squad before an assault.
The key is to prioritize bullet velocity, range and reliable high-caliber damage.
I wouldn’t build the sniper around maximum mobility. That’s missing the point. If you’re carrying a heavy precision rifle, embrace the role.
Let the M4 handle the middle distance and use the sniper to dictate what happens beyond it.
Smoke Grenades Are Better Than They Look
If I could only take one tactical item into a difficult solo deployment, I’d lean toward the Smoke Grenade.
Not because smoke is glamorous. It isn’t.
It’s because smoke solves problems.
Caught in an open field? Smoke.
Need to revive someone? Smoke.
Trying to cross a road while an enemy squad watches you? Smoke.
Extraction zone looks suspicious? Smoke.
Need to break line of sight and change direction? Smoke.
That flexibility is incredibly valuable in an extraction shooter.
Flashbangs are excellent for aggressive PVP players, particularly when you’re constantly breaching buildings. But for general-purpose DMZ play, smoke gives you more ways to survive a bad situation.
And believe me, bad situations are basically the entire business model of DMZ.
Drill Charge or Semtex?
My default lethal is the Drill Charge.
Hajin’s buildings make it particularly useful because squads can turn fortified interiors into absolute nightmares.
If you know someone is hiding behind a wall, you don’t necessarily need to walk through the front door and introduce yourself.
A Drill Charge lets you apply pressure from outside the room and potentially force enemies away from their preferred position.
It’s especially useful around:
- Strongholds
- Buy stations
- Hostage locations
- Stairwells
- Defensive compounds
- Common camping positions
The Semtex remains the better option if your biggest concern is immediate explosive damage or moving targets. If you’re constantly fighting vehicle-heavy engagements or dealing with aggressive AI pushes, Semtex becomes much more attractive.
The Perks I Would Actually Use
Perks are easy to underestimate because guns are much more exciting to talk about.
That is a mistake.
The right perk package can change how safely you move around the map.
Double Time
Double Time is fantastic for DMZ because movement is survival.
You need to rotate between cover, escape AI, close gaps and occasionally run like you’ve just remembered you left the stove on.
Extra Tactical Sprint duration gives you more freedom when crossing dangerous areas.
Tracker
Tracker is particularly useful if you hunt operators.
Seeing where an enemy recently moved can turn a vague suspicion into an actual trail. It can also help you understand whether someone is following your squad or whether those footsteps belong to an unrelated encounter.
Spotter
Spotter is one of those perks that becomes more valuable the more experienced you become.
Enemy equipment can ruin an otherwise perfect push. Being able to identify dangerous equipment before blindly charging into a room gives you information that can prevent unnecessary deaths.
Ghost
For me, Ghost is the endgame perk.
As the match progresses, surviving squads become increasingly aggressive. UAVs become more valuable, extraction zones become more dangerous, and information becomes currency.
Ghost allows you to play quieter.
And quiet is good when your backpack contains gear you really don’t want to lose.
Armor Box vs. Munitions Box
This decision depends on your squad.
If your team is constantly getting its armor shredded by Tier 3 AI, take the Armor Box.
Armor is effectively your real health pool in these engagements. You can have a perfect weapon build, but it doesn’t matter if you’re running around with half a plate while six armored enemies are shooting at you.
For squads using high-rate-of-fire weapons, the Munitions Box is equally attractive.
The M4 and ISO Nightshade can chew through ammunition surprisingly quickly during extended clears. A stronghold can turn your ammunition reserve into dust before you even realize what’s happening.
My general rule is simple:
Armor Box for difficult PVE zones. Munitions Box for long operations and ammunition-hungry squads.
How I Would Actually Play This Loadout
A meta loadout doesn’t make you immortal.
If anything, having expensive gear can make players play worse because they become terrified of losing it.
Don’t.
Your first priority should always be information.
Listen for gunfire. Watch AI behavior. Check the surrounding terrain. Figure out where nearby squads are likely to rotate before you commit.
Once you understand the area, the M4 gives you enough range to control the first engagement.
If enemies close the distance, switch immediately to the ISO Nightshade.
Don’t stubbornly fight at close range with the M4 just because it’s your primary. That’s exactly what the secondary weapon is for.
Against AI, avoid unnecessary fights. Every bullet you fire is potentially an announcement to another squad.
That’s one of the biggest differences between DMZ and traditional multiplayer.
You aren’t rewarded simply for having the highest kill count.
You’re rewarded for extracting.
Insured Weapon Management Matters More Than People Admit
One of the easiest mistakes to make is treating an Insured Weapon Slot like an infinite safety net.
It isn’t.
If you lose the M4, your next deployment should have a purpose.
Complete quick contracts, grab valuable cash, loot efficiently and work toward reducing the cooldown instead of immediately throwing another expensive loadout into a hopeless fight.
This is where good DMZ players separate themselves from players who simply have good aim.
Resource management is part of the gunfight.
Your backpack, armor, insured weapon availability, ammunition and extraction options all influence whether you should take an engagement.
Call of Duty Modern Warfare 4 Campaign Locations: Full Confirmed List for 2026 Game
Extraction Is the Real Objective
This sounds obvious, but I’ve watched plenty of players turn a perfect run into a disaster because they couldn’t resist one more fight.
You’ve completed your objectives.
Your backpack is loaded.
You have the gear you wanted.
Then you see another squad.
You think, “We can take them.”
Five minutes later, you’re staring at the deployment screen wondering why you decided that killing three strangers was worth losing everything.
Don’t be that guy.
Start planning your extraction early.
Identify public exfil locations and keep a backup option available. If the usual extraction point looks compromised, consider alternatives such as a Hostage Rescue contract that can provide access to a safer extraction opportunity.
Is Call of Duty Modern Warfare 4 Coming to Xbox Game Pass Day One? (2026 Release)
Final Verdict: The Best DMZ 2.0 Loadout Is the One That Gets You Out
The M4 isn’t the most exotic weapon in the arsenal, and that’s exactly why I like it.
It doesn’t demand perfect aim. It doesn’t force you into one engagement distance. It doesn’t become useless the second the situation changes.
With the ZLR Reverb90, 18 Inch LE Crosswind, Demo Dozer Stock, FSS Fireline Grip and a clean optic, it becomes an exceptionally dependable workhorse for Hajin.
Pair it with the ISO Nightshade when you expect close-range chaos, or swap in a heavy sniper when your squad wants to control the map from distance.
Add smoke for emergency repositioning, Drill Charges for fortified enemies, and a perk setup built around movement, information and stealth.
That’s the kind of Modern Warfare 4 DMZ 2.0 loadout I’d trust after hundreds of deployments.
The biggest secret isn’t some ridiculous overpowered attachment combination.
It’s knowing when not to shoot.
DMZ rewards patience, positioning and decision-making just as much as raw gun skill. Build your operator around that philosophy, keep your M4 steady, know when to pull out the Nightshade, and most importantly, get out with your loot.
Because in Hajin, the squad that extracts wins the argument.