Mortal Shell 2 Best Shells Tier List: Character Rankings and Meta Guide
If there is one thing I really like about Mortal Shell 2, it is how differently each Shell can change the way the game feels. This isn’t just a matter of swapping one set of stats for another. With the sequel moving toward a faster, stamina-free combat system and a much larger open-world structure, choosing the right Shell can completely reshape your approach to exploration, bosses, and dungeon encounters.
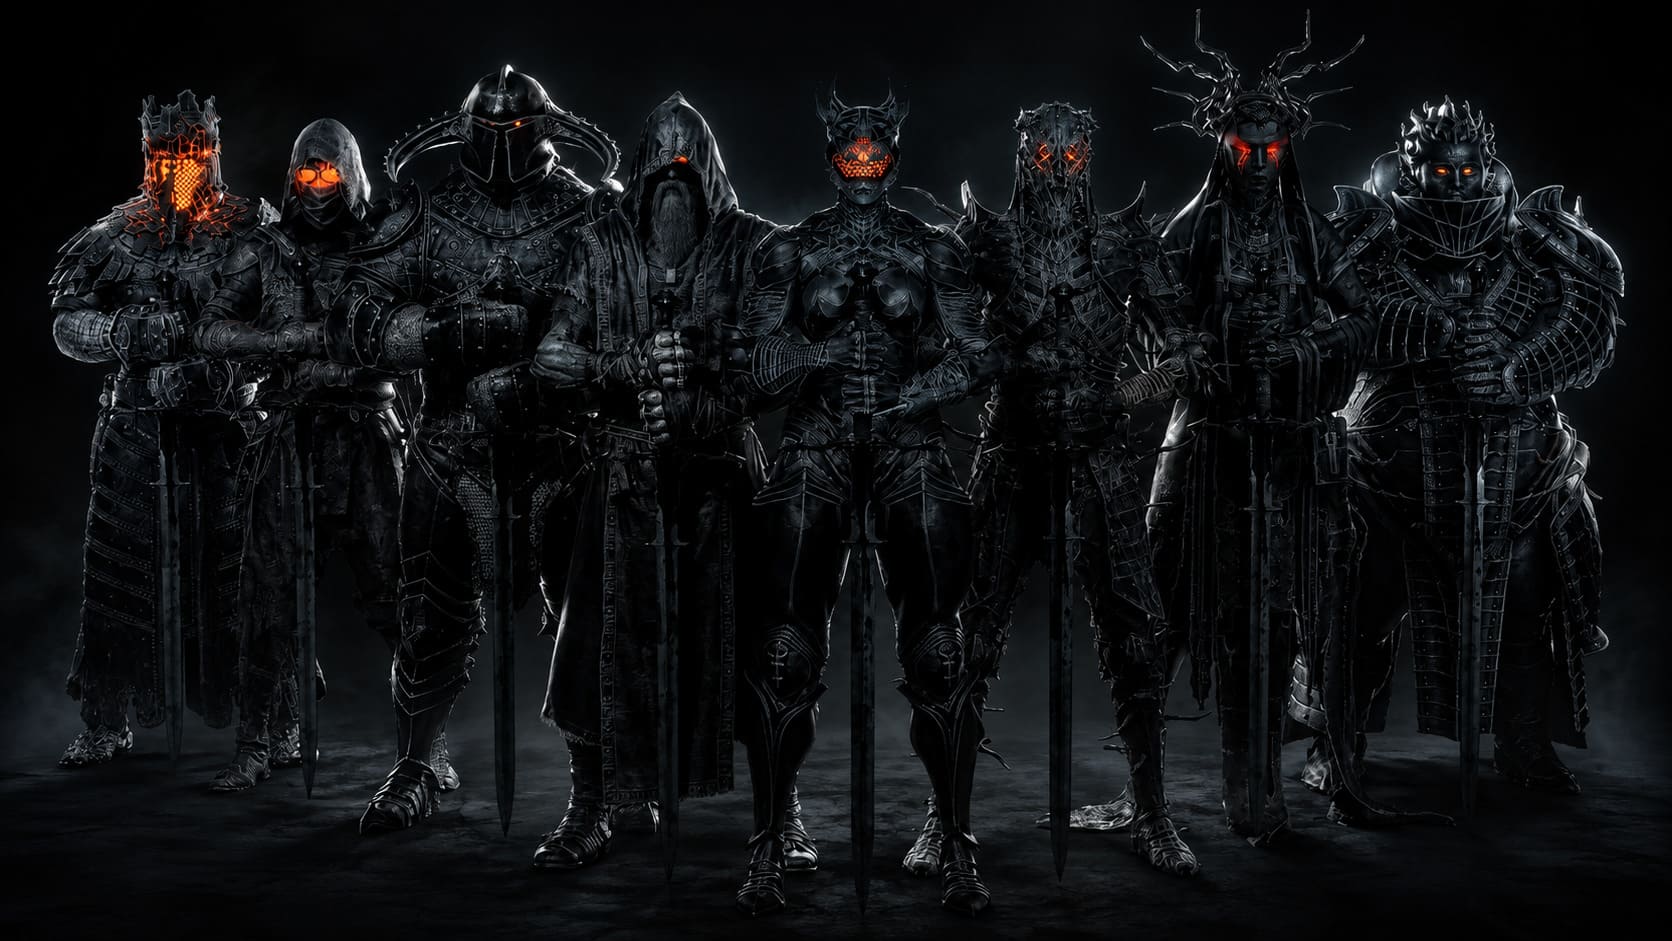
There are eight main Shells to work with, and after spending time looking at their abilities, upgrade paths, and how they perform in actual combat situations, I think the current 2026 meta is fairly easy to break down. Some Shells are absurdly strong when their mechanics are pushed properly. Others are much more specialized, while a few feel like they need a little help from future balance patches.
Of course, tier lists are never absolute. A skilled player can make almost anything work. But if you’re looking for the best Shells in Mortal Shell 2, especially for difficult dungeons and boss fights, these are the characters I would prioritize.
Mortal Shell 2 Best Shells Tier List
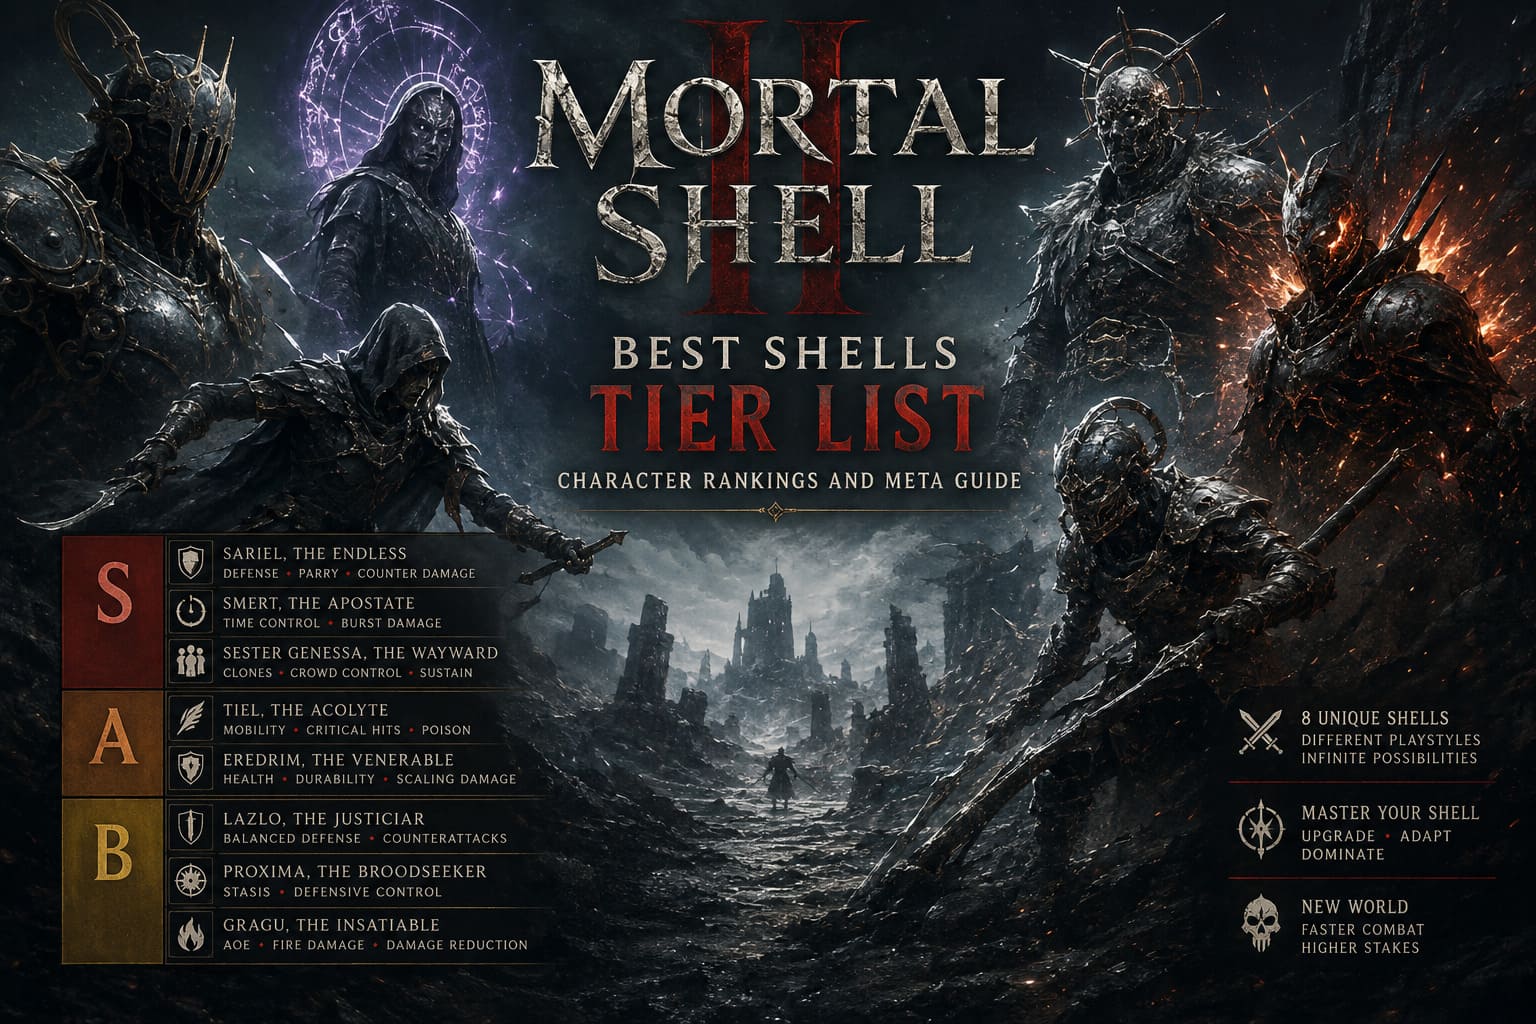
| Tier | Shell | Main Strength |
|---|---|---|
| S | Sariel, The Endless | Defense, Parrying, Counter Damage |
| S | Smert, The Apostate | Time Control, Burst Damage |
| S | Sester Genessa, The Wayward | Clones, Crowd Control, Sustain |
| A | Tiel, The Acolyte | Mobility, Critical Hits, Poison |
| A | Eredrim, The Venerable | Health, Durability, Scaling Damage |
| B | Lazlo, The Justiciar | Balanced Defense, Counterattacks |
| B | Proxima, The Broodseeker | Stasis, Defensive Control |
| B | Gragu, The Insatiable | AoE, Fire Damage, Damage Reduction |
S-Tier: The Shells I Would Build Around
1. Sariel, The Endless
For me, Sariel is the easiest choice for the top spot. She doesn’t necessarily have the flashiest playstyle, but Mortal Shell 2 rewards players who understand defensive timing, and Sariel takes that entire concept and pushes it to an extreme.
Her kit focuses heavily on perfect guards, parry efficiency, and defensive retaliation. Instead of simply surviving an enemy attack, Sariel can turn that aggression back against the attacker.
That’s incredibly valuable in a game where enemies are constantly pushing forward.
Her defensive mechanics also become even better when combined with the right Seals. Once you start building around perfect guards and counter effects, encounters that initially seem dangerous can become surprisingly manageable.
The biggest reason I rank Sariel so highly is simple: she reduces the punishment for making mistakes while rewarding good timing at the same time.
Against bosses with predictable attack patterns, that can feel borderline unfair.
Best for: Defensive players, boss fights, parry-focused builds, experienced players who want consistency.
2. Smert, The Apostate
Smert is probably the Shell that makes me stop and ask, “Was this really intended?”
His defining ability is his time-freezing Miracle, which allows him to enter a special Fight Stance while everything around him effectively stops. During this window, Smert can build Chaos stacks through his attacks before the accumulated damage erupts when normal time resumes.
And yes, it is as ridiculous as it sounds.
The obvious advantage is that Smert can create opportunities that simply don’t exist for other Shells. You can interrupt the natural rhythm of an encounter, prepare your damage safely, and then let the accumulated Chaos hit all at once.
His ability to extend the time manipulation by sacrificing health adds another layer of risk and reward. Players who are comfortable operating with very little health can squeeze an enormous amount of damage out of him.
His low-health offensive bonuses make this even more dangerous.
I wouldn’t necessarily call Smert the easiest Shell to play, but he has one of the highest ceilings in the entire roster.
Best for: Aggressive players, burst-damage builds, bosses, high-risk/high-reward gameplay.
3. Sester Genessa, The Wayward
Genessa might be my favorite pick for players who don’t want every fight to turn into a straight-up slugfest.
Her ability to create spectral clones completely changes how enemies behave. Instead of being the only target on the battlefield, you can create additional threats, manipulate enemy positioning, and buy yourself valuable breathing room.
That sounds useful on paper, but it becomes much more impressive in crowded dungeons.
Mortal Shell 2 can throw multiple enemies at you at once, and fighting several dangerous targets simultaneously is where Genessa really shines. Her clones can split attention while you reposition or attack from a safer angle.
She also has tools for ranged pressure and self-sustain, giving her a surprisingly complete kit.
The main reason I put her in S-Tier is that she changes the rules of crowd control. Other Shells have to manage enemy aggression directly. Genessa can manipulate it.
That’s a huge advantage.
Best for: Dungeon exploration, crowd control, safer playstyles, players who enjoy tactical combat.
A-Tier: Excellent Shells That Don’t Quite Break the Game
4. Tiel, The Acolyte
Tiel is back, and honestly, the sequel’s faster combat system feels almost designed for him.
His greatest advantage is mobility. Shadow Dash and Shadow Strike allow Tiel to move around enemies rapidly while creating opportunities for devastating counterattacks. His poison-focused abilities also give him a strong identity instead of simply being “the fast Shell.”
I especially like Tiel for exploration.
When you’re moving through cramped areas, dealing with groups of weaker enemies, or trying to avoid unnecessary damage, his mobility makes the game feel considerably more fluid.
His upgrades through Zhirelle can push this even further. Talents such as Critical Role and Death Mark turn his evasive playstyle into a serious single-target damage machine.
So why isn’t he S-Tier?
Simple: he’s less forgiving.
Tiel doesn’t have Sariel’s defensive safety or Eredrim’s enormous health pool. If you understand enemy patterns, he’s fantastic. If you make repeated mistakes, though, his weaknesses become obvious.
Best for: Fast players, aggressive builds, critical-hit setups, exploration.
5. Eredrim, The Venerable
If Tiel is about avoiding damage, Eredrim is about looking at incoming damage and basically saying, “Go ahead.”
Eredrim remains the tank of the Mortal Shell 2 roster, with huge Health and Durability values that make him particularly comfortable for players learning the game’s combat system.
His passive mechanics also reward dungeon progression. As you defeat enemies, his damage potential can continue increasing, allowing him to become more threatening during longer encounters.
This creates an interesting dynamic.
At the beginning of a dungeon, Eredrim is already difficult to kill. Several encounters later, he can also become a serious damage dealer.
His major drawback is Resolve. Compared with some of the more ability-focused Shells, Eredrim doesn’t have the same freedom to spam powerful Miracles or weapon skills.
But honestly, that’s a trade-off I’m perfectly happy to accept.
Best for: Beginners, tank builds, long dungeon runs, players who dislike being punished heavily for mistakes.
B-Tier: Useful, But More Difficult to Justify
6. Lazlo, The Justiciar
Lazlo is the Shell I would describe as solid without being spectacular.
He has a balanced defensive kit, straightforward melee tools, and useful posture-breaking capabilities. Nothing about him feels bad, but that’s also the problem.
Mortal Shell 2 heavily rewards specialization.
If another Shell can manipulate time, summon clones, become incredibly evasive, or survive enormous amounts of punishment, Lazlo’s general-purpose approach starts to feel less impressive.
That doesn’t make him weak.
For players who enjoy traditional swordplay and want a dependable character without complicated mechanics, Lazlo can still perform extremely well. He simply requires more execution to compete with the top-tier Shells.
Best for: Traditional melee combat, balanced builds, players who prefer fundamentals.
7. Proxima, The Broodseeker
Proxima is an interesting case because I can see the potential.
Her playstyle revolves around Stasis, with abilities that can slow enemies after successful parries while creating defensive zones. In theory, that gives her excellent control over the pace of combat.
The problem is that Mortal Shell 2 is fast.
Waiting for a setup to become effective can feel frustrating when Tiel is already flying across the battlefield or Smert is preparing to freeze time itself.
I wouldn’t write Proxima off completely. A player who understands her Stasis mechanics and builds around them could potentially get much more from her than this ranking suggests.
Right now, though, she feels like a Shell that could become much stronger with balance adjustments.
Best for: Control-focused players, defensive builds, Stasis experimentation.
8. Gragu, The Insatiable
Gragu is probably the most chaotic Shell in the roster.
His flame-based abilities are fantastic against groups. His AoE fire attacks can inflict Inflamed and even interfere with enemy attack animations, which gives him a very satisfying crowd-control loop.
The issue is consistency.
His build choices often force you to decide whether you want to lean harder into offensive fire damage or improve your survivability. Meanwhile, the cooldowns on his stronger abilities can leave you exposed after the initial burst.
When everything lines up, Gragu can absolutely destroy a group of enemies.
But when his abilities are unavailable, his weaknesses become much more noticeable.
For that reason, I currently see him as a specialist rather than a universal pick.
Best for: AoE builds, aggressive dungeon clearing, players who enjoy resource-management mechanics.
How I Would Choose a Shell
If you’re starting Mortal Shell 2 and don’t know which Shell to invest in, I wouldn’t simply pick the highest-ranked character. Your preferred combat style matters more than the letter next to the name.
- Want the safest boss experience? Pick Sariel.
- Want absurd burst damage and experimental mechanics? Go with Smert.
- Want to control groups instead of fighting them head-on? Genessa is an excellent choice.
- Want speed and aggressive movement? Tiel is the obvious answer.
- Want a massive health pool and forgiving gameplay? Eredrim is your friend.
- Want traditional swordplay? Lazlo is dependable.
- Want to experiment with status control? Try Proxima.
- Want to burn entire groups of enemies? Gragu is built for it.
Don’t Ignore Glimpses and Seals
One mistake I think players can easily make is focusing entirely on finding a Shell and then neglecting the systems that actually make it powerful.
Glimpses are extremely important for Shell progression. Taking them back to Serell and Zhirelle at Marrow Keep allows you to increase your bond levels and unlock important talents.
The higher bond tiers are especially valuable because they improve access to active abilities and increase Shell Revive Efficiency. That can make a surprisingly big difference during difficult dungeon runs.
Seals are equally important.
Since the sequel removes the traditional stamina system, defensive timing and Seal selection become much more important. Tiel benefits from equipment that complements his perfect-guard and mobility-oriented style, while heavier Shells such as Eredrim and Gragu can get more value from defensive options that reinforce their durability.
And don’t burn valuable Glimpses simply because a map tells you where something might be.
I’d rather spend those resources on actual Shell upgrades.
Mortal Shell 2 Parry and Harden Mechanics Explained: Complete Combat Overhaul Guide
My Final Mortal Shell 2 Tier List
After looking at the roster as a whole, my current ranking is:
S-Tier: Sariel, Smert, Sester Genessa
A-Tier: Tiel, Eredrim
B-Tier: Lazlo, Proxima, Gragu
But I wouldn’t treat that ranking as a strict “never use B-Tier” rule.
That’s one of the things I enjoy about Mortal Shell 2. The Shell system gives the game enough flexibility that a lower-ranked character can still become excellent in the hands of someone who understands its mechanics.
For my money, though, Sariel is the strongest all-purpose choice, while Smert has the most ridiculous potential when properly optimized. Genessa is probably the most interesting alternative for players who want to approach combat differently.
Tiel remains the Shell I’d recommend to aggressive players, while Eredrim is still the obvious choice if you want a forgiving first playthrough.
And that’s ultimately what makes this roster work. There isn’t just one “best Shell.” There are several ways to break the game, and finding the one that matches your preferred playstyle is half the fun.