How to Fix Luminary Version 1.0 Crash on Launch: Complete 2026 PC Optimization and Troubleshooting Guide
There is nothing more annoying than finally sitting down to play a game after a major Version 1.0 launch, only to watch Windows quietly throw you back to the desktop.
No warning. No useful error message. Sometimes not even a crash report.
Luminary Version 1.0 has plenty going for it, especially with its expanded systems and visual improvements, but some PC players are running into exactly this kind of launch nightmare. The game may crash before the main menu, freeze during engine initialization, close immediately after the executable appears, or throw a nasty-looking Fatal Error connected to the graphics pipeline.
I’ve dealt with enough PC launch disasters to know one thing: don’t start randomly deleting drivers and reinstalling the entire game just because the first launch failed. There is a much better way to approach this.
The good news is that most launch crashes can be traced to a handful of predictable problems: graphics API conflicts, damaged installation files, corrupted configuration data, outdated drivers or runtimes, and Windows security restrictions.
This guide goes through those fixes in the order I’d personally try them. Start with the quick stuff. If Luminary still refuses to cooperate, move deeper into the troubleshooting chain.
Why Is Luminary Crashing Before It Even Starts?
A Version 1.0 release isn’t simply a switch that gets flipped from “early access” to “finished.” Developers are often changing huge portions of the game’s code, asset packages, rendering systems, configuration files, and dependencies.
That creates a perfect storm for PC compatibility problems.
One player can launch Luminary at 1440p without touching a setting. Another can get an instant desktop crash on the exact same build because their GPU driver, shader cache, Windows configuration, or local game files are slightly different.
The most common causes are:
| Problem | Typical Symptom | Best First Fix |
|---|---|---|
| DirectX 12 conflict | Crash during engine startup | Force DX11 |
| Corrupted game files | Silent crash or missing DLL error | Verify files |
| Broken local settings | Crash after splash screen | Reset AppData |
| GPU driver problem | Fatal graphics error | Clean-install driver |
| Missing C++ runtime | Executable closes instantly | Repair/install Visual C++ |
| Windows security interference | Game refuses to initialize | Administrator/exclusion test |
The important part is not to throw every fix at the problem simultaneously. Change one major variable at a time whenever possible. That way, if the game suddenly works, you’ll know what actually solved it.
Fix 1: Force Luminary to Use DirectX 11
If I had to choose one fix to try first, this would be it.
Modern games increasingly default to DirectX 12, and while DX12 can provide excellent performance and advanced rendering features, it can also be considerably less forgiving when a particular GPU driver, shader cache, or engine configuration doesn’t play nicely with it.
If Luminary crashes during the initial rendering setup, forcing DirectX 11 is an excellent diagnostic step.
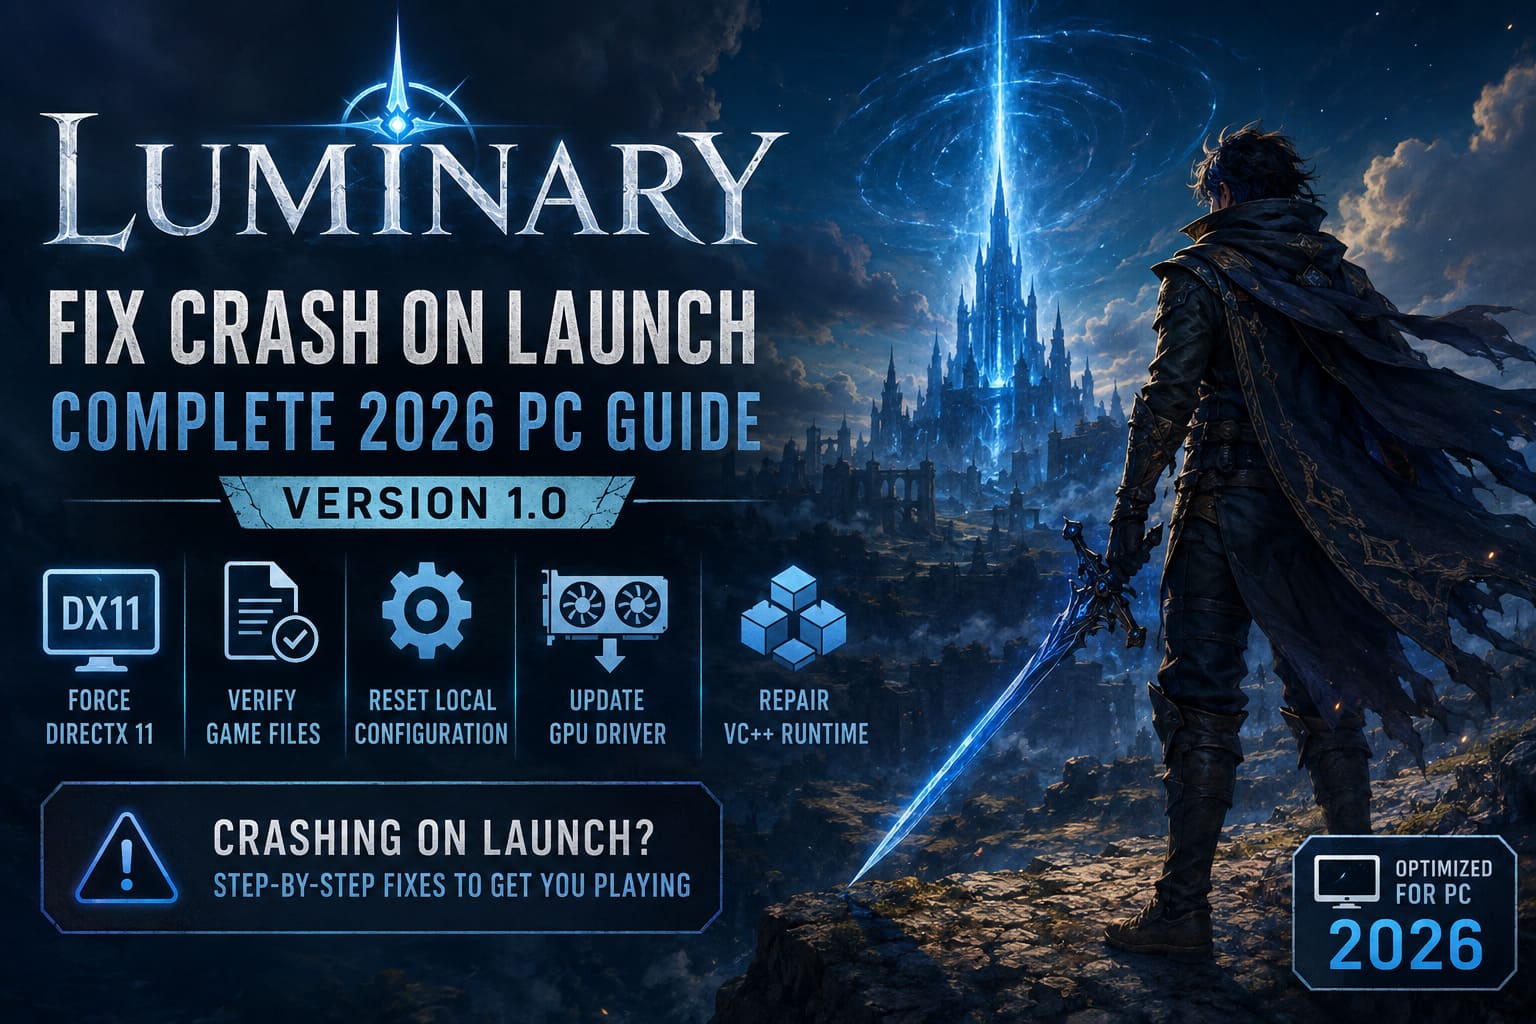
Steam Method
Open Steam and find Luminary in your library.
Right-click the game and select Properties.
Under the General tab, find the Launch Options field.
Enter:
-dx11
Close the properties window and launch the game again.
That’s it.
If the crash was caused by the DX12 rendering path, Luminary should now bypass that pipeline and initialize through DirectX 11 instead.
This is particularly useful if you’re getting a Fatal Error, a crash immediately after the splash screen, or a failure during shader and graphics initialization.
Using a Desktop Shortcut
If you’re launching Luminary through a shortcut rather than directly through Steam, right-click the shortcut and choose Properties.
Find the Target field.
You’ll see something similar to:
"C:\Games\Luminary\Luminary.exe"
Add a space and the launch parameter after the quotation marks:
"C:\Games\Luminary\Luminary.exe" -dx11
Click Apply, then OK.
Don’t modify the executable path itself. The parameter belongs at the end.
If Luminary suddenly boots normally after this change, you’ve got a strong indication that the original problem was tied to the DX12 rendering path rather than the entire installation.
Fix 2: Verify the Luminary Installation
Here’s another classic PC gaming fix that gets overlooked way too often.
A game can report 100% installed while one or more files are still damaged. A failed download, interrupted patch, storage hiccup, or problematic update can leave a single DLL or asset archive in a state where the game simply can’t start.
And yes, sometimes that means absolutely nothing appears on screen.
Steam is actually pretty good at cleaning this mess up.
Open your Steam library, right-click Luminary, and select Properties.
Go to:
Installed Files → Verify integrity of game files
Start the verification process and let Steam finish.
The client will compare your local installation against its available file manifest. If something is missing or corrupted, Steam should download a replacement.
Don’t cancel the process because it says only one file needs to be reacquired. That one file might be exactly what is preventing the executable from completing its startup sequence.
After verification finishes, restart Steam and try Luminary again.
One Important Tip
If verification repeatedly discovers corrupted files after every restart, don’t immediately assume the game itself is broken.
That can point toward a storage problem, antivirus interference, permissions issue, or another underlying Windows problem.
Fix 3: Reset Luminary’s Local Configuration
This is one of those fixes that feels a little scary until you’ve done it a few times.
Games store all sorts of local information outside their installation directory: graphics settings, display configurations, cached data, profiles, and other configuration files.
If one of those becomes corrupted, reinstalling the game may not even fix the problem because the bad configuration can survive the reinstall.
To access the local AppData directory, press:
Windows + R
Type:
%localappdata%
Press Enter.
Windows will open your local AppData folder.
Now look for a folder associated with Luminary or the game’s underlying engine/development branch.
Before deleting anything, I’d recommend making a backup copy of the relevant folder. Drag it somewhere safe, such as your desktop.
Then remove the original configuration folder.
Launch Luminary again.
The game should recreate its local configuration files automatically.
This can fix situations where Luminary:
- Crashes after changing resolution.
- Fails after switching between monitors.
- Gets stuck during startup.
- Crashes immediately after a graphics settings change.
- Won’t launch after a driver update.
The first launch after resetting the configuration may behave slightly differently because the game needs to rebuild its settings. That’s normal.
Fix 4: Update Your GPU Driver — Properly
A generic Windows driver isn’t always enough for a brand-new PC game.
If you’re running Luminary Version 1.0 with an outdated graphics driver, you’re potentially stacking an old software layer underneath a brand-new rendering implementation. That’s exactly the kind of setup that produces weird crashes.
Identify your GPU manufacturer and download the latest driver directly from the manufacturer’s official support software for your hardware.
For NVIDIA, AMD, or Intel graphics, use the manufacturer’s current driver package rather than relying exclusively on Windows Update.
If your driver installation utility offers a Clean Installation option, use it when troubleshooting persistent graphics crashes.
The goal is to eliminate old driver components that may be interfering with the new installation.
After installing the driver, restart Windows.
Don’t skip that reboot. Windows loves pretending it has finished installing something while quietly waiting for a restart to actually apply everything.
Fix 5: Repair Microsoft Visual C++ Redistributables
This one is less glamorous, but it’s important.
A lot of modern Windows games depend on Microsoft Visual C++ runtime components. If they’re missing, damaged, or incorrectly registered, a game can simply refuse to start.
Download the current Microsoft Visual C++ Redistributable packages and install both:
- x64
- x86
Even on a 64-bit Windows installation, don’t assume you only need x64. Some applications or supporting components can still rely on 32-bit runtime libraries.
After installation, restart your PC and try Luminary again.
If the game was previously failing because of a missing runtime dependency, this can make the difference between an instant desktop crash and a completely normal launch.
Fix 6: Run Luminary as Administrator
Windows permissions can sometimes get in the way of games that need to create or modify configuration files during their first launch.
Find Luminary’s main executable in its installation directory.
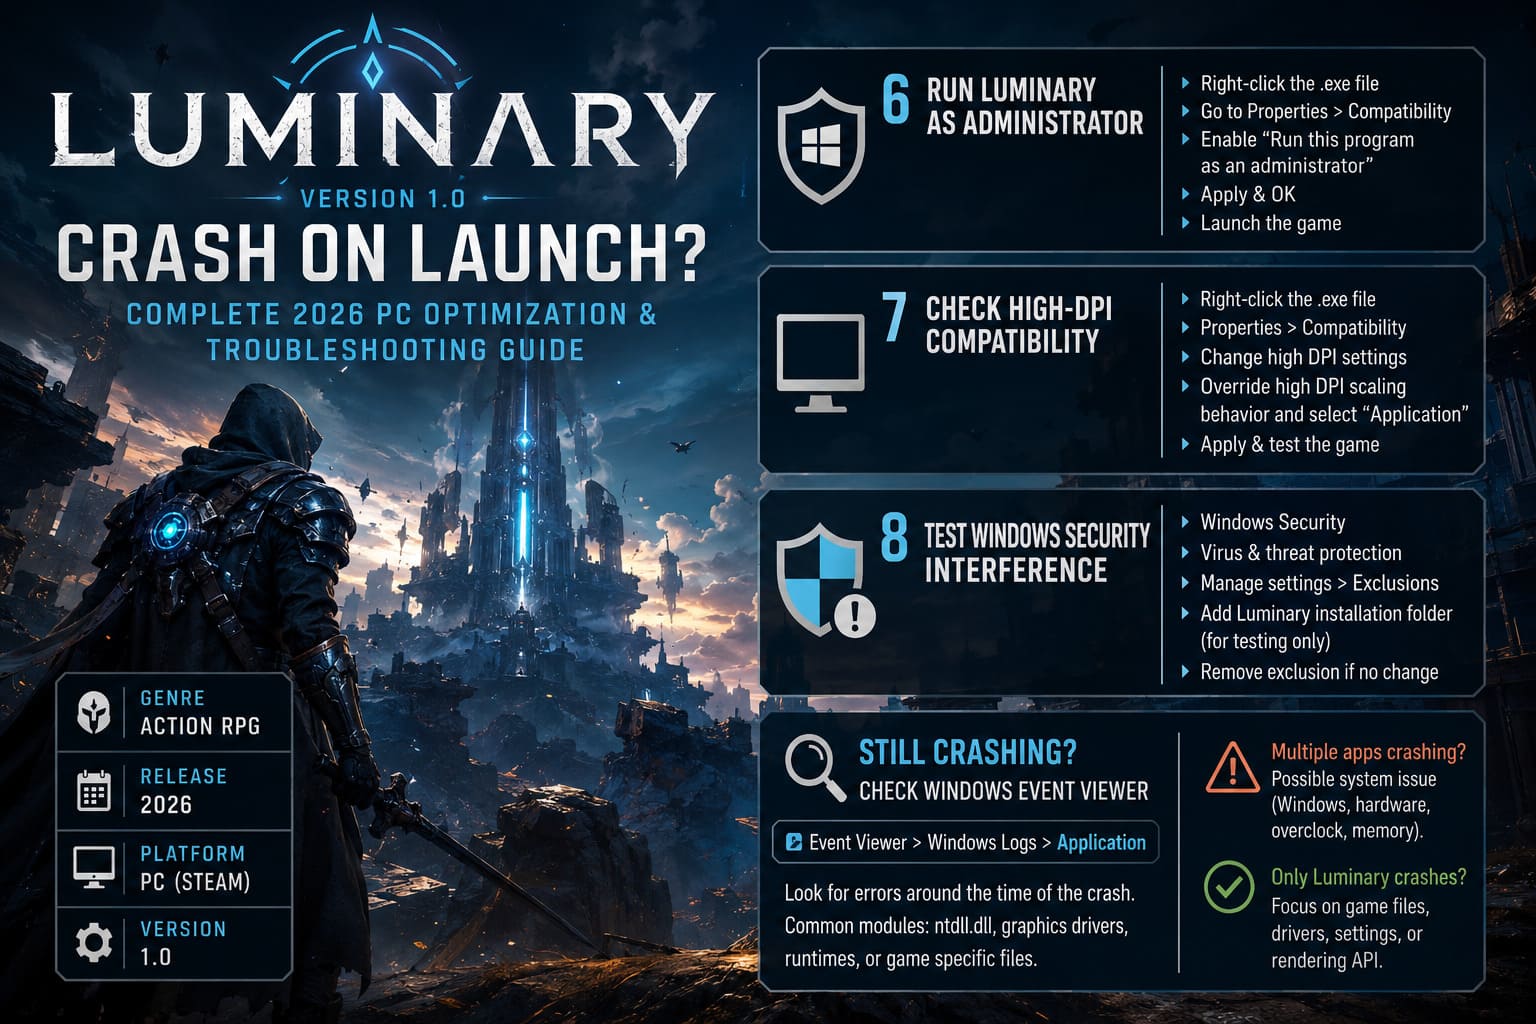
Right-click the .exe file and select Properties.
Open the Compatibility tab.
Enable:
Run this program as an administrator
Click Apply, then OK.
Now launch the game.
I wouldn’t recommend running every game as administrator permanently unless necessary, but it’s a useful troubleshooting step. If Luminary suddenly works, you’ve learned that Windows permissions were probably part of the problem.
Fix 7: Check High-DPI Compatibility Settings
High-resolution displays and multi-monitor setups can produce some surprisingly strange behavior in older or poorly configured applications.
If you’re running Luminary across different monitors, using unusual Windows scaling values, or playing on a high-DPI display, try adjusting the compatibility settings.
Right-click the executable and open:
Properties → Compatibility → Change high DPI settings
Enable the option to override high DPI scaling behavior and select Application from the dropdown.
Apply the changes and test the game.
This isn’t the first thing I’d try on a standard 1080p setup, but if Luminary crashes on a multi-monitor PC while working perfectly on another display configuration, it’s absolutely worth testing.
Fix 8: Temporarily Test Windows Security Interference
Security software can occasionally get overly aggressive with newly updated games.
Windows Defender and third-party antivirus programs monitor executable files, DLLs, memory activity, and folders while applications are launching. A fresh Version 1.0 build can therefore trigger behavior that wasn’t present in an older version.
Open Windows Security and navigate to:
Virus & threat protection → Manage settings → Exclusions
From there, you can add the Luminary installation directory as an exclusion for troubleshooting.
However, I strongly recommend doing this only for a trusted, legitimate installation and only when you have a reason to suspect security software is interfering.
If the game launches normally after the test, you have useful information. If nothing changes, remove the exclusion and continue troubleshooting instead of leaving unnecessary exceptions enabled.
What If Luminary Still Crashes?
At this point, you’ve covered the major software-level causes.
If Luminary is still crashing, stop blindly reinstalling things and start looking at the actual Windows error.
Open the Start menu and search for:
Event Viewer
Launch it and navigate to:
Windows Logs → Application
Look for an error entry created at approximately the same time Luminary crashed.
You may see references to components such as:
ntdll.dll
or graphics-related modules, runtime components, or application-specific executables.
The exact module matters because it can help separate a game problem from a broader Windows or hardware stability issue.
For example, if multiple unrelated applications are crashing with system DLL errors, I’d become much more suspicious of Windows corruption, unstable memory, an aggressive CPU/GPU overclock, or another system-level problem.
If only Luminary is failing, the game’s installation, configuration, driver interaction, or rendering API remains a much stronger suspect.
My Recommended Order for Troubleshooting
Don’t do all eight fixes at once. That makes troubleshooting unnecessarily messy.
I’d personally go through them like this:
- Force
-dx11 - Verify Luminary’s game files
- Reset local AppData/configuration
- Install the latest GPU driver
- Repair Visual C++ Redistributables
- Test administrator permissions
- Check high-DPI compatibility
- Investigate antivirus/security interference
- Use Event Viewer for persistent crashes
The first three are fast and relatively painless. There’s no reason to spend an hour reinstalling drivers before testing whether a single launch parameter fixes the problem.
Luminary Co-Op Connection Error Fix: How to Resolve Multiplayer Network Issues in 2026
Final Thoughts
A broken launch can make a new game feel completely dead on arrival, especially when the crash gives you nothing useful to work with. I’ve had games that apparently decided the best error message was simply closing the window, so I have very little patience for that kind of troubleshooting.
Fortunately, Luminary Version 1.0 launch crashes are usually worth attacking systematically rather than immediately reinstalling Windows or replacing hardware.
Start with the DirectX 11 workaround. It takes seconds and can completely bypass a problematic graphics initialization path. Then verify the installation, reset the local configuration, update your GPU driver, and repair the required Windows runtimes.
If none of those work, Event Viewer becomes your best friend.
The biggest mistake is changing ten things at once and then having no idea which change fixed the game. Work through the fixes one at a time, test Luminary after each significant change, and keep track of what happens.
And when the game finally gets past that stubborn startup screen and drops you into the actual world?
That’s the moment you can stop fighting Windows and start playing.
Luminary Version 1.0 should be about the game — not about staring at a desktop crash.