Valheim Deep North Base Building Guide: Snow Collapse Mechanics & Ideas (1.0 Release)
There is something wonderfully cruel about reaching the final biome in Valheim and discovering that the game still has new ways to punish your building mistakes. After spending countless hours learning how to build longhouses, stone castles, mountain cabins, and ridiculous Viking bridges, I thought I was pretty comfortable with the game’s construction system. Then the Deep North arrived.
Valheim 1.0 completely changes the way I approach building in extreme environments. The Deep North is not just another snowy region where you slap down a cozy cabin and call it home. The constant freezing conditions, violent blizzards, deep snow accumulation, dangerous terrain, and demanding late-game crafting requirements force you to think about your base as an actual piece of engineering.
And honestly, I really like that.
One of the things that has always made Valheim’s building system special is that a good-looking house can still be a terrible house if you ignore structural integrity. The Deep North pushes that idea even further. Suddenly, roof angles, foundations, support beams, and the way you position your crafting rooms matter much more than they did in earlier biomes.
So if you’re planning your first serious Deep North fortress, here is how I would approach it. This guide focuses on snow collapse mechanics, structural stability, roof design, foundation placement, materials, and practical Deep North base ideas that actually make sense for long-term survival.
Why Building in the Deep North Feels Completely Different
The Deep North is the kind of biome where the environment itself feels like an enemy. Mountains and snow were already capable of making travel miserable, but the final biome takes that concept much further. You’re dealing with extreme cold, blizzards, frozen terrain, limited visibility, and huge amounts of snow covering the landscape.
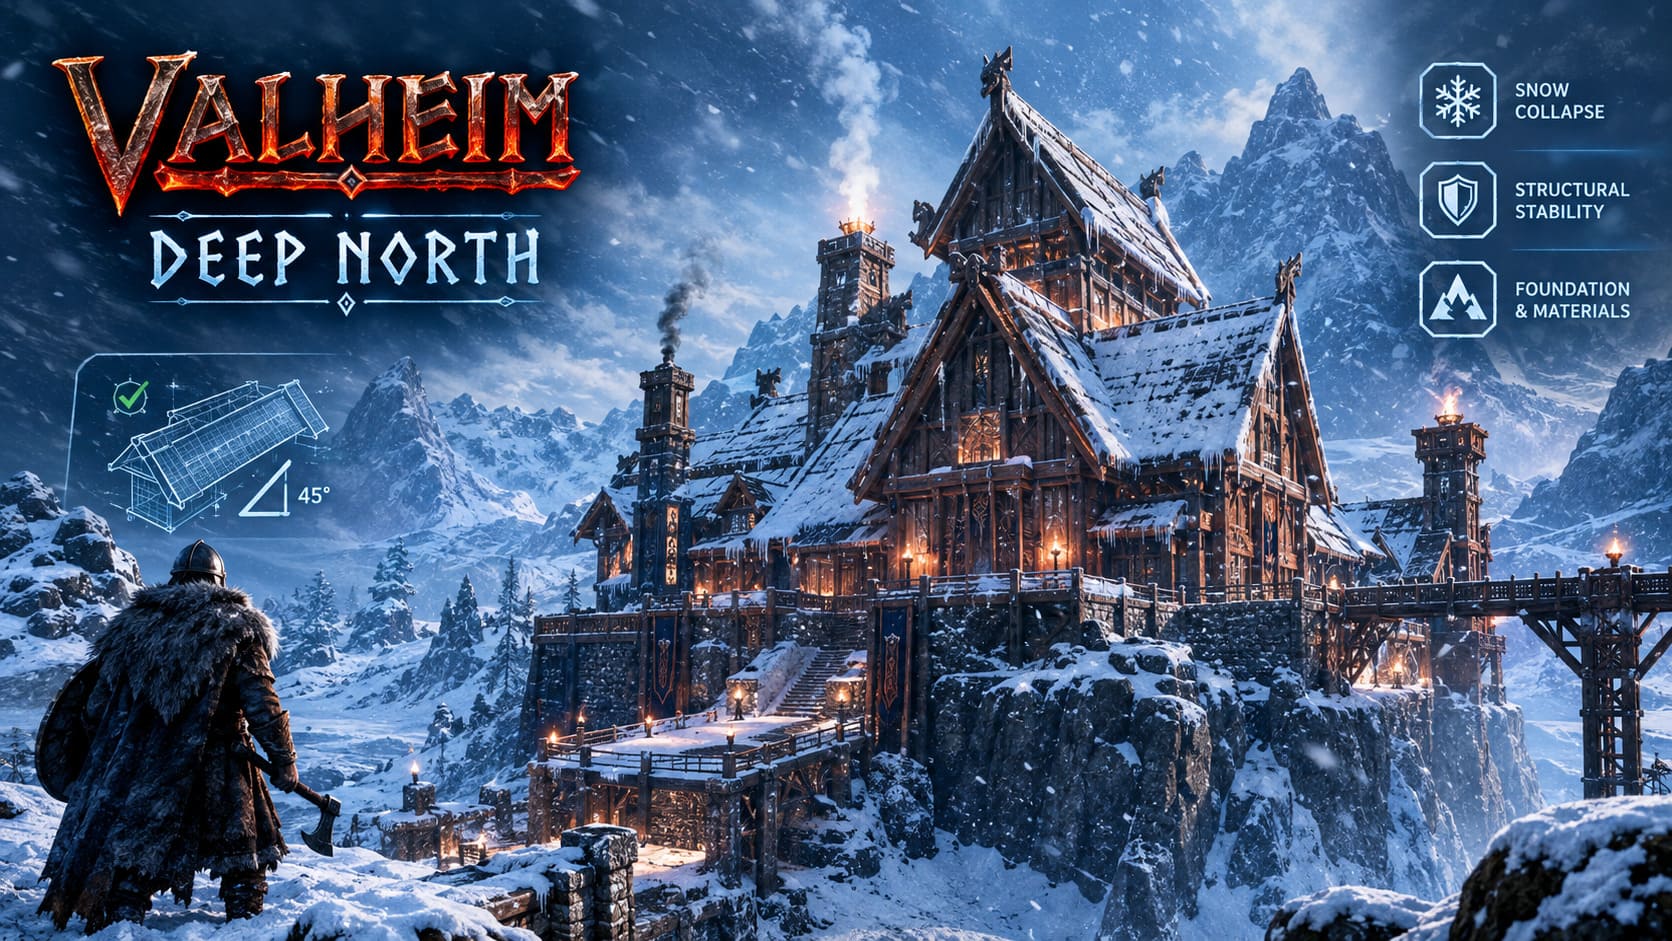
The biggest mistake I see players making is treating snow like decoration.
In earlier areas, you can often ignore what the weather is doing to your construction. In the Deep North, however, snow accumulation becomes something you need to plan around. If your design has large flat areas, awkward roof junctions, or poorly supported sections, a long winter storm can turn a beautiful building into a repair project.
That means I would stop thinking about a Deep North base as simply a house. Think of it as a fortified shelter designed to survive repeated environmental pressure.
| Building Element | What I Recommend | Why It Matters |
|---|---|---|
| Foundation | Fully grounded Greystone | Provides a stable starting point for large structures |
| Main Supports | Wood-Iron or Timberwood | Handles heavy vertical loads more reliably |
| Roof | 45-degree or steeper | Helps prevent excessive snow accumulation |
| Roof Junctions | Avoid flat valleys | Reduces localized snow buildup |
| Exterior | Protective eaves | Keeps falling snow away from entrances |
Snow Collapse: The Mechanic You Need to Respect
The most important lesson I took from building in the Deep North is simple: flat roofs are asking for trouble.
During heavy storms, snow can accumulate on exposed construction pieces. A flat floor used as a ceiling may look perfectly fine when you finish building it, but that does not mean it is a good long-term solution. The more snow your structure catches, the more pressure gets transferred through the supporting pieces below.
This is where roof pitch becomes extremely important.

Why 45-Degree Roofs Are My Go-To Choice
If I am building a serious Deep North base, I prefer steep roof sections whenever the architecture allows it. A 45-degree roof gives accumulated snow a much better chance of sliding away instead of sitting on top of the building.
Lower-pitch roofs can still look fantastic, especially on compact cabins, but I would use them selectively. Large flat or shallow sections are where things can become problematic, particularly when they connect to a large unsupported interior space.
My rule of thumb is simple: if a roof looks like it could hold a pile of snow, assume it will.
That mindset alone changes how you design.
Start With the Foundation, Not the Roof
It is tempting to immediately build the walls of your dream fortress. I have made that mistake plenty of times. You get excited about the shape, start adding floors and towers, and only later realize that one side of the building is sitting on terrible structural support.
In the Deep North, I would slow down.
First, find solid ground and clear away the accumulated snow. A shovel becomes one of those tools that suddenly feels much more important than it did when you first crafted it.
After leveling the terrain, I would build a complete foundation grid using your strongest available foundation material. The goal is to create a reliable base where your major support points can transfer their weight directly into the ground.
Pay attention to the stability colors. Blue is what you want to see at your foundation. As the stability color shifts toward green, yellow, orange, and eventually red, you’re approaching the limits of what that particular construction piece can safely support.
For a small hunting cabin, this may not be a huge concern. For a giant endgame hall filled with crafting stations and storage, it becomes critical.
Build a Structural Skeleton Before Filling in the Walls
This is probably my favorite building trick for large Valheim structures, and the Deep North makes it even more useful.
Instead of treating your walls as the primary support system, build a skeleton first.
Use strong vertical pillars and connect them with horizontal beams. Keep the supports relatively close together, especially around large rooms and roof intersections. Once the skeleton is stable, you can fill the spaces between those supports with decorative walls, windows, stairs, and other architectural details.
For larger structures, I like thinking in sections rather than trying to support the entire building with one giant open room.
- Small rooms: Use standard support spacing and compact roofs.
- Large halls: Add internal columns and crossbeams before completing the roof.
- Towers: Build vertically around a strong central support structure.
- Wide workshops: Divide the roof into smaller supported sections instead of creating one enormous span.
This approach also makes repairs much easier. If one section gets damaged, you’re not potentially rebuilding half of your fortress.
Keep the Roof Simple and Let the Snow Slide
I love complicated Valheim roofs as much as anyone. Multi-level Viking castles with strange angles and decorative gables can look incredible. But the Deep North is probably not where I would experiment with an unnecessarily complicated roof on my primary survival base.
The best designs are often the ones that are easy to understand mechanically.
A strong central ridge with two steep roof slopes is extremely effective. You can still add towers, balconies, decorative extensions, and smaller side structures, but try to keep the main roofline clean.
Be particularly careful with roof valleys. Whenever two roof sections meet in a way that creates a pocket, you have created a natural place for snow to accumulate. Those areas deserve additional support or a redesigned roof junction.
And don’t forget the eaves. Extending the roof slightly beyond the walls gives falling snow somewhere to go besides directly against your doors and exterior walls.
My Four Favorite Deep North Base Concepts
1. The Alpine Citadel
If you want something that looks like a true final-biome fortress, this would be my first choice.
Build the central hall from strong stone materials and use steep, layered roofs to create the appearance of a massive mountain castle. The lower levels can contain storage and defensive rooms, while the central hall houses your major crafting stations.
The best part is that the steep architecture isn’t purely cosmetic. The roof design is working with the environment instead of fighting it.
2. The Sunken Bunker
This one is for players who would rather exploit the terrain than build above it.
Excavate a large area and place most of the living quarters below the surrounding surface. Keep the exposed sections compact and use steep roofs where they meet the outside world.
I particularly like this concept for a practical resource base because the surrounding terrain naturally protects much of the structure. It also gives the finished build a fantastic hidden-fortress feeling.
3. The Viking Great Hall
If you’re playing Valheim because you want to build something that actually feels Viking, this is hard to beat.
Imagine a huge rectangular longhouse with a dramatic 45-degree roof, a central ridge, heavy timber framing, and a long interior hearth area. You can place your most important crafting stations along the sides while keeping the center open for dining, storage, and decoration.
Just make sure the roof is supported properly. Huge open halls look amazing, but they are exactly where structural problems can become expensive.
4. The Suspended Bridge Fortress
This is the crazy option, and naturally, it’s one of my favorites.
Find a canyon or elevated section of terrain and build across it using strong support columns. The main advantage is that your base is removed from much of the dangerous ground-level traffic.
With steep roofs, snow can also fall away from the structure into the open space beneath it. It’s not necessarily the easiest design to build, but if you’re looking for something memorable for a late-game world, this is the kind of project that can become the centerpiece of your entire settlement.
Deep North Materials and Workshop Planning
The Deep North isn’t just about surviving the weather. Your base also needs to accommodate the larger crafting infrastructure introduced for late-game progression.
Before building the final walls, I recommend planning where your major crafting stations will actually go. Large stations such as the Frost Foundry need enough room around them, and cramped workshops become annoying very quickly when you’re constantly moving between crafting, storage, smelting, and repairs.
I would divide the base into functional zones:
- Central Hall: Beds, comfort items, food, and everyday equipment.
- Heavy Workshop: Frost Foundry and advanced crafting equipment.
- Storage Wing: Organized chests close to crafting stations.
- Smelting Area: Dedicated space for molds and metal processing.
- Defensive Perimeter: Walls, gates, lighting, and controlled entrances.
This sounds obvious, but planning these areas before construction saves a ridiculous amount of rebuilding later.
Small Details That Make a Huge Difference
One of my favorite things about Valheim is that tiny preparation decisions often matter more than expensive upgrades.
Keep shovels near your exits. Seriously. Don’t bury all your shovels in a distant storage building. If a storm creates a massive drift outside your main door, you want the tool for dealing with it immediately available.
I also recommend keeping spare building materials nearby. Deep North bases are going to take damage eventually, whether from enemies, weather, or your own construction experiments. Having repair materials close to the workshop saves a lot of unnecessary running around.
The improved build-menu organization is another small quality-of-life feature worth taking advantage of. Once your settlement contains dozens of building pieces, searching directly for the material or component you need is much faster than manually scrolling through the entire menu.
Valheim Deep North Resource Guide: Where to Find Blood Gold, Idols, and End-Game Crafting Materials
My Biggest Deep North Building Mistakes to Avoid
If I were starting a fresh Valheim 1.0 world today, there are several things I would deliberately avoid.
- Don’t build your main base on unstable terrain just because the view is beautiful.
- Don’t create huge flat roofs without considering snow accumulation.
- Don’t wait until the entire structure is finished before checking stability.
- Don’t put every crafting station into one cramped room.
- Don’t ignore roof valleys and awkward junctions.
- Don’t build directly on dangerous frozen terrain unless you have a very good reason.
That last one is especially important. The perfect view is not worth rebuilding your entire workshop because the terrain beneath it turned into a disaster during combat.
Final Thoughts: Build With the Blizzard, Not Against It
The Deep North is probably the first time in Valheim where I would genuinely encourage players to think about engineering before decoration.
That doesn’t mean your base needs to look boring. Quite the opposite. Once you understand the rules, you can make some incredible structures. The trick is to let the mechanics determine the skeleton of the building and then use your creativity to decorate everything around it.
Start with solid ground. Build a reliable foundation. Add strong vertical supports. Keep large spans under control. Use steep roofs. Avoid snow traps. Plan your crafting areas before the walls go up.
After that, go wild.
Build your giant Viking hall. Add towers. Hang banners. Create bridges. Dig underground chambers. Build a ridiculous throne room. The Deep North should feel like the final chapter of your Valheim adventure, and your base should reflect that.
For me, that’s what makes this biome exciting. The snow isn’t just another obstacle to survive. It changes the way you think about construction. Once you stop trying to fight the environment and start designing around it, the Deep North becomes one of the most rewarding places to build in Valheim.
And honestly, there is something incredibly satisfying about watching a massive blizzard roll across the horizon while your heavily reinforced Viking fortress just sits there, completely unfazed.