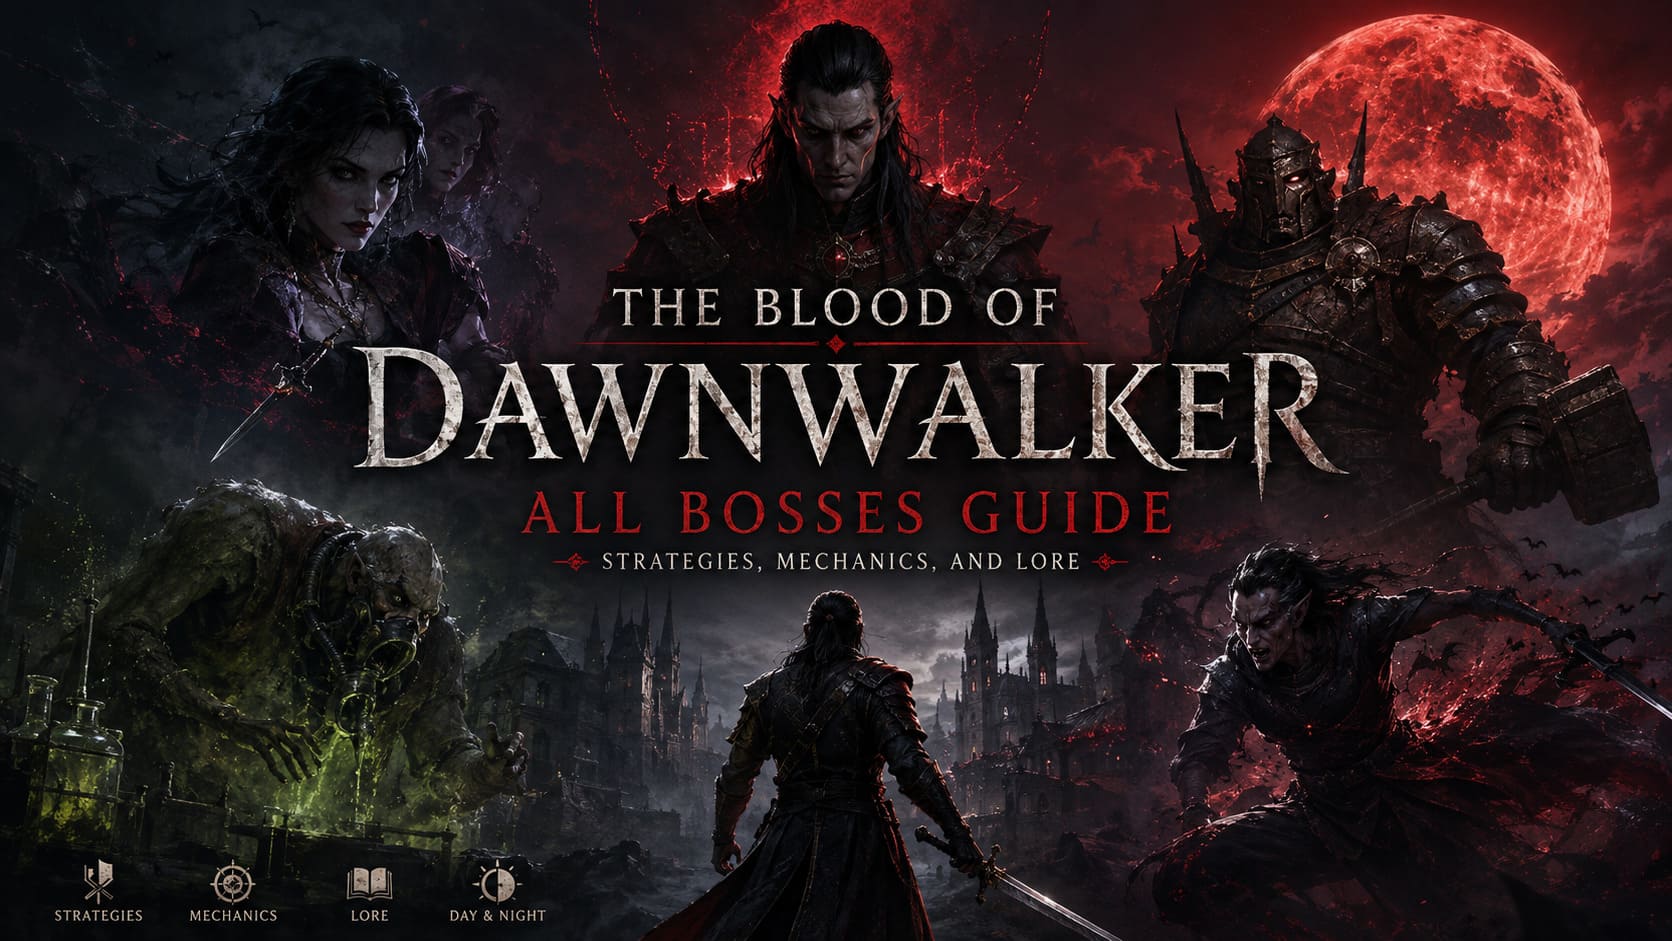
The Blood of Dawnwalker All Bosses Guide: Strategies, Mechanics, and Lore
There is one thing I really like about The Blood of Dawnwalker: its bosses aren’t just oversized enemies with enormous health bars. At least on paper, they are supposed to fit into the world, the politics, and the strange day-and-night identity of Coen himself.
That last part is especially important.
In most action RPGs, you eventually settle into one reliable combat style and use it against almost everything. The Blood of Dawnwalker takes a different approach. Coen is essentially two different fighters depending on the time of day. During daylight, swordplay and witchcraft are the foundation of combat. Once night arrives, his vampiric abilities become much more important, giving him greater mobility, brutal close-range attacks, and blood-based abilities.
That makes the game’s major encounters much more interesting to me than a simple “learn the attack pattern and win” formula.
Some bosses reward patience and parrying. Others punish standing still. A few can even be approached through dialogue or avoided entirely, which fits the game’s promise of a non-linear RPG surprisingly well.
This Blood of Dawnwalker bosses guide breaks down the major encounters, what makes each one dangerous, and how I’d approach them depending on whether you’re fighting during the day or at night.
Blood of Dawnwalker Bosses at a Glance
| Boss | Main Threat | Best Approach | Difficulty Focus |
|---|---|---|---|
| Mihai | Heavy attacks and diving strikes | Parry early attacks, dodge Phase 2 | Timing |
| Xanthe | Illusions and teleportation | Reveal the real target | Awareness |
| Ambrus | Armor and huge damage | Perfect parries and positioning | Stamina |
| Bakir | Poison, acid, and plague | Keep moving and control distance | Arena control |
| Brencis | Speed, magic, and darkness | Master every combat system | Adaptability |
The important thing is that there isn’t one universal strategy here. Trying to fight every boss exactly the same way is probably going to make the harder encounters much more frustrating than they need to be.
1. Mihai – The Fallen Saint Beneath the Cathedral
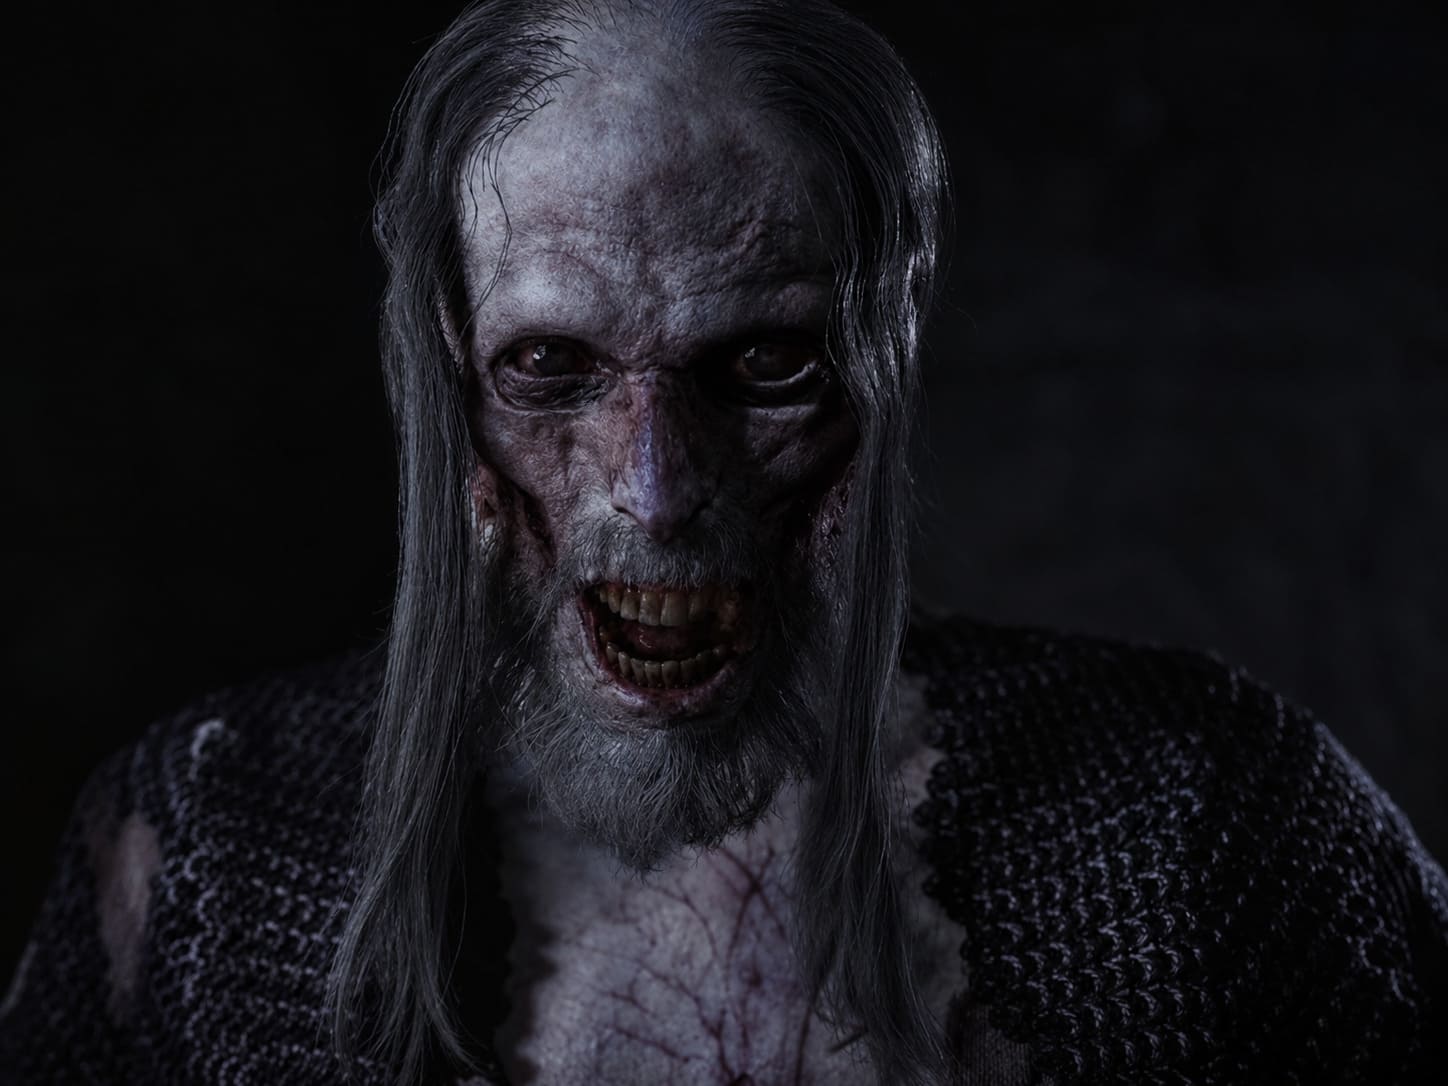
Mihai is probably the boss that best demonstrates the gothic side of The Blood of Dawnwalker.
Once a religious figure, Mihai has completely embraced his vampiric nature and now rules from beneath the cathedral. The contrast is excellent: a place associated with faith and sanctuary becomes the entrance to a blood-soaked underground lair.
What I find particularly interesting about this encounter is that you don’t simply walk into the cathedral and automatically start a boss fight. You have to investigate the environment.
Look closely at the historical murals and identify the relevant family crest. From there, the cathedral’s library contains the information needed to discover how the hidden entrance works.
Mihai’s Combat Pattern
Mihai begins the battle with an enormous reinforced cross. His attacks are slow, but that doesn’t mean they’re harmless.
Quite the opposite.
His sweeping attacks can hit extremely hard, and careless blocking can drain Coen’s stamina surprisingly quickly. This is one of those fights where directional parrying is much more valuable than simply holding block.
His floor-based shockwaves are another early warning that the arena itself matters. Jumping or moving sideways at the correct moment can keep you out of trouble.
Things get considerably nastier once Mihai reaches roughly half health.
He destroys his original weapon and reveals a corrupted blade, becoming considerably faster. His diving attacks are especially dangerous because they are unblockable, meaning this is the moment where defensive habits can get you killed.
My Strategy
During the day, I’d lean heavily into witchcraft and use defensive abilities to reduce the danger from the arena-wide attacks. Don’t get greedy after a dodge. One or two clean sword attacks are often better than trying to squeeze in a massive combo.
At night, Coen’s mobility makes the second phase much easier to manage. Stay mobile, circle around Mihai, and punish his longer recovery animations.
The big lesson: don’t try to tank Mihai. This is a timing fight.
2. Xanthe – The Vampire You May Not Have to Fight
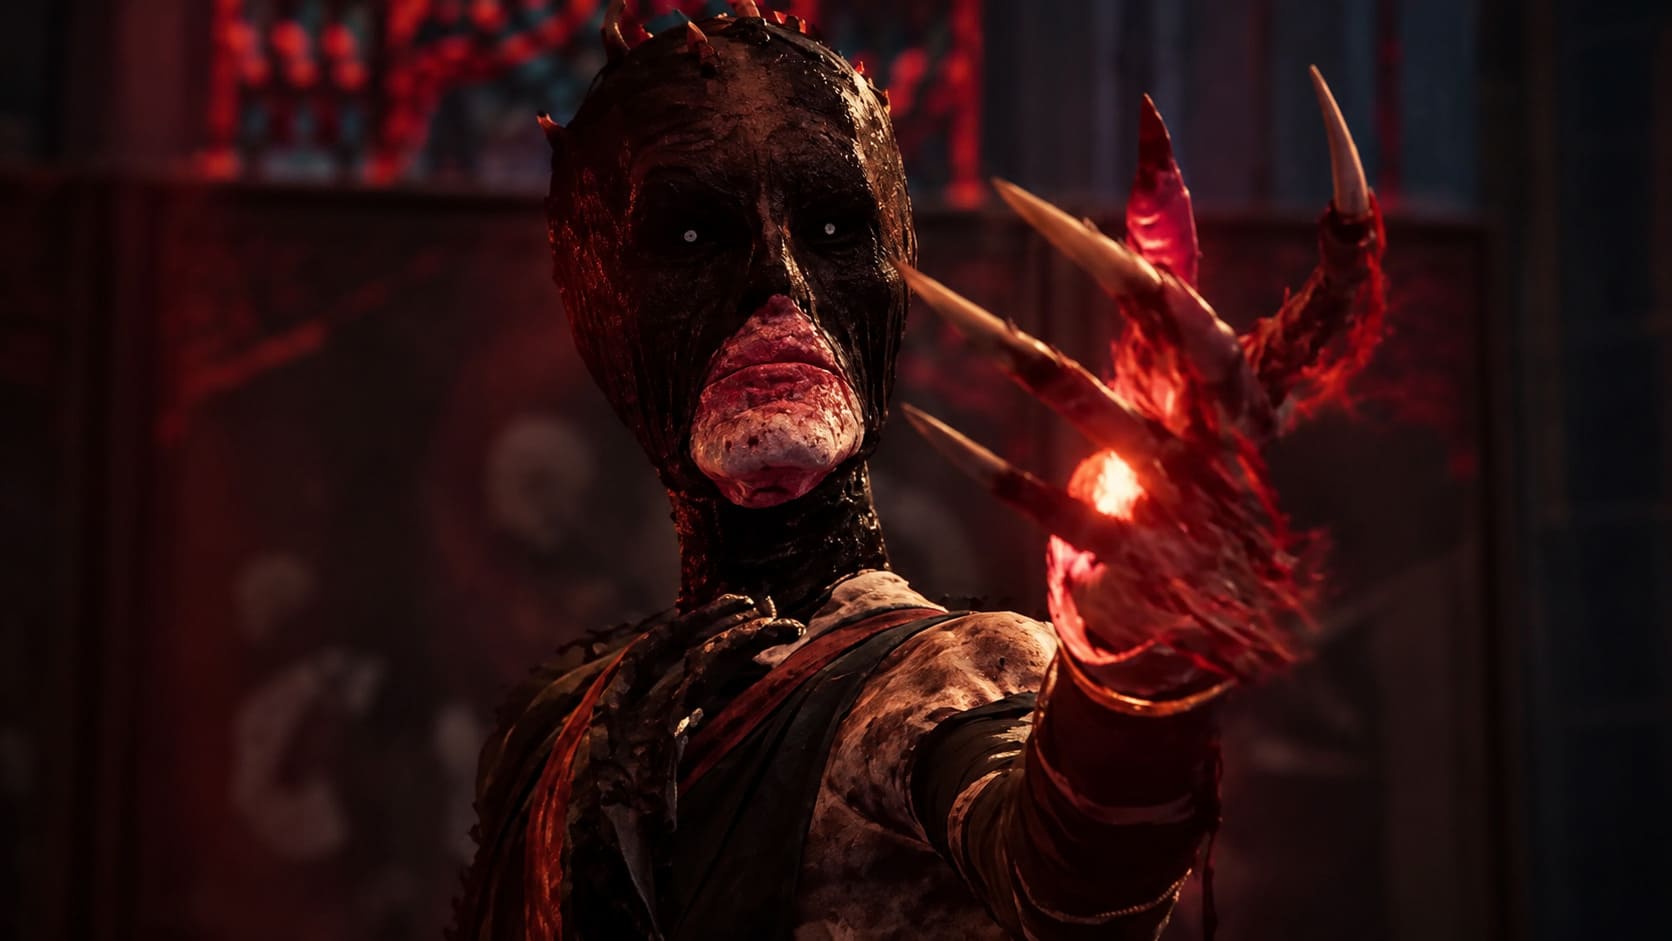
Xanthe is one of the more unusual encounters because combat isn’t necessarily the answer.
She’s a political operator rather than a traditional warrior, and that distinction is important. Depending on your choices, reputation, and available narrative items, Coen can potentially negotiate with her instead of fighting.
Honestly, I hope players don’t automatically choose violence here.
One of the most appealing things about this type of RPG is discovering that a seemingly important enemy doesn’t always have to become another boss health bar.
If the Fight Happens
Xanthe uses two ethereal daggers and relies heavily on illusions.
Her first phase is all about speed. She attacks with rapid multi-hit combinations and constantly changes position. Players using directional combat will need to pay close attention to attack angles rather than blindly mashing parry.
Her teleportation leaves behind explosive smoke, which makes positioning even more important.
Then comes the real headache.
At lower health, Xanthe creates several copies of herself. The illusions attack from range while the real Xanthe hides and prepares a much stronger strike.
How I’d Handle Xanthe
During daylight, witchcraft is your best friend. Area-based spells and tracking abilities can help expose the real target much faster.
At night, Coen’s supernatural senses make the encounter more manageable. His increased movement speed also allows you to immediately close the distance after Xanthe teleports.
The biggest mistake is chasing every illusion.
Find the real Xanthe first. Then attack.
3. Ambrus – The Iron Castellan
If Mihai tests your timing, Ambrus tests your patience.
This heavily armored vampire warlord carries a gigantic two-handed warhammer and has the kind of health pool that makes you immediately realize that button-mashing isn’t going to work.
His first phase is actually fairly readable. The overhead hammer attacks are slow, while his sweeping ground attacks give you enough time to react.
The problem is that blocking everything will burn through Coen’s stamina.
That’s why I’d strongly recommend practicing directional parries before taking this fight seriously.
A successful parry doesn’t just protect you. It can create the opening you need to stagger Ambrus without destroying your own stamina bar.

Phase 2 Changes Everything
Once Ambrus removes parts of his armor, the fight becomes much faster.
His charge attacks become particularly dangerous because he can force Coen toward walls, while his hammer impacts leave dangerous cracks across the ground.
Suddenly, the giant slow boss isn’t so slow anymore.
During the day, I’d use witchcraft to weaken his defenses or slow him down. At night, concentrate on his exposed joints and use Coen’s mobility to get behind him.
One piece of advice: don’t become obsessed with feeding during this fight.
Ambrus recovers quickly from stagger states, and a poorly timed close-range animation can turn an easy opening into a huge mistake.
4. Bakir – The Alchemist Who Became a Monster
Bakir might be my least favorite opponent to fight in terms of pure arena comfort — and I mean that as a compliment.
The encounter takes place in a contaminated laboratory, and the environment itself becomes part of the boss.
Bakir attacks with claws, acid, toxic clouds, and alchemical weapons. You aren’t just watching his animation patterns. You’re constantly watching the floor.
Acid pools can rapidly eat away at Coen’s health and defenses, while toxic gas reduces the amount of safe space available.

Phase 1
Bakir moves unpredictably, climbs walls, and jumps down onto Coen. His alchemical flasks create hazardous areas that make staying in one location a terrible idea.
I’d recommend prioritizing movement over damage.
Wait for him to commit to an attack, dodge, land a few hits, and immediately reposition.
Phase 2
After injecting himself with a mutagen, Bakir becomes a much larger creature.
His attacks gain additional reach, while his plague effect can continuously drain Coen’s health and reduce healing effectiveness.
That means mistakes become much more expensive.
During the day, defensive witchcraft and status protection are extremely useful. Ranged spells are also safer than constantly trying to stand next to him.
At night, however, Coen can really take advantage of his mobility.
When Bakir climbs onto the walls, use fast movement abilities to reach him and knock him down. Those moments can create some of the best opportunities to deal serious damage.
Keep moving. The laboratory is almost as dangerous as Bakir.
5. Brencis – The Supreme Vampire Overlord
And then there is Brencis.
As the central vampire antagonist and the figure holding Coen’s family captive, Brencis naturally feels like the encounter everything else has been building toward.
He’s also the fight where the game’s combat systems come together.
Swordplay. Witchcraft. Vampiric movement. Dodging. Parrying. Positioning.
If you’ve been ignoring one of those systems throughout the game, this is where you may regret it.
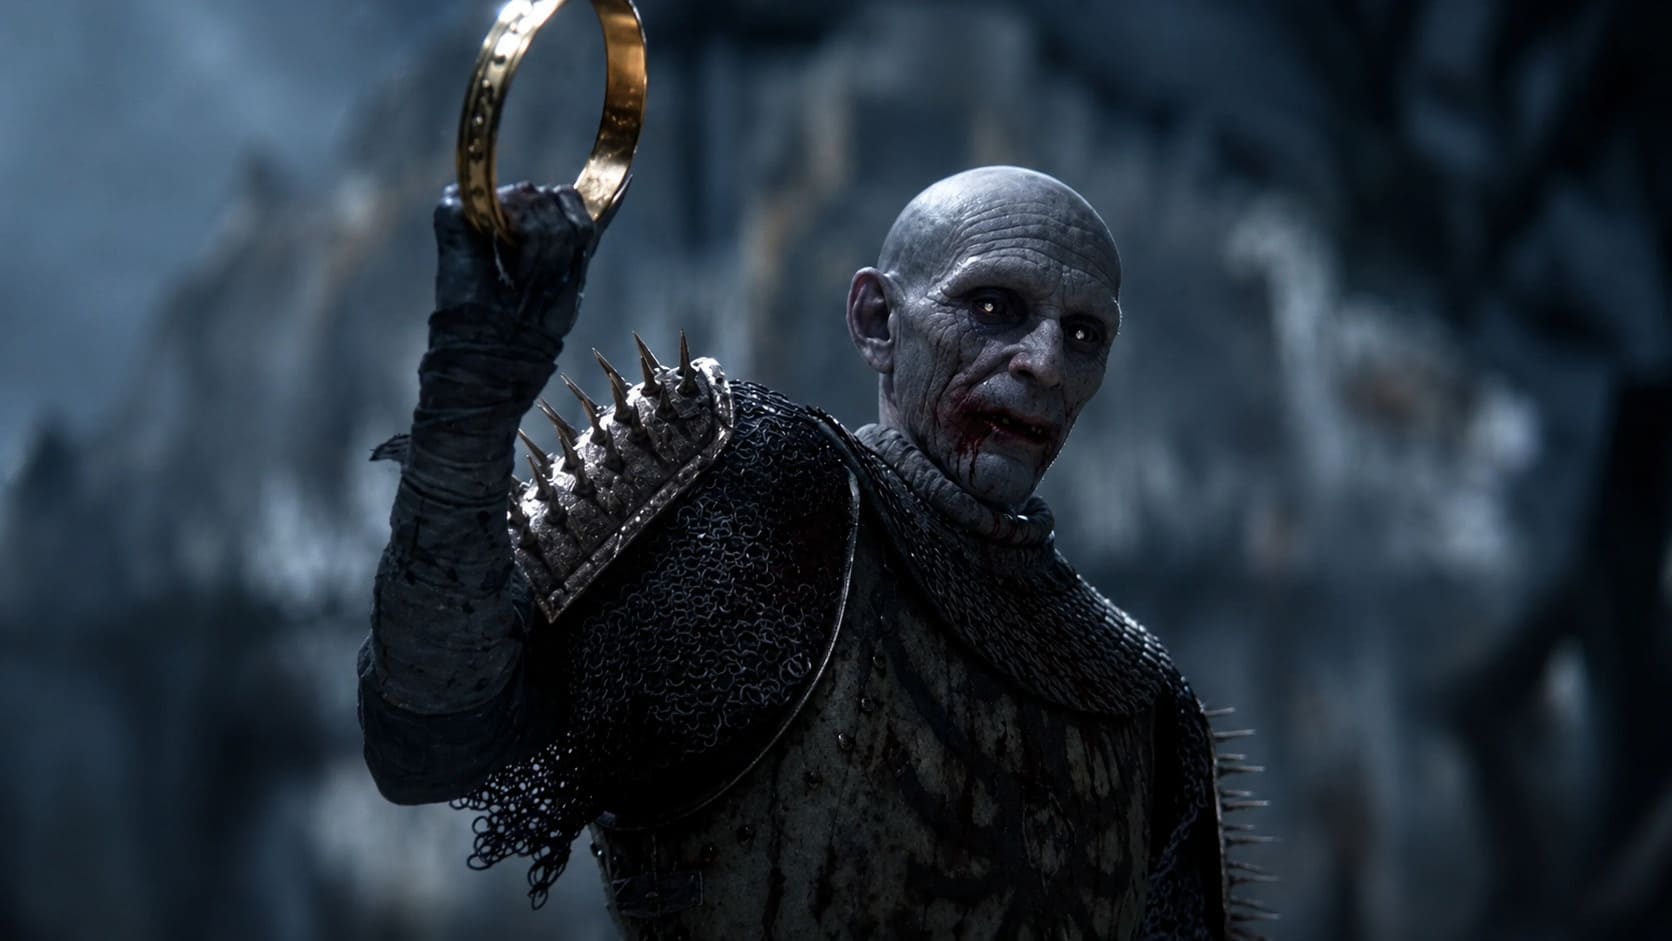
Phase 1 – Vampire Duel
Brencis begins with extremely fast sword combinations.
His attacks are difficult to read and punish mistakes immediately. Directional parrying becomes particularly important here, although I wouldn’t recommend trying to parry every single attack.
Sometimes the smartest move is simply to dodge.
He also summons blood orbs that track Coen, forcing you to pay attention to more than just Brencis himself.
Phase 2 – Blood From Above
Brencis takes to the air and starts controlling huge portions of the arena with blood magic.
This is where movement becomes absolutely critical.
His unblockable diving attacks are particularly nasty because they can deal enormous damage and potentially restore his health if they connect.
Don’t stand underneath him waiting for an opening.
Move, watch the attack cue, dodge, and punish the recovery.
Phase 3 – Darkness
This is the part that sounds like it could become either incredibly cool or incredibly frustrating depending on execution.
The arena falls into darkness, and Brencis begins attacking from the shadows.
At this point, visual reaction time isn’t enough.
You need to pay attention to audio cues and tracking abilities.
A successful parry can create the opening for the final attack, but trying to swing wildly into the darkness is a good way to get punished.
Day vs Night Against Brencis
During the day, I’d build around strong swordsmanship and defensive witchcraft. Anything that can illuminate or disrupt the darkness in the final phase becomes extremely valuable.
At night, the fight changes dramatically.
Coen’s own vampiric senses can help reveal Brencis’s position, while his mobility makes avoiding the large blood-magic attacks much easier.
There is one trap, though: blood draining.
It might look tempting when Brencis is vulnerable, but getting too close can trigger a devastating counterattack.
Don’t assume every opening is an invitation to feed.
Which Blood of Dawnwalker Boss Is the Hardest?
Based purely on their mechanics, I’d put Brencis at the top, followed by Ambrus and Bakir.
Brencis requires the widest range of skills, while Ambrus heavily punishes stamina mistakes. Bakir is less about traditional dueling and more about managing environmental hazards.
Xanthe could actually be easier than expected if your build and dialogue choices allow you to avoid the fight altogether.
Mihai sits somewhere in the middle. His first phase is fairly readable, but his second phase can punish anyone who relies too heavily on blocking.
| Boss | What Makes Them Difficult |
|---|---|
| Mihai | Unblockable attacks and phase transition speed |
| Xanthe | Illusions and unpredictable positioning |
| Ambrus | Huge damage and stamina pressure |
| Bakir | Toxic arena and plague effects |
| Brencis | Multiple mechanics and darkness phase |
Day or Night: Which Is Better for Boss Fights?
This is one of the most interesting questions in The Blood of Dawnwalker, because I don’t think there should be a universal answer.
Daytime generally favors players who enjoy controlled combat. Swordsmanship, defensive abilities, witchcraft, and careful positioning make it possible to methodically break down dangerous enemies.
Nighttime is much more aggressive.
Coen’s vampiric abilities provide greater mobility and stronger close-range pressure. Against bosses that rely on predictable positioning or long recovery animations, that can be incredibly powerful.
I’d personally choose the time of day based on the boss rather than trying to force one playstyle through the entire game.
The Blood of Dawnwalker Best Graphics Settings for High Performance PC
My Quick Rule
- Heavy, slow boss? Use mobility and punish recovery windows.
- Fast boss? Prioritize defensive timing and tracking.
- Illusion-based enemy? Use detection and area abilities.
- Environmental hazard fight? Mobility comes first.
- Final boss? Bring everything you’ve learned.
How to Fix The Blood of Dawnwalker Black Screen on Launch and Startup Crashes
Final Thoughts on The Blood of Dawnwalker Bosses
What makes these encounters stand out is that they aren’t simply five variations of the same RPG formula.
Mihai is about timing. Xanthe is about perception and potentially diplomacy. Ambrus is a stamina and positioning check. Bakir turns the arena into a hazard zone. Brencis is the ultimate test of Coen’s entire combat toolkit.
And that’s exactly what I’d want from The Blood of Dawnwalker.
The day/night mechanic shouldn’t just change the color grading or give you a few different abilities. It should change how you think about encounters. If the final game successfully connects boss design with Coen’s dual nature, these fights could become some of the most memorable parts of the campaign.
My biggest recommendation is simple: don’t treat every boss like a DPS race.
Learn what the enemy is actually trying to do. Watch their recovery animations. Save stamina for the attacks that matter. Know which moves are unblockable, and don’t be afraid to disengage.
Most importantly, experiment with both sides of Coen.
The best strategy might not always be the strongest weapon or the highest-damage ability. Sometimes, the smartest move in Vale Sangora will simply be choosing when to fight, how to fight, or whether to fight at all.