Temtem: Pioneers Bellora & Dracub Build Guide – Stats & Best Combo Strategy
When Temtem: Pioneers was first teased, I’ll admit—I wasn’t sure how well the shift into survival mechanics and real-time combat would work.
But after digging into early gameplay discussions and community theorycrafting, it’s clear the game is shaping up to be something genuinely fresh. And right at the center of that conversation are two Tems: Bellora and Dracub.
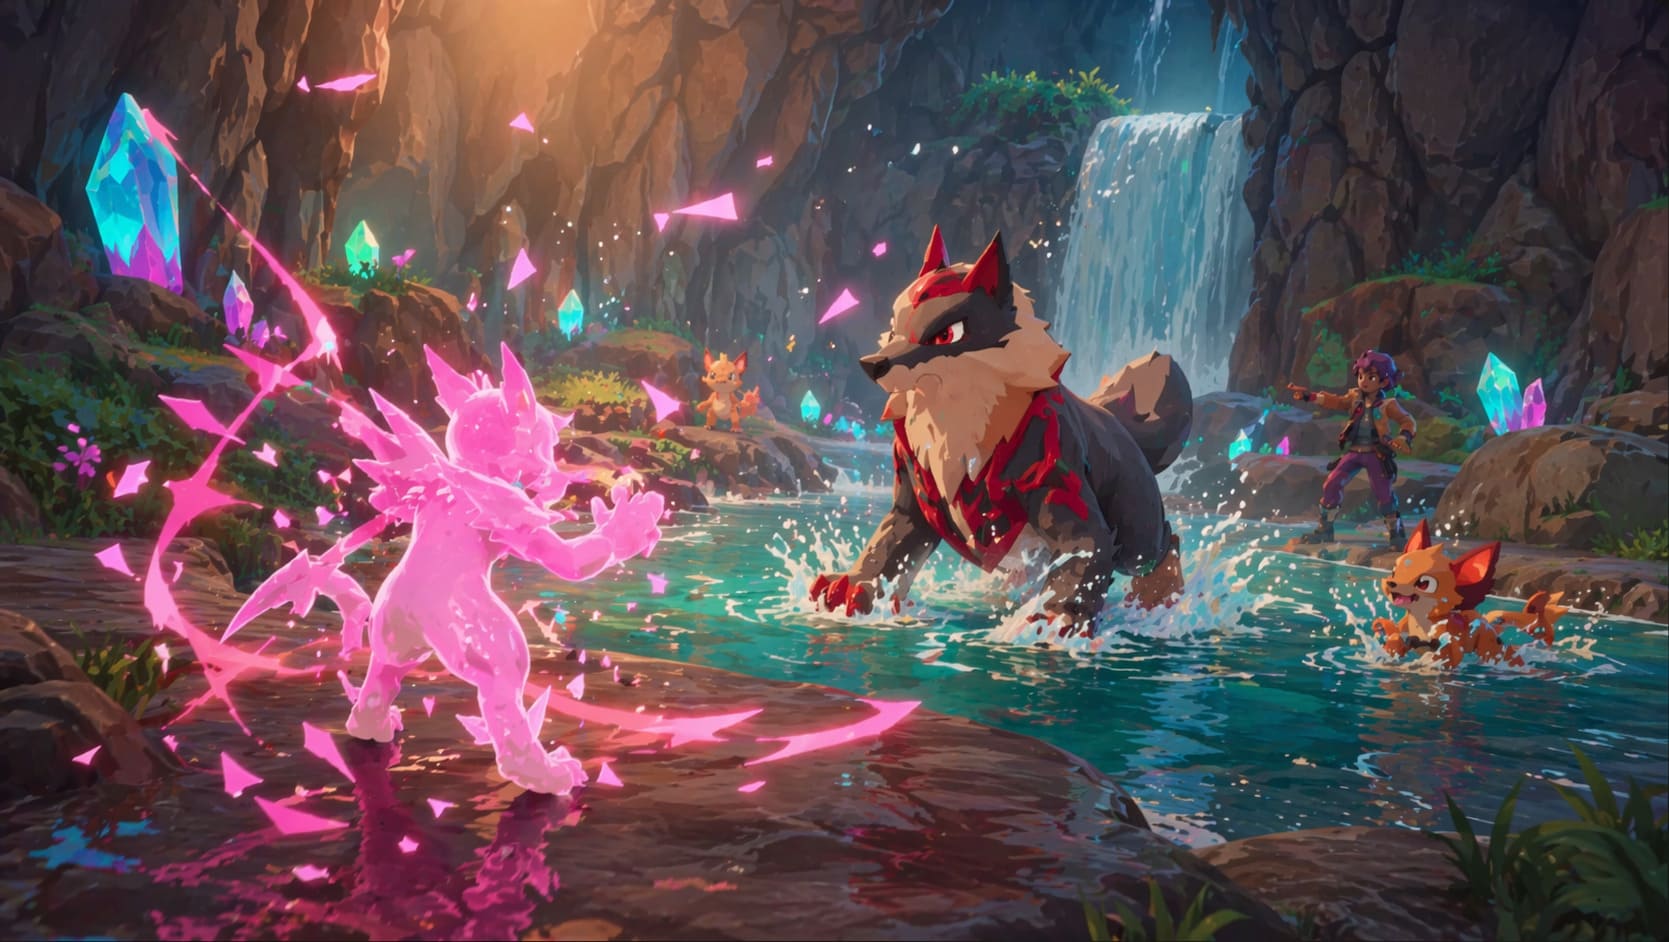
If you’re like me—someone who enjoys experimenting with builds and squeezing efficiency out of every system—these two are impossible to ignore.
Let’s break down why they matter, how they play, and whether they deserve a spot in your team.
Soulmask Tribesmen Position System Guide: Mastering AI Automation and Combat (2026 Edition)
Bellora — The Quiet MVP of Survival Gameplay
At first glance, Bellora doesn’t scream “must-have.” It’s not flashy, it doesn’t delete enemies in one hit, and it won’t carry fights on raw damage alone. But that’s exactly why it stands out in the current meta discussions.
Bellora thrives in a role many players underestimate: sustain and control. In a game where you’re not only battling but also managing survival resources and staying alive in dangerous zones, that role becomes extremely valuable.
Bellora’s biggest strength is its exceptional special defense, allowing it to absorb elemental attacks and protect the team from heavy spell-based pressure. It also operates in a comfortable mid-speed range, which gives it flexibility—acting neither too early nor too late, but exactly when support actions matter most.
Its toolkit is what really pushes it into “meta-relevant” territory. Early impressions suggest access to protective abilities, defensive buffs, and disruption tools that can shift momentum in longer encounters. Instead of winning fights directly, Bellora ensures fights don’t spiral out of control in the first place.
From a survival gameplay perspective, that matters more than raw damage. Every hit it prevents translates into fewer healing items used, longer exploration runs, and more efficient progression through dangerous areas.
Dracub — Pure Aggression Done Right
On the opposite side of the spectrum sits Dracub, a Tem designed around fast eliminations and overwhelming pressure. If Bellora is control, Dracub is chaos in its most refined form.
Dracub’s defining trait is its offensive output. Whether physical or special, its damage scaling puts it firmly in the category of a high-threat attacker capable of deleting weaker enemies before they have a chance to respond.
Speed and priority mechanics play a huge role in its identity. Rather than relying solely on raw initiative, Dracub uses high-priority techniques to act faster than expected. This gives it a unique edge in fights where timing determines survival.
However, this power comes with a cost. Dracub is fragile by design. It functions as a classic glass cannon, meaning positioning and support are critical. If it gets focused early, it can fall quickly. But if protected properly, it can end encounters almost instantly.
This risk-reward balance is what makes Dracub so appealing to aggressive players who prefer high-impact decision making over slow, defensive playstyles.
Why Bellora + Dracub Is Such a Strong Combo
Individually, both Tems are strong in their respective roles. Together, they form a synergy that feels intentionally designed for the survival-focused structure of Pioneers.
The idea is simple but effective. Bellora leads by stabilizing the battlefield, applying protection and reducing incoming pressure. Once the situation is under control, Dracub steps in to capitalize on openings with fast, high-damage attacks.
This creates a smooth flow of combat where defense transitions naturally into offense. Instead of reacting to threats, the duo allows players to dictate tempo from the start of the encounter.
- Bellora establishes defensive control and protects key targets
- Dracub eliminates high-priority enemies quickly
- Momentum snowballs as enemy threats disappear
- Resource consumption is significantly reduced during exploration
In survival gameplay, efficiency is everything. The fewer mistakes you make and the less damage you take, the longer you can stay in the field. This duo directly supports that philosophy.
Understanding SVs and TVs Without Overcomplication
Progression in Temtem: Pioneers still relies heavily on stat optimization systems, primarily SVs and TVs. While these may sound complex, they are relatively straightforward once broken down.
SVs represent genetic potential. Each stat ranges from low to high values, and the closer you are to maximum values across all stats, the stronger your Tem becomes in long-term development. Players aiming for competitive performance often seek near-perfect SV distributions.
TVs, on the other hand, are earned through gameplay. These values are built by defeating specific enemies and allow players to specialize their Tems toward particular roles. For example, focusing on HP farming makes a Tem tankier, while speed-focused training turns it into a faster attacker or support unit.
In practice, SVs define what a Tem can become, while TVs define how you shape it.
Recommended Roles and Build Direction
Both Bellora and Dracub benefit from very clear role definitions, which makes them easier to integrate into teams without overcomplicating builds.
Bellora should be treated as a defensive anchor. Its value increases when investing in survivability and special defense, allowing it to consistently support teammates throughout extended encounters. It is not meant to deal heavy damage, but to ensure the team stays functional under pressure.
Dracub, in contrast, should be built for maximum burst potential. Attack and speed are its primary scaling stats, reinforcing its role as an initiator and finisher. The goal is simple: remove threats before they can act.
| Temtem | Role | Focus Stats | Playstyle |
|---|---|---|---|
| Bellora | Support / Tank | Special Defense, HP | Defensive control and sustain |
| Dracub | Sweeper / Attacker | Attack, Speed | Fast elimination and pressure |
Team Building Considerations
Even strong core pairs need proper support to function optimally in extended gameplay. One of the most important aspects of team building in Pioneers is ensuring type coverage and flexibility.
Many players underestimate how often elemental weaknesses can disrupt momentum. Fire and Earth-based threats appear frequently, meaning teams should always include reliable counters to prevent unexpected losses.
It is also important not to rely entirely on a single damage dealer. If Dracub is removed from the fight, having a backup attacker ensures the team does not lose offensive pressure entirely.
A balanced composition allows Bellora and Dracub to perform their roles without forcing them into situations they are not designed for.
Leveling and Survival Strategy
Progression in Pioneers rewards efficiency rather than random grinding. Players who focus on optimal encounter zones tend to level faster and consume fewer resources.
Mid-game areas such as Arbury and Cipanku are frequently mentioned as efficient leveling zones due to their experience yield and encounter density. Targeting specific high-value enemies is generally more effective than indiscriminate grinding.
Survival strategy also plays a major role. Instead of constantly returning to base, successful runs rely on maintaining field presence for as long as possible. Support units like Bellora contribute heavily to this by reducing resource drain and extending exploration time.
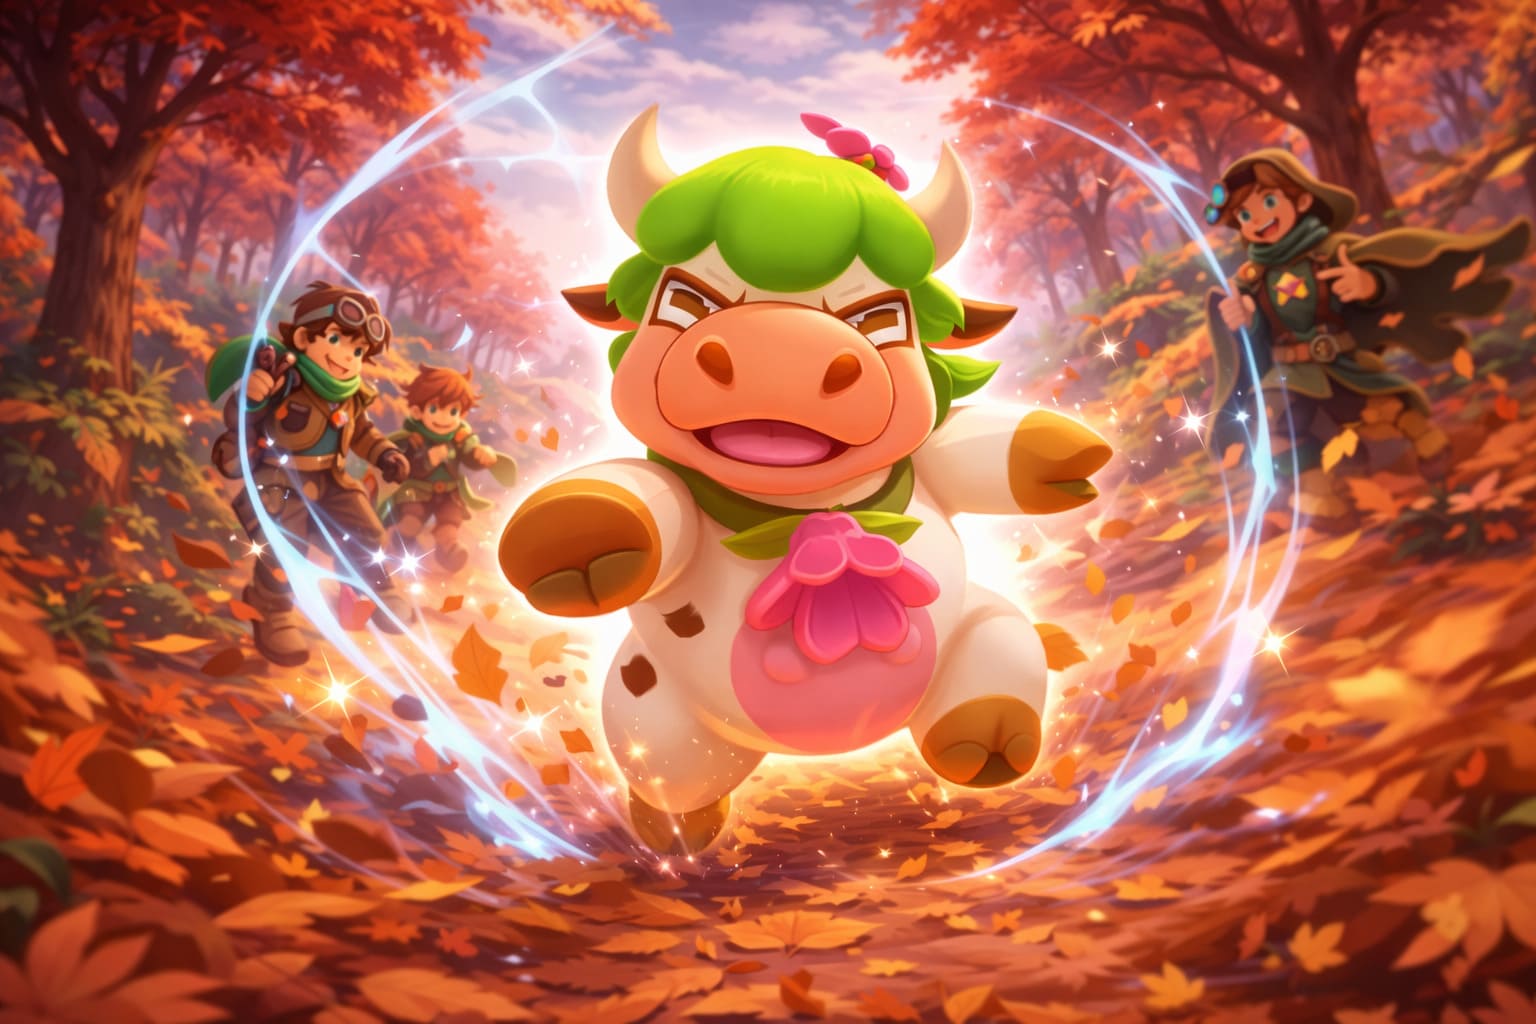
Are Bellora and Dracub Worth Building Around?
The short answer is yes. These two Tems represent two fundamental pillars of Temtem: Pioneers gameplay: stability and aggression. Bellora provides control, safety, and sustainability, while Dracub offers explosive damage and momentum control.
When combined, they create a rhythm of play that feels both strategic and dynamic. You stabilize, then you strike. You defend, then you overwhelm.
If early meta discussions are any indication, this duo is likely to remain relevant for a long time, especially in survival-heavy content where efficiency matters as much as raw power.
Mastering the Bellora & Dracub Core: A Player’s Take on Building a Winning Temtem Duo
If you’ve spent any time in competitive Temtem, you already know that synergy matters far more than raw stats. Some combinations just click—and one of my personal favorites right now is the Bellora + Dracub core. It’s one of those duos that feels incredibly satisfying when played right: one protects, the other demolishes.
After experimenting with different builds, tweaking TVs, and honestly making plenty of mistakes along the way, I’ve come to appreciate how much optimization matters here. This isn’t just about copying numbers—it’s about understanding why those numbers work.
Let’s break down a refined approach to this combo, with a human perspective rather than a robotic one.
Why Bellora + Dracub Works So Well
At its core, this duo is about control + pressure. Bellora acts as your defensive backbone and tempo controller, while Dracub is your aggressive finisher designed to delete threats quickly. What makes this pairing strong is how naturally their roles complement each other. Bellora buys time, disrupts enemy setups, and keeps Dracub safe long enough to do what it does best: sweep.
Bellora Build: The Reliable Utility Support
Bellora isn’t flashy—but that’s exactly why it’s so good. It wins games quietly and consistently when used correctly.
This kind of build might look boring on paper, but once you use it in real matches, you realize how annoyingly hard Bellora is to remove.
HP investment is the backbone of its survivability, while Special Defense pushes it into a tier where elemental pressure barely scratches it. Stamina optimization ensures long-term sustainability, and just enough Speed allows it to act before slower threats.
Recommended TV Spread (Bellora)
HP: 480 TVs
Special Defense: 380 TVs
Stamina: 80 TVs
Speed: 60 TVs
How It Feels in Practice
HP (480 TVs) provides efficient survivability across both physical and special damage. Instead of splitting defenses, stacking HP creates a more universal tanking profile.
Special Defense (380 TVs) turns Bellora into a reliable answer against elemental threats, reinforcing its role as a frontline support.
Stamina (80 TVs) is one of those subtle but crucial optimizations. Hitting the 81 total stamina threshold improves regeneration, which compounds over longer matches.
Speed (60 TVs) isn’t about going first in every situation—it’s about beating uninvested or mid-tier threats to key support actions.
My Take on Bellora
Bellora is the kind of Temtem that rewards patience. If you enjoy outlasting opponents and controlling tempo rather than rushing damage, this build feels incredibly satisfying. It’s about slowly forcing the opponent into losing positions rather than explosive plays.
Dracub Build: The High-Risk, High-Reward Sweeper
Dracub is the exact opposite of Bellora. Where Bellora stabilizes, Dracub ends games. This is your primary win condition and your most explosive threat.
Recommended TV Spread (Dracub)
Offensive Stat (Attack or Special Attack): 500 TVs
Speed: 420 TVs
HP: 80 TVs
How It Plays in Practice
Maxing your offensive stat is essential. Dracub is built to hit OHKO thresholds and punish anything that stays on the field too long.
Speed investment ensures it stays ahead of most relevant threats in the meta. Without it, Dracub loses its identity as a fast sweeper and becomes vulnerable to counterplay.
The remaining HP investment is not just filler—it allows Dracub to survive weak priority moves or neutral chip damage, which can be the difference between sweeping or getting picked off.
My Take on Dracub
Dracub is incredibly rewarding but unforgiving. It thrives on momentum and punishes mistakes hard. When supported properly by Bellora, it becomes a game-ending force that can snowball out of control very quickly.
The Real Secret: Stamina Management
Stamina is often overlooked, but it quietly determines match consistency. Not all stamina values are equal, and hitting specific thresholds matters more than simply increasing numbers.
Ending stamina at values like 61 or 81 is significantly more efficient than stopping at 60 or 80 due to regeneration breakpoints. These small differences accumulate across multiple turns and can determine whether a Temtem stays active or becomes exhausted at a critical moment.
Training Tips From Experience
Using training gear that boosts TV gain dramatically speeds up progression and reduces grind time. Optimizing this early saves a lot of effort later.
Don’t hesitate to correct mistakes. TV allocation errors are common, and resetting is often more efficient than rebuilding from scratch.
Think in thresholds rather than raw numbers. The key question should always be whether a stat hits a meaningful breakpoint, not just whether it is higher than before.
How the Core Works Together
This duo functions on a simple but powerful loop: Bellora absorbs pressure and disrupts enemy plans, while Dracub enters safely and converts openings into knockouts.
A typical match flow starts with Bellora controlling tempo, followed by Dracub entering mid-game to clean up weakened opponents. Once momentum shifts, the opponent often struggles to recover.
Final Thoughts
This core stands out because of its balance between strategy and aggression. Bellora provides stability and control, while Dracub delivers explosive finishing power. Together, they create a gameplay loop that feels both calculated and rewarding.
If you prefer strategic, slower gameplay, Bellora offers control. If you enjoy high-impact offensive turns, Dracub delivers excitement. Combined, they form a duo that can consistently perform in competitive environments when played correctly.