Project Zomboid Build 42 Animal Husbandry Guide: Complete Livestock and Breeding Strategy
After spending a ridiculous amount of time across survival games where bases either thrive or collapse into chaos, Build 42 of Project Zomboid finally makes animal farming feel like a real survival pillar rather than a side activity.
It is no longer just an optional system for flavor—it can completely replace scavenging if you understand how to manage it properly.
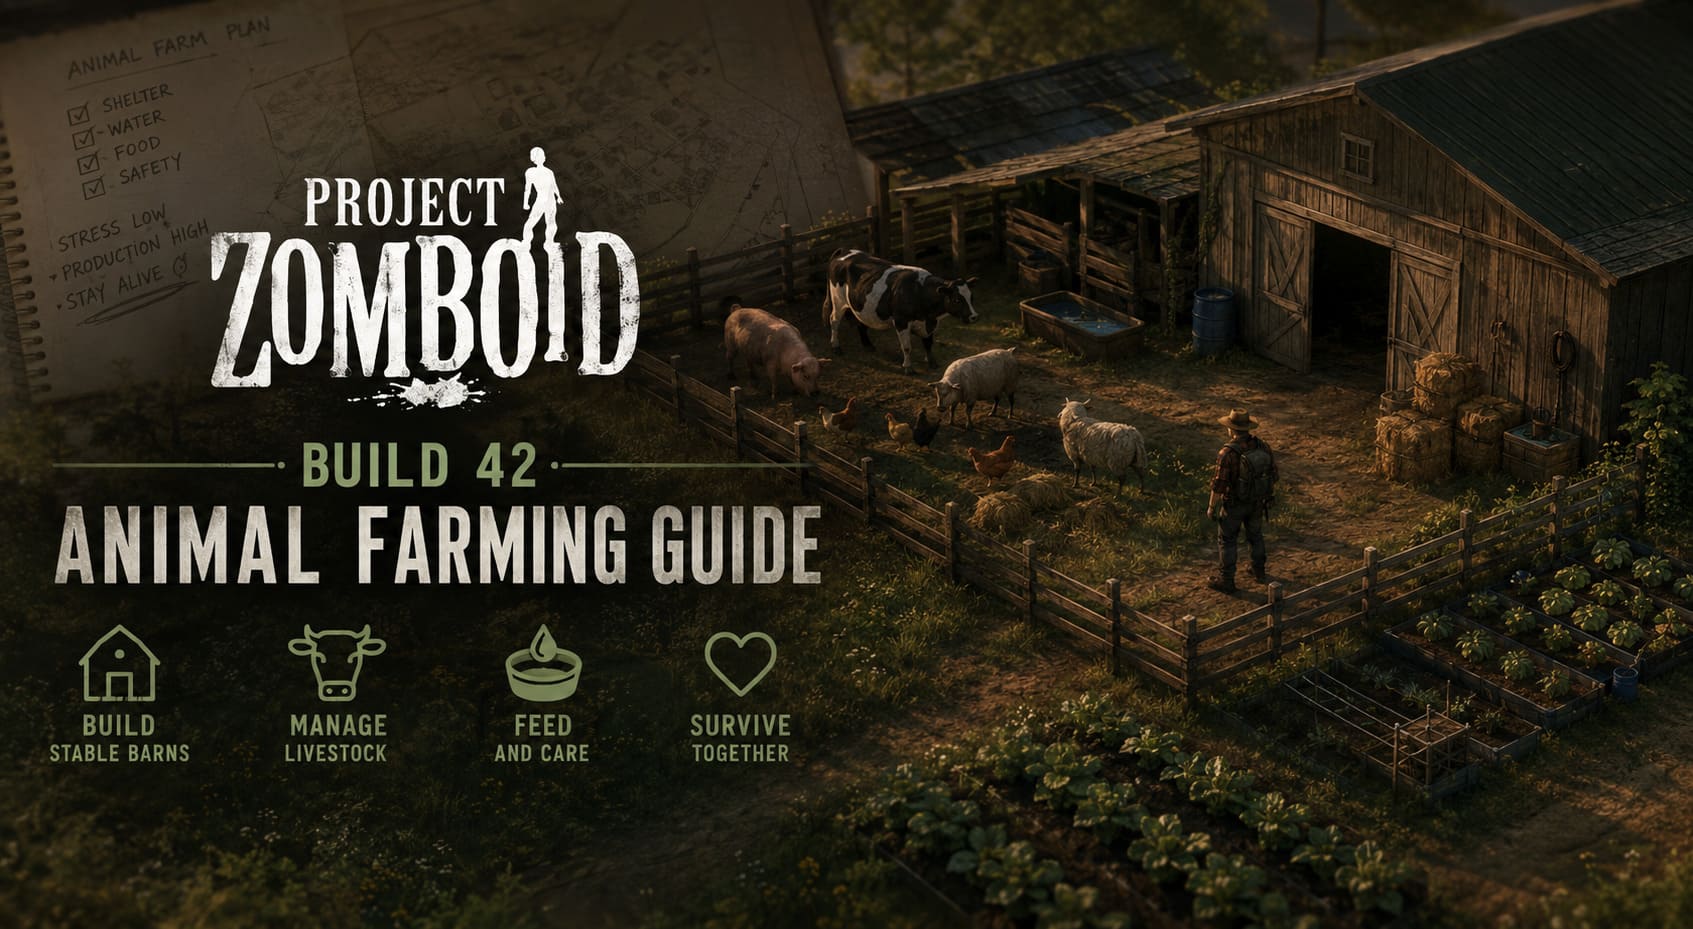
Animal husbandry in this version is not casual farming. It is a structured survival loop that rewards patience and punishes neglect. When it works, it is incredibly powerful. When it fails, it collapses fast and usually takes your food supply with it.
Setting Up a Proper Livestock Zone
The biggest mistake players make is treating animals like static objects. You cannot just fence them in and expect stable production. The system revolves around a defined livestock zone that simulates environmental comfort and stability.
Project Zomboid Build 42 Multiplayer Stability Guide: Fix Lag, Desync, and Low FPS
Core Requirements
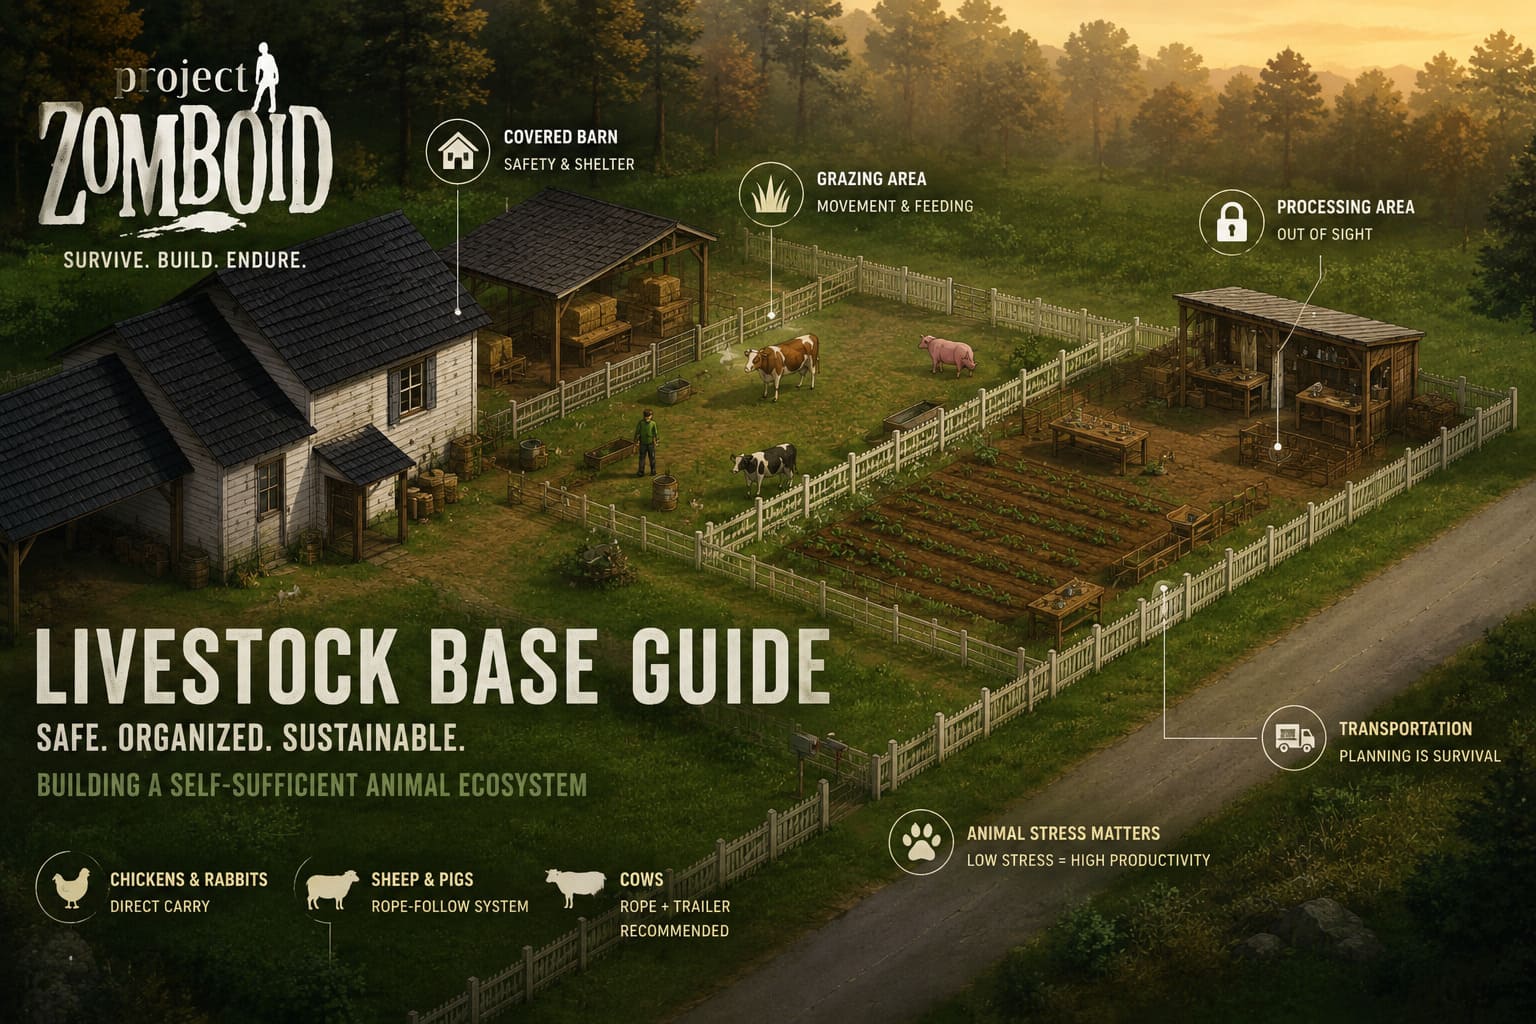
A functional livestock setup must always include three core elements working together:
- Shelter: Roof coverage is more important than walls. Animals actively seek covered tiles during bad weather.
- Water: Troughs must be consistently available and ideally placed where rain can refill them when possible.
- Food: Feeding areas should remain stable and not contaminated by environmental interference like rainwater or clutter.
If any of these systems fail, animal stress rises quickly and production efficiency drops sharply.
Personal Approach to Base Design
After multiple failed attempts, I stopped building “pens” and started building ecosystems. A working livestock base usually has three zones:
- – A covered barn for safety and shelter
- – A controlled grazing area for movement and feeding
- – A separate processing area completely out of sight
This last point is critical. Animals reacting to death is not cosmetic—it directly affects their stress levels and productivity.
Solarpunk Release Date & Xbox Game Pass Guide: Everything You Must Know
Transporting Animals Safely
Moving animals is one of the most dangerous and chaotic parts of early farming. It is not just logistics—it is risk management.
Transport Methods
Small animals like chickens and rabbits can be carried directly, but larger livestock requires tools and planning.
- Chickens and rabbits: Direct carry
- Sheep and pigs: Rope-follow system
- Cows: Rope plus trailer recommended for safety
Rushing this process often leads to lost animals or accidental exposure to zombies, so clearing a route beforehand is strongly recommended.
Breeding System and Animal Genetics
Breeding in Build 42 is surprisingly deep and behaves more like a controlled simulation than a simple mechanic. It depends on multiple hidden variables and environmental conditions.
Basic Requirements
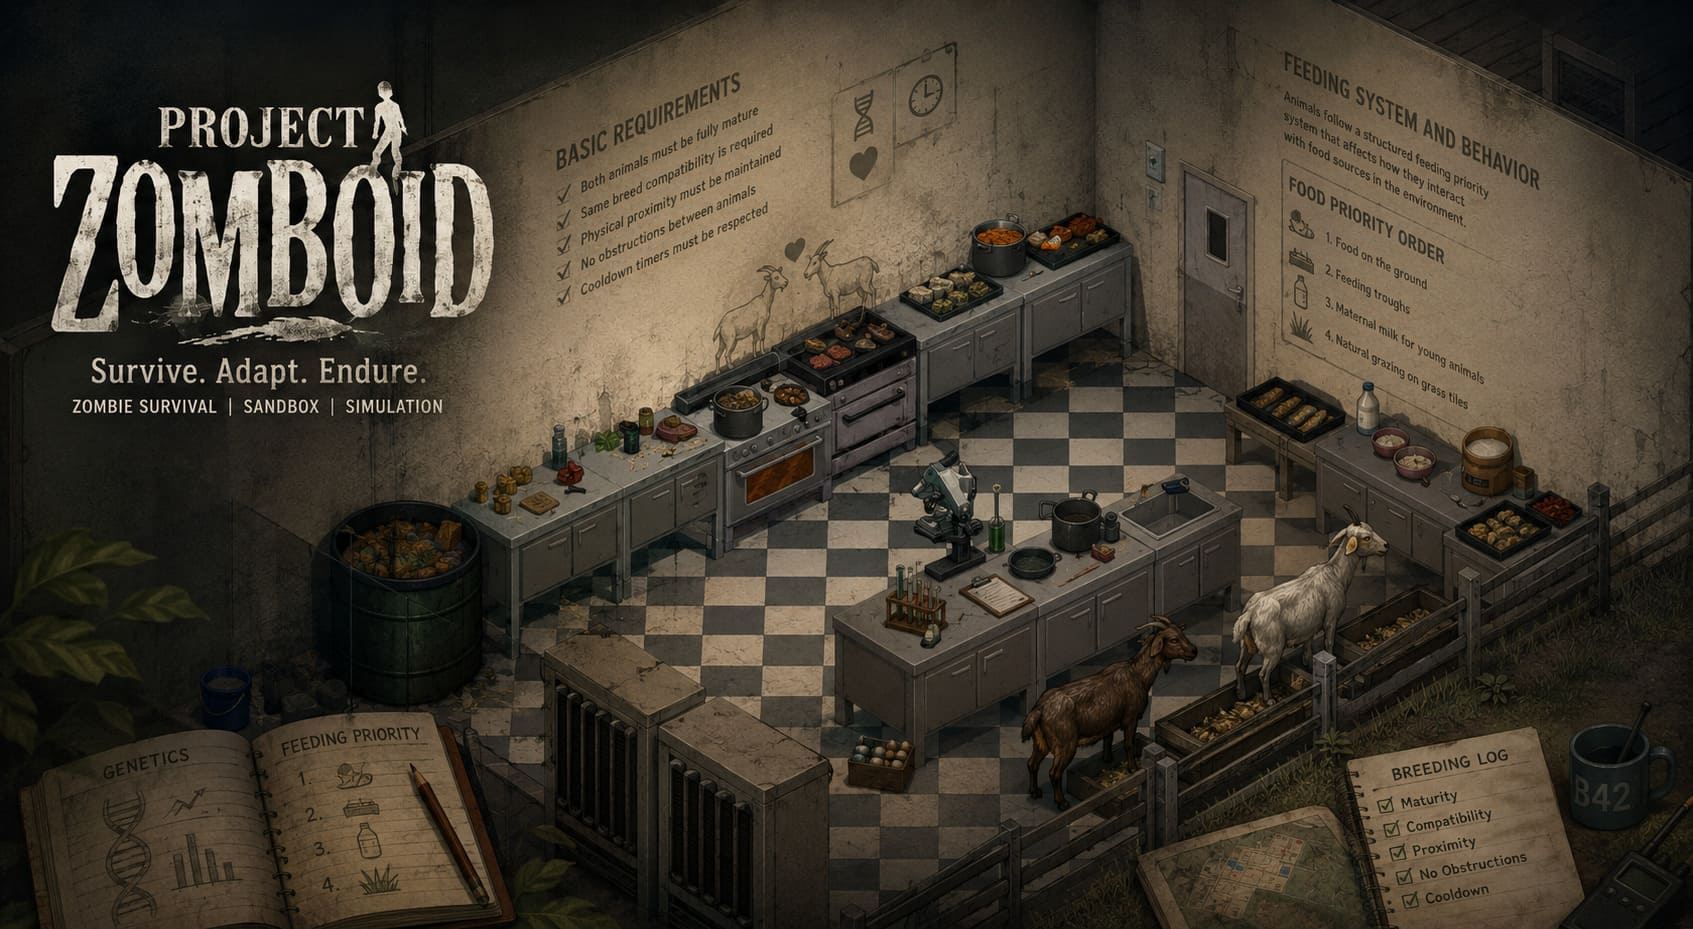
To successfully breed animals, several conditions must be met at the same time:
- – Both animals must be fully mature
- – Same breed compatibility is required
- – Physical proximity must be maintained
- – No obstructions between animals
- – Cooldown timers must be respected
The system feels less like farming and more like managing fragile systems that depend heavily on stability rather than raw input.
Feeding System and Behavior
Animals follow a structured feeding priority system that affects how they interact with food sources in the environment.
Food Priority Order
1. Food on the ground
2. Feeding troughs
3. Maternal milk for young animals
4. Natural grazing on grass tiles
This means inefficient feeding strategies can technically work, but they often lead to waste and inconsistent output over time.
Stress: The Real Core Mechanic
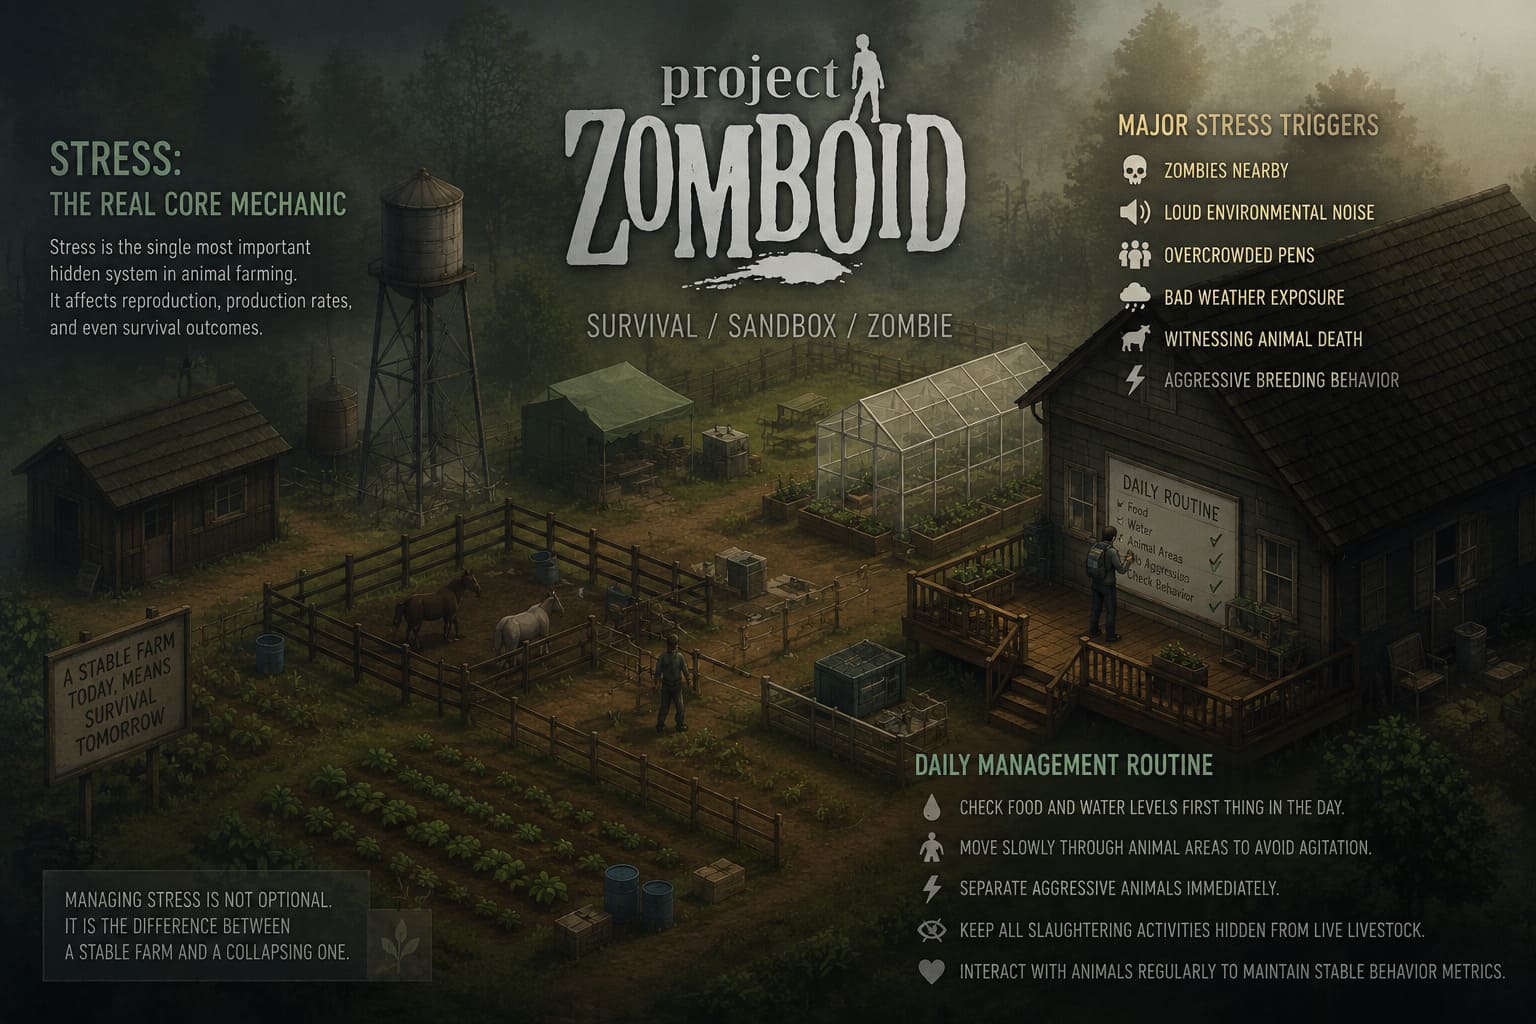
Stress is the single most important hidden system in animal farming. It affects reproduction, production rates, and even survival outcomes.
Major Stress Triggers
- – Zombies nearby
- – Loud environmental noise
- – Overcrowded pens
- – Bad weather exposure
- – Witnessing animal death
- – Aggressive breeding behavior
Managing stress is not optional. It is the difference between a stable farm and a collapsing one.
Daily Management Routine
After extensive experimentation, a consistent routine dramatically improves farm stability.
Check food and water levels first thing in the day. Move slowly through animal areas to avoid agitation. Separate aggressive animals immediately. Keep all slaughtering activities completely hidden from live livestock. Finally, interact with animals regularly to maintain stable behavior metrics.
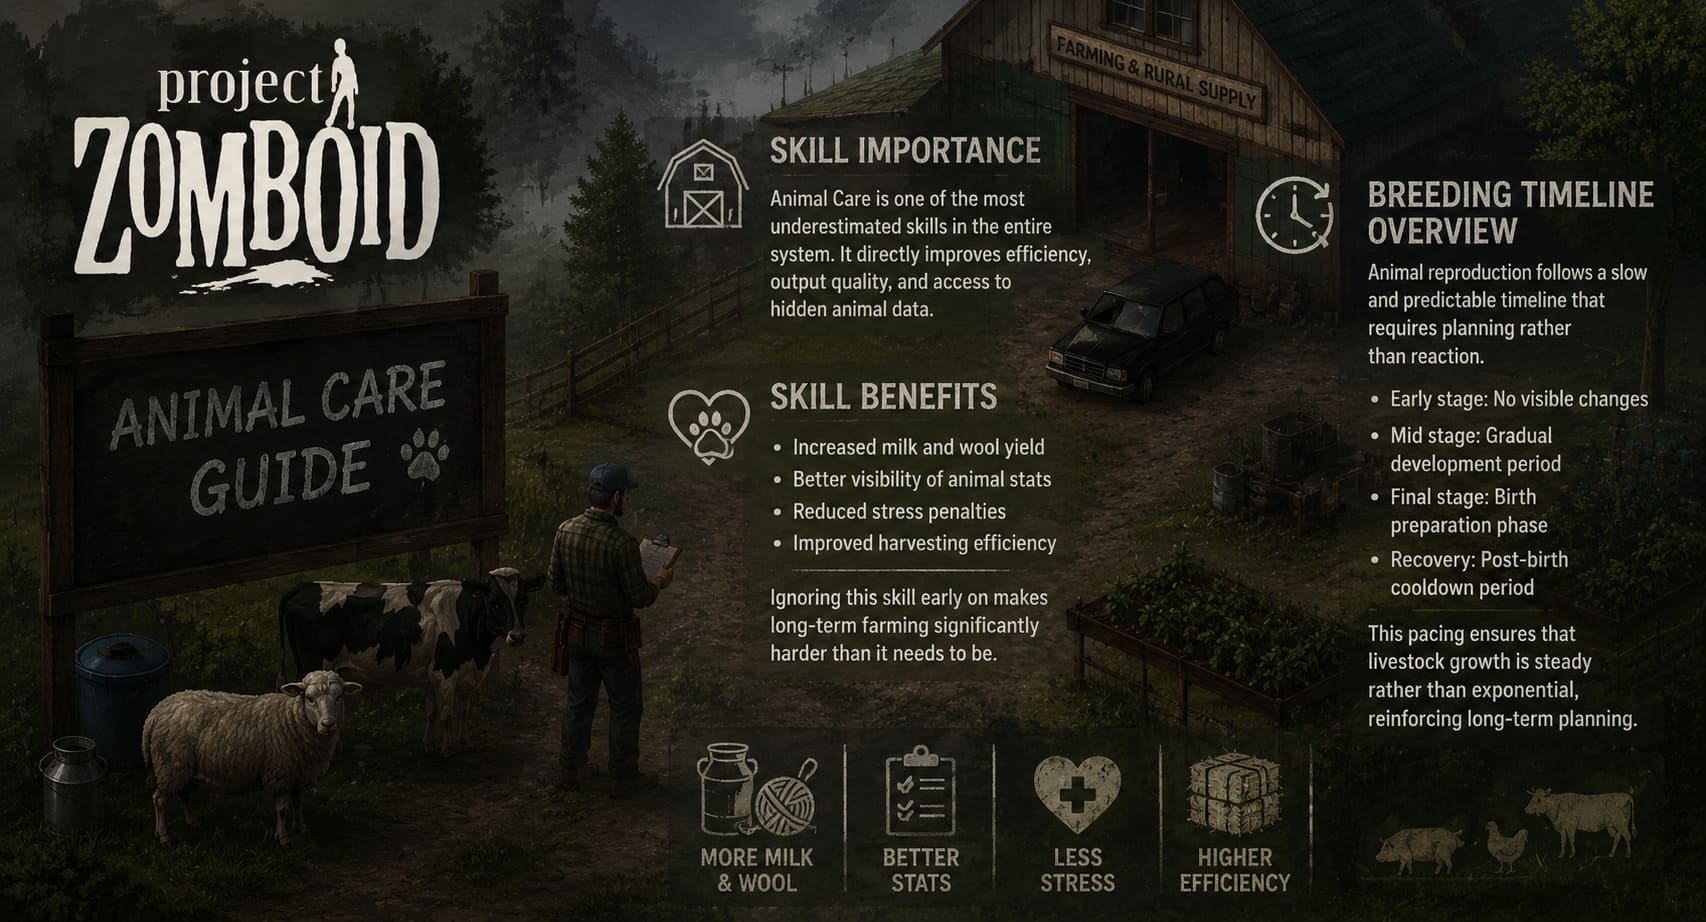
Animal Care Skill Importance
Animal Care is one of the most underestimated skills in the entire system. It directly improves efficiency, output quality, and access to hidden animal data.
Skill Benefits
- – Increased milk and wool yield
- – Better visibility of animal stats
- – Reduced stress penalties
- – Improved harvesting efficiency
Ignoring this skill early on makes long-term farming significantly harder than it needs to be.
Breeding Timeline Overview
Animal reproduction follows a slow and predictable timeline that requires planning rather than reaction.
- Early stage: No visible changes
- Mid stage: Gradual development period
- Final stage: Birth preparation phase
- Recovery: Post-birth cooldown period
This pacing ensures that livestock growth is steady rather than exponential, reinforcing long-term planning.
Final Thoughts
Animal farming in Build 42 is not just another survival feature. It is a layered system that rewards structured thinking and consistent management. If treated casually, it fails quickly. If treated seriously, it becomes one of the most reliable survival tools in the entire game.
It is less about optimization and more about stability. Once you understand that, everything else falls into place.