Palworld 1.0: How to Fix Stuck Pals on Assembly Line II (2026 Guide)
If you’ve reached the late game in Palworld 1.0, chances are your entire base revolves around Assembly Line II. It’s where the expensive gear gets crafted, where Legendary Pal Spheres pile up, and where your industrial empire either thrives… or completely falls apart because your workers suddenly decide that standing inside a conveyor belt is more important than doing their jobs.
I’ve spent more hours optimizing factory layouts than I’d like to admit, and one issue kept coming back over and over again: Pals freezing at the assembly line, refusing to craft, starving in place, or somehow ending up standing on top of the machine after loading into the world.
The good news is that this isn’t just random bad luck. Most of these problems happen for a handful of predictable reasons, and once you understand how the game’s AI behaves, they’re surprisingly easy to prevent.
If you’re tired of constantly babysitting your workers, here’s everything that has consistently worked for me and many other players.
Why Assembly Line II Causes More Problems Than Other Workstations
Unlike smaller crafting benches, Assembly Line II is enormous.
That sounds obvious, but its size creates several hidden problems for the game’s navigation system.
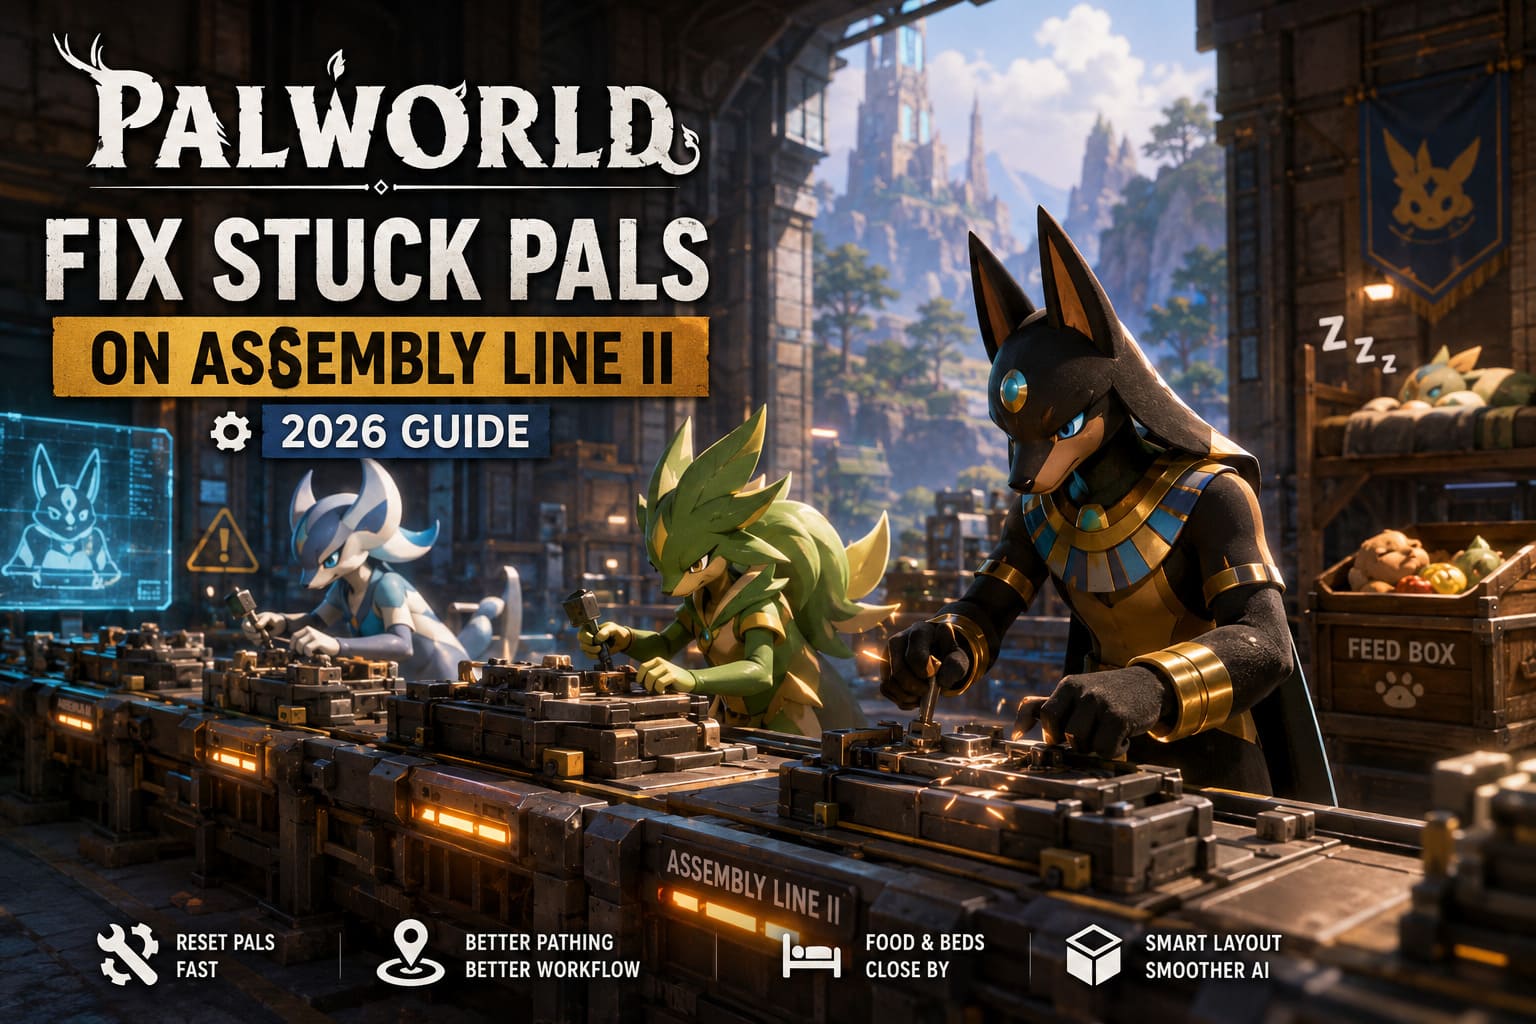
Instead of interacting from a single point, Pals need to locate one of several valid working positions around the machine. When those spots become blocked—even partially—the AI often starts making terrible decisions.
Common causes include:
- walls built too close to the machine
- uneven terrain underneath foundations
- oversized Pals clipping into the model
- base reloads after fast traveling
- crowded industrial zones
In my experience, most “broken AI” moments are actually pathfinding failures rather than true bugs.
The Fastest Ways to Reset Stuck Pals
Sometimes you don’t want to redesign your entire factory.
You just want your workers to move again.
Here are the quickest solutions.
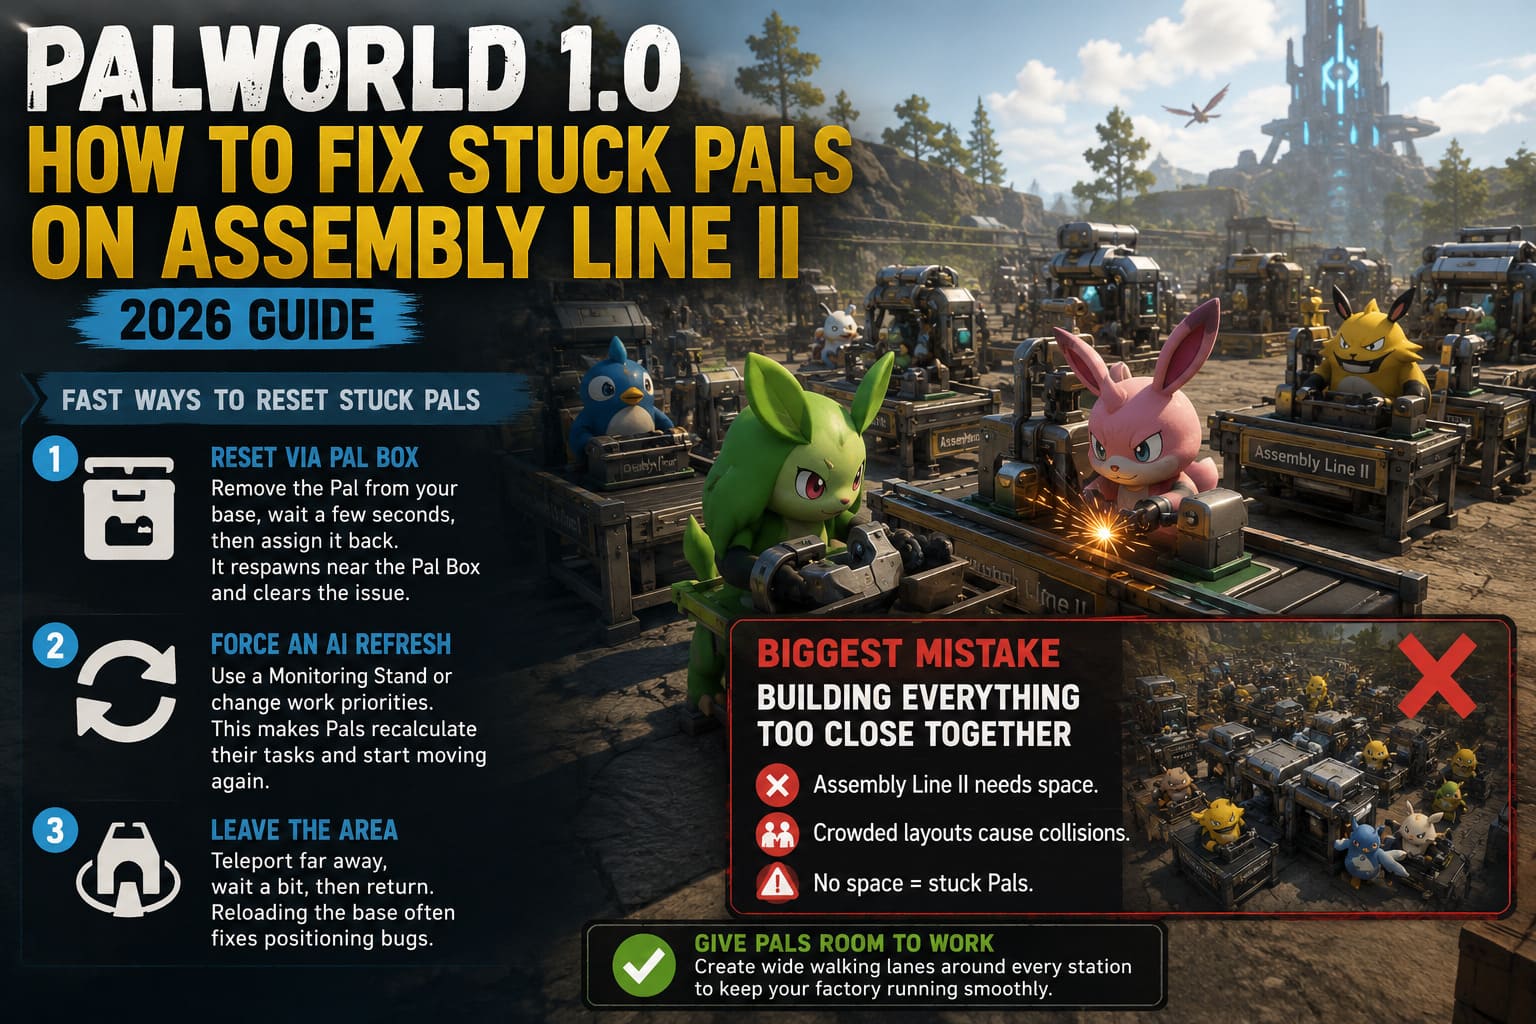
1. Reset Them Through the Pal Box
This is still the most reliable fix.
Simply remove the affected Pal from your active base roster, wait several seconds, then assign it back.
Doing this forces the game to spawn the Pal again near the Pal Box instead of wherever it became trapped.
It isn’t elegant, but it works almost every time.
2. Force an AI Refresh
Changing your workforce behavior can also reset navigation.
Using a Monitoring Stand or switching work priorities forces every Pal to recalculate what it should be doing.
Sometimes that’s enough to make frozen workers suddenly walk back to their stations as if nothing happened.
3. Leave the Area Completely
One trick I’ve used countless times is simply teleporting away.
Travel somewhere on the opposite side of the map, spend half a minute exploring, then return.
Reloading the base often clears strange positioning bugs that appear after long crafting sessions.
The Biggest Mistake Players Make When Building Factories
After experimenting with dozens of factory layouts, I’ve noticed one mistake almost everyone makes.
They build everything too close together.
It looks efficient.
It isn’t.
Assembly Line II needs room.
Lots of room.
Think of the surrounding area as invisible walking lanes rather than empty space.
If those lanes disappear, your workers start colliding with each other and eventually stop functioning.
My Personal Spacing Rule
Whenever I build an Assembly Line II, I always leave open space around it.
Something like this has given me the fewest issues:
- one full foundation behind it
- one full foundation on both sides
- a wide open front entrance
- no decorative objects nearby
Yes, it uses more space.
No, I don’t regret it.
A slightly larger factory is much better than constantly rescuing starving workers.
Flat Floors Matter More Than You Think
One surprisingly common problem comes from building directly on natural terrain.
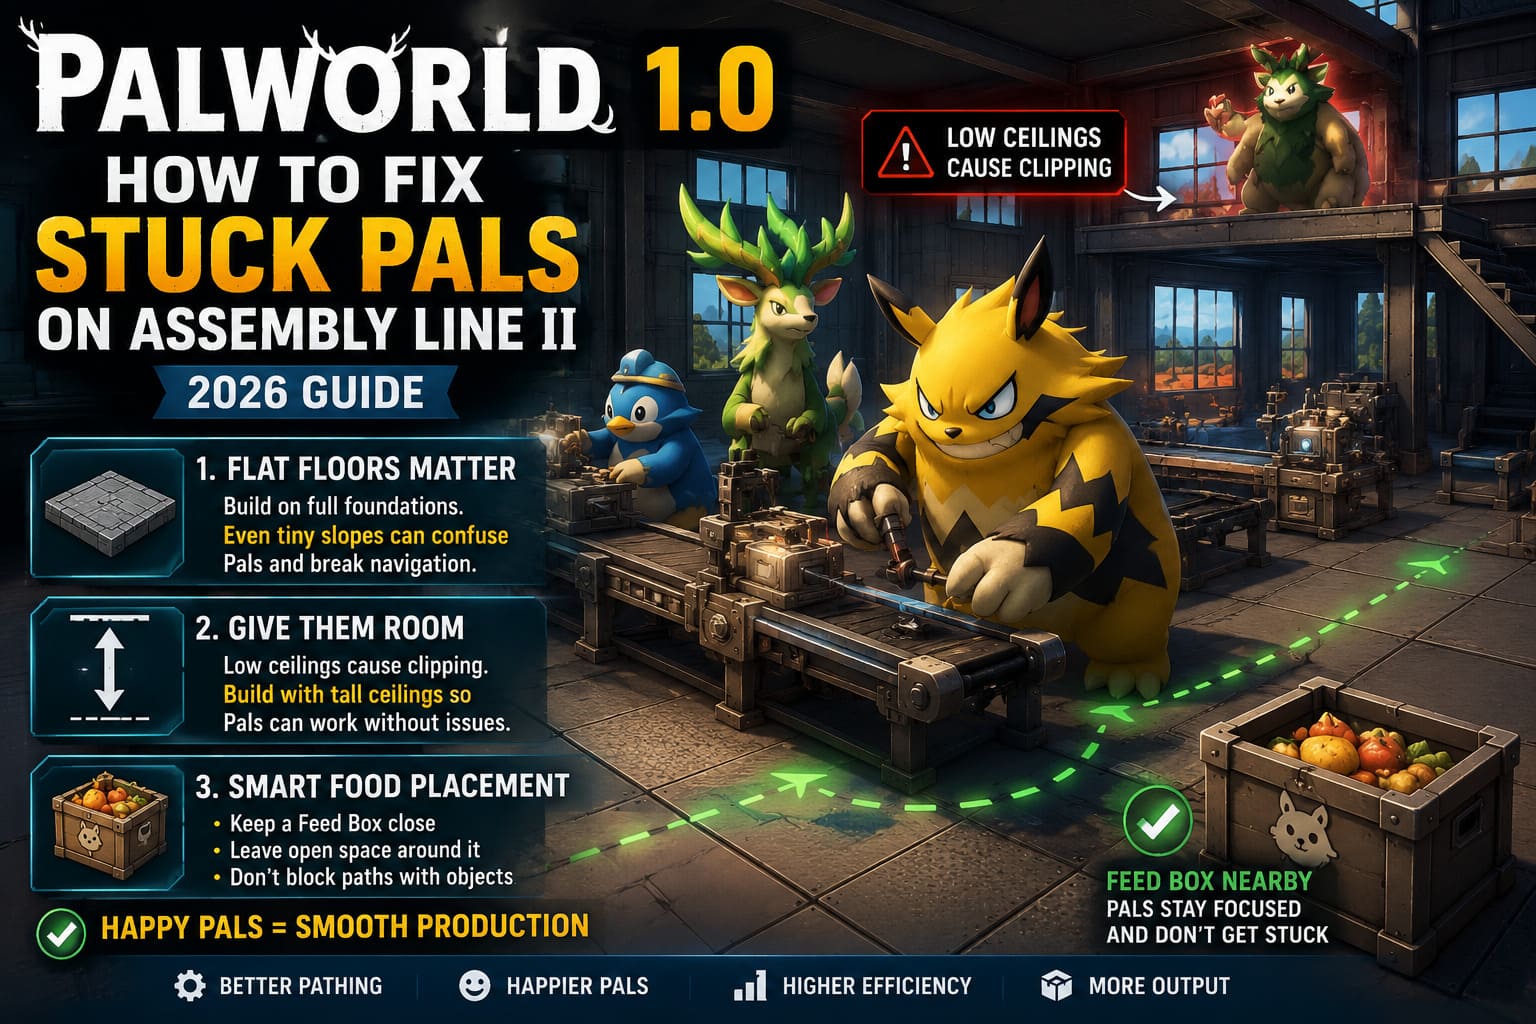
Even tiny bumps or slopes can confuse Pal navigation.
If you’re serious about automation, build your industrial area on complete foundations first.
Stone or Metal Foundations both work well because they create a clean navigation mesh.
Once I rebuilt one of my factories entirely on flat flooring, the number of stuck workers dropped dramatically.
Don’t Forget About Ceiling Height
Indoor factories look fantastic.
Unfortunately, they’re also where many navigation problems begin.
Larger Pals have surprisingly tall character models.
If your workshop has a low ceiling, they can clip into the floor above while working.
After loading your save, they sometimes end up standing on the second floor while still trying to use the Assembly Line below.
That completely breaks their AI.
I now build every industrial structure with tall ceilings even if it feels excessive.
It saves a lot of frustration later.
Food Placement Can Make or Break Your Factory
Here’s something I didn’t realize during my first playthrough.
Workers don’t stay at Assembly Line II forever.
Eventually they become hungry.
When that happens, they immediately calculate a path toward the nearest Feed Box.
If your food storage sits on the opposite side of the base, they’ll often try to squeeze through machinery, storage containers, or narrow walkways.
That’s when things start going wrong.
My solution is simple:
- keep one Feed Box dedicated to the production area
- leave open walking space around it
- avoid placing decorations between food and workstations
The difference is noticeable almost immediately.
Beds Should Stay Close Too
Nighttime creates another navigation test.
Instead of walking toward food, Pals head for their beds.
If sleeping areas are located upstairs or behind multiple production lines, pathfinding becomes much more complicated.
Keeping worker beds close to your factory reduces unnecessary travel and gives the AI fewer chances to get confused.
Which Pals Work Best at Assembly Line II?
Some Pals simply behave better than others.
After plenty of testing, these are the ones I’d trust the most.
| Pal | Why It Works Well | Overall Recommendation |
|---|---|---|
| Anubis | Fast movement, compact model, excellent Handiwork. | ⭐⭐⭐⭐⭐ |
| Lunaris | Slim collision box, smooth navigation. | ⭐⭐⭐⭐☆ |
| Verdash | Quick movement and reliable positioning. | ⭐⭐⭐⭐☆ |
These Pals spend more time crafting and less time getting trapped inside equipment.
Pals That Regularly Cause Problems
Not every powerful Pal makes a good factory worker.
Large character models increase the chance of clipping into machinery.
From my experience, these are the most troublesome:
| Pal | Common Issue |
|---|---|
| Lyleen | Large model frequently clips into nearby objects. |
| Lyleen Noct | Similar collision problems indoors. |
| Faleris | Wings require lots of free space. |
| Jetragon | Huge flying model struggles around tight factories. |
They’re amazing in other situations, but I generally keep them away from Assembly Line II whenever possible.
Dedicated Server Tips
Players hosting multiplayer servers often notice even stranger behavior.
That’s because server performance directly affects AI updates.
If workers continue getting stuck despite rebuilding your factory, consider these improvements:
- schedule automatic server restarts every few hours
- maintain stable server performance
- avoid extremely crowded mega-bases
- remove abandoned structures that increase simulation load
Server lag can make perfectly designed factories behave unpredictably.
Small Design Changes That Improved My Entire Base
Some of the biggest improvements came from surprisingly simple adjustments.
For example:
- separating production into multiple rooms instead of one giant hall
- leaving wider corridors between machines
- placing storage chests beside each production line
- reducing unnecessary decorations around workstations
None of these changes sound dramatic, but together they noticeably improved worker reliability.
Sometimes less clutter is genuinely better.
My Overall Opinion
After hundreds of hours in Palworld, I don’t think Assembly Line II is actually broken.
It’s just much less forgiving than earlier crafting stations.
The AI works reasonably well when you give it enough space, flat terrain, nearby food, accessible beds, and workers with manageable collision sizes.
Whenever I see players posting screenshots of frozen Pals on Reddit, the factory layout is often incredibly cramped.
Once I stopped trying to squeeze every machine into the smallest possible building, most of my problems disappeared.
If there’s one piece of advice I’d give to anyone building an industrial base, it’s this:
Build wider, not tighter.
You’ll spend far less time rescuing stuck workers and far more time doing what Palworld does best—expanding your base, collecting stronger Pals, and watching your automated factory run smoothly without constant intervention.
Final Thoughts
Assembly Line II is one of the most important structures in Palworld 1.0, but it also demands smarter base planning than almost any other workstation. Fortunately, most worker issues can be prevented before they ever happen. Prioritize open layouts, keep essential facilities close together, choose reliable Handiwork Pals, and don’t underestimate the value of simple pathfinding space.
With a few thoughtful adjustments, your production lines can stay active for hours without constant supervision, letting you focus on exploring, breeding stronger Pals, and expanding your industrial empire instead of fixing another worker who somehow managed to get stuck inside a conveyor belt again.