Dressmaker Game Guide: Advanced Sewing Tips, Tricks, and Walkthrough for 100% Client Satisfaction
Dressmaker looks cozy at first glance, but anyone who has spent a few hours inside its little fashion studio knows that it can get surprisingly demanding. One minute you’re happily choosing fabric and planning a cute outfit, and the next you’re fighting with a sewing machine because a neckline decided to become your personal enemy.
That is exactly what makes Dressmaker so enjoyable. It isn’t just another dress-up game where you click through a menu until an outfit looks nice. You actually have to measure clients, work with patterns, position pieces on fabric, cut them properly, sew seams, assemble the garment, and finally decorate it. The better you understand that workflow, the more consistent your results become.
I’ve put together this guide for players who already understand the basics and want to start producing better garments, wasting less material, and getting those satisfying high client ratings. Some mechanics are easy to overlook, especially when you’re focused on making something pretty. In my experience, preparation matters almost as much as the final design.
1. Don’t Rush the Client Consultation
The first stage of a commission can feel like the least exciting part, but it actually sets up everything that follows. Before touching your fabric or opening the cutting table, pay attention to what the client is asking for.
Clients aren’t simply requesting “a dress.” Their preferences can point toward different styles, colors, silhouettes, and fabric characteristics. If someone wants something elegant and practical, throwing together the brightest decorative fabric in your inventory probably isn’t going to produce the result you’re hoping for.
The safest approach is to treat every consultation like a miniature design brief. Look for keywords that tell you what kind of garment the client expects, then keep those requirements in mind when choosing your materials.
Getting the Measurements Right
Measurements are one of those mechanics that seem obvious until a bad measurement comes back to haunt you during assembly. Take your time with the tape instead of dragging it around randomly.
- Bust: Position the tape horizontally around the chest area and wait for the measurement to register.
- Waist: Find the narrowest section of the torso and keep the tape level.
- Hips: Measure around the widest section of the lower torso.
My biggest tip here is simple: don’t treat measurements as a formality. A few extra seconds at the beginning can save you from awkward fitting problems later, particularly when you’re working on more complicated garments.
2. Use the Sketchbook Before Spending Your Money
The Sketchbook is one of the most useful tools in Dressmaker, and it is surprisingly easy to underestimate it. If you’re the type of player who immediately buys fabric because it “looks right,” you’re leaving one of the game’s better planning tools unused.
The Sketchbook lets you experiment with fabric swatches and haberdashery before committing your shop’s resources. This is especially useful when you’re trying to push a particular style rating.
| Client Preference | What to Consider | Potential Direction |
|---|---|---|
| Elegant | Refined materials and clean silhouettes | Formal fabrics, subtle trims |
| Cute | Playful shapes and decorative details | Bows, softer colors, charming accents |
| Comfortable | Breathable and practical materials | Cotton or lighter everyday fabrics |
| Luxury | High-quality materials and embellishments | Premium textiles, lace, jewels |
Don’t worry about creating the most extravagant outfit possible. A garment that perfectly matches the client’s request will usually make more sense than an expensive design that completely misses the brief.
3. Fabric Choice Is More Important Than It Looks
Once you reach the drafting stage, Dressmaker starts feeling much closer to an actual sewing simulator. You’re no longer just picking a color. You’re deciding how the material should behave as part of the finished garment.
Different fabrics can affect the overall character of an outfit. Lightweight materials can work beautifully for relaxed or flowing designs, while heavier textiles make more sense for structured clothing. You also have to consider the cost, because your shop’s budget isn’t unlimited.
Don’t automatically choose the most expensive fabric. Expensive doesn’t necessarily mean appropriate. A gorgeous formal textile can still be a poor choice for a client who specifically wants comfortable everyday clothing.
When selecting your fabric, I usually ask three questions:
- Does it fit the client’s requested style?
- Does it make sense for the silhouette I’m creating?
- Is the cost justified by the commission?
If the answer to all three is yes, you’re probably on the right track.
4. Learn to Think About Grainlines
The cutting table is where Dressmaker really starts rewarding players who pay attention to detail. Your pattern pieces aren’t simply shapes that need to be cut out. Their orientation matters.
Grainlines are particularly important. Keeping a pattern aligned with the fabric’s grain generally gives you a more stable and predictable result. It is the sensible default when you’re making structured garments.
But there are situations where breaking from the standard approach can create a more interesting result. A bias cut, for example, can give certain pieces more flexibility and a softer drape. If you’re deliberately creating a flowing skirt or another design that benefits from movement, experimenting with a 45-degree orientation can be worthwhile.
Just don’t start rotating every pattern piece because it looks cool. The trick is knowing why you’re changing the direction.
5. Stop Cutting Pieces One at a Time
This is probably one of the easiest ways to improve your material efficiency.
New players often grab a pattern piece, cut it out, move on to the next one, and repeat. It works, but you’re likely throwing away usable fabric in the process.
Instead, put your required pieces onto the fabric sheet first and start arranging them like a puzzle. Rotate pieces where appropriate and look for ways to reduce unnecessary gaps.
A few seconds of planning can leave you with surprisingly large sections of usable fabric. That matters because leftover material isn’t just visual clutter — it can represent money you don’t have to spend on your next commission.
Think of the cutting table as a layout puzzle, not just a cutting station.
6. Be Careful With the Cutting Physics
There is another reason I recommend slowing down at the cutting table: the tools can be unforgiving.
If you accidentally move the fabric while the scissors are following their cutting path, the result can be completely wrong. Instead of neatly cutting the intended pattern, you may end up slicing somewhere you definitely didn’t plan to.
My advice is simple: once the cutting animation starts, keep your mouse movement controlled until the operation finishes. If you’re trying to multitask or reposition the material halfway through, you’re basically asking for trouble.
7. The Sewing Machine Is Where Patience Pays Off
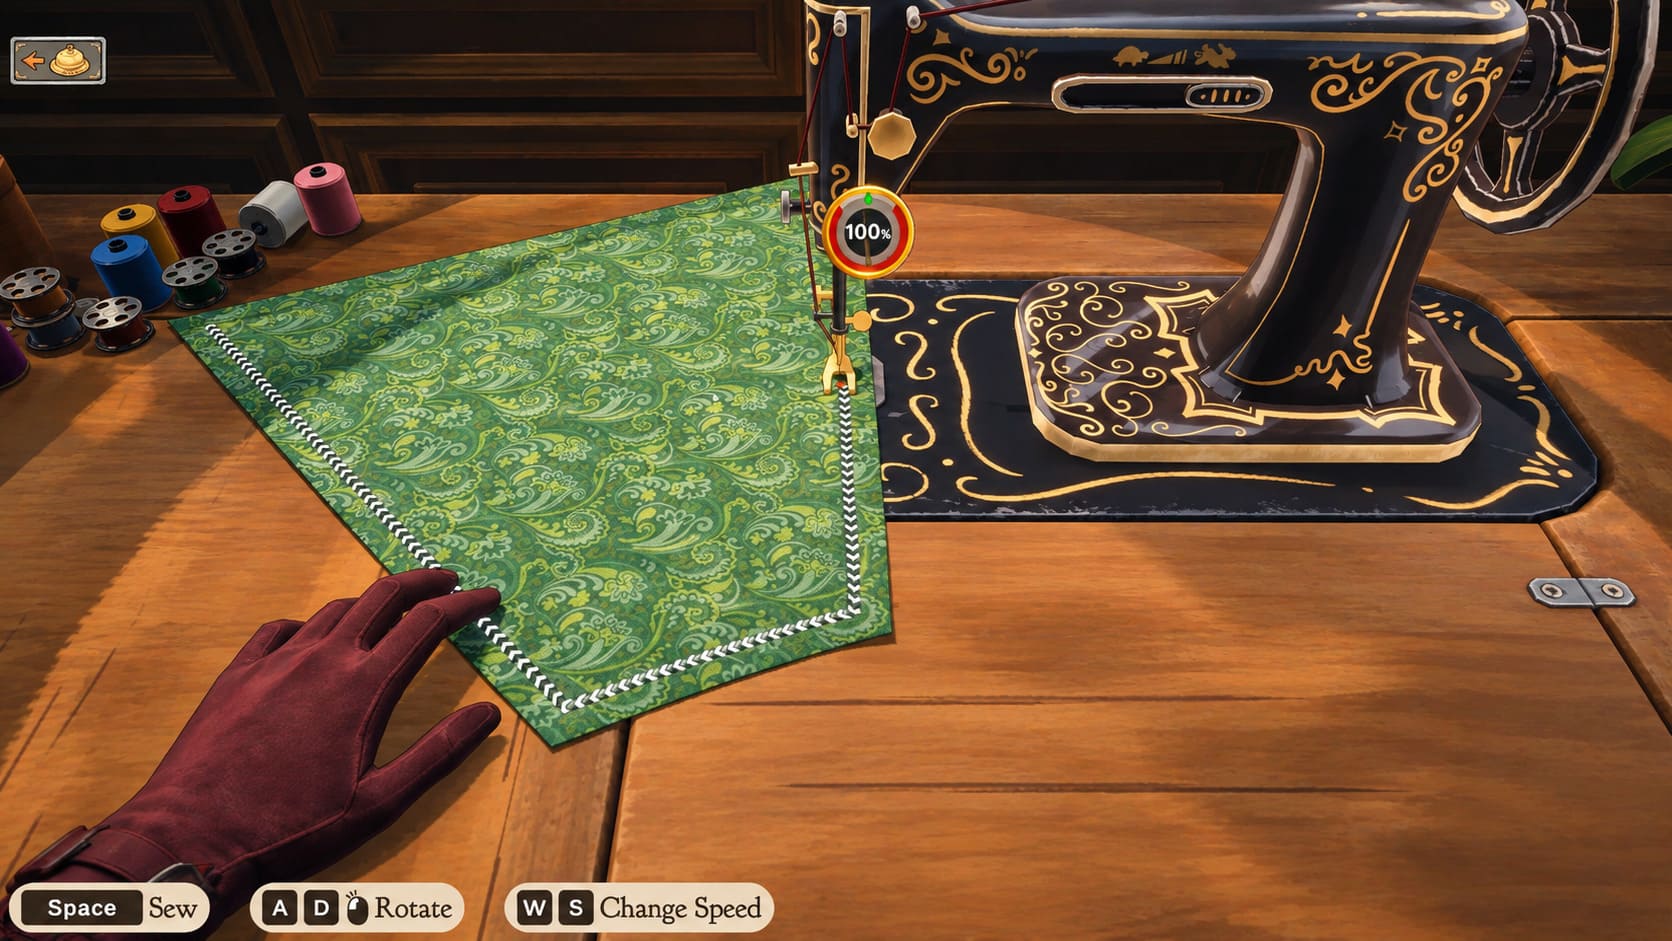
This is the part of Dressmaker that seems intimidating until the controls finally click. The sewing machine doesn’t require you to manually shove the fabric forward the entire time. The machine’s feed mechanism handles that movement for you.
Your real job is steering.
Think of the sewing machine as a combination of speed control and directional control. You’re trying to keep the pieces aligned while the machine moves them through the needle.
- Move forward or backward to control the sewing speed.
- Use left and right movement to adjust the orientation of the fabric.
- Slow down before curves rather than trying to correct them afterward.
- Make small adjustments instead of large, sudden movements.
The last point is probably the most important. When your seam starts drifting, your instinct may be to make a huge correction. In practice, that often makes things worse. Small movements give you much more control.
8. Curves and Necklines Need Extra Attention
Straight seams are relatively forgiving. Curves are where the sewing machine starts testing your patience.
Areas such as curved armholes, sleeve heads, and sweetheart necklines require you to slow down considerably. Don’t try to maintain the same speed you used on a straight seam.
I like to approach these sections almost like driving around a tight corner: slow first, turn smoothly, accelerate afterward.
If you enter a sharp curve too quickly, you’re likely to overshoot the guide and lose precision. Backing off the feed speed gives you enough time to make those tiny directional corrections.
And don’t panic if a seam isn’t perfect. The checkpoint system gives you an opportunity to recover instead of forcing you to throw away an entire garment every time something goes wrong.
9. Mannequin Assembly Is More Than a Final Step
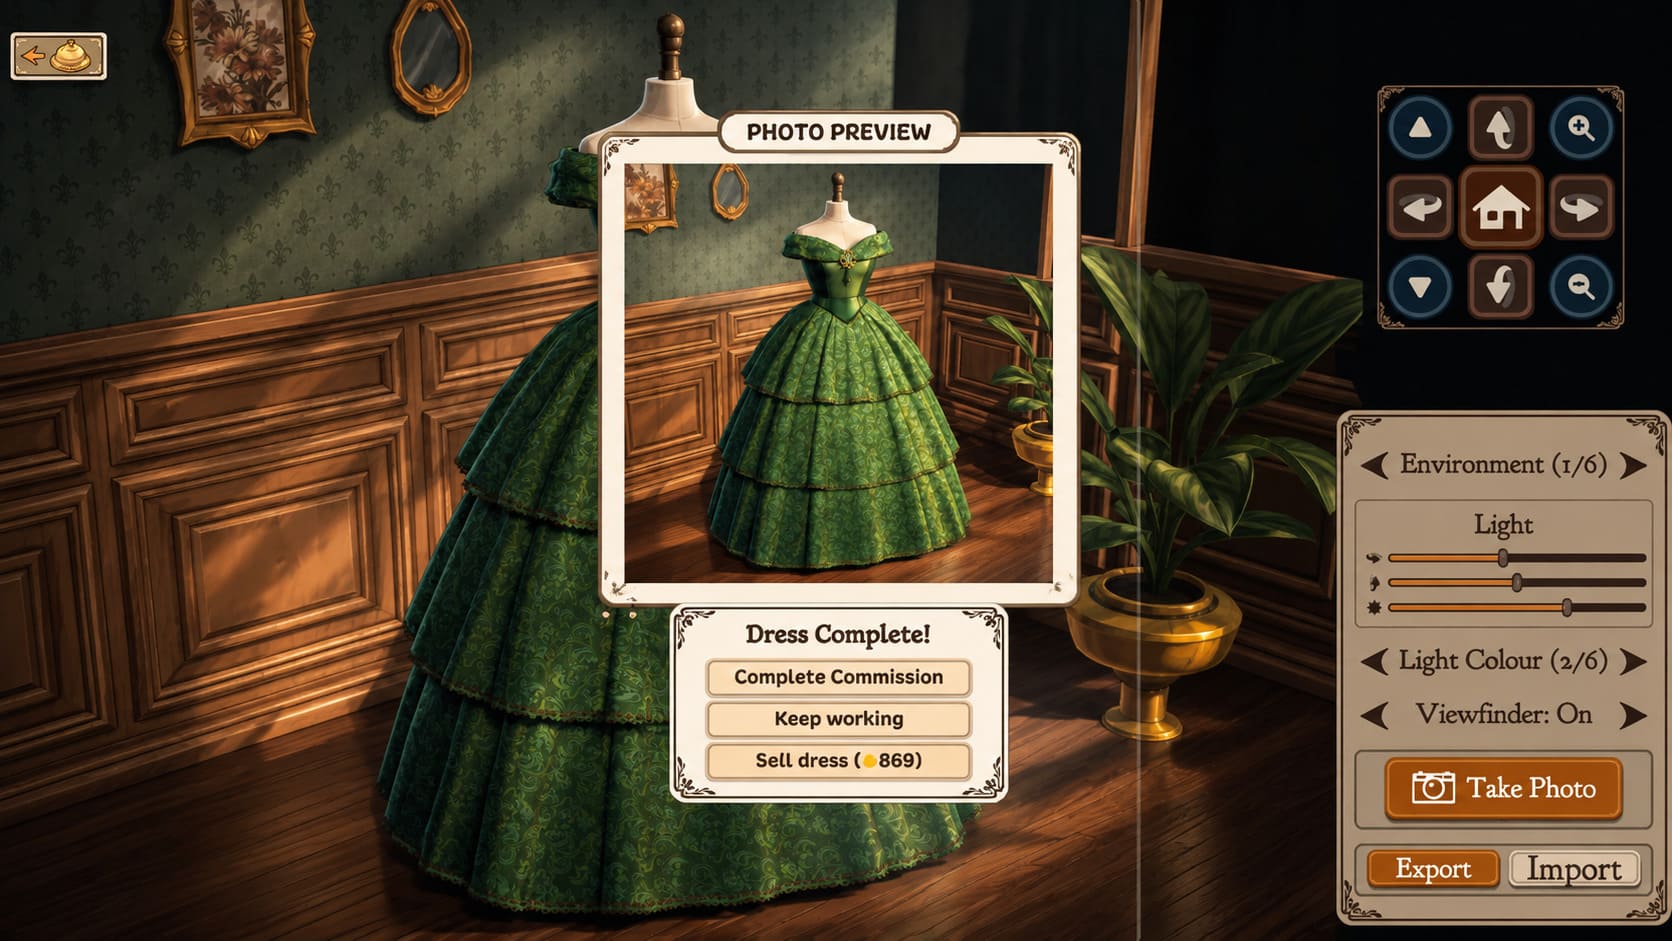
Once all the major sewing is finished, the mannequin becomes your final inspection area. This is where you can see whether the garment actually looks like the design you had in your head.
Use the middle mouse button to zoom in when you’re working with smaller components. It makes positioning details much easier, especially when you’re dealing with tiny decorative elements.
This stage is also where you can turn a technically correct garment into something that actually feels finished.
| Detail Type | Examples | Best Use |
|---|---|---|
| Haberdashery | Buttons, belts, zippers | Functional finishing touches |
| Trim | Lace, borders, bows | Decorative styling |
| Appliques | Fabric patches | Personalized designs |
| Jewels | Gems and small accents | Luxury-focused outfits |
Don’t cover every available surface with decorations just because you can. A few well-placed details often make a design feel more intentional than a garment covered from collar to hem in accessories.
10. My Simple Workflow for Better Dressmaker Commissions
After experimenting with the different stages, I’ve found that the easiest way to stay consistent is to follow roughly the same production routine every time.
- Read the client’s request carefully. Identify the key style requirements before doing anything else.
- Take accurate measurements. Bust, waist, and hips should be treated as essential information.
- Test ideas in the Sketchbook. Check fabrics and accessories before spending money.
- Choose the fabric based on the commission. Don’t confuse expensive with appropriate.
- Plan the cutting layout. Fit your pattern pieces together before making the first cut.
- Sew slowly around difficult sections. Straight lines are easy; curves deserve your attention.
- Inspect the finished garment. Zoom in and use the mannequin stage to fix the small details.
Dressmaker Game Beginner’s Guide: Essential Tips, Tricks, and Crafting Strategies
Final Thoughts: The Trick to Becoming a Better Dressmaker
The biggest lesson I took away from Dressmaker is that the game rewards control more than speed. You can rush through a commission, burn through fabric, make sloppy cuts, and fight the sewing machine — or you can slow down and treat each stage as part of the design.
The funny thing is that the sewing mechanics become much less stressful once you stop trying to overpower them. Let the machine feed the fabric. Let the Sketchbook handle the planning. Let the cutting table become a puzzle. Your job is mostly to make small, deliberate decisions.
And honestly, that’s where the charm of Dressmaker comes from. The best moments aren’t necessarily when you create the flashiest outfit in the shop. They’re when a complicated commission comes together perfectly because you planned every little step.
If you’re trying to improve your Dressmaker sewing skills, focus first on accurate measurements, efficient fabric cutting, smart material choices, and controlled sewing around curves. Once those fundamentals become second nature, experimenting with unusual silhouettes and elaborate decorations becomes much more enjoyable.
Take your time, waste less fabric, keep your seams under control, and let the client brief guide your design. That’s the closest thing Dressmaker has to a secret formula for consistently great commissions.