Way of the Hunter 2 NPC Locations: Your Guide to “Into the Pines”
If you’ve spent any time with hunting sims, you already know they can sometimes feel… a bit empty. Beautiful landscapes, sure—but not always a lot of personality. That’s exactly why Way of the Hunter 2 caught me off guard.
It’s not just the jump to Unreal Engine 5 (though the visuals are genuinely stunning)—it’s the NPCs that finally give the world some soul.
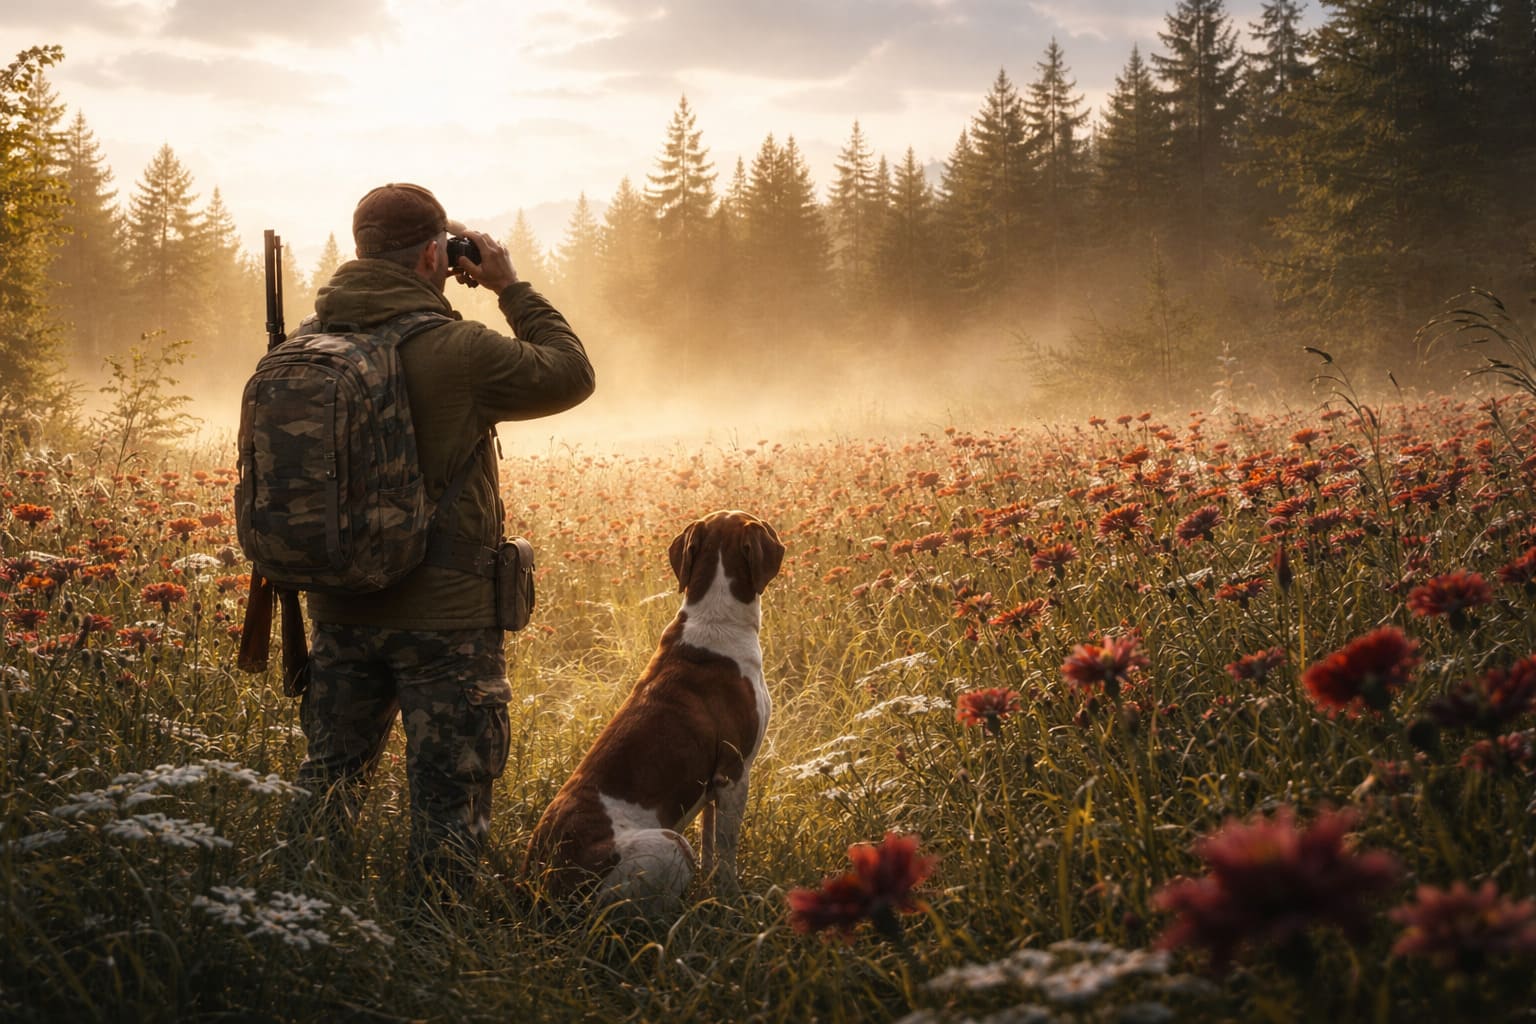
After diving into the New Laurentia map, I realized something: this isn’t just about tracking animals anymore. It’s about people, ecosystems, and stories woven into the wilderness. Below is a fresh, human take on the key characters, where to find them, and why they actually matter.
Crimson Desert Playable Characters: Tactical Tips for Character Switching in Boss Fights
Why NPCs Matter More This Time
In the first game, interactions felt a bit limited—functional, but not memorable. Here, the developers clearly wanted to turn the reserve into a living, breathing environment.
What stood out to me:
- NPCs don’t just hand out missions—they shape how you play
- Progression feels tied to relationships, not just objectives
- The world opens up gradually, which makes exploration more rewarding
Main Story NPCs You’ll Actually Remember
1. The Dog Trainer — Your First Real Companion Guide
Location: Main Hunting Lodge (New Laurentia Central)
Role: Introduces and develops the hunting dog system
This character is easily one of the most important additions to the game. The hunting dog mechanic isn’t just a gimmick—it’s a core gameplay shift.
What I liked:
- The training feels interactive, not just menu-based
- Your dog actually improves in noticeable ways
- Returning to the trainer feels meaningful, not repetitive
Key Functions:
- Unlock tracking abilities (blood trails, scent detection)
- Improve your dog’s “Focus Gauge”
- Introduce advanced hunting strategies
Honestly, this NPC alone changes the pacing of the game. Hunting becomes less about wandering and more about reading the environment with your companion.
2. The Former Warden — The Story Driver
Location: Northern Outpost / Warden’s Cabin
Role: Main quest-giver and narrative anchor
If there’s one character that pushes you forward, it’s the Former Warden. Their storyline—especially involving the unusual moose behavior—adds a layer of mystery I didn’t expect from a hunting sim.
Why this works:
- Missions feel connected, not random
- There’s a sense of urgency and purpose
- You’re gradually pulled into deeper parts of the map
What you unlock through this NPC:
- High-stakes missions
- Access to remote regions
- Clues about rare animal patterns
This is where the game starts to feel like more than a simulator—it becomes a slow-burn narrative experience.
3. The Gear Specialist — More Than a Shopkeeper
Location: Armory (inside Hunting Lodges)
Role: Equipment guidance and special unlocks
At first glance, this feels like your typical gear vendor—but spend some time here, and you’ll notice there’s more going on.
Instead of just buying items, you:
- Gain access to curated gear sets
- Unlock special weapon variants
- Get a better sense of how real-world equipment fits into gameplay
One highlight early on is the lever-action .30-30 rifle, which feels satisfying and grounded—perfect for learning the mechanics.
NPC Distribution by Region
To make things easier, here’s a quick overview of where you’ll find the key characters:
| Region | Primary NPC | Key Landmarks |
|---|---|---|
| New Laurentia Central | Dog Trainer | Main Lodge, Trophy Room |
| Northern Wilds | Former Warden | Lookouts, Moose Need Zones |
| Echko Outpost | Supply Officer | Shooting Range, Gear Terminal |
This structure encourages natural exploration. You’re not just fast-traveling between menus—you’re moving through a believable world.
How to Find NPCs Without Getting Lost
The game doesn’t just hand everything to you, which I personally appreciate. There’s a bit of discovery involved.
Best ways to locate NPCs:
- Hunting Lodge Terminal – Check the Message Board and track missions via the Mission Map
- Binocular scouting – Mark Points of Interest (POIs) and spot outposts before reaching them
- Story progression – Some NPCs won’t appear until you complete training; the game rewards patience and structure
This system keeps things immersive. You’re not chasing markers—you’re reading the world.
Gameplay Systems Tied to NPCs
One of the smartest design choices here is how NPCs directly affect mechanics.
1. Dog Training System
Your dog evolves based on interaction—not just usage.
- Better tracking accuracy
- Faster response times
- Improved detection range
It feels like raising a real hunting partner, not just upgrading a tool.
2. Ecological Mystery Missions
NPCs often provide hints about:
- “Need Zones”
- Irregular animal behavior
- Rare trophy opportunities
This adds a subtle investigative layer. You’re not just hunting—you’re studying the ecosystem.
3. Bullet Camera Enhancements
Complete enough missions, and you unlock improved shot analysis.
Why this matters:
- Helps you learn from mistakes
- Makes each shot feel more impactful
- Adds a technical depth to hunting
It’s a small feature, but it adds a surprising amount of satisfaction.
My Personal Take: What Makes This Special
After spending time in New Laurentia, here’s what really stood out to me:
- The game respects your time—it doesn’t rush you
- NPCs feel grounded, not overly scripted
- Progression is tied to understanding the world, not grinding
Most importantly, it captures something rare: the quiet connection between player, environment, and story.
You’re not just checking objectives off a list. You’re:
- Learning animal behavior
- Building relationships (even if subtle)
- Slowly uncovering what’s going on beneath the surface
Way of the Hunter 2 doesn’t reinvent the genre—but it refines it in ways that actually matter. The NPC system is a huge part of that.
Instead of feeling like background elements, these characters:
- Guide your journey
- Shape your skills
- Give meaning to exploration
And honestly, that’s what keeps you coming back—not just the hunt, but the feeling that there’s always something more to discover.
Into the Pines: A Hunter’s First Real Test in Way of the Hunter 2
If you’ve spent any time with Way of the Hunter 2, you already know it’s not your typical run-and-gun experience. It’s slower, more deliberate, and honestly—way more satisfying because of it. The opening story arc, set in the lush but unforgiving forests of New Laurentia, really drives that home.
And the mission “Shadows of the Pines”? That’s where the game quietly tells you: this isn’t just hunting—it’s responsibility.
Let’s break down what makes this mission stand out, along with some practical tips and a bit of personal perspective from someone who genuinely enjoys getting lost in virtual wilderness.
The Setup: Not Just Another Hunt
You start at the Northern Outpost, where you meet the Former Warden—a character who immediately gives off that “seen-it-all” energy. He’s not sending you out to bag a trophy. Instead, he’s concerned about a declining moose population in Black Spruce Basin. That alone already sets a different tone.
You’re tasked with tracking down a diseased bull moose, collecting a clean sample, and helping figure out what’s going wrong in the ecosystem. It’s a subtle but powerful shift from hunting for sport to hunting with purpose.
Mission Objectives (Quick Overview)
- Travel to Black Spruce Basin
- Track moose near the salt lick
- Identify the infected “Limping Bull”
- Take a clean lung shot
- Deliver the tissue sample
Simple on paper. Not so simple in practice.
Step 1: Preparation Actually Matters
Before heading out, you’ll use the terminal—and this is where the game quietly tests whether you’re paying attention. The Warden recommends high kinetic energy rifles, and honestly, he’s right. Moose aren’t forgiving targets.
Solid choices include:
- Steyr Monobloc
- Remington 700 (7mm Mag or .300 Win Mag)
You’ll also want a Moose Caller, which becomes surprisingly useful later.
Personal take: This is where I realized the game rewards planning. If you go in underprepared, it doesn’t punish you instantly—it just makes everything harder in a very realistic way.
Step 2: Tracking Feels Different (In a Good Way)
You head about 400 meters northeast to the salt lick, and this is where Unreal Engine 5 really starts to shine. Tracking isn’t just about glowing markers anymore. Instead, you’re looking for:
- Broken branches
- Disturbed vegetation
- Deep mud impressions
It feels more immersive—and honestly, more satisfying.
Pro tip:
- Use your hunting dog’s “Find Tracks” command near water edges
- Slow down and scan visually instead of sprinting
Personal take: This is one of my favorite changes. It forces you to actually observe the environment, which makes every successful track feel earned.
Step 3: Identifying the Right Target
Eventually, you’ll spot a small herd—usually 3 to 5 moose. This is where things get interesting. Activate Hunter Sense and start analyzing.
What to Look For:
| Indicator | Description |
|---|---|
| Ragged Coat | Visually rough, unhealthy fur |
| Limping Movement | Noticeable animation difference |
| Low Fitness | Typically 0–1 stars |
| Behavior | Trails behind the herd |
This isn’t just “shoot the biggest one.” You’re selecting a specific animal for a reason.
Personal take: I love this mechanic. It adds a layer of decision-making that most hunting games skip entirely.
Step 4: The Shot That Actually Matters
Now comes the moment of truth. Positioning is everything: stay downwind, move slowly, and keep your distance steady. The Warden wants a clean lung shot, meaning no stomach hit and no unnecessary damage.
Where to Aim: Thoracic cavity (double lung or heart)
And then—boom—the Bullet Camera kicks in. This feature shows exactly how your shot travels through the animal. It’s not just flashy—it’s functional. You see whether you did it right.
Personal take: This is one of those moments where the game feels incredibly modern. It’s both cinematic and educational.
Step 5: Harvesting with Purpose
Once the moose is down, approach carefully and interact with it. You’ll see a new option: “Collect Tissue Sample”. This is essential for completing the mission. You can still taxidermy the animal and add it to your lodge, but the mission itself is about the sample.
Step 6: Wrapping It Up
Hop into your UTV and head back to the Northern Outpost. Inside the cabin, interact with the Medical Cooler and deliver the sample.
Rewards:
- 500 Credits
- Unlock: High-Tier Moose Call
Not bad for your first real assignment.
Gameplay Tips That Actually Help
Here are a few things I wish I paid more attention to early on:
Stealth Isn’t Optional
- Keep your dog on Heel or Stay within 150 meters
- Move slowly—noise matters more than you think
Use the Environment
- Trees and elevation are your best friends
- Avoid open approaches whenever possible
Graphics Settings Matter
- Adjust Lumen lighting for better visibility
- Helps significantly with tracking in dense forests
Why This Mission Works So Well
What makes “Shadows of the Pines” stand out isn’t just the mechanics—it’s the tone. It teaches you patience, observation, and ethical hunting, and it does so without overwhelming tutorials or hand-holding.
Personal take: This mission feels like a statement of intent from the developers. It says, “If you stick with this game, we’ll reward you—but you need to meet us halfway.”
Final Thoughts
The opening arc of Way of the Hunter 2 sets a strong foundation for everything that follows. “Shadows of the Pines” isn’t just a tutorial—it’s a filter. It shows you what kind of game this is going to be. If you’re coming in expecting fast-paced action, you might struggle.
But if you enjoy immersion, realistic systems, and meaningful gameplay decisions, then this mission is exactly the kind of experience that pulls you in and keeps you playing.