Aniimo Walkthrough 2026: All Lumin Marking Puzzles and Dr. Glass Test Locations
There is a particular kind of satisfaction I get from games like Aniimo. You can spend an hour chasing a rare creature, testing different Twining combinations, or simply wandering through a beautiful part of the map with absolutely no plan. Then, suddenly, you notice something strange carved into a cliff wall. You stop, move your character three steps to the left, tilt the camera, and realize that the broken pieces of a symbol are supposed to form a complete picture from one very specific angle.
That is exactly why I have become so interested in Lumin Markings.
Aniimo does a surprisingly good job of making exploration feel like more than simply following map icons. The continent of Idyll is filled with environmental puzzles, hidden testing areas, unusual landmarks, and rewards that can make a real difference when you are pushing toward higher-tier creature progression.
The other mechanic worth keeping an eye on is Dr. Glass’s Test. These short movement challenges look simple until you are standing at the starting point with only 30 seconds on the clock and eight glowing targets scattered across the route.
So, if you are trying to finish your exploration log, collect Lumin Ambers, or simply want to stop running past puzzles without understanding how they work, here is my full Aniimo exploration guide for 2026, covering Lumin Markings, Dr. Glass Trials, and the major puzzle locations across Idyll.
What Are Lumin Markings in Aniimo?
Lumin Markings are environmental exploration puzzles hidden throughout Idyll. You will generally find them on ancient ruins, stone formations, cliffs, arches, and other unusual structures.
At first glance, many of them look like random glowing fragments carved into the environment. That is intentional.
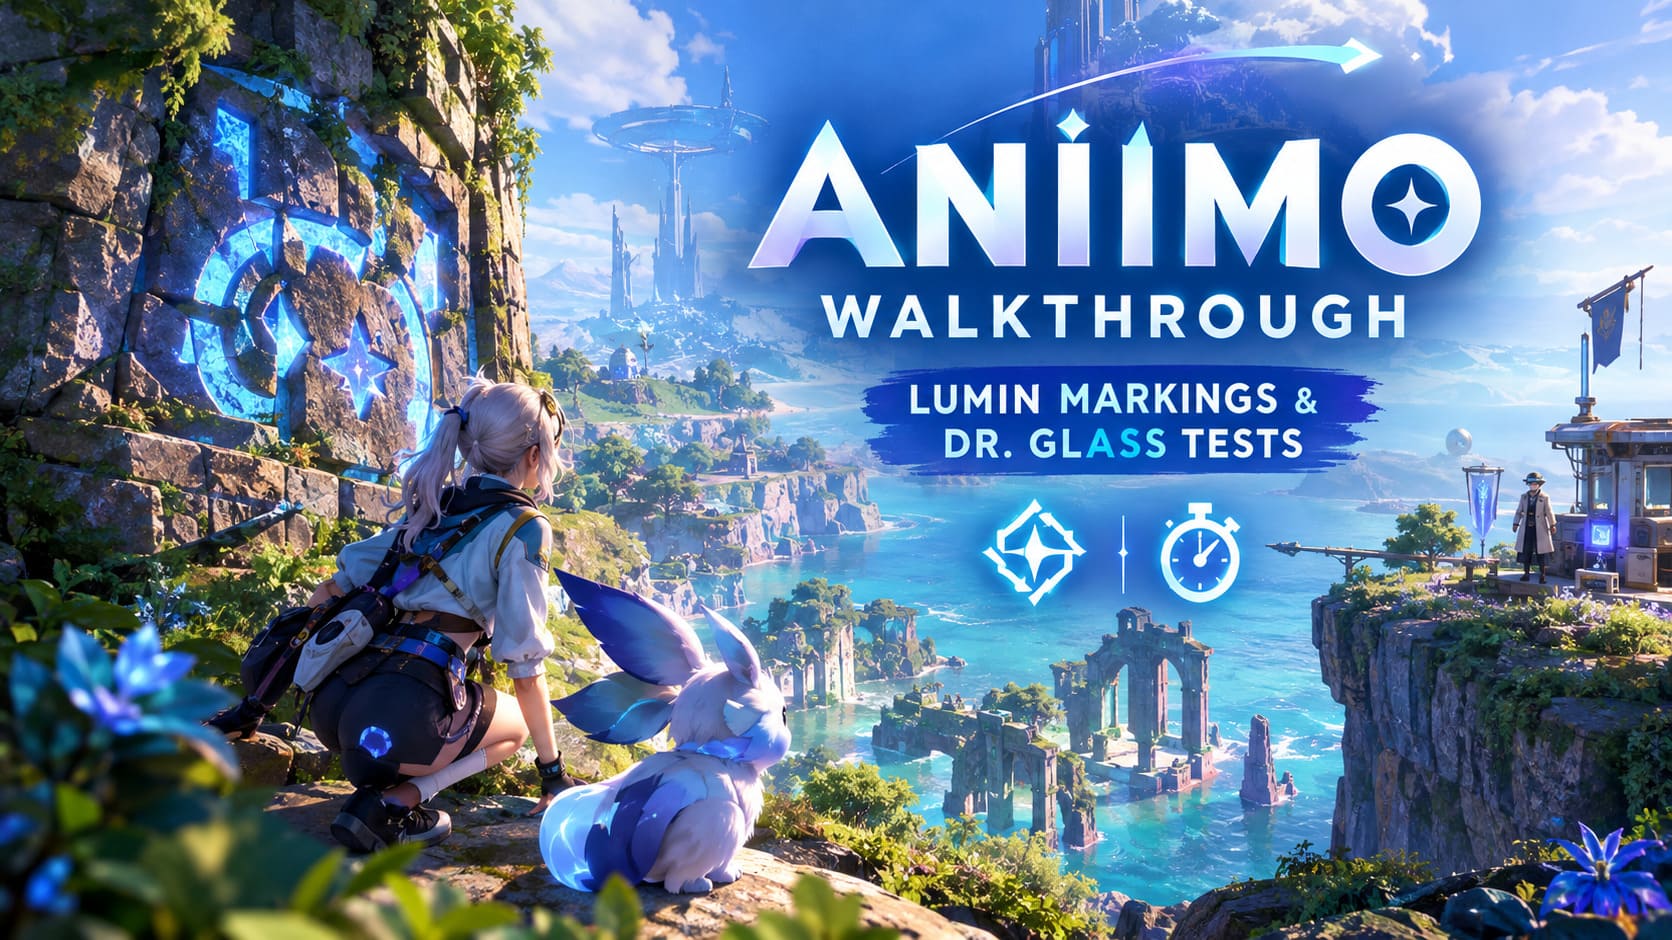
The trick is that the pieces are not meant to be viewed from directly in front of them. You need to find the correct position and camera angle so that the separated sections visually connect into one complete marking.
Honestly, this is one of those mechanics that sounds much easier when explained than it actually feels while playing.
I have found that the biggest mistake is trying to solve the marking by moving the camera constantly. Instead, I recommend moving your character first. Once you think you are standing in roughly the correct location, make small camera adjustments until the pieces begin to line up.
When the perspective is correct, the fragmented engraving effectively becomes a single image and the puzzle registers as completed.
Why Should You Bother With Lumin Markings?
There are several good reasons to clear these puzzles instead of treating them as optional scenery:
- They contribute to your regional exploration progress.
- They can provide useful progression currencies and materials.
- Some rewards include valuable Lumin Ambers.
- Completing exploration objectives can help when working toward higher-tier creature progression.
- They encourage you to explore areas that you might otherwise simply run through.
For me, the biggest advantage is that these puzzles make exploration feel intentional. You are not just collecting another glowing object from the ground; you are actually looking at the environment and figuring out why a particular location was designed the way it was.
Dr. Glass’s Test: The 30-Second Challenge
If Lumin Markings are about patience, Dr. Glass’s Test is almost the complete opposite.
Dr. Glass appears at specific research camps and testing locations around Idyll. When you interact with him, you can trigger a timed traversal challenge.
The version players are most likely to remember involves collecting eight glowing targets within 30 seconds.
That sounds generous until you start the challenge.
The targets can force you to change direction, jump, glide, or use your movement abilities quickly. If you hesitate at the beginning, the timer can disappear much faster than expected.
The important thing is not necessarily raw movement speed. Knowing the route is far more valuable.
Before starting the attempt, take a few seconds to study where the targets are located. Once you know the general sequence, the challenge becomes considerably easier.
I personally prefer a clean route with minimal turning. Every unnecessary correction costs time, and there is absolutely no reason to run in circles when you can plan the path beforehand.
Main Aniimo Puzzle Locations in Idyll
The following regions are particularly useful starting points if you are hunting for Lumin Markings and Dr. Glass-related activities.
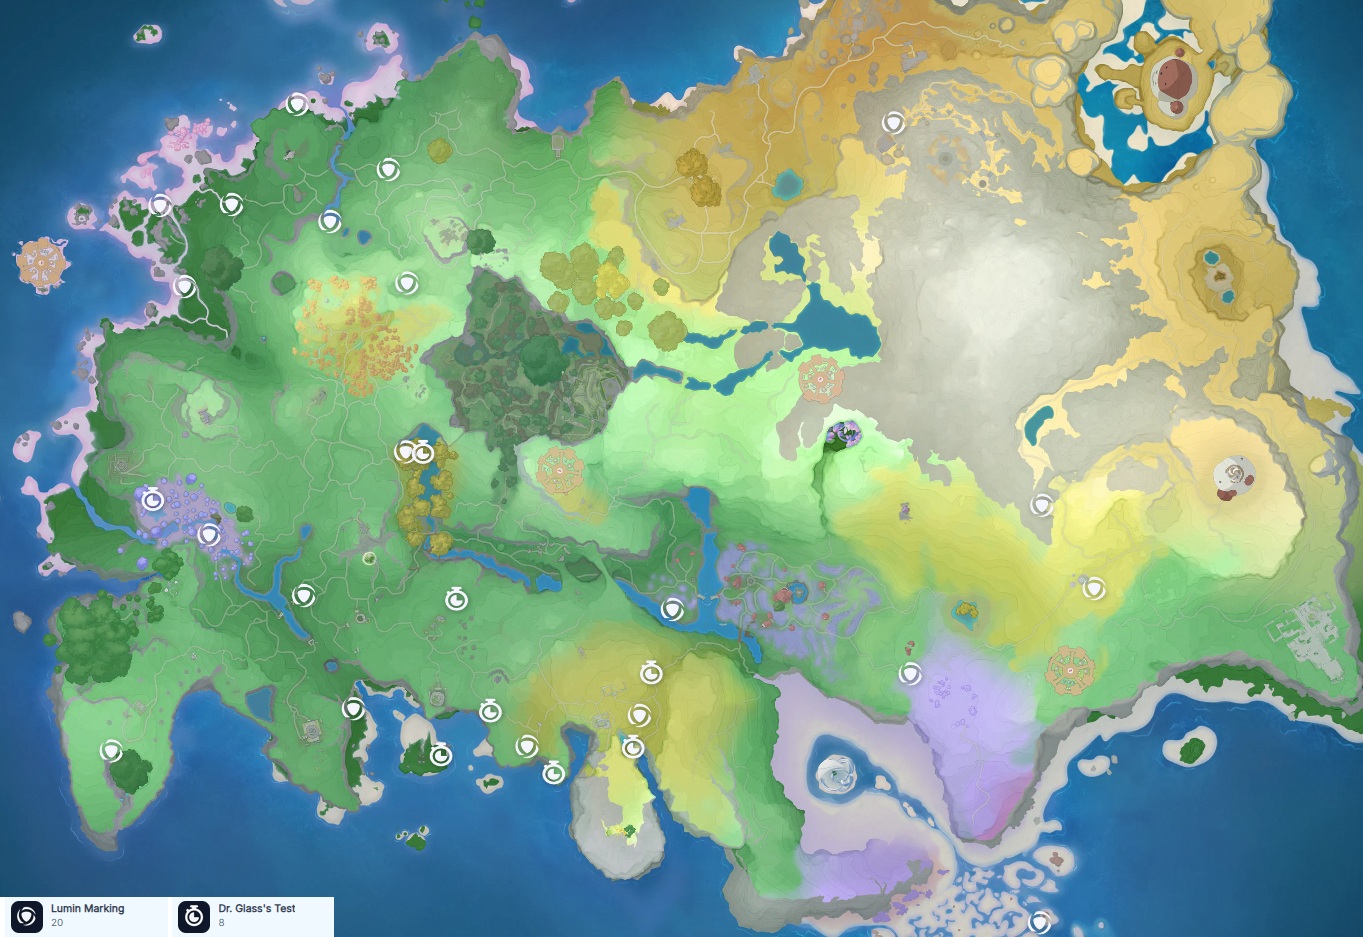
| Region | Main Puzzle Type | Important Feature | Exploration Tip |
|---|---|---|---|
| Tideblossom Coast | Cliffside Lumin Marking | Stone Arch Ruins | Look from the elevated ridge |
| Nimbus Fields | Cave Exit Marking | Rocky Pillars | Step outside the cave before aligning |
| Beast Fang Ridge | Mountain Engraving | Giant Fractured Skull | Use the opposite watchtower |
| The Argent Strait | Island Ruin Marking | Semi-Submerged Temple | Watch the moving platform |
1. Tideblossom Coast
Tideblossom Coast is one of the first areas where the environmental puzzle design really starts making sense.
The coastal cliffs are especially important because they contain an early Lumin Marking positioned around old stone arch ruins.
The marking is not simply something you walk directly up to and activate. You need to reach the higher ridge overlooking the ocean and look down toward the split sea-stack formation.
The lower section of the symbol is engraved into the darker rock near the water, while another portion is positioned higher up. From the correct viewpoint, the two sections visually connect.
This is actually a great introduction to the entire Lumin Marking system because it teaches you the most important lesson: the obvious location is not always the correct viewing location.
Dr. Glass at Tideblossom Coast
There is also a Dr. Glass testing area near the shallow reefs.
His temporary research setup is positioned close to an RV-style campsite, making the location relatively easy to recognize once you are in the area.
The challenge here is the familiar eight-target, 30-second trial.
If your current Aniimo has good mobility or gliding capabilities, use them. The smoother your movement between targets, the less time you lose correcting your route.
2. Nimbus Fields
Nimbus Fields is where vertical exploration becomes much more important.
The region combines caves, elevated grasslands, cliffs, and vertical wind currents, so it is easy to miss something while simply following the main path.
One of the more interesting markings is located around the exit of the primary underground cave network.
When you emerge from the cave into Nimbus Fields, don’t immediately run toward the next objective. Look around the rocky pillars near the exit.
The solution requires you to move onto a small elevated hillock and position the camera so that the cave-wall engraving lines up with the detached stones outside.
This is another puzzle where the environment itself is basically giving you the answer. You just have to find the correct perspective.
Watch Your Regional Materials
Nimbus Fields is also associated with specialized Lumin and Amber-related materials. If you are working toward specific creature progression requirements, it is worth clearing the area’s exploration objectives rather than leaving them for much later.
The shiny variant of the local resource node can also be particularly useful when you are trying to complete your regional material collection.
3. Beast Fang Ridge
This is where the exploration game gets considerably less forgiving.
Beast Fang Ridge contains dangerous terrain, steep cliffs, and creature activity that can make stopping to solve a puzzle feel like a terrible idea.
The main Lumin Marking worth hunting here is built into a massive fractured skull structure on the mountainside.
Naturally, standing directly beneath the skull doesn’t give you the correct perspective.
Instead, you need to reach an opposite watchtower platform and look across the gorge.
Once you are positioned correctly, the fractured sections of the engraving line up and the marking becomes recognizable.
Beast Fang Ridge is also useful for players trying to complete their creature and exploration logs simultaneously. With numerous creature encounters scattered through the area, I recommend checking nearby landmarks whenever you are already traveling through the region.
There is little reason to make a second trip if you can solve the puzzle during your first visit.
4. The Argent Strait
The Argent Strait changes the exploration formula again because water becomes a major part of navigation.
Swimming, diving, floating platforms, and specialized traversal abilities can all become important here.
The region’s standout Lumin puzzle is associated with a semi-submerged temple ruin.
This one can be frustrating because the ideal viewing position is not necessarily static. A moving floating platform can give you the correct angle as it passes the central pillar.
My advice here is simple: don’t rush.
Wait for the platform to move into the right position, then adjust your character and camera gradually. Trying to force the alignment while the platform is moving is a good way to waste several attempts.
My Tips for Finding Every Lumin Puzzle
After spending enough time wandering around Idyll, I have learned that the biggest problem is rarely solving the puzzle itself. Finding the puzzle you missed is usually the annoying part.
Here are the habits I would recommend:

Check Your Map Regularly
Keep an eye on your regional exploration information.
Some objectives and resource areas can become easier to identify once you have explored nearby terrain. If your completion percentage seems strangely low, go back through the region instead of assuming the missing percentage comes from a difficult late-game objective.
Clear Sanctums Along the Way
Don’t ignore local Sanctums.
They can provide catch-up materials connected to regional progression and may save you from having to search the entire map for one missing requirement.
If you are already passing through a Sanctum, clearing it is usually worth the extra time.
Learn Dr. Glass’s Route Before Moving
For the timed test, spend a few seconds studying the target positions.
A rigid route is much better than improvisation. In particular, try to avoid unnecessary loops and sharp changes in direction.
Once you memorize the sequence, the eight-target challenge becomes much more manageable.
Upgrade Your Traversal Abilities
This is probably the most important tip I can give new players.
If a Lumin Marking looks completely impossible to reach, don’t automatically assume the puzzle is bugged.
Some locations are clearly designed around traversal abilities that you acquire later. High-altitude movement, gliding, burrowing, swimming, and other traversal options can dramatically change which parts of Idyll are accessible.
The Twining system is therefore important for exploration even when you are not actively thinking about creature combat or collection.
Is Aion 2 Coming to PS5 and Xbox? Release Date, Console Ports, and What We Know So Far
Lumin Markings and Dr. Glass: Quick Reference
| Activity | What You Need to Do | Main Benefit |
|---|---|---|
| Lumin Marking | Find the correct character position and camera angle | Exploration rewards and materials |
| Dr. Glass’s Test | Collect 8 targets within 30 seconds | Regional progression and item rewards |
| Sanctums | Clear regional Sanctum activities | Catch-up materials |
| Lumin Amber Collection | Search regional Amber-related locations | High-value progression materials |
| Traversal Exploration | Unlock and use movement abilities | Access to difficult landmarks |
Final Thoughts
What I like most about Aniimo’s exploration system is that it gives you a reason to actually look at the world.
There are plenty of open-world games where a landmark is basically just something you run past on the way to your next objective. Lumin Markings are different because they force you to stop and understand the shape of the environment.
The same goes for Dr. Glass’s Test. It is a tiny activity, but once you start trying to beat the 30-second limit consistently, you naturally begin learning the terrain and thinking about movement efficiency.
If you are working toward 100% exploration in Idyll, I would tackle the regions systematically rather than jumping randomly between objectives. Start with Tideblossom Coast, move into Nimbus Fields, then tackle the more demanding terrain of Beast Fang Ridge and The Argent Strait.
And don’t forget to revisit areas after unlocking new traversal abilities.
That is probably the biggest lesson I have taken from exploring Aniimo: if something looks impossible today, it may simply be waiting for the right creature, ability, or perspective.
Once you start approaching Idyll that way, Lumin Markings stop feeling like obscure collectibles and start feeling like small environmental secrets hidden in plain sight.