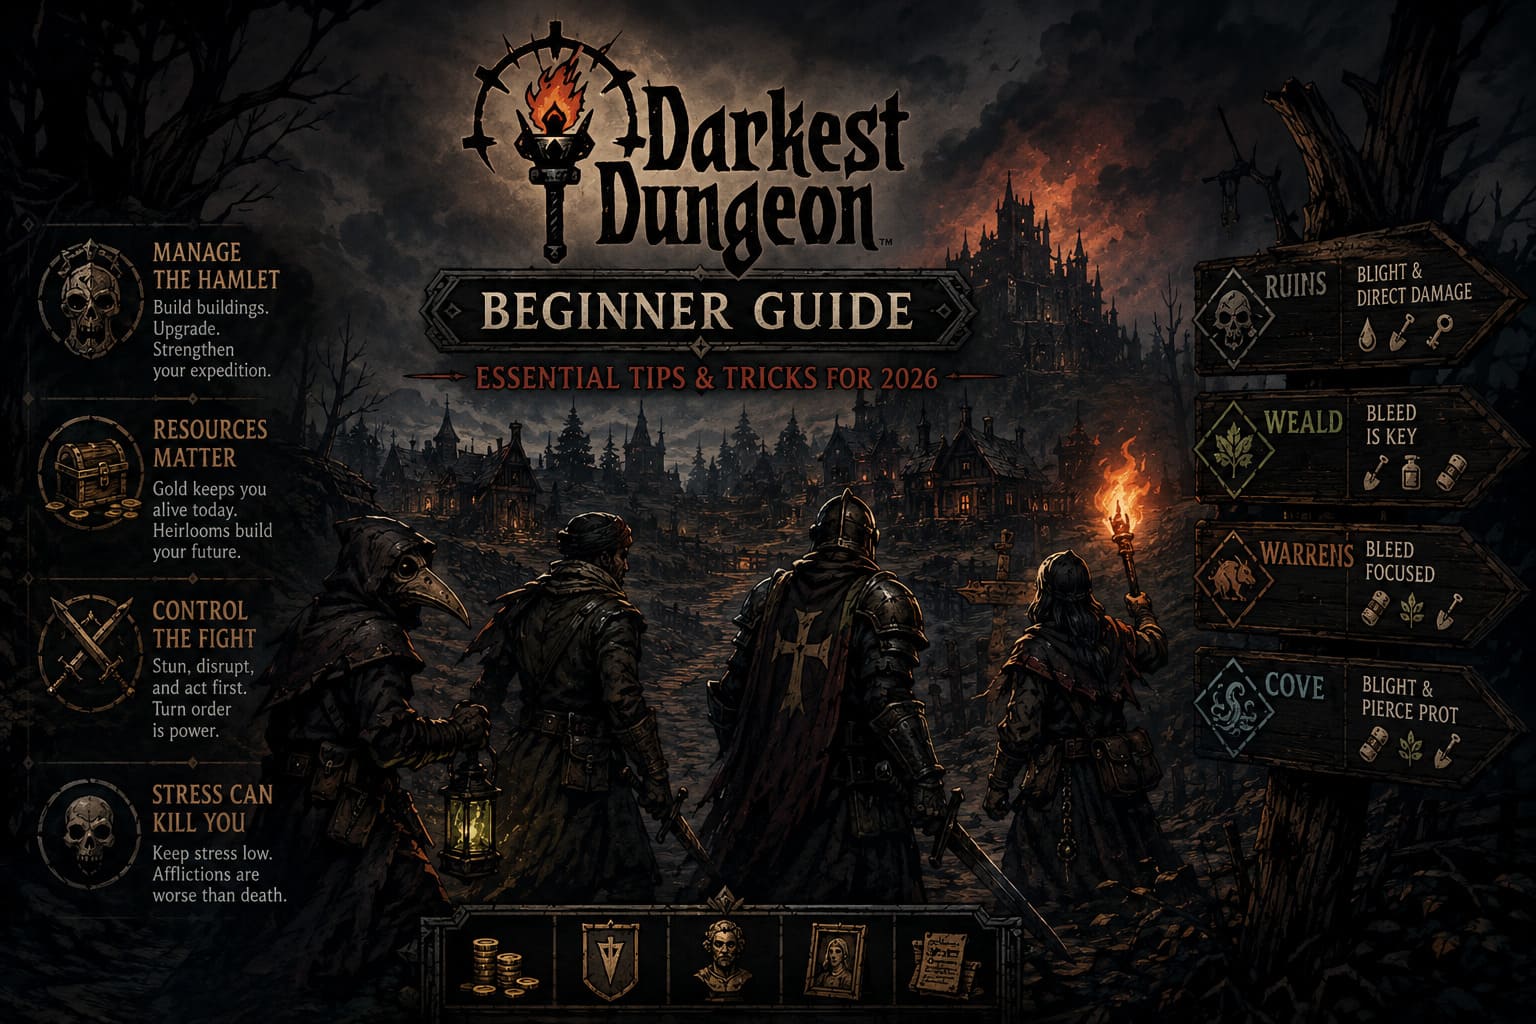
Darkest Dungeon Beginner Guide: Essential Tips & Tricks for 2026
Darkest Dungeon is one of those games that can make you feel like a genius one minute and completely destroy your confidence the next. You enter a dungeon with a carefully selected party, a full inventory, and what looks like a reasonable plan. Then a critical hit, a stress attack, or a badly timed trap turns the entire expedition into a disaster.
And honestly, that is exactly why I love it.
Unlike most RPGs, Darkest Dungeon does not want you to become attached to every hero. It wants you to think like the manager of a struggling expedition. Heroes get stressed, develop terrible quirks, become diseased, lose fights, and sometimes die. Your job is not to prevent every bad thing from happening. Your job is to make sure one bad thing does not destroy the entire operation.
If you’re starting the game in 2026, this beginner guide will help you understand the systems that actually matter. These are the lessons I wish I had understood before wasting gold, provisions, and perfectly good recruits on doomed dungeon runs.
Stop Playing Darkest Dungeon Like a Normal RPG
The biggest beginner mistake is simple: trying too hard to save everyone.
It sounds cruel, but your heroes are resources. Your real long-term character is the Hamlet. The town’s buildings, upgrades, available recruits, and economy determine whether your campaign gets stronger or slowly collapses.
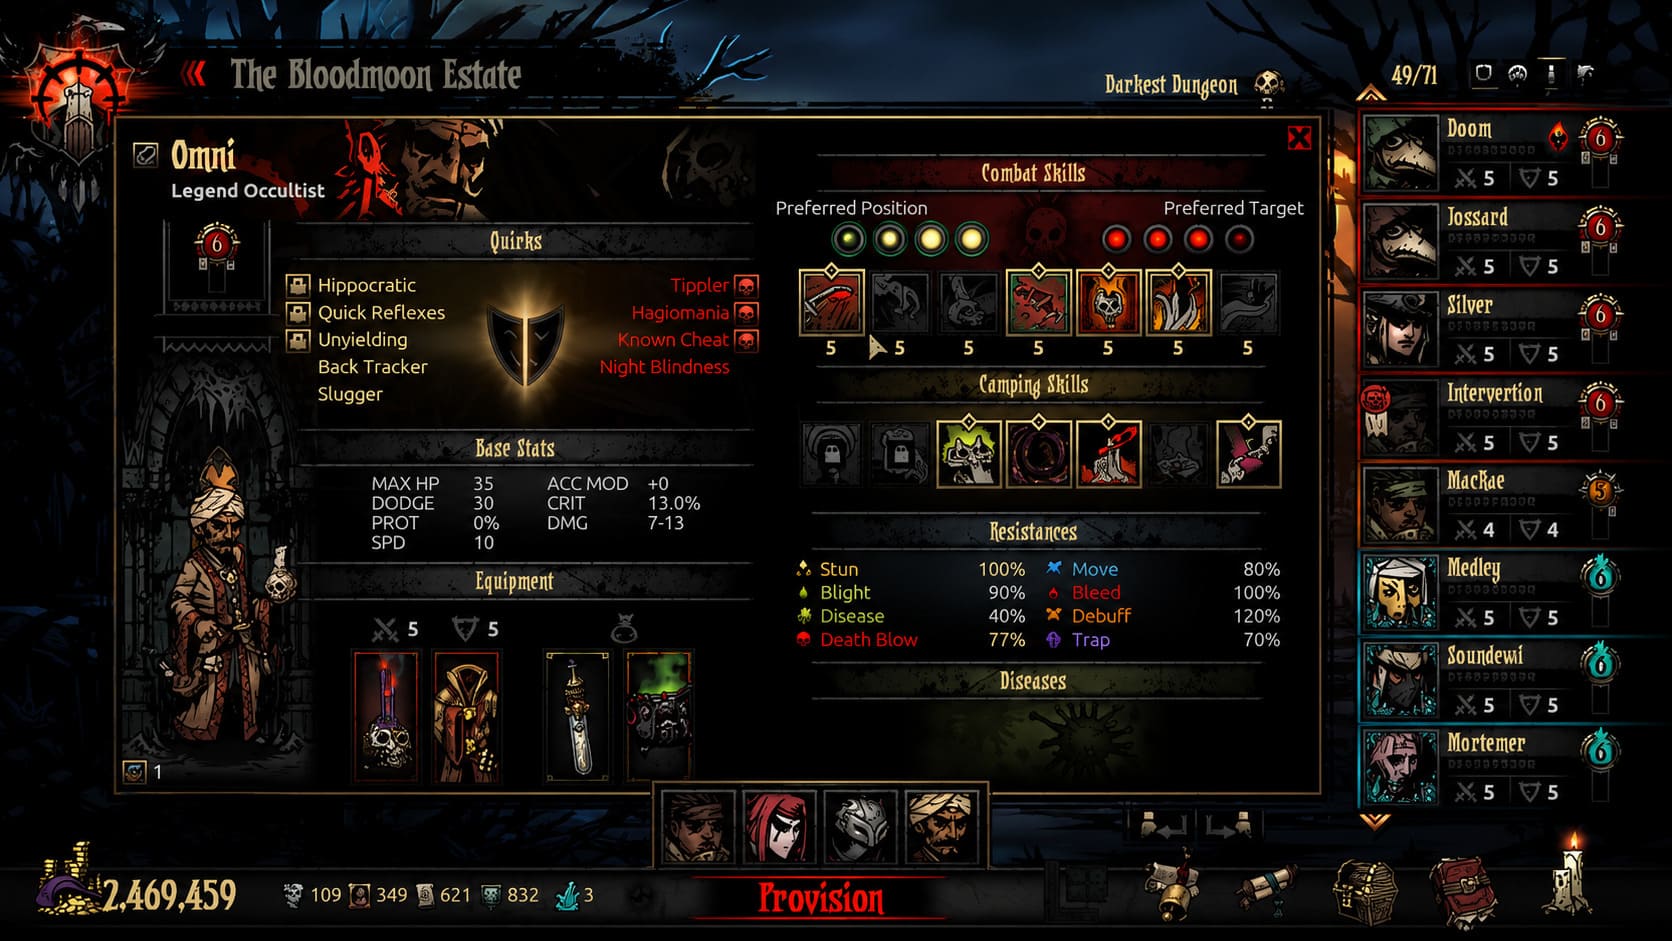
If a low-level hero comes home with terrible negative quirks, severe stress, and a disease that will cost a fortune to remove, sometimes the smartest move is to dismiss them. Spending thousands of gold trying to rescue a recruit who is barely useful can be much worse than replacing them with someone from the Stage Coach.
I know this feels wrong at first. You spend time leveling a hero, watch them survive several horrible expeditions, and then the game essentially tells you that they’re no longer worth the investment. But once you accept this philosophy, Darkest Dungeon becomes much easier to understand.
Build Your Hamlet Before Building Your Dream Team
The Stage Coach is one of the most important upgrades in the early game. Increasing the number of available recruits gives you more flexibility and makes losing heroes much less painful.
Instead of thinking, “I need to keep these four heroes alive forever,” think, “I need enough heroes available to replace the ones who are no longer efficient.”
Early on, I would prioritize the Stage Coach and then start investing heavily in the Blacksmith and Guild. Strong equipment and upgraded skills are far more valuable than carrying a huge amount of gold around while your heroes are stuck using outdated gear.
There is also an important distinction between your two main types of resources:
| Resource | Main Purpose | Early Priority |
|---|---|---|
| Gold | Provisions, upgrades, treatment, equipment | Very High |
| Deeds | Hamlet upgrades, including Stage Coach | High |
| Crests | Several important town improvements | High |
| Portraits | Guild and town development | Medium |
| Busts | Sanitarium and other Hamlet improvements | Medium |
One of the best habits you can develop is thinking about what your loot will accomplish after the dungeon. A bag full of gold is nice, but the right heirloom can unlock an upgrade that benefits your entire roster for the rest of the campaign.
Combat Is About Controlling Turns, Not Just Dealing Damage
When I first played Darkest Dungeon, I naturally focused on damage numbers. Bigger hit, bigger crit, dead enemy. Simple, right?
Not really.
Action economy is one of the most important concepts in the entire game. If you stun an enemy before it can act, you’ve effectively removed its damage or stress attack from the round. That can be more valuable than dealing another 10 points of damage.
Plague Doctor’s Blinding Gas, Hellion’s Barbaric YAWP!, and Abomination’s Manacles are great examples of abilities that can control the battlefield instead of simply attacking it.
Always pay attention to an enemy’s stun resistance. Repeatedly trying to stun a resistant target is a good way to waste your turn.
Kill the Back Row First
This is probably the single combat rule I would give every new player.
Look at Ranks 3 and 4.
Enemies in the back often specialize in stress damage, healing, buffs, or annoying status effects. A Cultist Acolyte sitting safely behind stronger enemies can cause more trouble than the large monster protecting it.
Stress is especially dangerous because normal healing does not solve it. You can recover HP after a fight, but excessive stress can follow your party from battle to battle until somebody becomes Afflicted.
For that reason, I generally prefer a party that can reach the back ranks on turn one. A team that kills the most dangerous enemy before it acts is often safer than a team with slightly higher raw damage.
Speed Is One of the Best Stats You Can Get
Speed determines who gets to act first, and going first can completely change a fight.
A fast hero can stun an enemy before it attacks. A fast damage dealer can finish off a fragile stress caster. A fast support character can heal or buff the party before the enemy gets another opportunity to cause problems.
This is why Speed bonuses from quirks, trinkets, buffs, and skills can be extremely valuable. Do not automatically choose a trinket just because its damage number looks impressive. Sometimes acting first is the real damage multiplier.
Know What Each Region Wants From You
Darkest Dungeon becomes significantly easier when you stop treating every dungeon the same. Each region has different enemies, resistances, curios, and provisioning requirements.
| Region | Best General Damage Approach | Important Supplies |
|---|---|---|
| Ruins | Blight and direct damage | Holy Water, Shovels, Keys |
| Weald | Bleed is particularly useful | Shovels, Antivenom, Bandages |
| Warrens | Bleed-focused teams | Bandages, Herbs, Shovels |
| Cove | Blight and protection-piercing options | Bandages, Herbs, Shovels |
The Ruins are particularly friendly to heroes and abilities that perform well against Unholy enemies. Bleed is also much less useful because many enemies resist it.
The Weald and Warrens are excellent places to experiment with Bleed. Bring enough Shovels, because running into a roadblock without one is one of those mistakes that seems small until it starts costing you health and stress.
The Cove is another region where having the correct damage type matters. Some enemies have significant Protection, so relying entirely on normal physical attacks can make fights unnecessarily long.
Three Beginner Party Compositions I Actually Like
You don’t need some complicated secret meta composition to survive the early game. What you need is healing, damage, crowd control, and the ability to reach important enemy ranks.
The Reliable All-Rounder
- Rank 4: Plague Doctor
- Rank 3: Vestal
- Rank 2: Highwayman
- Rank 1: Crusader
This is the kind of party I recommend when you simply want a dependable expedition. The Vestal gives you reliable healing, the Plague Doctor handles back-row control, and the Crusader provides strong frontline utility against Unholy enemies.
The Highwayman adds excellent damage and can use Duelist’s Advance to activate Riposte. Once you understand how to build around Riposte, this character becomes especially satisfying to play.
The Mark Team
- Rank 4: Arbalest
- Rank 3: Occultist
- Rank 2: Houndmaster
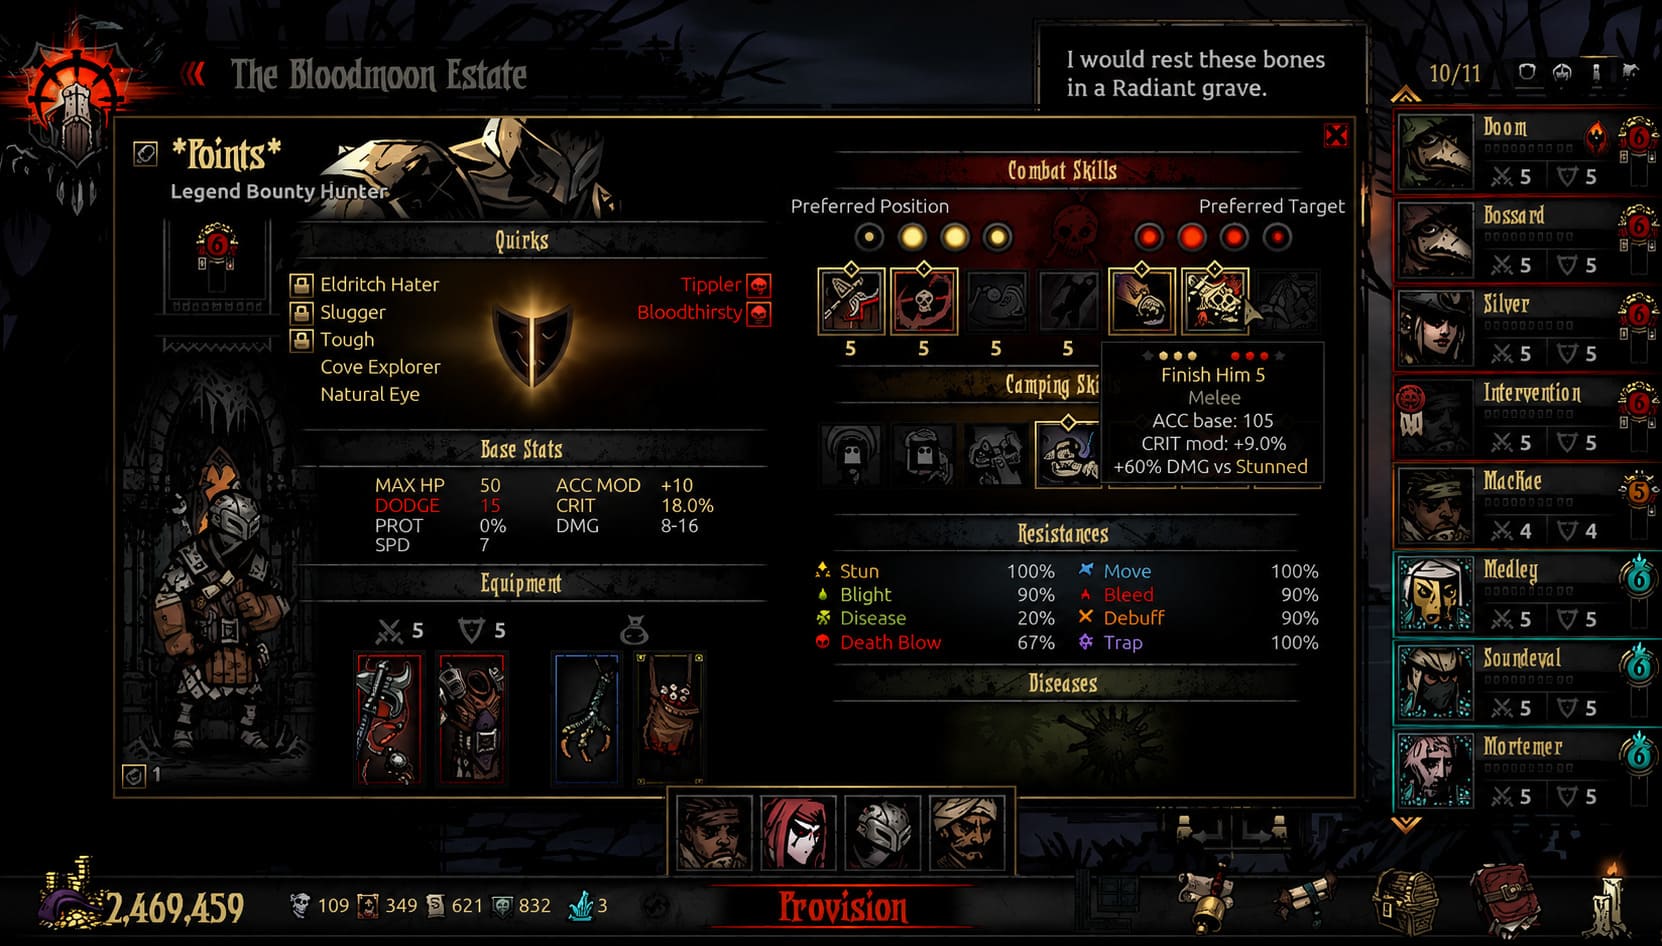
- Rank 1: Bounty Hunter
This setup revolves around marking important targets and then destroying them with attacks that receive bonuses against Marked enemies. It can feel incredible when everything lines up and a dangerous enemy disappears almost immediately.
The downside is that the team becomes less impressive when the Mark setup gets disrupted, so it rewards players who understand positioning and turn order.
The Bleed Crew
- Rank 4: Houndmaster
- Rank 3: Jester
- Rank 2: Flagellant
- Rank 1: Hellion
This is one of my favorite choices for the Warrens and Weald. The team can stack Bleed efficiently while the Jester handles stress management.
Hellion is particularly useful because she can attack different enemy ranks from the front. Meanwhile, the Jester’s Battle Ballad can improve the team’s overall combat tempo, making the whole group feel faster and more consistent.
Curios: Don’t Touch Everything Just Because You Can
Curios are another system that punishes curiosity without preparation.
If you know what you’re doing, they can provide valuable loot, buffs, healing, or stress relief. If you interact with them blindly, you can receive diseases, negative quirks, stress, or other unpleasant surprises.
Holy Water is particularly valuable for certain curios. For example, using it correctly on objects such as the Altar of Light, Decorative Urns, Eerie Idols, and various regional curios can turn a potentially dangerous interaction into a useful reward.
And there is one piece of advice I would absolutely tattoo onto a beginner’s hand:
Do not activate a Shambler’s Altar with a Torch unless you’re genuinely ready for the fight.
Darkest Dungeon loves tempting you with something that looks harmless. Sometimes the correct strategy is simply to walk away.
Stress Is More Dangerous Than It Looks
HP is easy to understand. Stress is the stat that new players tend to underestimate.
Once a hero reaches 100 stress, they face an Affliction or, much less commonly, a Virtue. Afflictions can make a character refuse actions, behave unpredictably, attack allies, reject healing, and generate even more stress for the rest of the party.
This is why stress dealers should often be your first targets.
A character who finishes a fight at 5 HP can potentially be healed. A character who finishes the same fight with an enormous amount of stress may carry that problem through the next several battles.
There is also the terrifying 200-stress Heart Attack threshold. Once stress reaches that point, the situation becomes critical regardless of how healthy the hero looked a few moments earlier.
Use the Jester, Crusader, or other stress-management tools when necessary. Don’t wait until the entire party is already falling apart.
Darkest Dungeon The Fire’s Edge Guide: How to Beat the New Fiery Monsters and Burn Mechanics
When Should You Retreat?
This is another lesson that took me far too long to learn.
Retreating is not losing.
If your healer is dead, half the party is Afflicted, supplies are gone, and you’re facing several more rooms, staying simply because you have already invested time into the expedition can make the situation dramatically worse.
You may lose some potential loot by retreating, but you preserve experienced heroes, equipment, and the ability to continue developing your Hamlet.
Sometimes the most profitable dungeon run is the one where you recognize that the expedition has gone bad and leave before it becomes catastrophic.
Darkest Dungeon 100% Achievement Guide: Full Walkthrough and Roadmap
My Biggest Beginner Tips for Darkest Dungeon
If you want to reduce the learning curve, keep these principles in mind:
- Upgrade the Stage Coach early so you always have replacement heroes.
- Kill or stun dangerous back-row enemies first.
- Do not ignore stress. It can be more damaging to a campaign than lost HP.
- Match Bleed and Blight to the region. Resistances matter enormously.
- Carry the right provisions. Shovels and region-specific supplies can save entire expeditions.
- Retreat when the math turns against you.
Final Thoughts: Learn to Lose Before You Learn to Win
The best thing about Darkest Dungeon is that it never completely lets you feel safe. Even a strong party can suffer from one terrible sequence of events, and sometimes your carefully trained hero will die in a way that feels almost insulting.
But that’s where the game’s strategy becomes interesting.
You are not trying to create an immortal party. You’re building an operation that can survive setbacks.
Once you stop obsessing over individual heroes and start thinking about the Hamlet, resources, action economy, stress, positioning, and long-term progression, the game becomes far less mysterious. You begin to recognize which fights are worth taking, which curios should be ignored, which recruits are worth investing in, and when it’s time to turn around.
For me, that is the real appeal of Darkest Dungeon. Winning isn’t about having a perfect run. It’s about taking a horrible situation, making three or four smart decisions in a row, and somehow walking back into town with enough survivors to try again.
Prepare carefully, control the battlefield, protect your economy, and never be too proud to retreat. The Darkest Dungeon will still be waiting for you.