Mortal Shell 2 Best Sidearms Tier List: Definitive Ranked Guide
Mortal Shell 2 gives the Harbinger far more ways to deal with the horrors lurking throughout its interconnected world. The sequel keeps the brutal, deliberate identity of the original while pushing combat toward a faster, more aggressive rhythm, and that makes the choice of sidearm surprisingly important. These aren’t just emergency weapons you pull out when your melee option feels unsafe. The right sidearm can completely change how you approach an encounter.
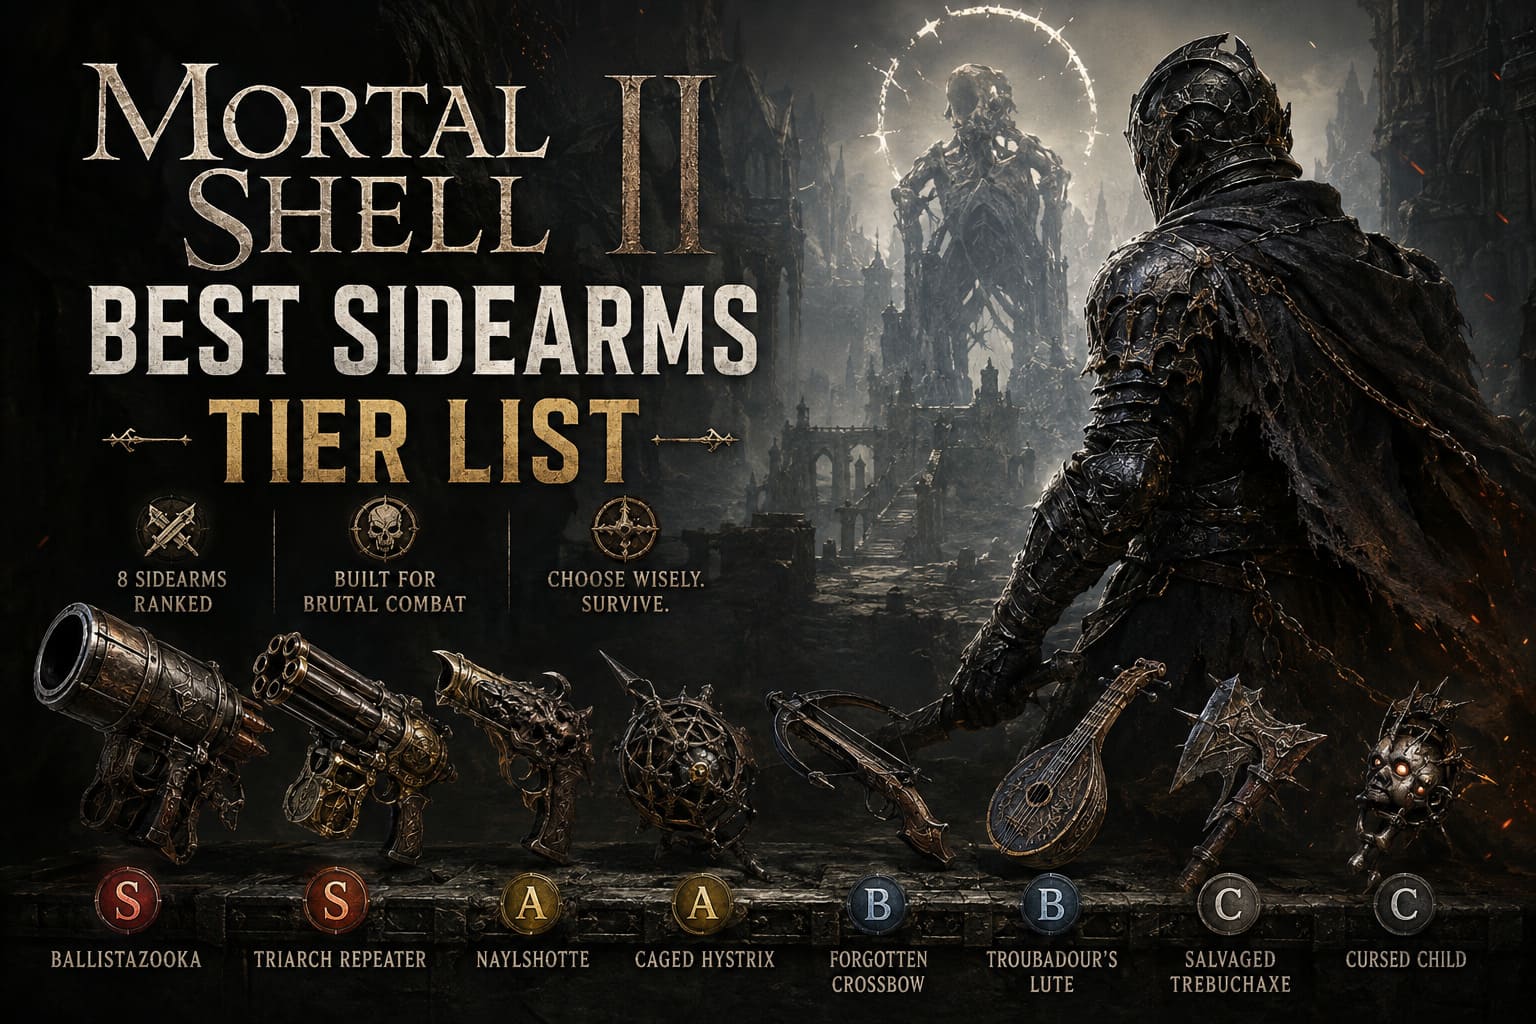
After digging through the current gameplay meta, comparing weapon behavior, looking at build synergies, and considering how each tool performs when things inevitably go sideways, I’ve put together my ranking of all eight sidearms from S-Tier monsters to C-Tier curiosities.
Mortal Shell 2 Sidearms Tier List
| Tier | Sidearm | Best Use |
|---|---|---|
| S-Tier | Ballistazooka | Burst damage, stagger, elite enemies |
| S-Tier | Triarch Repeater | Rapid ranged pressure, bosses, mobs |
| A-Tier | Naylshotte | Close-range crowd control |
| A-Tier | Caged Hystrix | Status effects and area denial |
| B-Tier | Forgotten Crossbow | Long-range pulls and precision |
| B-Tier | Troubadour’s Lute | Aggro control and defensive setups |
| C-Tier | Salvaged Trebuchaxe | Armor breaking |
| C-Tier | Cursed Child | Homing ranged damage |
S-Tier: The Sidearms That Feel Almost Unfair
S-Tier is reserved for weapons that don’t simply perform their job well. These are the sidearms that can make difficult encounters noticeably easier and remain useful across a huge portion of the game.
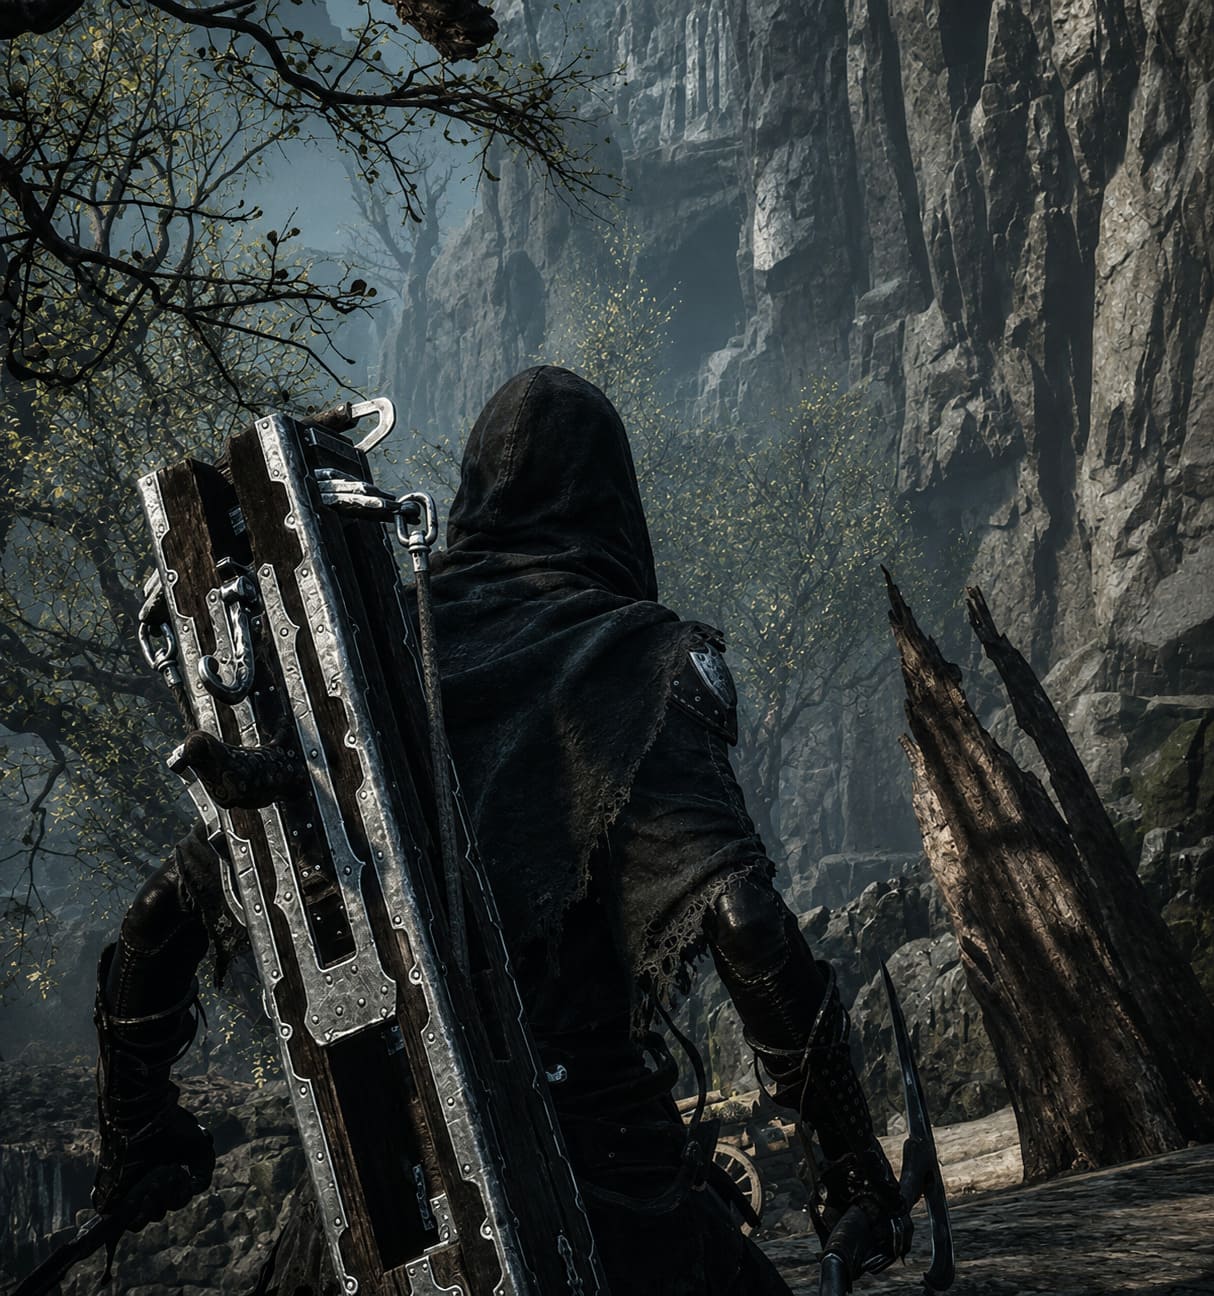
1. Ballistazooka
Yes, the Ballistazooka is back, and it is still an absolute monster.
There are few things more satisfying than watching a gigantic iron bolt slam into an enemy that was preparing to ruin your day. The Ballistazooka is the sidearm I would recommend to players who want a straightforward answer to one very simple question: “How do I make this dangerous enemy stop moving?”
Its enormous physical damage is only part of the appeal. The weapon can pierce targets lined up behind one another, while standard humanoid enemies can be knocked down by its devastating impact. Against larger targets and elites, the staggering potential is what really makes it shine.
The catch is obvious: this thing is slow.
Reloading isn’t something you casually do while surrounded by angry enemies. You need space, timing, or a defensive setup that lets you safely complete the animation. Harden becomes particularly valuable here because it can buy you the tiny window needed to prepare another shot.
That weakness keeps the Ballistazooka from feeling completely brainless, but once you learn its rhythm, it becomes one of the most rewarding tools in the entire arsenal.
Best pairing: Eredrim.
Eredrim already excels at turning individual openings into brutal damage sequences. Opening an encounter with a Ballistazooka shot and then moving in for a heavy melee finisher is exactly the kind of aggressive-but-controlled playstyle that makes this combination work.
Verdict: If you want huge burst damage and reliable stagger utility, this is still the king.
2. Triarch Repeater
The Triarch Repeater takes the opposite approach.
Where the Ballistazooka is about patience and one enormous hit, the Repeater is about keeping pressure on the enemy and refusing to give them breathing room.
It fires three bolts in rapid succession, making it particularly effective against mobile enemies and bosses that don’t politely stand in one place waiting to be hit. The minimal startup time is a massive advantage. You don’t spend ages committing to an attack before discovering that the enemy decided to dodge.
That forgiving design makes the Repeater incredibly comfortable to use.
The individual bolts don’t hit as hard as a Ballistazooka projectile, but that’s not really the point. You’re trading explosive single-shot power for consistent ranged pressure.
The obvious downside is ammunition consumption. The Repeater can chew through your supply quickly if you get trigger-happy. Still, when you need to keep an aggressive enemy under pressure, few sidearms feel as dependable.
Solomon is an especially good match here. His strong resolve generation can help sustain the weapon’s active usage and keep the pressure flowing.
Verdict: Less spectacular than the Ballistazooka, but arguably easier to use consistently.
A-Tier: Powerful, But More Specialized
A-Tier weapons are excellent. The only reason they aren’t sitting at the top is that their strengths are more dependent on encounter design or build direction.
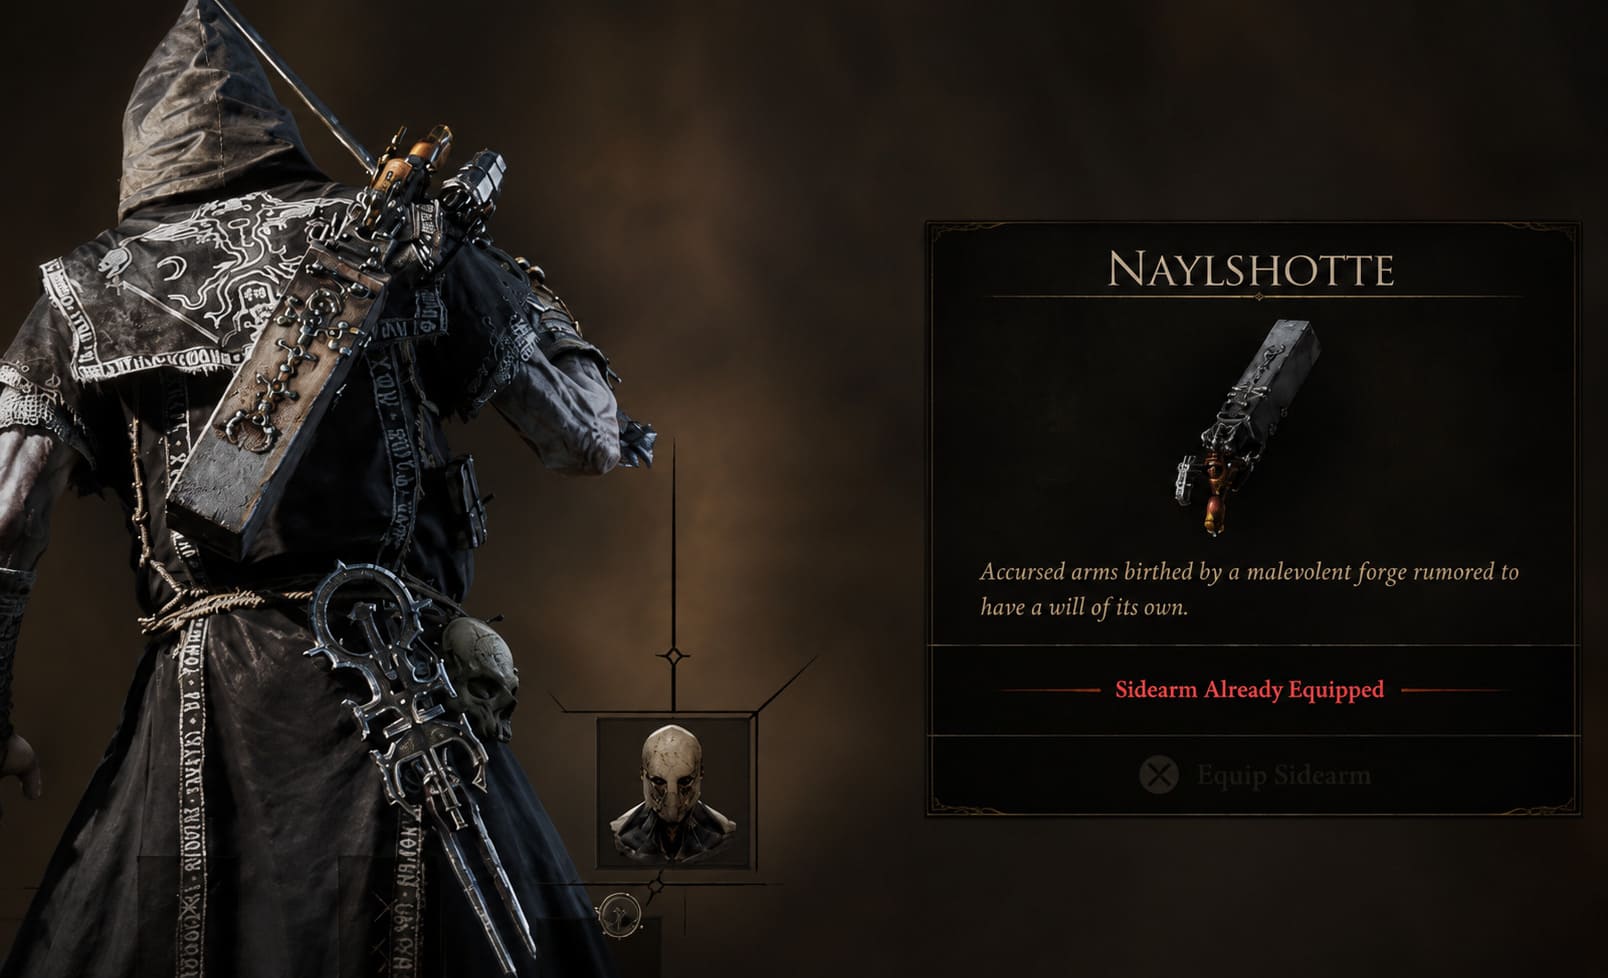
3. Naylshotte
The Naylshotte is basically the sidearm equivalent of kicking open a door and yelling, “Everybody back up.”
This shotgun-style weapon fires a wide cone of splintered projectiles, making it fantastic when enemies get too close for comfort. If you’ve ever been caught between several hostile mobs in a tight corridor, you already understand why that matters.
Its biggest strength isn’t necessarily raw damage. It’s space creation.
The wide spread can hit several enemies simultaneously and deliver substantial stagger. That gives you a chance to reset the fight, reposition, isolate a target, or simply stop a dangerous attack before it lands.
But don’t make the mistake of treating it like a conventional ranged weapon. Its damage falls off hard over distance, and enemies positioned far away might as well be standing on another continent.
This is a point-blank panic button, and honestly, that’s perfectly fine.
Tiel benefits enormously from the Naylshotte because his aggressive close-range approach naturally puts him in the danger zone where the weapon performs best.
Verdict: One of the best defensive sidearms when the battlefield gets crowded.
4. Caged Hystrix
The Caged Hystrix is considerably stranger.
Rather than simply throwing a projectile at something and watching a health bar disappear, this bizarre device creates an area of lingering danger. Its biological pods burst on impact and leave behind a toxic field capable of applying status effects while gradually damaging enemies.
This makes it particularly interesting for players who enjoy status-based builds and battlefield control.
The Hystrix isn’t impressive if you judge it purely by direct impact damage. In fact, that’s probably its biggest weakness. You’re not using this thing because you want every projectile to explode an enemy immediately.
You’re using it because you want an enemy to stand inside a horrible cloud of lingering effects while you attack them from another angle.
The projectile’s looping trajectory also takes some practice. New players may struggle to land shots accurately, particularly in hectic encounters.
But once you understand the arc, the Caged Hystrix becomes a nasty little tool.
Pair it with the Clockwork Scythe and you can stack multiple debilitating effects while continuing to pressure enemies with melee attacks. That’s where the weapon starts feeling much stronger than its raw numbers suggest.
Verdict: A fantastic choice for status enthusiasts, but less universally useful than the S-Tier options.
B-Tier: Good Tools That Know Their Place
B-Tier isn’t an insult. These sidearms are perfectly viable. The problem is that they usually have one excellent job rather than being useful in almost every situation.
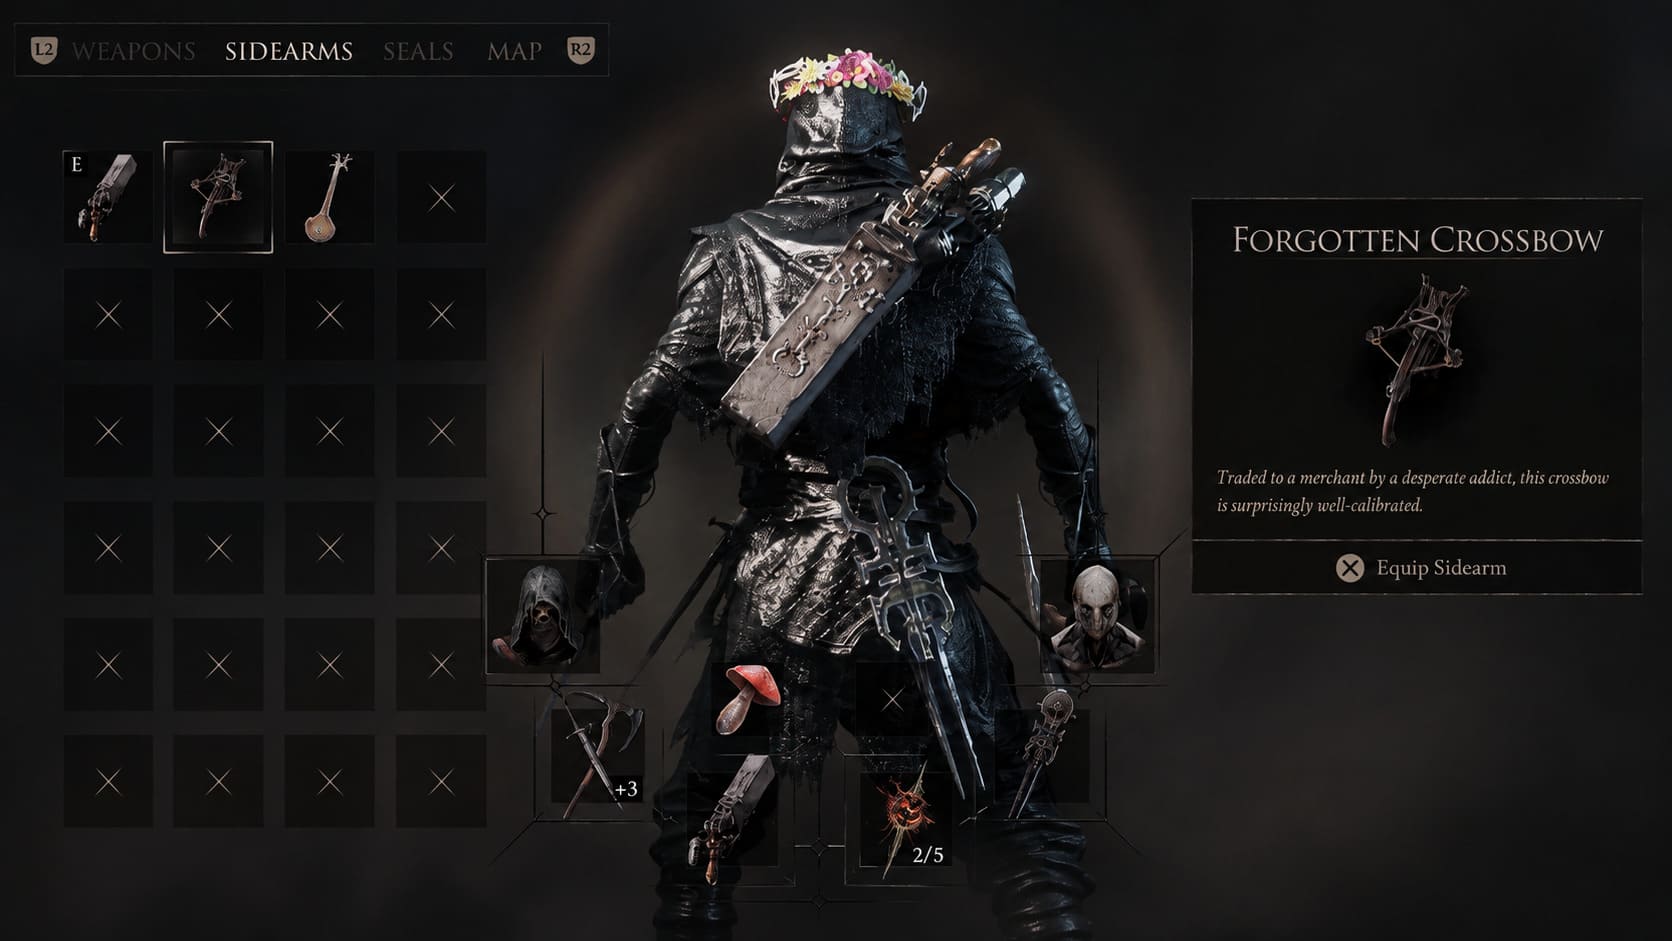
5. Forgotten Crossbow
The Forgotten Crossbow is the classic precision weapon.
It fires a single accurate bolt with excellent range and minimal projectile drop, making it one of the easiest ways to pick off or lure an individual enemy from a large group.
For exploration, that’s genuinely useful.
Rather than charging into a room and waking up half the dungeon, you can carefully pull enemies toward you one at a time. That’s particularly valuable for players still learning enemy patterns and attack ranges.
Unfortunately, its damage doesn’t scale particularly impressively into tougher late-game encounters.
That’s where its role becomes more obvious: the Forgotten Crossbow is a tactical tool, not a boss-killing machine.
For newer players using Harros or a more defensive approach, however, it can be extremely comfortable during the early portion of the campaign.
Verdict: Reliable, accurate and beginner-friendly, but eventually outclassed by more aggressive options.
6. Troubadour’s Lute
Now here’s the weird one.
The Troubadour’s Lute doesn’t function like a conventional weapon at all. Instead of shooting enemies, it produces an acoustic effect that manipulates enemy aggression and draws nearby targets toward your position.
At first glance, that sounds terrible.
Why would I intentionally make enemies come toward me?
Because in the hands of a player who understands positioning, this can become a surprisingly powerful setup tool.
You can control where enemies approach from, prepare your defensive options, and build encounters around your own positioning rather than reacting to whatever the AI decides to do.
The problem is that the Lute doesn’t directly kill anything. Misuse it and you’ve essentially invited the entire neighborhood over for a fight.
It becomes particularly interesting alongside defensive Tarstones such as the Bulwark Stone, where the goal is to turn incoming aggression into a controlled melee engagement.
Tiel and Solomon can both make use of this kind of setup, depending on the build.
Verdict: Extremely niche, but players who understand its purpose can get much more from it than the tier placement suggests.
C-Tier: Interesting Ideas That Don’t Quite Keep Up
These sidearms aren’t completely useless. There are situations where they work. The issue is that those situations aren’t common enough to justify choosing them over stronger alternatives.
7. Salvaged Trebuchaxe
The Salvaged Trebuchaxe is one of those weapons that looks fantastic on paper.
A miniature mechanical throwing device launching axes? Absolutely. Sign me up.
In actual combat, though, it can feel like you’re fighting the weapon as much as you’re fighting the enemy.
Its projectile follows a heavy arc, which makes moving targets surprisingly annoying to hit. Enemies that casually sidestep can turn your carefully prepared shot into an expensive lesson in humility.
The recovery animation is another problem. Mortal Shell 2 doesn’t exactly reward standing around after an attack, and the Trebuchaxe leaves you vulnerable at precisely the wrong moment.
It does have respectable armor-breaking potential, particularly against shielded enemies, and that gives it a legitimate niche.
If you’re using a heavy defensive setup and can safely absorb retaliation, you can make it work.
But that’s a lot of conditions for a sidearm.
Verdict: Cool concept, useful armor-breaking potential, but too clunky for the current fast combat meta.
8. Cursed Child
And then there’s the Cursed Child.
This strange occult relic projects tracking dark-energy tendrils toward an enemy while consuming resources such as resolve or health. On paper, the perfect homing capability sounds incredible.
An attack that doesn’t care about dodging? That’s obviously powerful.
The problem is everything surrounding that mechanic.
The Cursed Child asks you to commit to a channeling animation in a game where enemies are constantly trying to rip your face off. You become slower, more predictable, and increasingly vulnerable while attempting to maintain the stream.
That’s a rough trade.
The resource efficiency also isn’t impressive enough to compensate for the risk. You can certainly make the weapon function with a high-resolve Solomon setup, particularly if you’re attacking from behind cover or have carefully controlled the encounter.
But for the average player, the Cursed Child feels like you’re paying too much for a gimmick.
Verdict: Fascinating mechanically, but its channeling requirement makes it the weakest overall sidearm in the current ranking.
Mortal Shell 2 Best Shells Tier List: Character Rankings and Meta Guide
Final Mortal Shell 2 Sidearms Ranking
If I had to pick only a handful of sidearms for a serious playthrough, my choices would be pretty straightforward.
The Ballistazooka is the weapon I’d trust when something enormous needs to be staggered or deleted. The Triarch Repeater is the more flexible option when I want constant ranged pressure without committing to one massive shot.
For specialized builds, the Naylshotte is excellent when fights become cramped and chaotic, while the Caged Hystrix is the pick for players who want to build around status effects and area denial.
The B-Tier weapons are perfectly serviceable, particularly if you’re still learning the game. The Forgotten Crossbow deserves respect for how useful it is during exploration, while the Troubadour’s Lute is one of those weapons that can look completely pointless until somebody experienced shows you exactly how to abuse its mechanics.
The bottom two are where I’d be more cautious. The Salvaged Trebuchaxe has a legitimate armor-breaking niche, but its awkward handling hurts it badly. The Cursed Child, meanwhile, has an interesting concept that simply doesn’t fit Mortal Shell 2’s aggressive combat tempo as well as it needs to.
The Short Version
S-Tier: Ballistazooka, Triarch Repeater
A-Tier: Naylshotte, Caged Hystrix
B-Tier: Forgotten Crossbow, Troubadour’s Lute
C-Tier: Salvaged Trebuchaxe, Cursed Child
The important thing is not to treat this tier list as a strict rulebook. Mortal Shell 2 rewards experimentation, and a sidearm that looks mediocre in a general ranking can become ridiculous when paired with the right Shell, Tarstone, melee weapon, and playstyle.
Still, if you’re looking for the safest starting point for the current meta, I’d put my money on the Ballistazooka or Triarch Repeater. They offer the combination I value most in this game: strong damage, meaningful utility, and enough consistency to save your run when a perfectly normal encounter suddenly turns into absolute chaos.