Hellraiser Revival DLSS 3.5 Guide: How to Enable Ray Reconstruction and Fix Performance Issues
There are some horror games where turning the graphics down feels like you’re losing half of the experience. Hellraiser Revival is exactly that kind of game. When the Labyrinth is covered in wet surfaces, deep shadows, smoke, blood, and strange reflections, the visual presentation does a huge amount of the work. I have played plenty of Unreal Engine 5 games by now, and one thing I have learned is that the difference between a beautiful UE5 game and a game that runs horribly can sometimes be just a handful of graphics settings.
That is where NVIDIA DLSS becomes extremely useful. If you’re running an RTX graphics card, you can get a much smoother experience in Hellraiser Revival without turning the game into a blurry mess. DLSS Super Resolution is the obvious starting point, but Ray Reconstruction is particularly interesting in a horror game because ray-traced lighting, reflections, and shadows are such a big part of the atmosphere.
I spent a lot of time experimenting with upscaling modes and the usual performance-heavy settings in modern PC games, and I would not simply recommend switching everything to Ultra and calling it a day. In Hellraiser Revival, some settings cost a ridiculous amount of performance for a relatively small visual improvement. Here’s how I would set up DLSS 3.5 and the rest of the graphics options.
Hellraiser Revival RTX 4070 Ti Super Performance Drops: How to Fix Stuttering and Low FPS
What DLSS 3.5 Actually Does in Hellraiser Revival
The first thing to understand is that DLSS 3.5 isn’t one magical graphics option. NVIDIA uses the DLSS name for several different technologies, and they do different jobs.
The most important ones for Hellraiser Revival are DLSS Super Resolution, DLSS Frame Generation, and Ray Reconstruction. You don’t necessarily need all three, and your GPU determines which features are available.
| DLSS Feature | What It Does | Hardware Requirement |
|---|---|---|
| DLSS Super Resolution | Renders below native resolution and reconstructs the image using AI | RTX 20 Series or newer |
| DLSS Ray Reconstruction | Improves ray-traced lighting and replaces traditional denoising | RTX 20 Series or newer |
| DLSS Frame Generation | Creates additional frames between rendered frames | RTX 40 Series or newer |
For me, Super Resolution is the easiest recommendation. It can provide a substantial performance increase while keeping the image surprisingly close to native resolution. In a dark horror game, however, Ray Reconstruction can be even more interesting because conventional ray-tracing denoisers can sometimes make shadows and reflections look noisy or unstable.
Frame Generation is a different story. When it works well, the increase in perceived smoothness can be excellent, particularly at 4K. But I wouldn’t treat generated frames as a replacement for actual rendering performance. You still want a respectable base frame rate before turning it on.
Which RTX Graphics Card Do You Need?
You don’t need an RTX 40-series card just to use DLSS. This is something that often gets confused in PC gaming discussions.
DLSS Super Resolution works on RTX 20, 30, 40, and newer generations. Ray Reconstruction is also designed to work across RTX generations, assuming the game implementation supports the feature and ray tracing is enabled.
Frame Generation is the feature with the more restrictive hardware requirement. Traditional NVIDIA DLSS Frame Generation requires an RTX 40-series GPU or newer.
So, for example, an RTX 3060 Ti owner can still take advantage of DLSS Super Resolution and potentially Ray Reconstruction. They simply shouldn’t expect the same feature set as someone playing on an RTX 4070, RTX 4080, RTX 4090, or newer card.
How to Enable DLSS in Hellraiser Revival
Before changing anything, I strongly recommend updating your NVIDIA driver. I’ve seen too many PC games launch with strange graphics bugs that disappear after a proper Game Ready driver update. If DLSS options are missing, crashing, or behaving strangely, don’t immediately start editing configuration files.
1. Update Your NVIDIA Driver
Open the NVIDIA App and check for the latest available graphics driver. Install the current Game Ready Driver and restart your PC if Windows or the installer asks you to.
This is particularly important if you’re playing a new Unreal Engine 5 title. New games can depend heavily on driver-level optimizations, shader fixes, and profile updates.
2. Enable Hardware-Accelerated GPU Scheduling
If you’re using Frame Generation, check that Hardware-Accelerated GPU Scheduling, commonly called HAGS, is enabled in Windows.
Open Windows Settings and search for Graphics Settings. Find the Hardware-Accelerated GPU Scheduling option and turn it on if it is available. If Windows asks you to restart, do it before launching Hellraiser Revival.
This isn’t a setting I would obsess over if you’re not using Frame Generation, but if you’re trying to get the full DLSS feature set working, it’s worth checking.
3. Open the Graphics Options
Launch Hellraiser Revival, open the Options menu, and go to the Graphics section.
Find the resolution scaling or upscaling option. Depending on the version of the game and available hardware, you may see several options such as TAA, TSR, FSR, or NVIDIA DLSS.
Select NVIDIA DLSS.
You’ll then normally have access to different quality modes.
Which DLSS Mode Should You Use?
This is where I wouldn’t blindly follow a single recommendation because your resolution and GPU make a huge difference.
For 1080p, I would start with DLSS Quality. Dropping the internal rendering resolution too aggressively at 1080p can make fine details noticeably softer, and there isn’t much reason to sacrifice image quality if your GPU is already capable of running the game comfortably.
At 1440p, DLSS Quality is still my first choice. If performance is struggling, Balanced is the next setting I would try. I generally prefer a stable 60 FPS with a slightly less detailed image over constantly dropping into the 40s during heavy scenes.
For 4K, DLSS Performance becomes much more reasonable. The higher native output resolution gives the reconstruction algorithm more information to work with, so Performance mode can look considerably better at 4K than you might expect.
I would avoid Ultra Performance unless you’re dealing with an extremely demanding setup or a very high-resolution display. The performance gain can be useful, but the loss of fine detail isn’t something I would willingly accept unless absolutely necessary.
How to Turn On Ray Reconstruction
Once DLSS is enabled, look for the Ray Reconstruction option.
There is an important catch here: Ray Reconstruction is designed to work with ray-traced effects. If ray tracing is completely disabled, there isn’t much reason for the option to be active.
Enable the ray-tracing features you actually want to use first. Then activate NVIDIA Ray Reconstruction if the game exposes the setting.
This is one of the settings where I would actually spend some time comparing screenshots or simply walking through the same area with it enabled and disabled. In a horror game, reflections on wet floors, indirect lighting, and shadow transitions can look noticeably cleaner when the ray-tracing pipeline is properly reconstructed.
The difference isn’t always dramatic in every scene, though. That’s why I wouldn’t sacrifice a huge amount of performance just to say that every possible ray-tracing option is enabled.
What About DLSS Frame Generation?
If you own an RTX 40-series or newer GPU that supports Frame Generation, you’ll usually find a separate option for it below the DLSS settings.
Turn it on if your base frame rate is already reasonably high.
This is important. If your game is rendering at a miserable 25-30 FPS and Frame Generation pushes the displayed frame rate much higher, the number on the counter might look fantastic, but the underlying responsiveness hasn’t magically become that of a native high-frame-rate game.
My preference is to first get the real frame rate into a comfortable range, then use Frame Generation to add another layer of smoothness. That’s when the technology makes the most sense.
For slower atmospheric horror, it can work particularly well because the genre usually isn’t demanding the same instantaneous response as a competitive shooter.
Best Hellraiser Revival Graphics Settings for Performance
DLSS shouldn’t be considered a magic fix for every performance problem. Unreal Engine 5 games can have several expensive settings that continue to hammer your GPU even after you enable upscaling.
These are the settings I would start with:
Ray Tracing: Medium or High
Don’t automatically use Ultra.
Ray tracing can be one of the biggest performance killers in modern games, and the highest setting doesn’t always produce a visual improvement that justifies the frame-rate loss. Medium or High is a much better starting point, particularly when you’re already using Ray Reconstruction.
Volumetric Fog: Medium
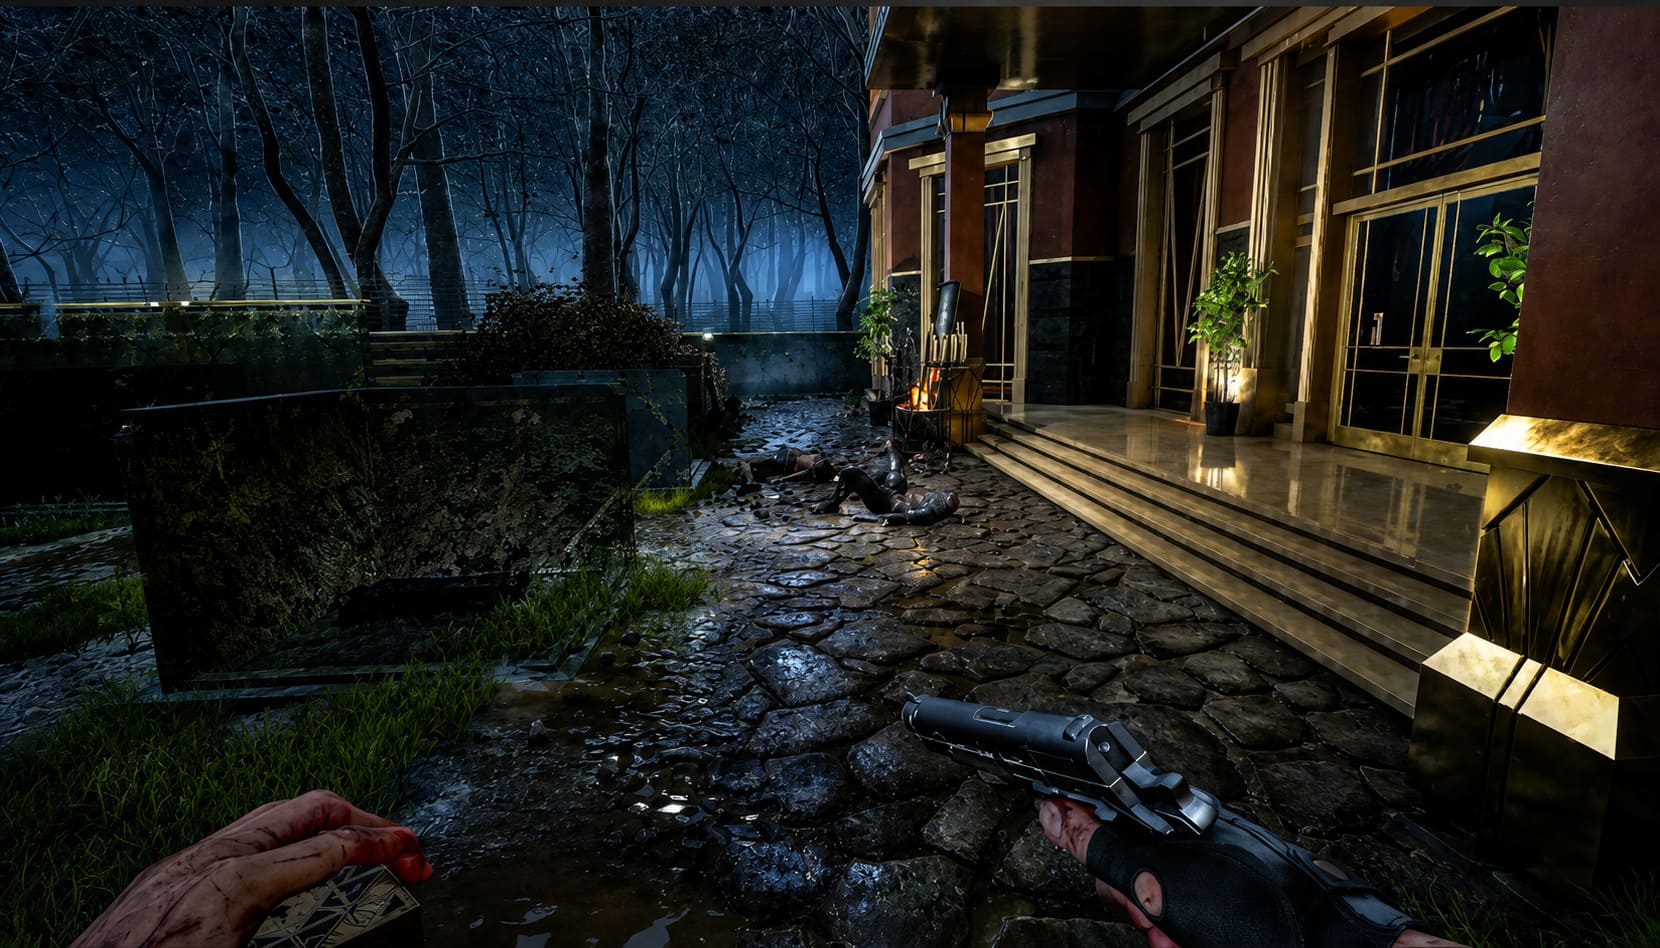
This one is especially important in Hellraiser Revival because fog and smoke are part of the atmosphere rather than background decoration.
Unfortunately, volumetric effects can be expensive. I would use Medium first and only move to High if your GPU has performance to spare.
The difference between Medium and maximum fog quality is usually much smaller than the difference in frame rate.
Shadows: High
Shadows are one setting where I prefer to spend some GPU budget.
High is a good compromise, especially in a game with dark environments. Lowering shadows too much can make scenes look strangely flat, which is exactly what you don’t want in a Hellraiser game.
I wouldn’t rush to Ultra unless you’re already comfortably above your target frame rate.
Textures: High or Epic
Textures are primarily a VRAM consideration.
If your graphics card has 12GB of VRAM or more, I would happily start with High or Epic textures. Horror games rely heavily on environmental detail, and lowering textures can make walls, costumes, props, and character models look unnecessarily muddy.
If you’re using a card with less VRAM, High is generally the safer choice.
My Recommended DLSS Setup
If I were setting up Hellraiser Revival on a modern gaming PC, this is where I would start:
- Upscaler: NVIDIA DLSS
- DLSS Mode at 1080p: Quality
- DLSS Mode at 1440p: Quality or Balanced
- DLSS Mode at 4K: Performance
- Ray Reconstruction: On
- Frame Generation: On for supported RTX 40-series/newer GPUs
- Ray Tracing: Medium or High
- Volumetric Fog: Medium
- Shadow Quality: High
- Texture Quality: High or Epic
- Motion Blur: Personal preference, but I usually disable it
- V-Sync: Use according to your display and VRR setup
That combination gives you a much more sensible performance profile than simply selecting the highest preset and hoping DLSS will rescue everything.
What If DLSS or Ray Reconstruction Is Greyed Out?
If your GPU should support the feature but the option remains unavailable, don’t immediately assume that the game is broken.
First, check the obvious things. Make sure your NVIDIA driver is current, confirm that you’re actually using an RTX graphics card, enable ray tracing if Ray Reconstruction requires it, and restart the game after making graphics changes.
I would also avoid randomly changing Unreal Engine configuration files unless you know exactly what you’re doing. There are plenty of community tweaks floating around for UE5 games, but forcing experimental settings through an INI file can create new problems just as easily as it can solve old ones.
If you do experiment with configuration files, make a backup first. That’s the single piece of advice I would give anyone before modifying an Unreal Engine game’s configuration.
Don’t Chase the Biggest FPS Number
This is probably the most important advice I can give.
I’ve spent enough time tweaking PC games to know how easy it is to get trapped in the endless optimization loop. You change one setting, gain eight FPS, change another, gain five more, and eventually you’re staring at a game that technically runs faster but looks noticeably worse.
With Hellraiser Revival, I would prioritize stable frame pacing and image quality over a massive FPS number.
The Labyrinth is supposed to feel oppressive, dark, and uncomfortable. If DLSS Quality, moderate ray tracing, high shadows, and medium volumetrics give you a stable experience, that’s a much better result than running everything on Low just to see an enormous number in the corner of the screen.
For most RTX owners, the sweet spot is going to be somewhere between the game’s High preset and a carefully adjusted custom configuration.
Final Thoughts
Hellraiser Revival is exactly the sort of PC game where good graphics settings matter. The combination of Unreal Engine 5 technology, ray-traced effects, volumetric atmosphere, detailed environments, and dark interiors can put serious pressure on a GPU, especially at 1440p and 4K.
The good news is that you don’t have to destroy the visual quality to get better performance. DLSS Super Resolution should be your first step, followed by Ray Reconstruction if you’re using ray tracing. RTX 40-series and newer owners can then add Frame Generation once the underlying frame rate is already in a healthy range.
My advice is to start with DLSS Quality, High shadows, Medium volumetric effects, and Medium or High ray tracing. Play for 10 or 15 minutes rather than judging everything from a static graphics menu. If performance still isn’t where you want it, move to DLSS Balanced before cutting texture quality or disabling the effects that make the Labyrinth look so damn good.
That’s the advantage of PC gaming when the settings are properly configured: you can find the sweet spot where the game still looks horrifying for all the right reasons, while your GPU isn’t fighting for its life every time Pinhead walks into the room.