33 Immortals Relic Guide: Action Relics vs Boost Relics Explained
If there’s one thing I’ve noticed while playing roguelikes like 33 Immortals, it’s that raw damage alone never really tells the full story. Thunder Lotus Games built something that constantly pushes you to adapt, rethink, and rebuild your character mid-run. And the core of that system is the Relic mechanic.
After spending time with the updated progression system, I’ve come to see Relics less like loot and more like a conversation between two philosophies: Action Relics and Boost Relics. One is immediate, the other is long-term. One reacts, the other scales.
33 Immortals Duo Relics Guide: Mechanics, Synergy, and Best Builds
Understanding Relics in 33 Immortals
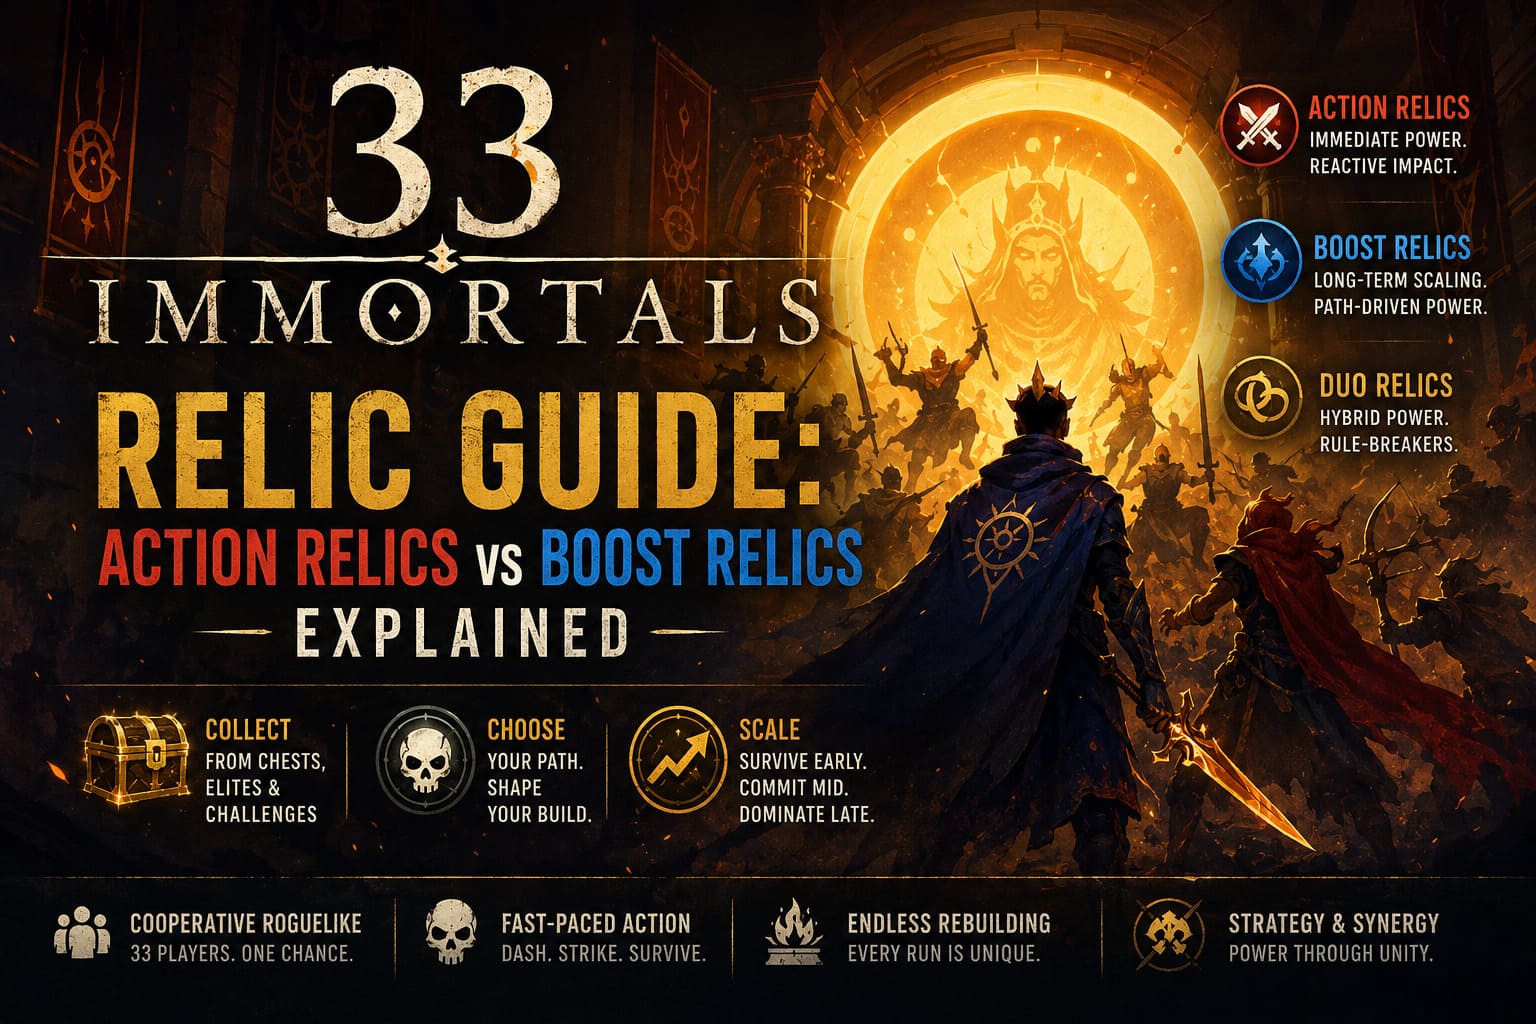
Relics are temporary power modifiers you collect during a run. They drop from chests, elite enemies, and risky encounters inside Torture Chambers. Unlike permanent upgrades, they define your current build only.
The system is split into two major categories:
- Action Relics – Direct combat enhancements tied to inputs
- Boost Relics – Passive scaling tied to progression Paths
This split is what makes the system feel dynamic instead of static. You’re not just collecting power—you’re choosing a direction every time you pick something up.
Action Relics – Immediate Combat Power
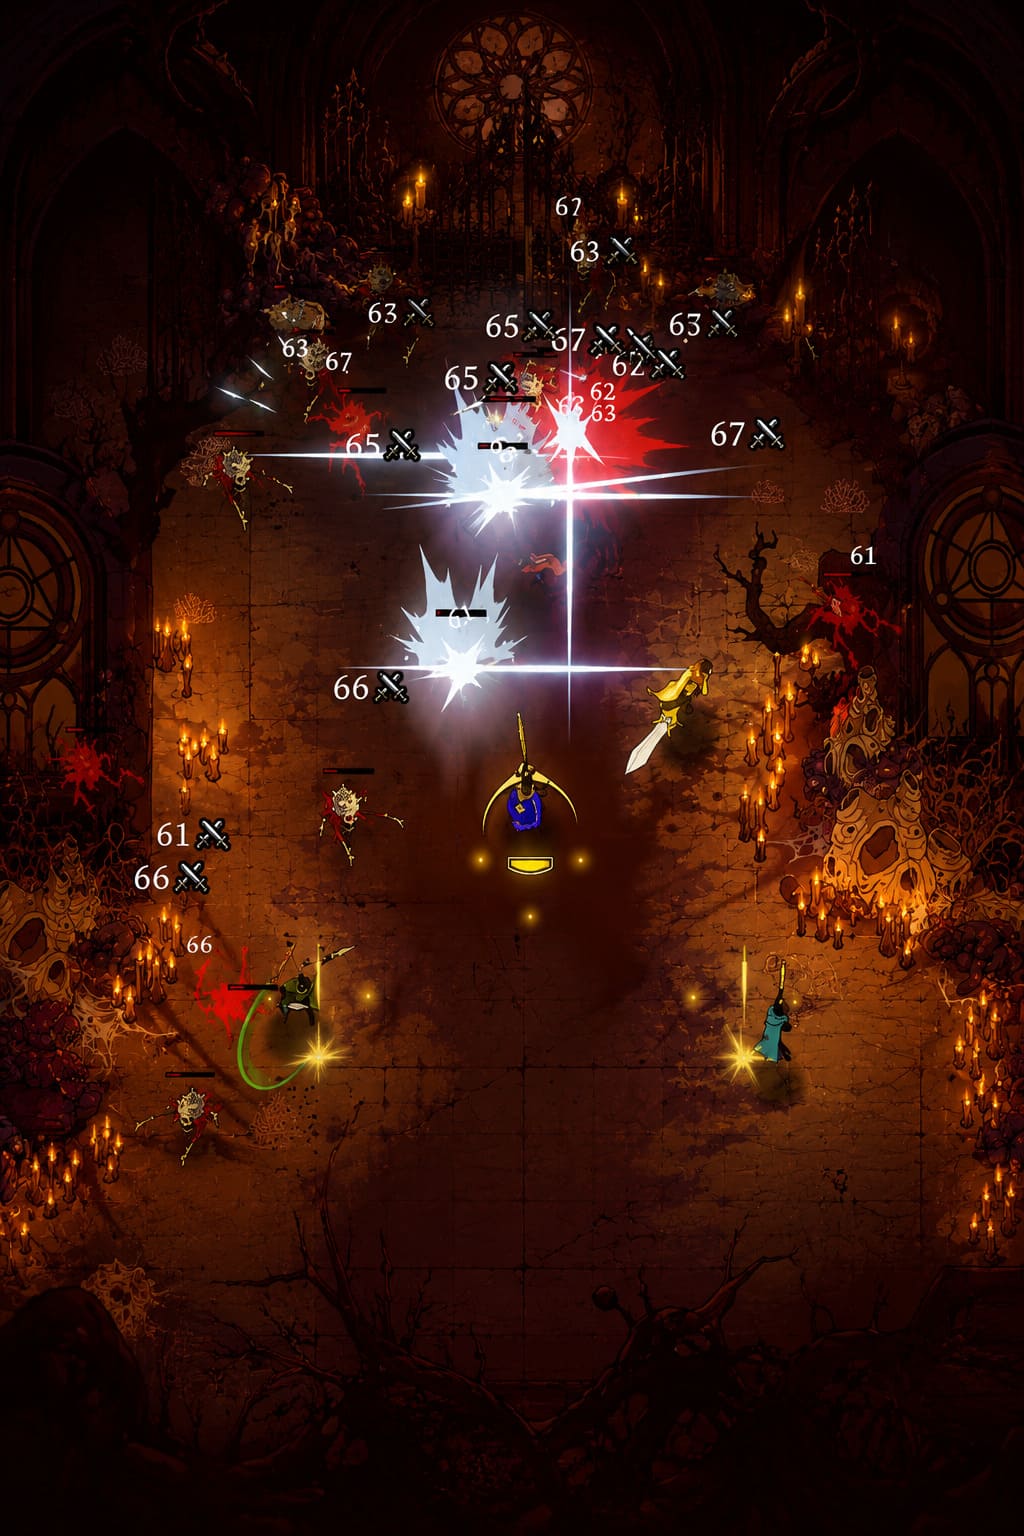
Action Relics are the easiest to understand because you feel them instantly. They modify what you already do in combat rather than changing the rules behind the scenes.
Main Types of Action Relics
- Dash Enhancements – Turn movement into offense or defense (damage trails, shields, effects)
- Light Attack Enhancements – Improve combo speed, stacking effects, or status application
- Heavy Attack Enhancements – High burst damage or AoE scaling effects
- Ability Enhancements – Modify class skills into hybrid offensive tools
Early in a run, these relics are often the difference between surviving and getting overwhelmed. They don’t require synergy, they don’t require setup—they just work.
Personally, I tend to lean on Action Relics at the start because they make the game feel responsive and flexible, especially when your build is still undefined.
Boost Relics – Long-Term Scaling Power
Boost Relics work very differently. Instead of modifying actions, they amplify entire Paths, which act like global build archetypes.
These Paths include:
- Path of Malice – Critical hit scaling and burst damage focus
- Path of Unity – Cooperative synergy and group scaling
- Path of Vainglory – Auto-projectiles and ranged enhancements
- Path of Revenge – Close-range explosive retaliation mechanics
- Path of Mercy – Healing and sustain for team survival
What makes Boost Relics interesting is that they don’t just appear randomly. You usually need at least one foundational Path relic before stronger Boost Relics from that Path start showing up. That alone forces early commitment.
Action vs Boost Relics – Key Differences
| Aspect | Action Relics | Boost Relics |
|---|---|---|
| Function | Direct combat modification | System-wide scaling effects |
| Timing | Early to mid game strength | Mid to late game dominance |
| Flexibility | High – easy to adapt | Low – requires commitment |
| Scaling | Linear improvements | Exponential growth potential |
| Playstyle | Reactive and immediate | Strategic and long-term |
How the Meta Actually Feels
Looking at how players approach the system now, there’s been a noticeable shift away from simple flat damage stacking toward synergy-based builds.
Early on, many players relied on straightforward damage boosts, but as the system evolved, that approach started falling off. Now, success depends more on timing and structure.
Early Game
- Focus on Action Relics
- Improve survivability and clear speed
- Avoid overcommitting to a single Path too early
Mid Game
- Commit to a Path direction
- Start replacing weaker Action Relics
- Build synergy foundations
Late Game
- Stack Boost Relics aggressively
- Focus on exponential scaling
- Coordinate with team synergies when possible
Duo Relics – Hybrid Power Tools
Duo Relics sit between Action and Boost systems. They combine two Paths at once, allowing hybrid builds that normally wouldn’t exist.
They are rare, but when they appear, they can completely redefine a run. Think of them as “rule-breakers” for players who already understand how the system works.

Resource Management and Relic Economy
One of the more underrated systems is how you manage Relics during a run. You’re limited to carrying around eight at a time, which forces constant decision-making.
Key systems include:
- Bones Rerolling – Re-roll chest rewards for better options
- Scrapping Relics – Convert unwanted items into Bones
- Scaling Cost – Rerolls become more expensive over time
From experience, the biggest mistake is hoarding mediocre relics. It’s usually better to commit, refine, and aggressively optimize your loadout.
Final Thoughts – What Actually Wins Runs
The simplest way I can describe the system is this:
Action Relics win fights early. Boost Relics win the run.
But the real skill is knowing when to transition between the two.
If you stay too long in Action Relics, you fall off in late-game scaling. If you rush Boost Relics too early, you risk not surviving long enough to scale at all.
The best runs I’ve had always followed the same rhythm: stabilize early, commit mid-game, and scale late.
Conclusion
The Relic system in 33 Immortals isn’t just about power—it’s about pacing. It forces you to think in phases rather than moments. And once you understand that structure, the entire game starts to feel less random and more intentional.
That’s where it really clicks.