IRON NEST Heavy Turret Simulator Beginners Guide: Artillery Tips & Map Combat Strategy
When I first launched IRON NEST: Heavy Turret Simulator, I expected another oversized cannon simulator with flashy explosions and a couple of simple calculations. Five minutes later I was staring at a paper map covered in pencil lines, trying to understand why my expensive 800mm shell had landed somewhere far behind the actual target.
That’s exactly what makes this game brilliant.
Instead of rewarding fast reactions, IRON NEST rewards patience, precision, and planning. Every successful hit feels earned because you personally calculated the trajectory, loaded the correct ammunition, adjusted the elevation, rotated an entire fortress, and finally watched several tons of steel erase an enemy position from existence.
If you’re coming from arcade shooters, prepare to completely change the way you think. This isn’t about reflexes—it’s about becoming the commander of an enormous walking siege machine where every tiny mistake can waste valuable resources or even wipe out friendly forces.
This guide covers everything new players should know before taking their first real combat assignment.
Your Fortress Is Basically One Giant Machine
The biggest mistake new players make is assuming the turret itself is the weapon.
It isn’t.
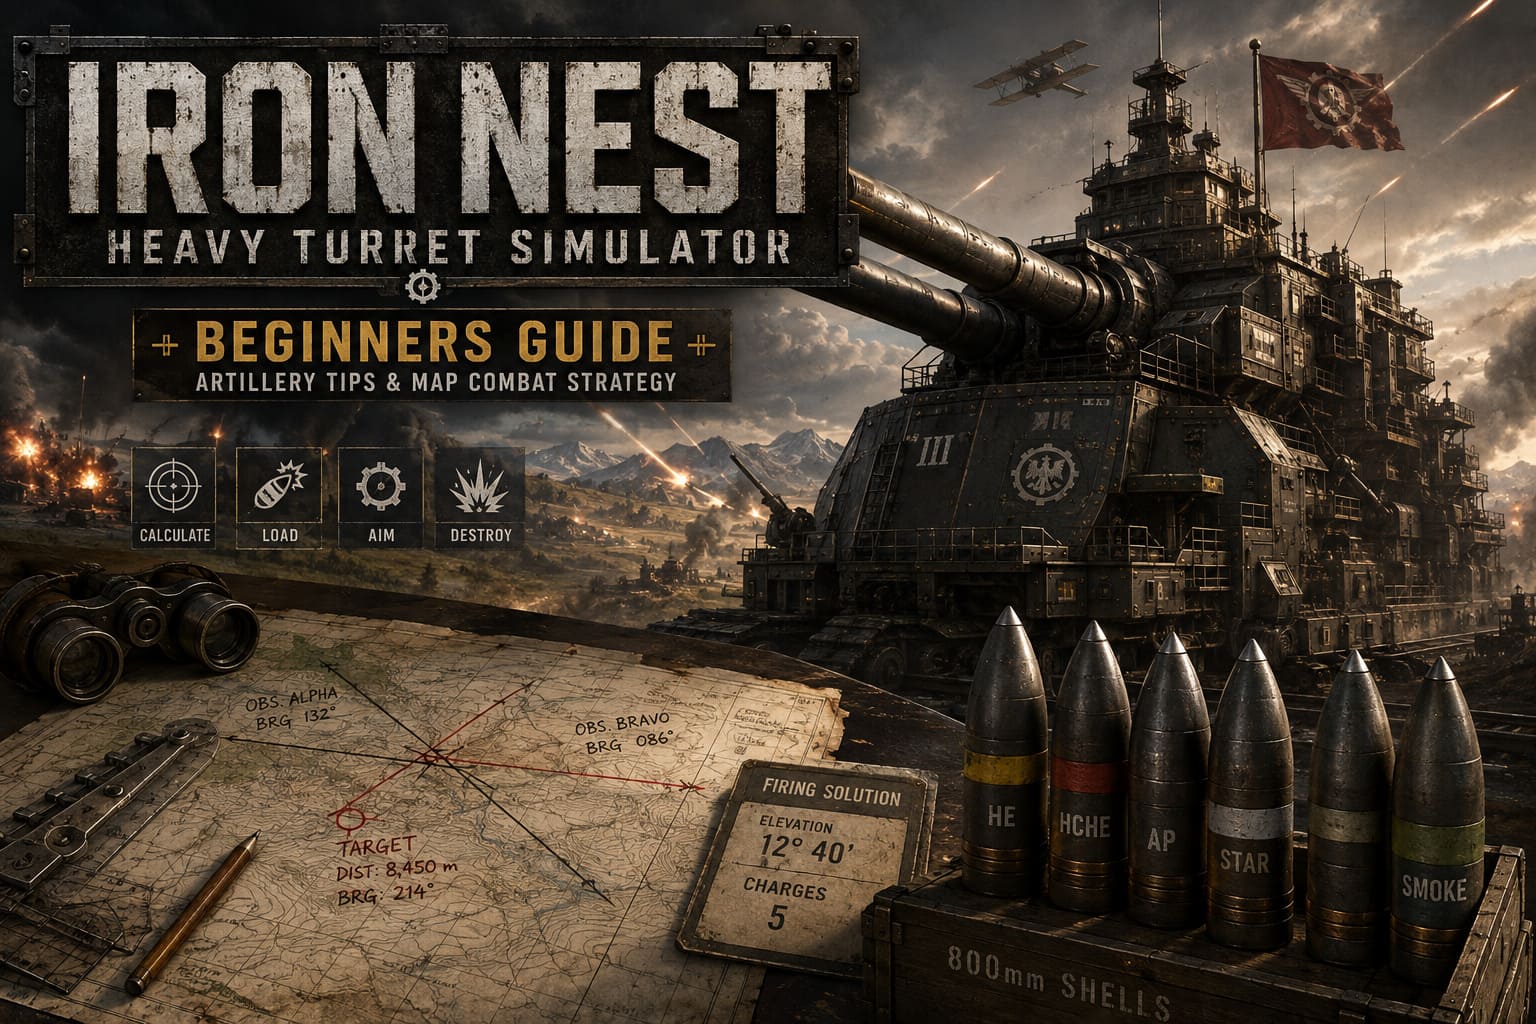
The entire fortress is the weapon.
Every station inside serves a purpose, and ignoring even one of them usually leads to inaccurate fire missions.
Here’s the layout you’ll become familiar with after a few hours.
| Station | Purpose | Why It Matters |
|---|---|---|
| Map Table | Plot targets and calculate bearings | Every shot begins here |
| Teleprinters | Receive orders and battlefield reports | Primary source of intelligence |
| Ballistic Calculator | Converts map data into firing values | Essential for accurate artillery |
| Requisition Bench | Order ammunition and reconnaissance | Keeps operations running |
| Bearing Controls | Rotate the entire turret | Determines firing direction |
| Elevation Controls | Raise or lower cannon barrels | Controls shell trajectory |
| Hydraulic Trigger | Fires the artillery | Final step after preparation |
After several missions, muscle memory starts taking over. You’ll instinctively move between stations without thinking, almost like you’re operating an old battleship instead of a walking fortress.
Learn the Map Before You Touch the Guns
This is probably the hardest lesson for beginners.
If your shells keep missing, the problem almost never starts at the cannon.
It starts at your map.
Unlike most strategy games that hand you exact coordinates, IRON NEST forces you to work with indirect intelligence. Spotters report bearings from their own positions, leaving you to determine where the enemy actually is.
That sounds intimidating at first, but the system becomes incredibly satisfying once it clicks.
The basic process looks like this:
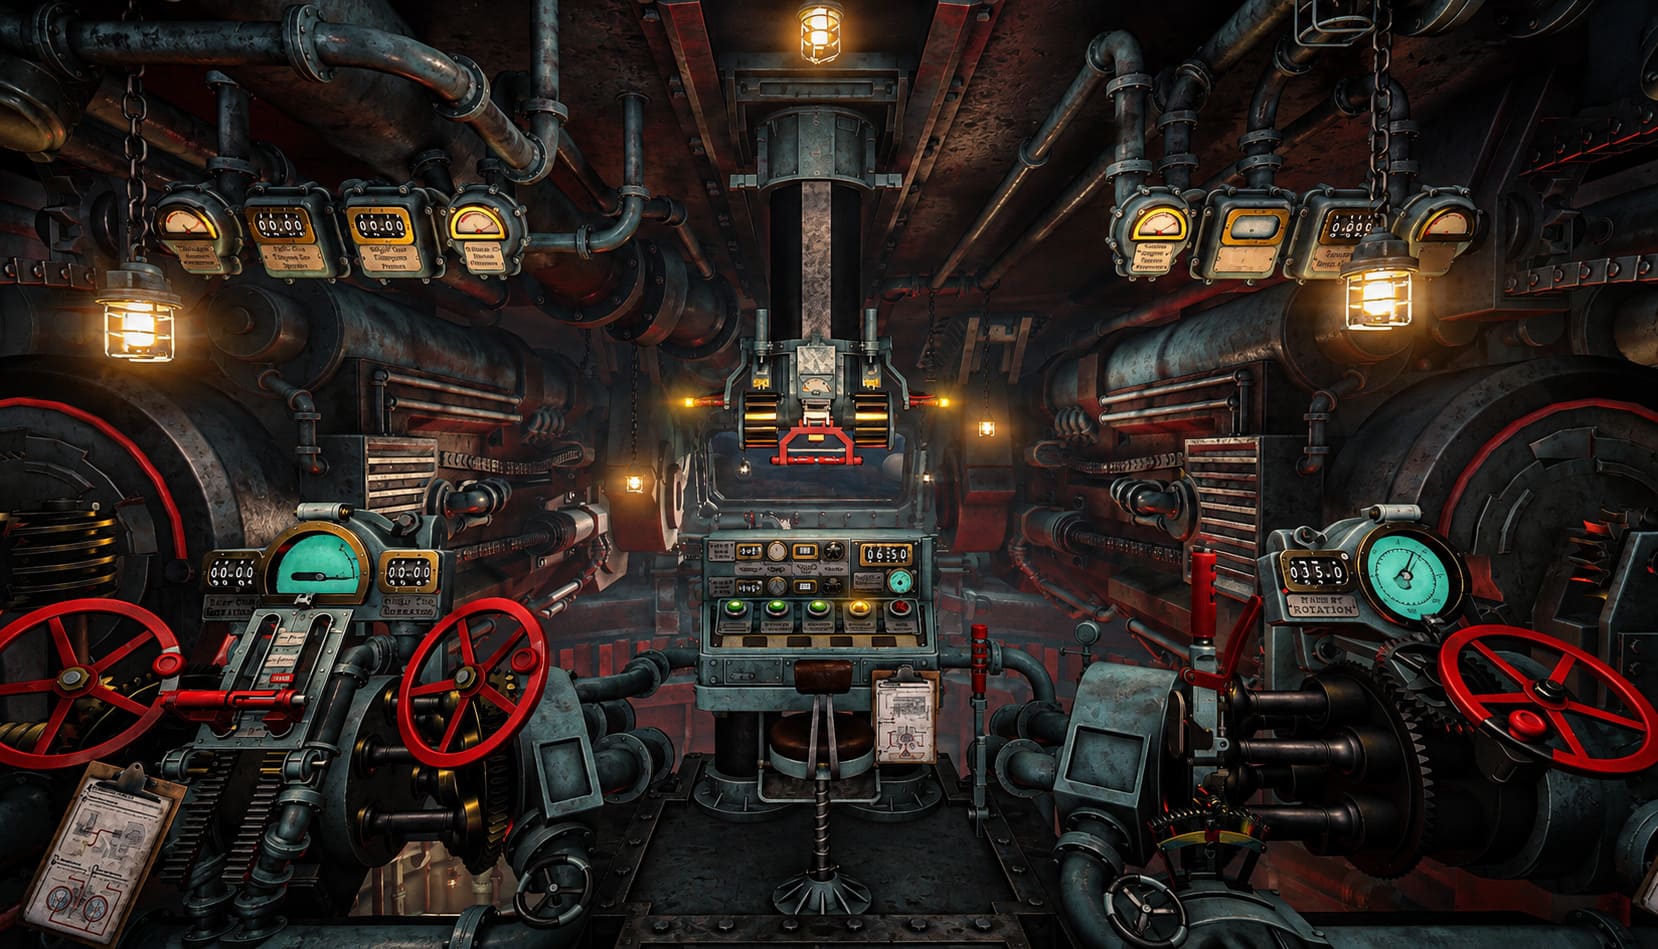
- Find the first observer on your map.
- Draw the reported bearing.
- Repeat with the second observer.
- Locate where both lines intersect.
- Connect that point to your own fortress.
- Measure the new bearing and distance.
That final line becomes your actual firing solution.
It’s old-school artillery work, and honestly, it’s one of my favorite mechanics in any military simulation released in recent years.
Keep Your Map Clean
This sounds almost silly until you’ve played for an hour.
Old pencil marks become your worst enemy.
Multiple completed fire missions leave dozens of intersecting lines across the paper, making it surprisingly easy to calculate from an outdated position.
I learned this the hard way after accidentally firing at coordinates from an earlier mission.
Now I erase almost everything after every successful strike.
A clean map saves lives.
The Ballistic Calculator Is Your Best Friend
Once you’ve measured the target distance, head over to the mechanical ballistic calculator.
Watching the gears rotate and hearing the machine spit out firing instructions never gets old.
The printed card gives you two values:
- Barrel elevation
- Required powder charges
These numbers are absolute.
Trying to “guess” usually ends badly.
Loading one fewer powder charge means the shell lands short.
Adding an extra charge sends it flying beyond the objective.
Considering each shell weighs several tons, mistakes become expensive very quickly.
Always trust the calculator more than your instincts.
Choosing the Right Shell Matters More Than You Think
IRON NEST gives both cannons independent ammunition loading, which creates some really interesting tactical possibilities.
Here’s a quick breakdown.
| Shell Type | Best Used Against | Notes |
|---|---|---|
| HE | Infantry, vehicles, camps | Reliable all-purpose ammunition |
| HCHE | Trench systems, grouped artillery | Massive blast radius |
| AP | Fortifications, bunkers, armored targets | Maximum penetration |
| STAR | Night operations | Illuminates the battlefield |
| SMOKE | Defensive cover | Blocks enemy observation |
| PHOSGENE / TEAR GAS | Area denial missions | Used only under specific operational orders |
One tactic I really enjoy is mixing ammunition.
Load one barrel with AP for destroying hardened defenses while the second barrel fires HE into nearby infantry positions.
Landing both shots simultaneously is incredibly satisfying.
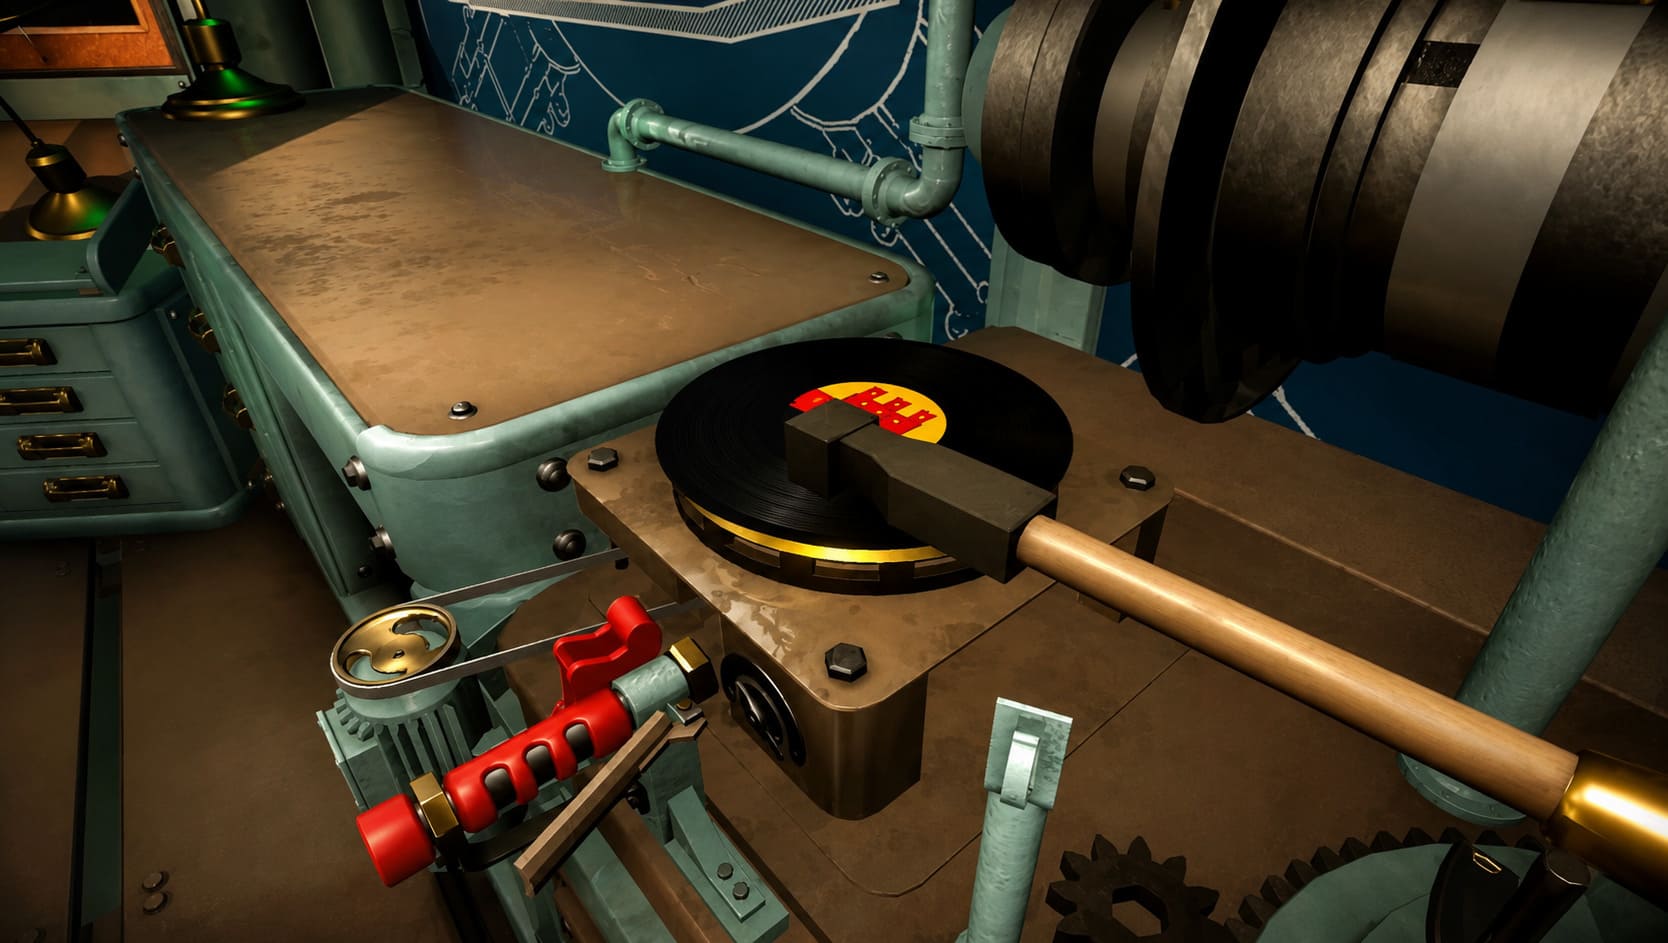
Loading the Cannons Isn’t Just an Animation
Many games turn reloading into a progress bar.
IRON NEST makes you do the work.
- You physically move shells.
- You operate the hoist.
- You insert powder bags.
- You seal the breech.
The process feels heavy, mechanical, and surprisingly immersive.
That slow pacing also increases the pressure during combat because you know enemy artillery is probably calculating your own position while you’re still preparing the next round.
Gun Alignment Is Where Precision Wins Battles
Once both barrels are loaded, the real setup begins.
You’ll need to adjust two different systems.
- Bearing — Rotate the entire turret until the compass matches your calculated heading.
- Elevation — Raise or lower the barrels until the elevation gauge exactly matches the firing card.
Even a tiny mistake here becomes a huge miss several kilometers away.
Don’t rush.
I’ve missed targets by trying to save ten seconds.
Those ten seconds usually aren’t worth wasting an entire artillery shell.
Enemy Counter-Battery Fire Is Terrifying
The first time enemy artillery answered my shot, I genuinely jumped.
One moment everything was calm.
The next, incoming shells were screaming overhead.
Every time you fire, you reveal your approximate position.
That means enemy artillery crews start calculating exactly the same way you do.
If they finish first, things get ugly.
Damage isn’t cosmetic.
- Important instruments can stop working.
- Hydraulic systems may lose pressure.
- Observation windows can jam.
- Critical controls become unreliable.
The entire fortress slowly falls apart if you ignore maintenance.
Don’t Ignore Hydraulics
Hydraulic pressure quietly controls almost everything.
Rapidly rotating the turret over and over while firing maximum-charge shells puts enormous stress on the machinery.
Eventually you’ll notice slower response times.
Then components begin failing.
Whenever the battlefield calms down, use that opportunity wisely.
I usually spend quieter moments doing the following:
- Ordering fresh ammunition.
- Requesting repair materials.
- Restoring damaged systems.
- Checking hydraulic pressure.
- Planning the next mission.
Those few minutes of maintenance often determine whether the next engagement becomes a victory or a disaster.
Aerial Reconnaissance Is Worth Every Point
One feature I underestimated early on was aerial photography.
After spending tactical points, reconnaissance aircraft provide updated images showing exactly where your shells landed.
This removes almost all guesswork.
Instead of wondering whether your artillery was accurate, you get visual confirmation.
If you’re consistently landing slightly left or right of the objective, these photos make it much easier to identify where your calculations went wrong.
Think of them as your battlefield replay system.
Using Both Cannons Efficiently
The dual-gun system is easily one of IRON NEST’s coolest mechanics.
New players often assume both barrels automatically share the same firing solution.
That’s a dangerous assumption.
Depending on the mission, each cannon may require different values.
- Shell type
- Bearing
- Elevation
- Powder load
Double-check every value before firing.
Friendly fire incidents become surprisingly easy when you’re juggling two independent artillery pieces under pressure.
IRON NEST Heavy Turret Simulator: How to Defeat Armored Airships Guide
Chill Mode Is Perfect for Learning
I’ll admit it.
My first few hours were complete chaos.
Trying to learn triangulation while enemy shells were already flying wasn’t exactly relaxing.
Thankfully, the developers included Chill Mode.
This option removes the constant timer pressure and significantly reduces the threat of immediate counter-battery attacks.
It’s the ideal environment for practicing:
- Triangulation.
- Ballistic calculations.
- Manual loading.
- Gun alignment.
- Map management.
Once those mechanics become second nature, switching back to standard difficulty feels much less overwhelming.
IRON NEST Heavy Turret Simulator PC Download, Release Date, and System Requirements (2026)
Final Thoughts
What surprised me most about IRON NEST: Heavy Turret Simulator is how satisfying it makes mathematics feel.
The explosions are spectacular, sure, but they’re only the reward at the end of a long chain of decisions. Every accurate shot represents dozens of tiny actions performed correctly—interpreting spotter reports, drawing precise vectors, measuring distance, feeding numbers into a mechanical calculator, choosing the right shell, loading the correct powder charges, aligning two enormous cannons, and finally committing to the shot.
Few games demand this level of concentration, and even fewer make it genuinely enjoyable. There are no shortcuts, no magic targeting reticles, and no forgiving auto-aim systems. Every direct hit feels like a personal achievement because you earned it through careful planning instead of quick reflexes.
If you approach IRON NEST expecting a traditional artillery shooter, you’ll probably be overwhelmed. If you embrace it as a detailed military simulation where patience consistently beats speed, you’ll discover one of the most rewarding strategy experiences available. Slow down, trust your calculations, keep your map organized, maintain your fortress, and never fire until you’re absolutely confident in every number. That’s how real artillery wins battles—and that’s how you’ll become the operator High Command can rely on.