The Witcher 3 Remastered White Orchard Complete Map Guide: All Places of Power & Guarded Treasures
White Orchard may be the first region you visit in The Witcher 3: Wild Hunt Remastered, but that does not mean it is a place you should rush through. In fact, I think it is one of the best areas in the game to slow down and explore properly.
The region is small enough to learn quickly, yet it hides several rewards that can make the rest of the early game noticeably easier. If you take the time to hunt down every Place of Power and Guarded Treasure, Geralt can leave White Orchard with extra Ability Points, useful crafting materials, better equipment, and several important early-game diagrams.
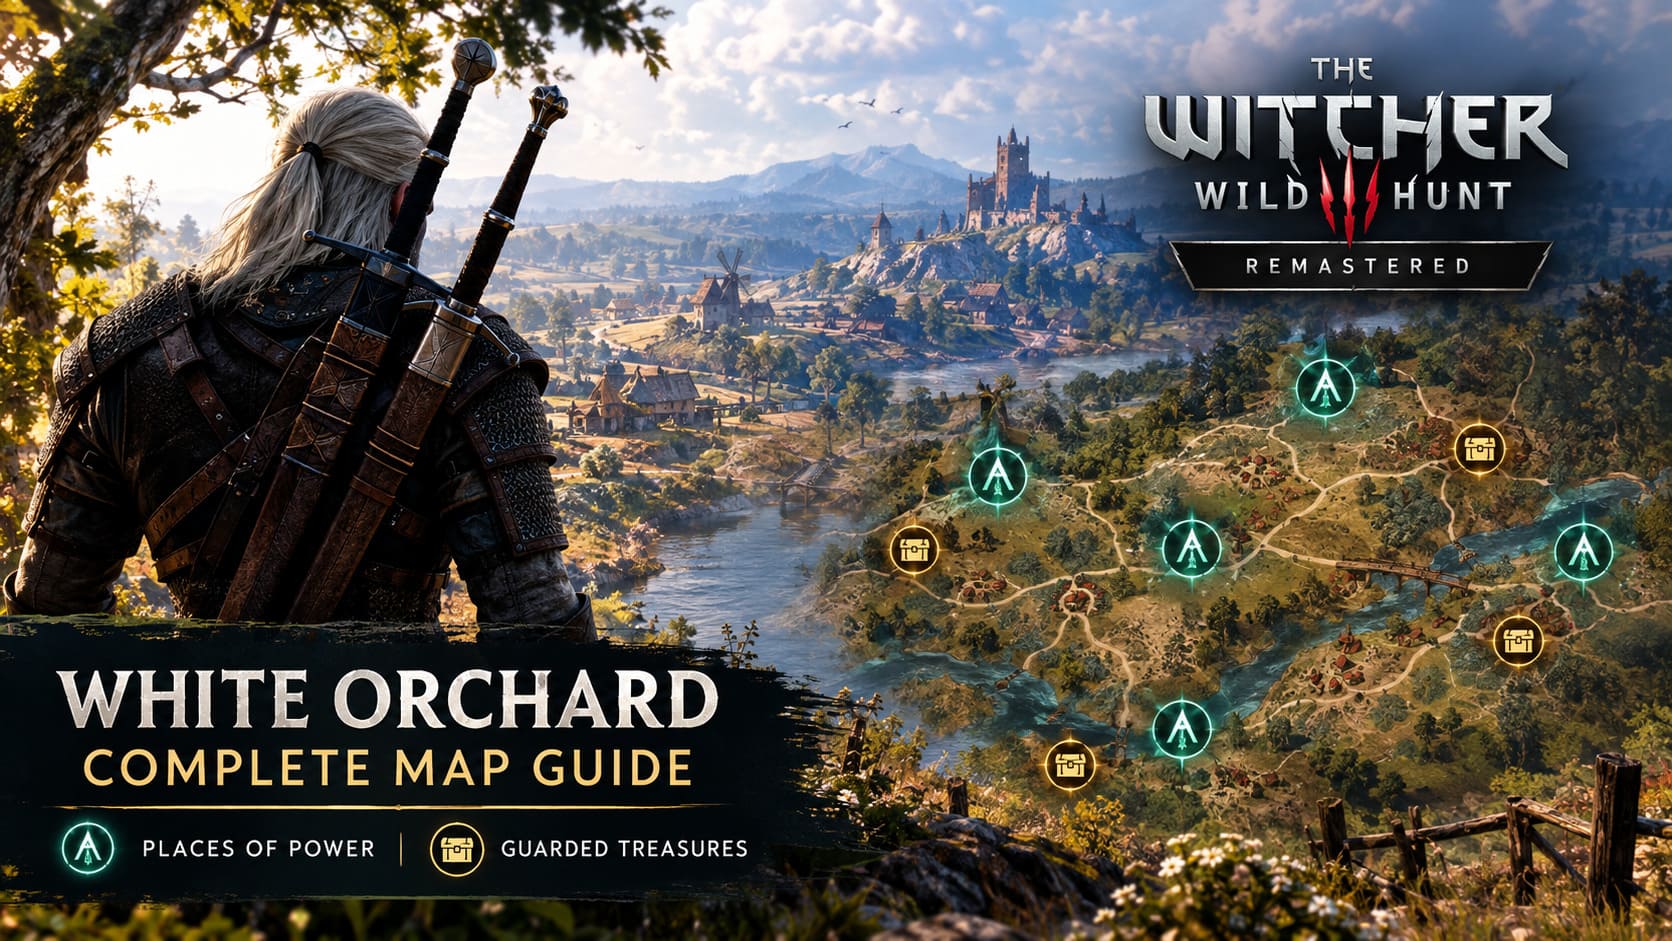
There are six Places of Power and five Guarded Treasures to find in White Orchard. That is a lot of useful progression for a starting zone.
The biggest reason I recommend clearing them early is simple: Places of Power give permanent Ability Points, while their temporary Sign buffs can also make difficult fights considerably more manageable. The treasures, meanwhile, give you resources that are much more valuable when you are still building your first serious Witcher setup.
So, if you’re trying to get 100% completion in White Orchard, this is the route I would use.
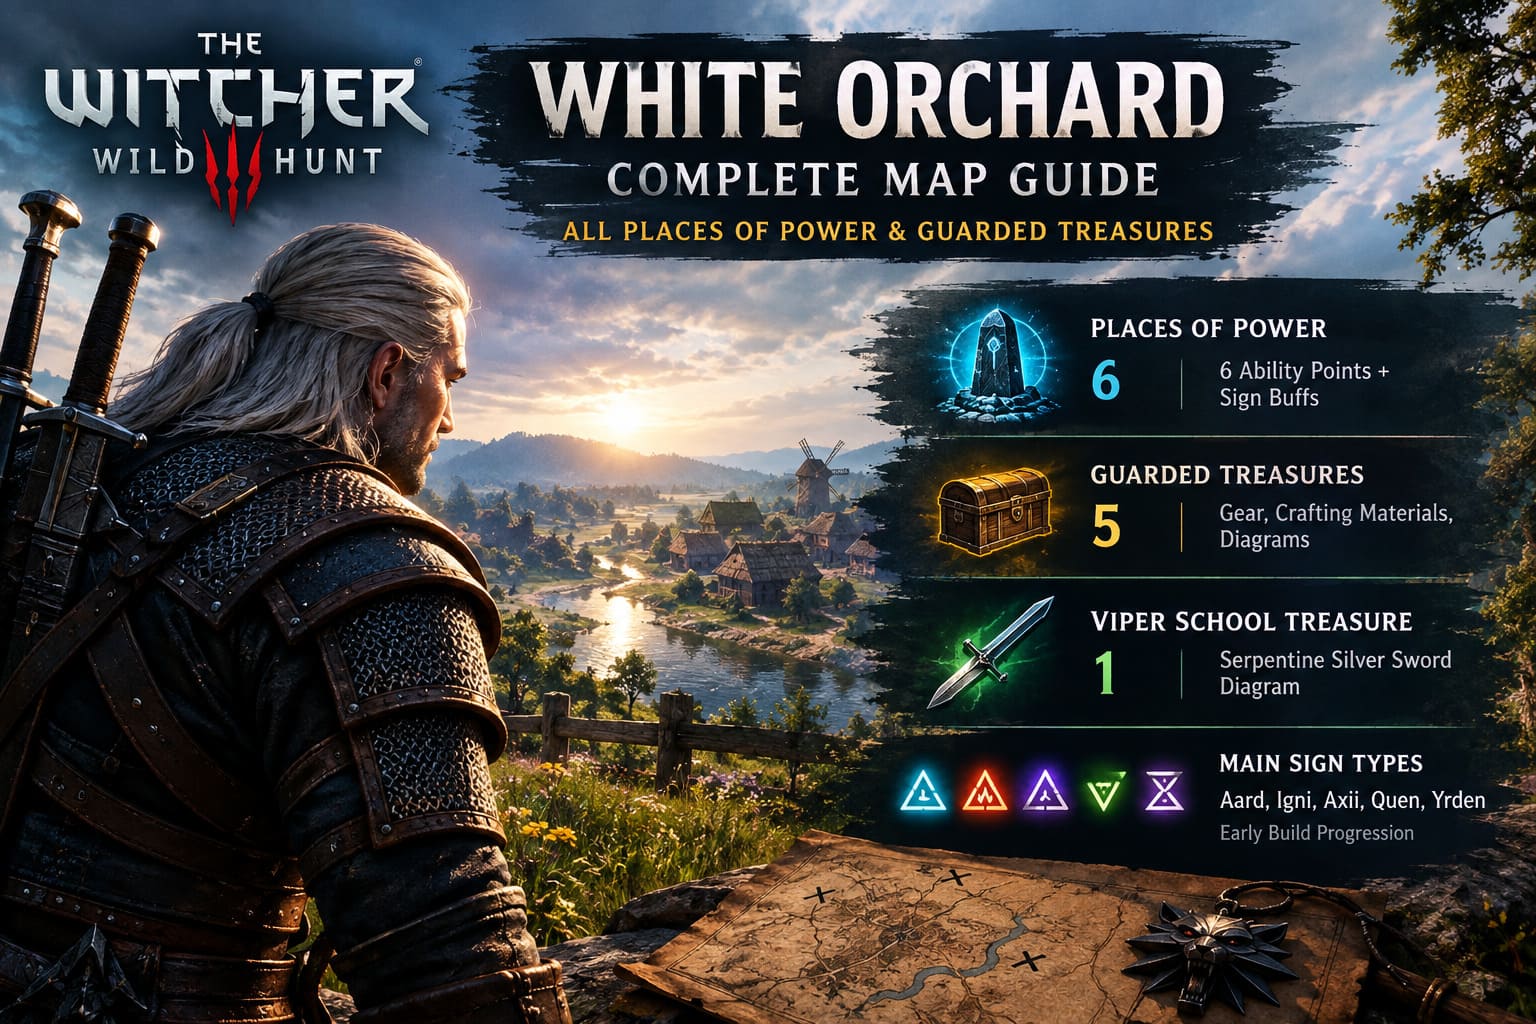
White Orchard Completion at a Glance
| Activity | Total | Main Reward |
|---|---|---|
| Places of Power | 6 | 6 Ability Points + Sign Buffs |
| Guarded Treasures | 5 | Gear, Crafting Materials, Diagrams |
| Viper School Treasure | 1 | Serpentine Silver Sword Diagram |
| Main Sign Types | Aard, Igni, Axii, Quen, Yrden | Early Build Progression |
The six Places of Power are particularly important. Each one can be used once to grant Geralt a permanent Ability Point, while also providing a temporary boost to the corresponding Sign.
For a new character, six additional points are nothing to ignore.
All 6 Places of Power in White Orchard
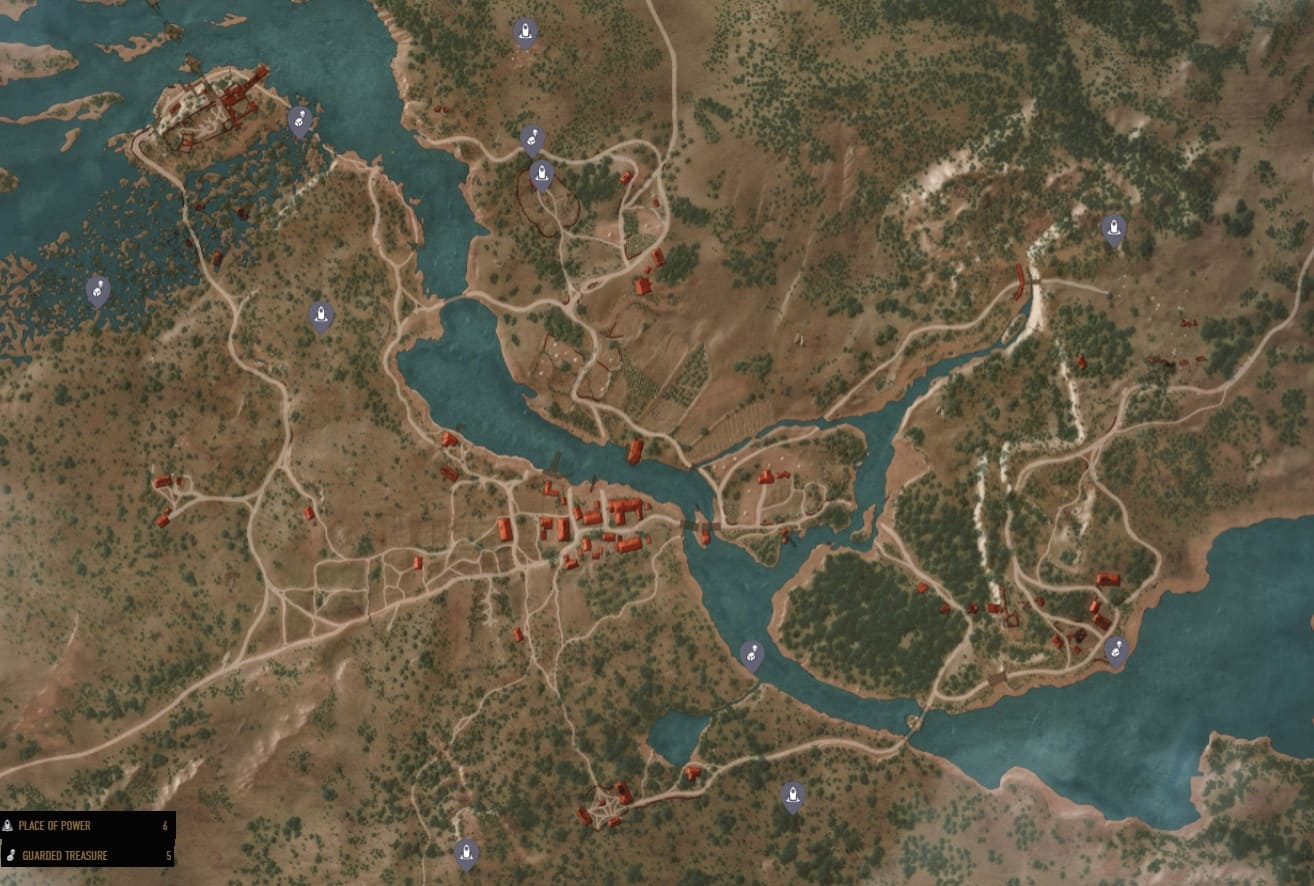
1. Aard Place of Power – Northern Woods
The Aard Place of Power is located in the northern part of White Orchard, north of the cemetery and northeast of the Nilfgaardian Garrison.
You’ll find the stone inside a wooded clearing surrounded by large grey rocks. It is not particularly difficult to spot once you are in the correct section of the forest, but the nearby monsters can make the approach slightly annoying.
A group of Level 2 Ghouls guards the area.
This is one of those fights where using the right tool saves more time than simply swinging your sword. Necrophage Oil is useful here, while Igni can help control the pack. Keep moving when the Ghouls begin their lunging attacks rather than standing directly in front of them.
There is also a nearby Monster Nest worth checking before leaving. If you’re already there, I would absolutely clear it rather than making another trip later.
My tip: grab the Ability Point before moving on, then clear every nearby point of interest while you’re already in the northern woods.
2. Igni Place of Power – White Orchard Cemetery
The Igni Place of Power is inside the White Orchard Cemetery, north of the Mill signpost.
This one is much more memorable because a Level 7 Wraith is associated with the area. For a low-level Geralt, that Wraith can hit surprisingly hard, especially if you try to fight it like a normal sword-and-board enemy.
The important mechanic is Yrden.
Drop a Yrden trap and lure the Wraith into it. Once it becomes vulnerable, attack with your silver sword and use Specter Oil if you have it available.
Once the area is safe, you can draw from the Igni stone and collect another permanent Ability Point.
This location also connects directly to one of the most valuable treasures in White Orchard: the Viper School crypt treasure.
That makes the cemetery one of the locations I would prioritize during a full completion run.
3. Axii Place of Power – Western Forest Ridge
The Axii Place of Power can be found in the western section of White Orchard, between the village and the Nilfgaardian Garrison.
The stone sits in a wooded area beyond a rocky ridge overlooking the riverbed. Depending on your route and what enemies have spawned nearby, you may encounter Level 5 Wolves or a wandering Level 6 Wraith.
The wolves are straightforward as long as you don’t let them surround you.
I usually recommend having Quen active before engaging them. Let the wolves commit to an attack, avoid it, and punish them during the recovery animation.
The good news is that the Axii stone itself is relatively accessible. If you’re riding Roach through the western side of the map, this is an easy stop to add to your route.
4. Quen Place of Power – Griffin’s Nest Area
The first Quen stone is located in the eastern part of White Orchard, near the area associated with the Griffin’s Nest and the “The Beast of White Orchard” quest.
The stone is positioned on higher ground between large trees, south of the broken bridge.
The main danger comes from wandering wildlife, particularly Level 5 Bears and Wolves.
Bears are much slower than Geralt, so don’t panic when one charges. Watch the attack animation, roll behind it, and strike during the opening. Beast Oil can also make the fight considerably shorter.
I especially like picking up this Place of Power before the Griffin encounter. The temporary Quen boost is useful when you’re still working with limited gear and defensive options.
5. Yrden Place of Power – Southern Woods
The Yrden Place of Power is hidden deep in the southern forest near the abandoned settlement area.
From the Abandoned Village, follow the road and then head into the thick woodland toward the southern border. This one can be easy to miss because the trees and vegetation obscure the stone.
You’ll potentially run into Endrega Workers and Ghouls, generally around Levels 4–5.
Endregas can be particularly irritating because of their poison attacks. Keep Quen active when you’re unsure where the next attack is coming from, and avoid getting trapped against trees or rocks.
If you lose the trail, Witcher Senses are your best friend.
This is also a good example of why I don’t recommend simply following the main quest markers through White Orchard. Some of the best early rewards are deliberately placed away from the obvious path.
6. Second Quen Place of Power – Cursed Battlefield
The final Place of Power is another Quen stone, located in the northeastern section of White Orchard near the ruined battlefield.
The battlefield is difficult to miss once you reach this part of the map. You’ll see abandoned military equipment, fallen soldiers, arrows and other remnants of the fighting.
Several Level 2–4 Ghouls feed around the area.
The main danger isn’t their individual strength. It’s getting surrounded.
Keep moving, avoid backing yourself into siege equipment or obstacles, and use Igni when several enemies bunch together. Once the battlefield is clear, approach the Quen stone and collect your sixth Ability Point.
With that, all six Places of Power are complete.
All 5 Guarded Treasures in White Orchard
Places of Power are about character progression, but the Guarded Treasures are where the exploration starts paying off in a different way.
These locations can contain crafting materials, weapons, diagrams, valuables and other loot that is particularly useful during the opening hours.
Guarded Treasure Locations
| Treasure | Area | Main Threat | Notable Reward |
|---|---|---|---|
| Swampy Path Stash | East of Garrison | Wolves and Wargs | Crafting Materials, Coins |
| Water Hag Cache | Southwest of Garrison | Level 4 Water Hag | Alchemy Items, Gear |
| Viper School Crypt | White Orchard Cemetery | Level 7 Wraith | Serpentine Silver Sword Diagram |
| Riverbank Cache | South of Ransacked Village | Drowners | Gold, Ore, Armor Loot |
| Woesong Bridge Cache | Southeast of Woesong Bridge | Drowners | Ingots, Leather, Junk |
1. Swampy Path Resistance Stash
Travel southeast from the Nilfgaardian Garrison along the muddy swamp road.
A group of Level 5 Wolves and Wargs protects the treasure. The fight can become messy if you simply run into the middle of the pack.
There is, however, a much more entertaining solution.
Look for the explosive barrels positioned around the area. If you can lure the enemies close enough, an Igni blast can turn the whole encounter into a much shorter fight.
The treasure itself is located inside a damaged wooden carriage among the debris.
Expect useful crafting components and valuable coins.
2. Water Hag Cache
The second swamp treasure lies southwest of the Nilfgaardian Garrison in the wetter western section of White Orchard.
A Level 4 Water Hag guards the chest.
Water Hags are annoying because they can disappear beneath the muddy water and attack from an unexpected position. Watch the surface carefully instead of blindly chasing the monster.
When it emerges, Igni is useful for applying pressure, followed by silver-sword attacks.
The chest contains valuable alchemy ingredients, equipment-related loot and other resources that are particularly useful during the early game.
3. Viper School Crypt Treasure
This is easily one of my favorite treasure stops in White Orchard.
The treasure is located inside the crypt beneath the small chapel at the White Orchard Cemetery, the same general area as the Igni Place of Power.
The associated enemy threat is the cemetery’s Level 7 Wraith.
Inside the crypt, you’ll find a skeleton containing the Serpentine Silver Sword Diagram, along with a letter connected to the treasure.
If you’re trying to establish a strong early Witcher setup, this is the treasure I would make a point of collecting.
The dark crypt can be difficult to navigate, so use your Witcher Senses and a light source or Cat potion if necessary.
4. Riverbank Drowner Cache
Head south from the Ransacked Village toward the riverbank.
Several Level 4 Drowners patrol the shoreline around the treasure.
This fight is much easier if you pull the Drowners onto dry land. Their mobility around the water can make the encounter more frustrating than it needs to be.
Use Necrophage Oil on your silver sword and take advantage of Aard when enemies group together.
The chest contains gold ornaments, ore and early equipment-related loot.
5. Woesong Bridge Shore Cache
The final treasure is located southeast of Woesong Bridge, along the eastern side of the river.
A small group of Level 4 Drowners patrols the sandy shoreline.
The chest is hidden near a collapsed wooden structure and abandoned fishing equipment.
The main thing to remember here is not to fight in deep water. Geralt’s combat options are severely limited while swimming, so lure the Drowners onto the beach before committing to the fight.
The reward includes crafting ingots, leather materials and miscellaneous items that can either be sold or dismantled.
My Recommended White Orchard Completion Route
If you’re going for a clean White Orchard 100% completion route, I wouldn’t simply bounce between question marks at random.
This order keeps the travel fairly efficient:
- Start at Woesong Bridge and clear the nearby shore treasure.
- Travel toward Ransacked Village and collect the riverbank treasure.
- Move through the southern woods and grab the Yrden Place of Power.
- Continue toward the Griffin’s Nest area for the first Quen Place of Power.
- Ride north toward the battlefield and collect the second Quen Place of Power.
- Travel west to the cemetery, defeat the Wraith and collect the Igni Place of Power.
- While you’re there, enter the crypt and claim the Viper School treasure.
- Head north into the forest for the Aard Place of Power.
- Finish by sweeping the western side of the map for the Axii Place of Power and the two remaining swamp treasures.
The exact order isn’t mandatory, but this route avoids a lot of unnecessary riding back and forth.
White Orchard Remastered Tips I Wouldn’t Skip
The Remastered version gives you more reasons to pay attention to combat flow instead of treating every encounter as a basic sword fight.
Quen should become a habit. Before walking into an unknown encounter, putting up Quen is usually worth the few seconds it takes. Early Geralt doesn’t have the defensive margin that a late-game build has.
Yrden is essential against Wraiths. If you’re struggling against a Specter, don’t keep trading sword swings. Use the trap and force the enemy into a vulnerable state.
Use the right oil. Necrophages, Specters and Beasts all have different weaknesses. Oils aren’t just something to collect and forget about.
Dismantle valuable junk selectively. Some silverware, hides and weapons can be more useful as crafting materials than as a handful of crowns. Check what a blacksmith or armorer can turn them into before selling everything.
And finally, don’t ignore the Nilfgaardian Garrison and White Orchard merchants when managing your inventory. Early-game carrying capacity fills up surprisingly quickly, especially when you’re looting every chest and corpse.
Total War Warhammer 3 Multiplayer Server Connection Failed: 2026 Fix Guide
Is It Worth Fully Clearing White Orchard?
Absolutely—especially if you’re starting a fresh playthrough.
White Orchard is small enough that you can realistically complete most of its important content without turning the opening hours into a huge grind. The six Places of Power alone provide a significant early character boost, while the Guarded Treasures give you materials and equipment that help establish your build.
The Viper School treasure is the standout reward for me, but the real benefit comes from doing everything together. By the time you leave the region, Geralt has more Ability Points, stronger Sign options, better crafting resources and a much healthier supply of useful equipment.
That’s why I don’t see White Orchard as a throwaway tutorial zone. It’s more like the game’s first opportunity to teach you how rewarding exploration can be.
Take your time, follow the roads when it makes sense, then deliberately leave them when you see something interesting on the map. Once you’ve collected all 6 Places of Power and all 5 Guarded Treasures, you’ll be heading into Velen with a much stronger foundation than a Geralt who simply rushed through the main quest.