Sephiria 1.0 Hard Mode Guide: Ultimate 18 Elements Checklist & Best Tier 30 Builds
When Sephiria finally left Early Access with its long-awaited 1.0 update, I honestly thought I already understood everything the game had to offer. I had spent dozens of hours experimenting with different weapons, collecting artifacts, and learning enemy attack patterns. Then I enabled Hard Mode and quickly realized I had only scratched the surface.
Like many roguelite fans, I’ve played everything from Hades and Dead Cells to Dungreed, so I expected a difficult but fair challenge. Sephiria certainly delivers that, but its Hard Mode doesn’t simply increase enemy numbers or inflate health bars. Instead, it layers multiple difficulty modifiers together until every small mistake becomes expensive.
If you’re aiming for Tier 21, Tier 30, or simply trying to understand how all 18 Hard Mode Elements work together, this guide is based on both personal experience and what the strongest players have been discovering since the official launch.
Sephiria 1.0 Full Release Patch Notes: Chapter 6, Final Boss, and Inventory Meta Guide
What Makes Sephiria Hard Mode So Different?
Many roguelites rely on simple stat scaling for higher difficulties. Sephiria takes a smarter approach. Every Tier introduces combinations of Elements that alter combat, economy, exploration, and even inventory management. At first glance, some modifiers seem harmless. However, after enough runs, you’ll notice that several of them create dangerous combinations.
For example, increased enemy damage doesn’t feel too threatening until it’s paired with reduced healing efficiency and faster elite monsters. Suddenly, one missed dodge can ruin an otherwise perfect run. That’s exactly why Hard Mode feels rewarding instead of unfair. Success depends far more on preparation than luck.
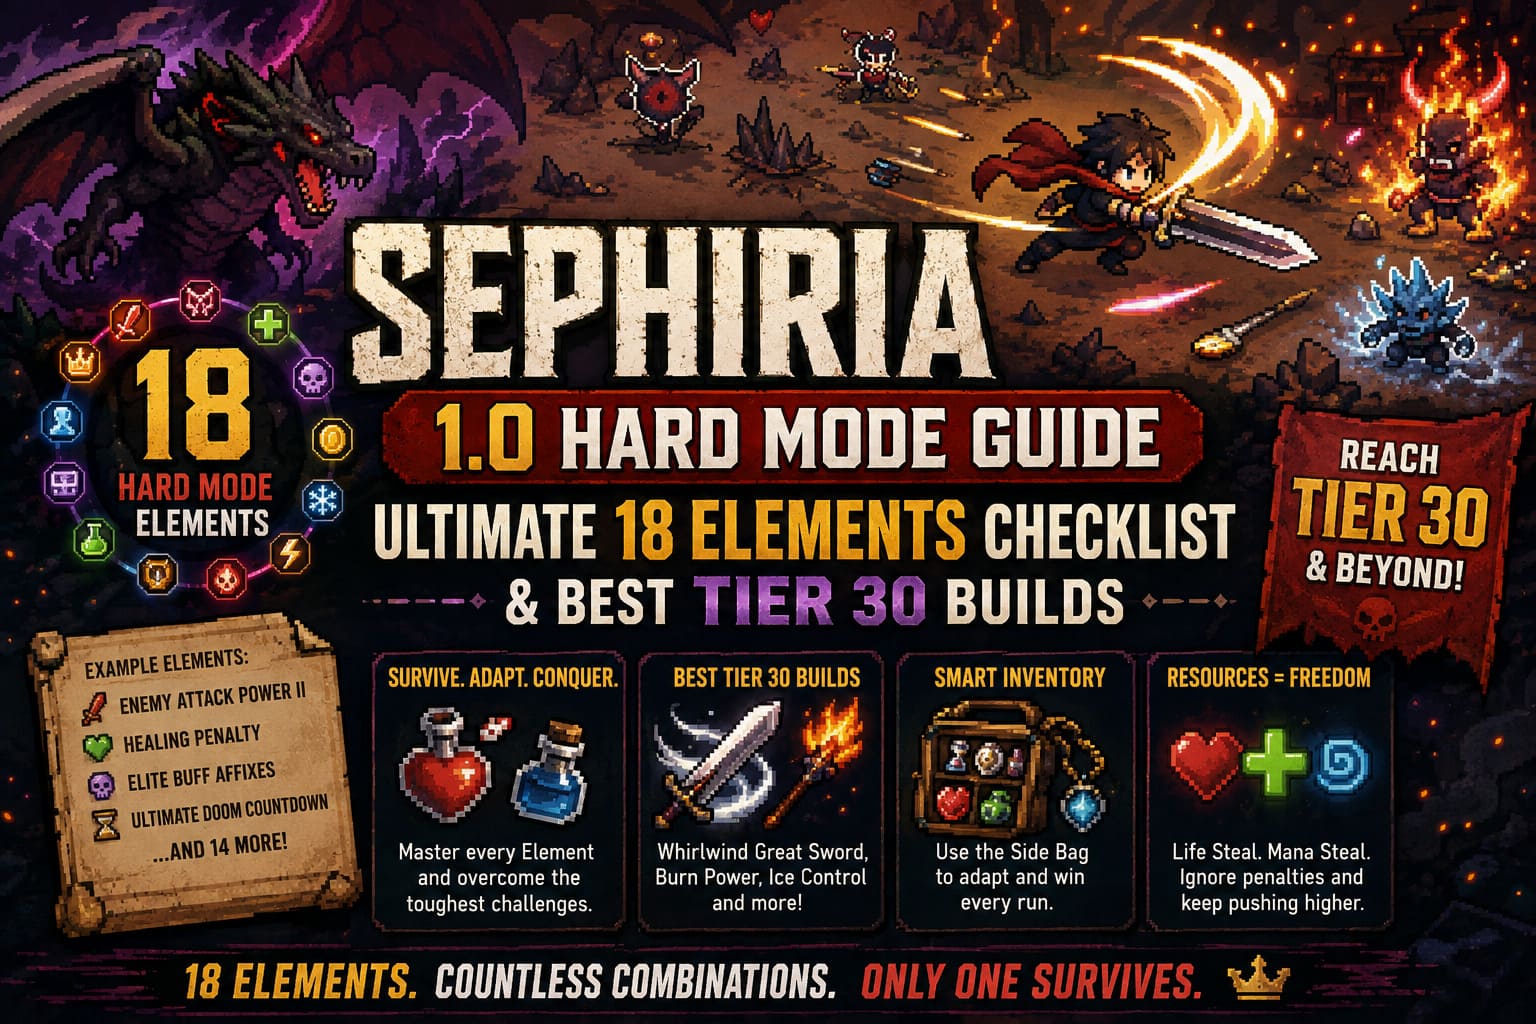
Complete Hard Mode Elements Checklist
Before activating another Tier, I always mentally review every modifier. Understanding how they interact is far more important than simply memorizing their names.
| Element | Effect | Personal Threat Rating |
|---|---|---|
| Enemy Health Scaling I | Higher monster HP | Medium |
| Enemy Health Scaling II | Even larger health pools | High |
| Enemy Attack Power I | Increased damage | High |
| Enemy Attack Power II | Massive damage boost | Very High |
| Elite Monster Presence | More elite enemies | High |
| Elite Buff Affixes | Extra elite abilities | Very High |
| Trap Density | More environmental traps | Medium |
| Boss Health Amplification | Longer boss fights | High |
| Boss Enrage Speed | Faster aggressive phases | Very High |
| Reduced Gold Income | Less currency | High |
| Increased Shop Prices | Expensive upgrades | High |
| Healing Efficiency Penalty | Weaker healing | Very High |
| Inventory Restriction | Less equipment flexibility | High |
| Cooldown Extension | Slower skill recovery | Medium |
| Enemy Movement Speed | Faster enemies | Very High |
| Potion Toxicity | Potion penalties | Medium |
| Environmental Hazards | Random battlefield dangers | High |
| Ultimate Doom Countdown | Clear rooms quickly | Extremely High |
The biggest lesson I learned is that these Elements should never be viewed individually. Their combinations are what truly define each run.
Why Inventory Management Matters More Than Damage
One mistake I made early on was focusing entirely on increasing raw DPS. That worked perfectly in the lower Tiers, but once I reached the twenties, survivability became far more valuable than another 10% damage bonus.
The introduction of the Side Bag completely changes how inventory should be managed. Instead of carrying every useful Artifact at once, I now treat the Side Bag as a tactical toolbox. Before boss encounters, I switch to defensive Artifacts. During exploration, I swap back to mobility or farming equipment. It sounds like a small feature, but it dramatically improves consistency across long runs.
My Favorite Tier 30 Build: The Whirlwind Great Sword
After testing nearly every weapon tree, I keep returning to the upgraded Great Sword. The reason isn’t simply its damage. The combination of massive area attacks, mobility upgrades, and Life Steal creates incredible momentum. Rather than carefully poking enemies one by one, you’re constantly moving through entire groups while recovering health at the same time.
This naturally counters several Hard Mode penalties:
- Reduced healing
- Increased trap density
- Larger enemy groups
- Faster room clears
If you also manage to acquire armor that triggers shockwaves after taking minor damage, the build becomes surprisingly forgiving. Even when mistakes happen, the recovery speed often keeps the run alive.
Burn Builds Are Better Than I Expected
I’ll admit I underestimated Damage over Time builds. In most roguelites I prefer direct burst damage, but Sephiria rewards Burn effects much more than I expected. The reason becomes obvious during late-game boss fights. Bosses gain enormous health pools, making sustained percentage-based damage incredibly valuable.
Using the Fire Wand together with Burn-focused Artifacts allowed me to defeat several bosses noticeably faster than traditional physical builds. If you find the Flaming Eye Patch, don’t hesitate. It transforms an already strong build into one capable of deleting elite enemies surprisingly quickly.
Ice Builds Are the Safest Choice
Not everyone enjoys aggressive gameplay. If your goal is consistency instead of speed, Ice remains one of the strongest archetypes available. Freezing enemies reduces incoming pressure, gives you more time to react, and turns chaotic rooms into manageable encounters.
I especially recommend this build for players who are still learning boss mechanics. Having an extra second to dodge often matters more than dealing another thousand points of damage.
Never Ignore Resource Generation
One of the biggest turning points in my progression came when I stopped relying on healing items. Instead, I prioritized Life Steal and Mana Steal whenever possible. Once both mechanics started working together, several Hard Mode penalties became significantly less dangerous.
Reduced healing? Less important. Lower gold income? Not nearly as painful. Expensive merchants? Easy to ignore if you’re rarely buying recovery items. Sometimes the strongest strategy isn’t increasing damage—it’s removing the need for resources altogether.
Finish the Fruit Skewer Quest Early
Some side quests can safely wait. The Fruit Skewer quest isn’t one of them. Its permanent bonuses continue to provide value throughout the entire game, especially once Hard Mode begins stacking multiple penalties together.
I delayed this quest during my first playthrough and definitely regretted it later. Completing it early simply makes every future run smoother.
Tips That Helped Me Reach Higher Tiers
Here are several habits that consistently improved my performance:
- Always check your Side Bag before entering boss rooms.
- Prioritize survivability over raw damage.
- Don’t spend gold immediately—save it for exceptional upgrades.
- Learn elite enemy patterns before pushing higher Tiers.
- Build around Artifact synergy instead of individual item rarity.
- Avoid changing your strategy halfway through a successful run.
Small optimizations quickly add up in Sephiria.
Final Thoughts
After spending dozens of hours with Sephiria 1.0, I genuinely believe Hard Mode is where the game truly shines. It’s challenging without feeling unfair, encourages experimentation instead of repetitive grinding, and constantly rewards players who learn from each failed attempt.
Tier 30 isn’t something you’ll conquer overnight. Even experienced roguelite players should expect several failed runs before everything finally clicks. But that’s exactly what makes the eventual victory so satisfying.
If there’s one piece of advice I’d give every new Hard Mode player, it’s this: don’t chase the highest damage numbers. Chase consistency instead. A balanced build with reliable healing, smart inventory management, and strong Artifact synergy will almost always outperform a fragile glass-cannon setup once the hardest Elements start stacking together.
By treating every run as a learning experience instead of a race, you’ll gradually master the 18 Hard Mode Elements, build smarter characters, and eventually reach the top of Sephiria’s endgame.
SEO Title: Sephiria 1.0 Hard Mode Guide: Ultimate Tier 30 Strategy & All 18 Elements Explained
Meta Description: Master Sephiria 1.0 Hard Mode with this complete Tier 30 guide. Learn all 18 Hard Mode Elements, discover the best builds, optimize your inventory, and survive the toughest endgame challenges.