Mortal Shell 2 All Shells List and Abilities Guide: Build Blueprint
One of the things I liked most about the original Mortal Shell was that the Shell system actually mattered. You weren’t simply picking a character class from a menu and forgetting about it five minutes later. The body you inhabited changed how you approached fights.
Mortal Shell 2 takes that idea and pushes it much further.
The sequel introduces eight playable Shells, each built around a different combat philosophy. Some are designed for aggressive players who want to stay on top of enemies constantly. Others are much more forgiving, giving you enough durability to survive mistakes that would end a Tiel run almost instantly.
And because Mortal Shell 2 removes the traditional stamina bar, the differences between these Shells become even more important. You aren’t constantly asking yourself whether you have enough stamina for another dodge or attack. Instead, the game puts more emphasis on Resolve, posture, defensive timing, ranged weapons, Seals, and Shell-specific abilities.
After looking at how these builds fit into the game’s new combat system, I think there are a few obvious standouts. But there’s also something important to remember: the “best” Shell depends heavily on how you actually play.
Here is how I would rank and approach all eight.
How the Shell System Works in Mortal Shell 2
Finding a Shell doesn’t immediately give you access to everything it can do.
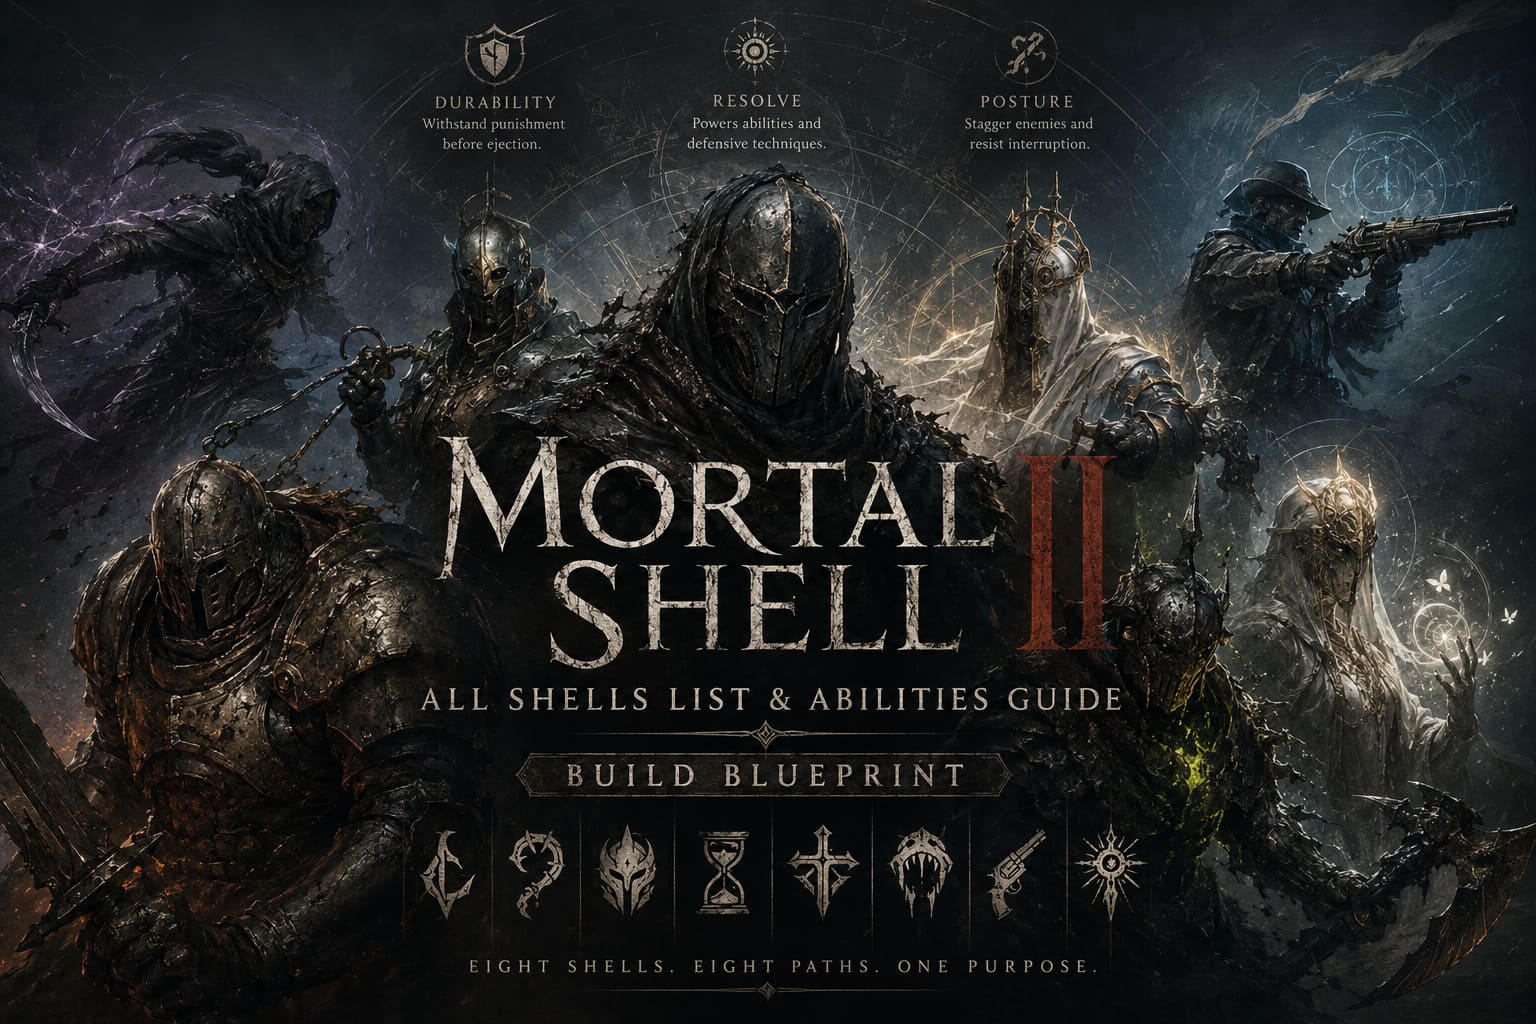
When you discover one of the fallen warriors scattered around the world, its identity and deeper attributes can initially remain hidden. Sester Genessa and Zhirelle, the Shellkeeper at Marrow Keep, are central to revealing and developing these characters.
Glimpses are particularly important because they allow you to uncover information and progress your Shell’s potential.
Each Shell has its own combination of major attributes:
| Attribute | What It Does |
|---|---|
| Durability | Determines how much punishment your Shell can take before you are ejected. |
| Resolve | Powers advanced combat techniques, weapon abilities, and certain defensive attacks. |
| Posture / Break Resistance | Influences how easily you can stagger enemies and how resistant you are to being interrupted. |
There are also universal talents shared by the Shells, including abilities connected to kicking enemies, aerial attacks, and recovering your Last Chance after eliminating enough enemies.
The important part is that Shell upgrading isn’t just about making numbers bigger. You are effectively building a combat identity.
And that’s where things get interesting.
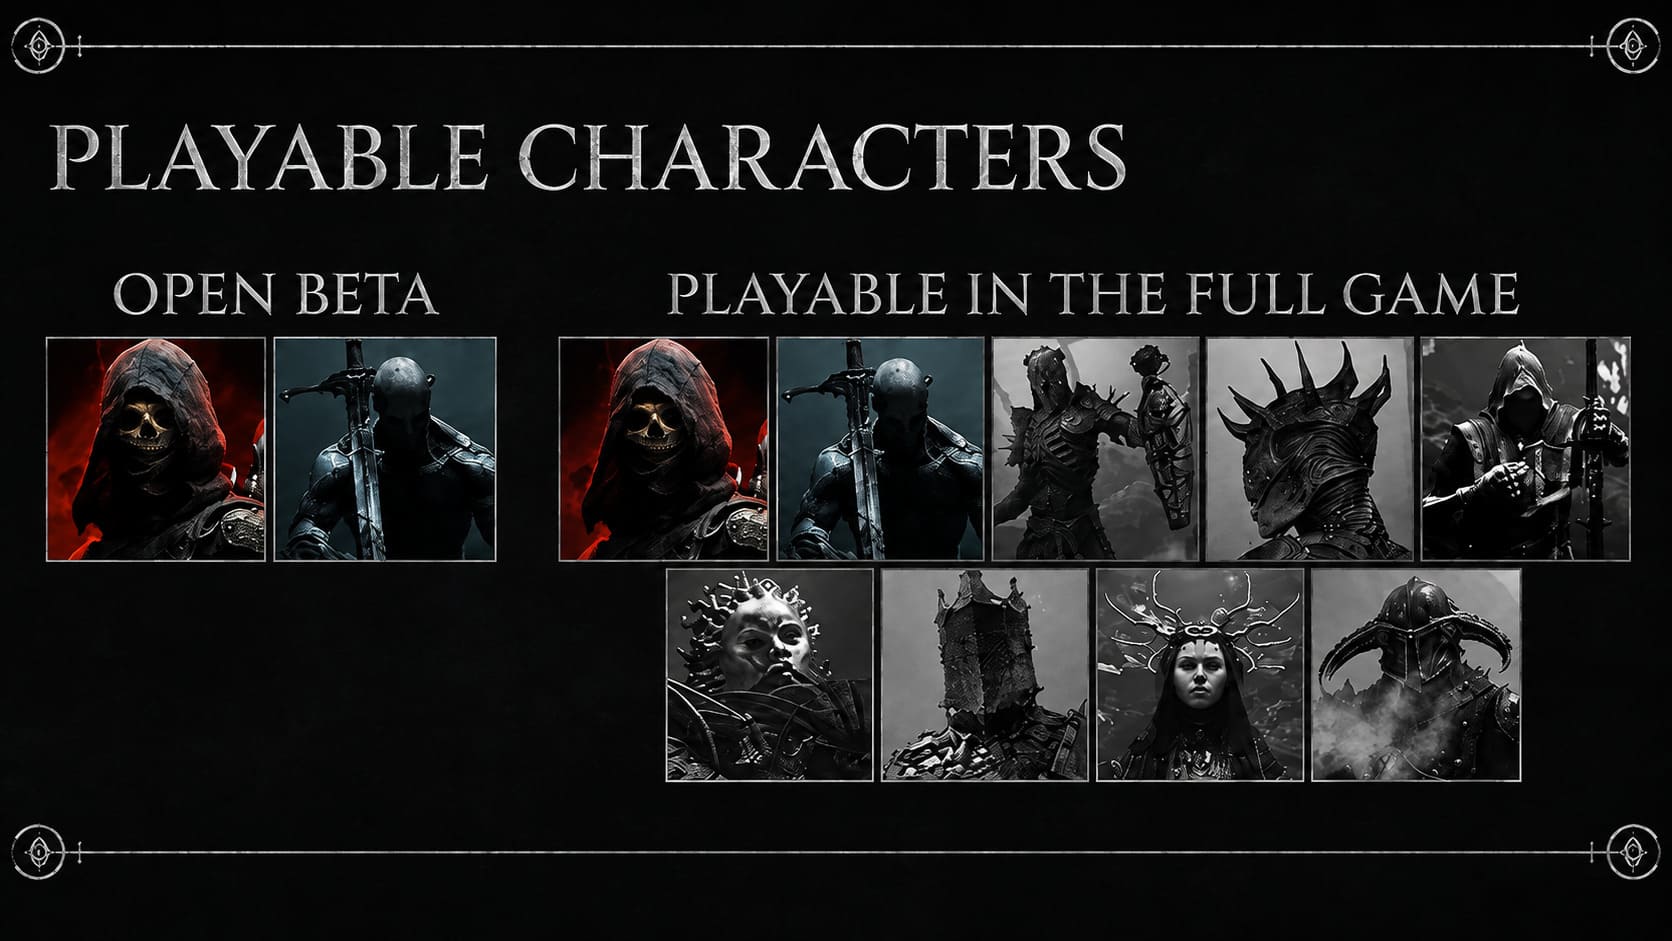
1. Tiel, the Acolyte — My Pick for Aggressive Players
If you like fast characters, Tiel is probably going to be the Shell you gravitate toward first.
Tiel sacrifices durability for speed, mobility, and evasive options. In a game where stamina management has been removed, that combination becomes particularly dangerous.
Instead of carefully rationing your stamina between attacks and dodges, Tiel can play much more aggressively.
Playstyle: Fast rogue, evasion, status effects, hit-and-run combat
Strengths:
- Exceptional mobility
- Powerful evasive tools
- Strong status-effect synergy
- Excellent for aggressive players
Key Abilities
Shadow Dash gives Tiel an enhanced evasive option with extended invulnerability, allowing you to move through attacks rather than simply backing away from them.
Poison Burst rewards you for spreading status effects. Hitting an afflicted enemy can trigger an explosion that affects nearby targets.
Shadow Stacks provide another layer of protection when your defensive timing isn’t perfect.
Then there is Corrupted Veins, which can turn certain environmental damage into healing.
Personally, Tiel looks like one of those Shells that will feel incredible once mastered and absolutely miserable when you’re still learning enemy patterns.
My rating: S-Tier
2. Proxima, the Broodseeker — The Versatile Fighter
Proxima is probably the Shell I’d recommend to someone who doesn’t want to commit to an extreme playstyle.
She combines respectable durability with strong posture resistance and aggressive tools for closing distance.
Her biggest selling point is the Left-Arm Hook.
It can pull smaller enemies toward you or help Proxima close the gap against larger targets. That’s extremely useful in a combat system where controlling distance can be just as important as raw damage.
Her Grafted Armor adds defensive reliability, while Conductive Strike rewards successful parries with lightning-infused attacks.
Kinetic Posture then turns her grappling ability into additional posture pressure.
This is the kind of Shell that doesn’t necessarily dominate one specific category, but can perform well almost everywhere.
My rating: A-Tier
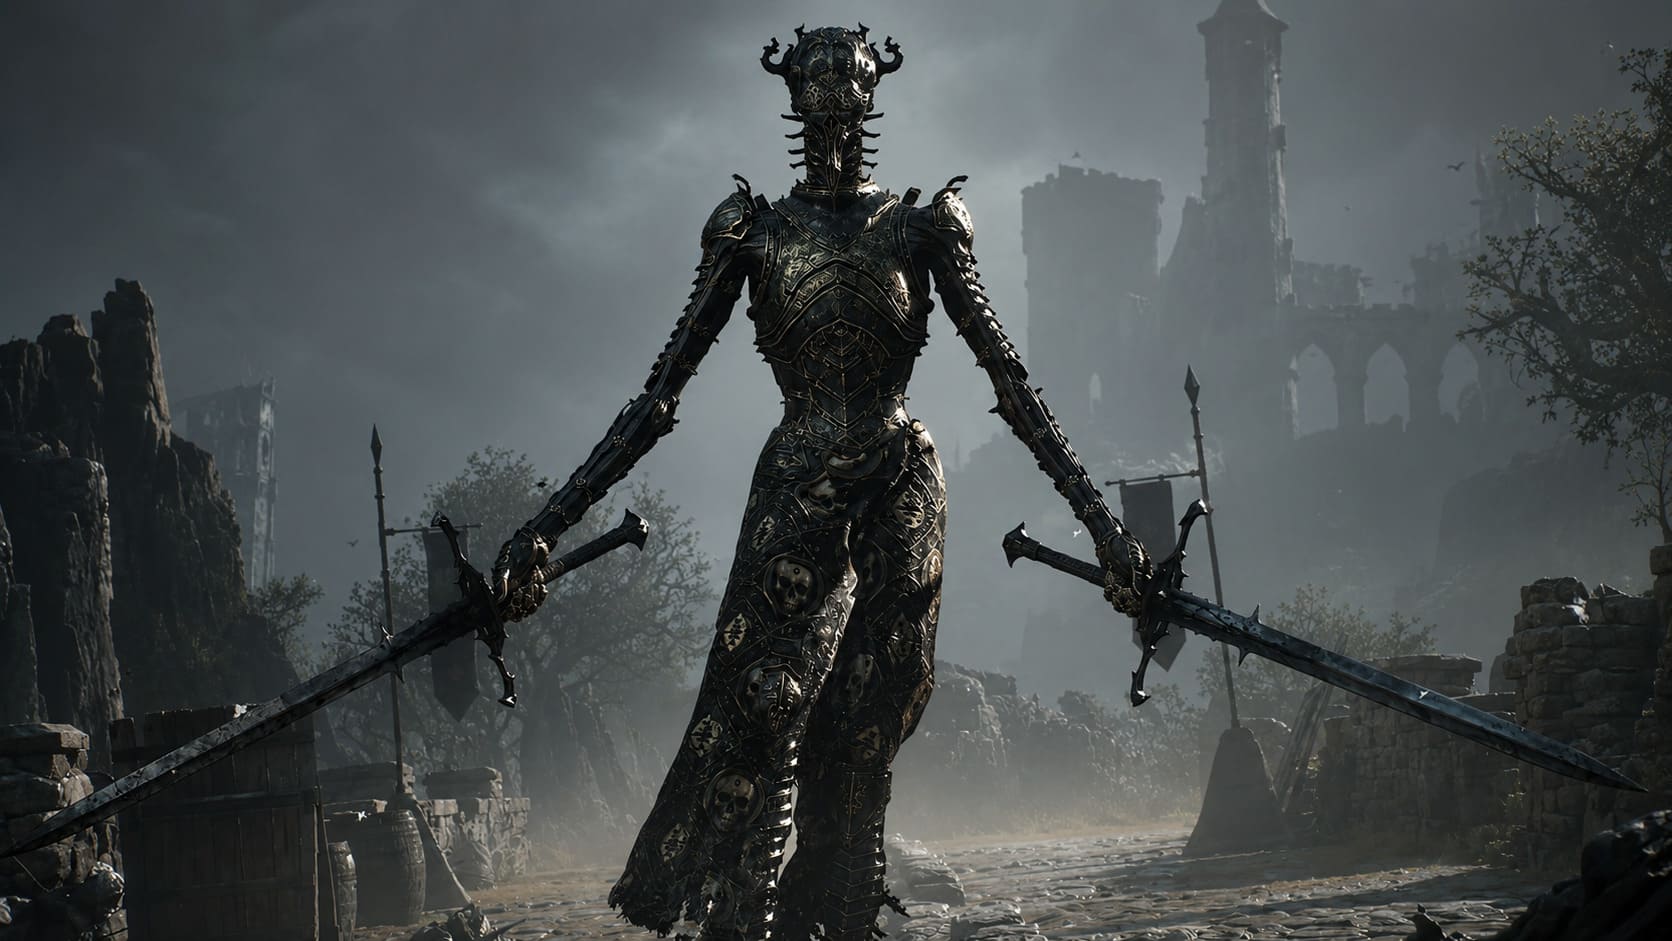
3. Eredrim, the Venerable — The Tank I Would Recommend to Beginners
Eredrim returns as the big guy, and honestly, I don’t think that identity needed much changing.
He’s enormous, heavily armored, and built around surviving situations where other Shells would already be dead.
His biggest weakness is obvious: mobility isn’t his strength.
But if you’re struggling with bosses, that trade-off can be worth it.
Playstyle: Tank, heavy weapons, boss fights, execution-based damage
His Executioner’s Momentum rewards you for staying alive and continuously defeating enemies.
Unyielding Bastion improves his defensive capabilities, particularly when attacks come from behind.
Tenacity of the Old Guard allows heavy attacks to remain effective even when enemies hit you during the animation.
And Iron Resolve gives him additional protection after successfully breaking an enemy’s posture.
For me, Eredrim is one of the safest choices in the entire game. He may not look flashy, but there is something extremely satisfying about watching a boss land a huge attack and realizing that you simply survived it.
My rating: A-Tier
4. Smert, the Apostate — The Weird One, and I Mean That as a Compliment
Smert is probably the Shell that interests me the most mechanically.
His entire design revolves around time manipulation and battlefield control, which gives him a completely different rhythm from the traditional Soulslike character.
Playstyle: Chronomancy, crowd control, precision attacks
His Stasis Field / Temporal Anchor can freeze enemies or sections of the battlefield temporarily.
That alone can completely change an encounter.
Then you have Rewind Chronology, which can effectively undo a lethal mistake by returning Smert to an earlier position and health state.
His Paradoxical Strikes make the time-freezing mechanic even more dangerous by allowing attacks against immobilized targets to build up additional damage.
Finally, Distortion Wave provides crowd control by slowing incoming threats around him.
This is the Shell I’d expect experienced players to break in interesting ways.
My rating: S-Tier
5. Lazlo, the Justiciar — The Parry Specialist
Lazlo is for players who actually enjoy learning enemy attack patterns.
If your idea of a good time is standing in front of a boss, waiting for the exact moment to counter, Lazlo is basically designed for you.
His attributes are balanced, so he doesn’t have the extreme strengths or weaknesses of some other Shells.
Instead, his abilities reward precision.
Break Master increases posture damage from successful defensive actions, while Shatter Chance can potentially destroy the posture of non-boss enemies immediately.
Righteous Retribution provides healing through empowered critical ripostes.
His Justiciar’s Aura also helps reduce the impact of negative status effects.
I wouldn’t necessarily tell a new player to start here. But if you already understand Mortal Shell 2’s Guard, Parry, and Harden mechanics, Lazlo could become one of the strongest choices available.
My rating: A-Tier
6. Gragu, the Insatiable — The Berserker
Gragu takes a completely different approach.
Instead of simply building Resolve or stacking defensive bonuses, he wants you to feed the machine.
His abilities revolve around harvesting life force from enemies and converting it into healing and combat bonuses.
Playstyle: Berserker, lifesteal, aggressive melee combat
His main ability, Blood Harvest, generates essence charges through kills.
Insatiable Rage then increases attack speed and melee damage as his health gets lower.
That creates the classic berserker risk-reward loop: the closer you get to death, the more dangerous you become.
Feast gives Gragu a way to recover a substantial amount of health from vulnerable enemies.
And Thickened Grime makes him particularly useful in swamp areas where environmental hazards would otherwise slow you down.
The downside is that his strength is tied to having enemies around to fuel his abilities. Against isolated encounters, that can be less convenient.
My rating: B-Tier
7. Sariel, the Endless — For Players Who Love Ranged Weapons
Sariel might be the Shell that benefits most from Mortal Shell 2’s expanded arsenal.
The sequel introduces weapons such as revolvers, shotguns, and heavy crossbows, and Sariel is specifically designed to take advantage of ranged combat.
Playstyle: Ranged damage, Resolve management, sidearm specialist
Her Ammunition Catalyst can generate specialized ammunition through successful melee attacks, creating a nice loop between close and long-range combat.
Astral Echoes adds spectral projectiles to compatible sidearms.
Endless Cascade provides an area-of-effect burst when spending a full Resolve bar.
Then there’s Eldritch Sight, which helps identify enemy weak points and increases critical damage when those vulnerable areas are hit.
I really like this concept because it prevents Sariel from being just “the gun character.” You’re encouraged to mix melee attacks with ranged pressure.
My rating: A-Tier
8. Sester Genessa, the Wayward — The Secret Shell
And then there’s Genessa.
Yes, the character you’ve been relying on throughout the game can eventually become a playable Shell.
That alone makes her one of the most interesting unlocks from a story perspective.
Genessa focuses on survival, magical abilities, healing, and defensive utility rather than raw aggression.
Playstyle: Support, ethereal magic, healing, survival
Her Divine Evasion replaces conventional dodging with a mist-like teleportation effect.
Wayward Grace provides passive regeneration while she remains above half health.
Beacon’s Light creates an area that heals the player while damaging weaker enemies.
And Unbound Spirit gives her an additional opportunity to survive an otherwise fatal encounter.
She sounds almost tailor-made for players who want maximum forgiveness.
The catch is that reaching her requires a substantial late-game progression path, so she’s not a Shell you’ll be building around from the beginning.
My rating: S-Tier for survivability, but more situational overall
My Mortal Shell 2 Shell Tier List
If I were ranking the Shells based on versatility, survivability, and how well they fit the sequel’s stamina-free combat, this would be my current list:
| Tier | Shells | Why |
|---|---|---|
| S-Tier | Tiel, Smert | Exceptional mobility and battlefield control |
| A-Tier | Proxima, Eredrim, Lazlo, Sariel | Strong specialized or balanced builds |
| B-Tier | Gragu | Powerful but more dependent on enemy availability |
| Specialist | Sester Genessa | Incredible survival tools with a late-game requirement |
This isn’t a “you must play these characters” ranking.
That’s the whole point of the Shell system.
Which Mortal Shell 2 Shell Should You Choose?
If you’re new to Soulslike games, Eredrim would be my first recommendation. His durability gives you more room to learn enemy patterns without constantly getting punished for every mistake.
If you’re already comfortable with fast combat, Tiel is probably the obvious choice. His mobility fits the sequel’s aggressive combat philosophy extremely well.
For players who enjoy experimenting with unusual mechanics, Smert is arguably the most exciting Shell.
If perfect parries are your thing, pick Lazlo.
If you prefer ranged weapons, Sariel is the natural fit.
And if you just want to hit things harder as your health gets lower, Gragu is waiting for you.
How to Fix Mortal Shell 2 Crash on Launch on Windows 11 (2026 Guide)
Final Thoughts
What makes the Shell system work for me is that these characters don’t simply feel like different stat packages. They encourage different decisions during combat.
Tiel asks you to avoid damage. Eredrim asks you to absorb it. Lazlo asks you to counter it. Smert asks you to control time itself.
That’s a much more interesting foundation than simply choosing between a warrior, mage, or rogue at the beginning of the game.
The removal of stamina also makes this sequel feel considerably more aggressive. There is less downtime between attacks, and that puts more pressure on positioning, enemy knowledge, posture management, and defensive timing.
My personal early picks would be Tiel and Smert, with Eredrim as the fallback option when I want to stop being clever and simply survive.
But that’s what makes Mortal Shell 2’s Shell system compelling. There isn’t one character that completely replaces the others. The best Shell is ultimately the one whose weaknesses you understand well enough to turn into strengths.
And in a game this hostile, that’s probably more valuable than having the biggest health bar or the highest damage number.