How to Beat All Bosses in Koshmar: Surviving the Duality System Guide
There’s something special about games that don’t just test your reflexes—but get inside your head. Koshmar: The Last Reverie is exactly that kind of experience. It’s not just about dodging attacks or memorizing patterns—it’s about managing your mental state, adapting under pressure, and learning when to hold back or go all-in.
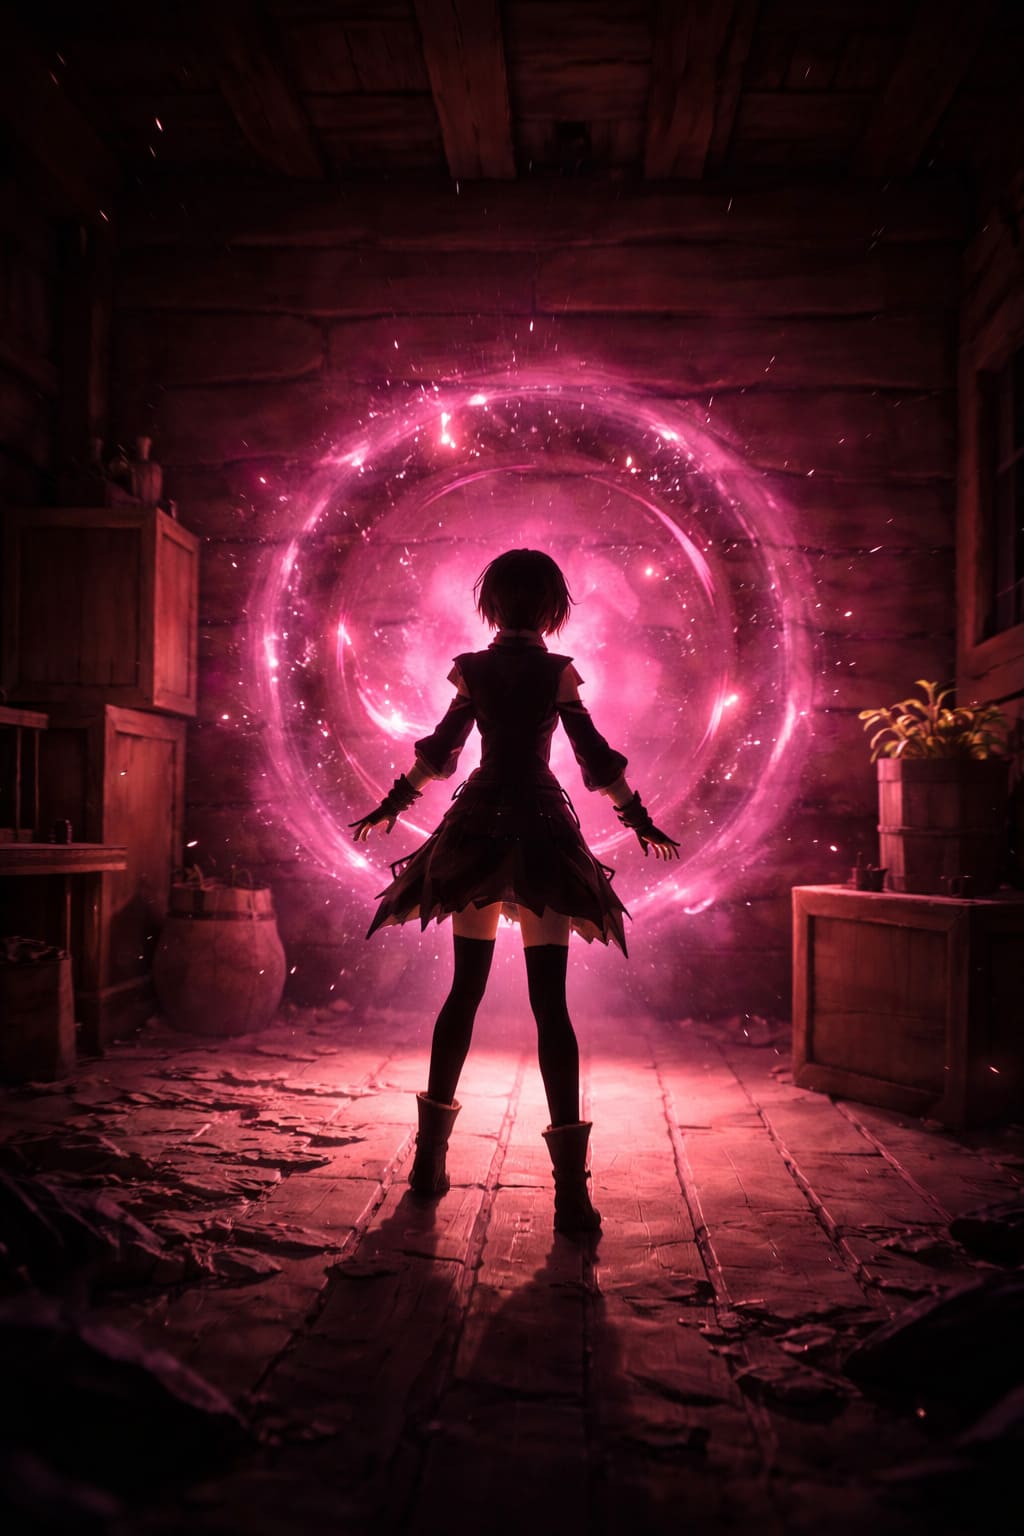
After spending time with the game, one thing becomes clear: bosses in Koshmar are less like obstacles and more like psychological puzzles. If you treat them like standard action-game enemies, they’ll crush you. But if you slow down, observe, and play smart—you’ll start to feel that satisfying shift from chaos to control.
Let’s break down how to actually survive—and enjoy—the nightmare.
How to Survive Blizzards in Ascenders Beyond The Peak: Q3 2026 Launch Preview
Understanding the Duality System (Your Real Weapon)
At the heart of Koshmar is its most interesting mechanic: the Duality System. This isn’t just a gimmick—it’s the entire game.
You’re constantly switching between two combat philosophies:
- Dream Style – Precise, controlled, and safer. Helps stabilize your mental state. Great for learning boss patterns and staying alive.
- Nightmare Style – Aggressive and high-damage. Pushes you toward Madness. Best used during openings or burst windows.
What I love here is that the game forces you to think. You can’t just spam your strongest abilities. If you lean too hard into Nightmare, things spiral quickly—visually and mechanically.
Personal tip: I found my best runs came from starting fights in Dream Style, then switching to Nightmare only when I earned the opening.
Boss Fights Are About Observation, Not Reaction
If you’re dying quickly, you’re probably rushing. I made that mistake early on.
The first 30–60 seconds of any boss fight should feel almost passive. Just watch:
- How does the boss move?
- What triggers its combos?
- Does it punish distance or aggression?
Look for These Signals:
- Glowing limbs → usually a heavy or unblockable attack
- Audio cues → roars, clicks, whispers often signal combos
- Positioning triggers → some bosses behave differently behind vs. in front
Once you notice these patterns, the fight slows down—mentally, at least.
Timing > Speed (Always)
This isn’t a button-masher. Every dodge, parry, and strike matters.
Bosses are designed with delayed attacks and bait mechanics, meaning:
- Dodging too early = getting hit anyway
- Attacking greedily = instant punishment
Instead, think of combat like a rhythm game: Wait, Read, React, Punish. That rhythm is where the game starts to click.
The Importance of Stagger Windows
Almost every major boss has some form of guard or resistance phase. You won’t deal real damage until you:
- Apply consistent pressure
- Break their defense
- Capitalize on the stagger
This is where Nightmare Style shines.
Best approach: Use Dream Style to survive and chip away. Switch to Nightmare when stagger hits. Dump your strongest abilities only then. This alone can cut boss fight time in half.
Use the Arena—It’s Not Just Decoration
One thing I didn’t expect going in: environments actually matter.
Boss arenas often include:
- Pillars or debris → block projectiles
- Tight spaces → limit boss mobility
- Hazards → can sometimes damage enemies
If a fight feels unfair, you might just be ignoring the terrain.
Adapting to Boss Archetypes
Even without memorizing specific bosses, you can prepare by understanding the common types you’ll face.
| Archetype | How They Fight | Best Strategy | Recommended Style |
|---|---|---|---|
| Heavy Brute | Slow, powerful, high recovery | Dodge behind, punish after attacks | Dream (mobility-focused) |
| Agile Skirmisher | Fast, combo-heavy, evasive | Parry and counter | Dream (precision-based) |
| Ranged Sorcerer | Distance attacks, projectiles | Close gap quickly | Nightmare (burst damage) |
| Swarm Master | Summons adds + splits attention | Control crowd, stay focused | Mixed (AoE + burst) |
Once you recognize the archetype, you’re already halfway to winning.
Mental State Management Is Everything
This is what sets Koshmar apart from other action games. Your mental state isn’t just flavor—it actively changes gameplay.
- Too much Dream → Delusion effects (sometimes helpful, sometimes risky)
- Too much Nightmare → Madness (can destabilize everything)
And yes—you will feel the difference mid-fight.
My rule of thumb: If the fight is dragging → stabilize with Dream. If the boss is vulnerable → unleash Nightmare. Balance isn’t optional—it’s survival.
Nightmare Rifts: Where You Actually Get Better
Between major fights, you’ll encounter roguelite-style Nightmare Rifts. Don’t treat these like filler content—they’re essential.
Here’s why:
- Resource farming → upgrades matter more than you think
- Build experimentation → try weird combinations
- Mental state tuning → prepare for upcoming bosses
Honestly, some of my biggest breakthroughs came from testing builds here—not during boss fights.
Advanced Tips That Made a Difference for Me
Once you get deeper into the game, difficulty spikes hard. Here’s what helped me push through:
1. Exploit Weaknesses
Some bosses react differently to certain damage types. Pay attention to visual design, lore hints, and arena details.
2. Don’t Hoard Items
Classic mistake: saving everything “just in case.” Use healing items early, buffs before second phases, and utility tools during chaos. The game usually gives you enough—use them.
3. Switch Styles Mid-Combo
This is advanced, but powerful. Start safe (Dream), transition into burst (Nightmare), reset before overcommitting. It feels amazing when executed right.

It’s a Game About Control, Not Chaos
Koshmar: The Last Reverie isn’t trying to overwhelm you—it’s testing your ability to stay calm under pressure. Once you stop treating bosses like enemies and start seeing them as systems to understand, everything changes.
The real satisfaction doesn’t come from winning—it comes from mastering the process: reading patterns, managing your mental state, and knowing exactly when to strike. That’s when the nightmare stops feeling random—and starts feeling fair.
Mastering the Mind: A Player’s Guide to Surviving the Duality System in Koshmar: The Last Reverie
If there’s one thing that makes Koshmar: The Last Reverie stand out from the sea of modern action RPGs, it’s not just the haunting aesthetic or brutal bosses—it’s the Duality System.
This mechanic doesn’t just tweak your stats; it fundamentally reshapes how you approach every fight. After spending hours experimenting, failing, and finally “getting it,” I can confidently say this system is the true core of the game.
You’re not just managing health and stamina—you’re balancing Violet’s fragile psyche, constantly dancing between Madness and Delusion. And trust me, if you ignore it, the game will punish you hard.
Understanding the Duality System (Why It Matters More Than You Think)
At first glance, the Duality bar might look like just another gimmick UI element. It’s not. It’s a dynamic risk-reward system that:
- Alters your damage output
- Affects resource generation
- Changes visual clarity
- Even influences boss behavior
Push too far in either direction, and you’re no longer in control—you’re reacting, panicking, and usually dying. The goal? Stay in control of the spectrum—or weaponize it.
Delusion State: The Calm Before the Storm
Playstyle: Controlled, precise, methodical
Best for: Early fight phases, resource farming
Delusion is what I’d call your *setup phase*. It’s where you prepare for the real damage later.
How it feels in practice
When you’re in Delusion, combat becomes smoother and more predictable. Your attacks feel lighter, faster, and more deliberate. It’s almost relaxing—until you realize you’re not hitting very hard.
Key advantages
- High Essence generation (your main resource)
- Safer, more controlled combat flow
- Easier to read enemy patterns
Main drawback
Lower damage output means longer fights. And longer fights in Koshmar are dangerous. Bosses don’t forgive mistakes, and dragging things out increases the odds of messing up.
My personal take
I use Delusion like charging a battery. I don’t try to win fights here—I prepare to win them later.
Madness State: Power at a Price
Playstyle: Aggressive, high-risk, explosive
Best for: Burst phases, boss finishers
Madness is where the game flips. Everything becomes faster, heavier, and more chaotic.
What changes immediately
- Your attacks hit much harder
- You gain hyper-armor
- Combat becomes more aggressive and less forgiving
Major risks
- HP drains over time
- Screen distortion makes it harder to read attacks
- Overcommitting leads to quick deaths
The real strength
Madness absolutely destroys boss defenses. Shields melt, stagger builds faster, and damage spikes dramatically.
My experience
Madness feels amazing… right until it doesn’t. It’s easy to get greedy and stay in it too long. The best players don’t just enter Madness—they time it perfectly.
The Lucid Interval: Where Skill Truly Shows
Right in the middle of the Duality bar is something special—the Lucid Interval. This is where the system rewards mastery.
Why it’s so powerful
- Increased parry windows
- Higher critical hit chance
- Overall smoother combat flow
How to maintain it
This is where things get technical. You need to actively rotate your moves:
- Mix heavy and light attacks
- Avoid overcommitting to one style
- Constantly adjust based on the fight
Example rhythm
2 heavy (Madness) attacks
Followed by 2–3 light (Delusion) strikes
Honest opinion
This is the hardest part of the game to master—but also the most satisfying. When you stay in the Lucid Interval during a boss fight, everything just clicks.
Strategic “Breaking”: When Losing Control Is the Right Move
Here’s where Koshmar gets really interesting—you can intentionally break the system. Sometimes, pushing to the extreme is exactly what you need.
Total Madness Break
Use when: You’re about to die or facing a wipe mechanic
- Grants a brief invincibility window
- Turns Violet into a shadow-like state
- Can completely negate certain boss abilities
Reality check: This is your panic button. Don’t rely on it—but when you need it, it can save the fight.
Pure Delusion Break
Use when: Boss is staggered and you need abilities immediately
- Instantly resets cooldowns
- Leaves you extremely fragile for ~10 seconds
This is a high-risk, high-reward play. If you mess up, you’re done. But if you time it right, you can end fights instantly.
Quick Comparison Table
| State | Strengths | Weaknesses | Best Use Case |
|---|---|---|---|
| Delusion | Resource gain, safer combat | Low damage | Early fight setup |
| Madness | High damage, armor, burst | HP drain, visual distortion | Final phases, burst windows |
| Lucid Interval | Balanced buffs, crit & parry boost | Hard to maintain | Skilled, adaptive play |
Practical Tips From Experience
After a lot of trial and error, here are a few things that genuinely helped me improve:
1. Switch styles constantly
Don’t get comfortable in one state. The game is designed around movement between states, not staying in one.
2. Use Delusion early, Madness late
This simple rule works surprisingly well: Start safe → build resources, End aggressive → finish fast
3. Watch the screen, not just the bar
Visual distortion in Madness isn’t just cosmetic—it affects reaction time. If you can’t see clearly, you’re already in danger.
4. Learn boss phases
Some bosses punish prolonged Delusion. Others become chaotic in later stages, making Madness risky. Adapt.
5. Positioning matters
Environmental elements (like calming zones) can subtly shift your state—use them when things get overwhelming.
Final Thoughts: Why This System Works So Well
What makes the Duality System brilliant isn’t just its mechanics—it’s how it forces you to think differently. You’re not just reacting to enemies. You’re: managing internal risk, planning ahead, deciding when to be weak and when to go all-in. It turns every fight into a psychological balancing act.
And honestly? That’s what keeps Koshmar: The Last Reverie from feeling like just another action RPG. It demands attention, adaptation, and a bit of restraint—something many games forget.