Grain Rot Outpost Rebuilding Guide: Best Upgrades List & Meta Extraction Strategies
There are plenty of extraction games where the important question is simply, “How much loot can I get out with?” Grain Rot asks a slightly more interesting question: “What are you going to do with all that junk once you actually make it home?”
That distinction is what makes its Sanctuary Outpost system work so well for me.
After spending time crawling through the game’s underground ruins, hauling furniture around with a body that seems determined to fall apart at the worst possible moment, the Outpost becomes more than a menu between missions. It gradually turns into the backbone of your entire run. Every new workstation changes what you can do, every rescued survivor has a purpose, and suddenly that pile of scrap you nearly died carrying starts feeling incredibly valuable.
Grain Rot launched on Steam on August 7, 2026, and its combination of cooperative horror, physics-heavy destruction, extraction mechanics, and base rebuilding gives it a surprisingly addictive progression loop. You play as a Living Spark, an artificial soul housed inside a wooden robot body in a world where the surface is so hostile that practically everything wants to catch fire.
The answer, naturally, is to go underground.
Down there, your four-player team explores constantly changing ruins, tears apart furniture, searches for valuable relics, fights the Corrupted, and feeds whatever you can carry into a giant grinder before attempting to escape.
The problem is that surviving the expedition is only half the battle.
The real progression happens back at the Sanctuary Outpost.
How the Grain Rot Outpost Progression Actually Works
At first glance, rebuilding the Outpost looks like a fairly standard base-building system. In practice, however, it determines how efficiently you can prepare for future expeditions.
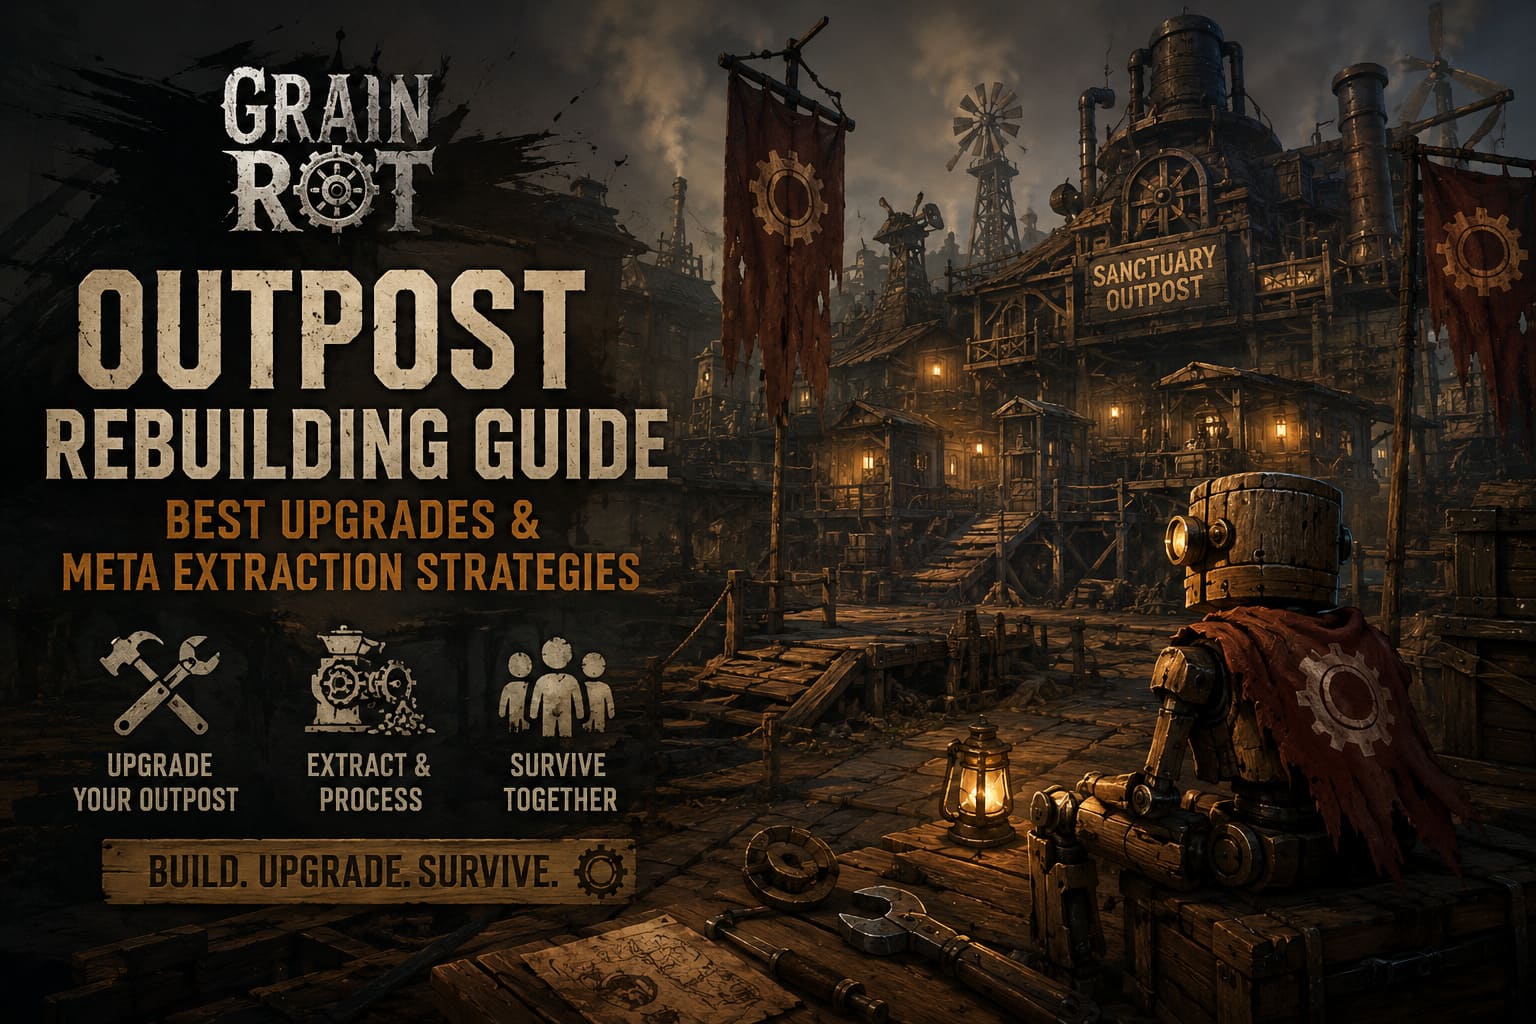
The basic loop is straightforward:
- Enter the ruins and dismantle anything valuable.
- Bring the recovered materials to the extraction point.
- Grind your haul into useful resources.
- Return to the Sanctuary and invest those materials into new facilities.
- Use the new stations to make future runs safer and more profitable.
The important part is that not every upgrade is equally useful.
Some buildings look tempting because they unlock new toys, while others quietly improve almost every expedition you undertake. If you’re trying to figure out the best Grain Rot Outpost upgrades, I strongly recommend thinking about them in terms of long-term efficiency rather than simply building whatever becomes available first.
Best Grain Rot Outpost Upgrades Ranked
| Upgrade | Main Purpose | Priority | Why It Matters |
|---|---|---|---|
| Repair Bench & Recycler | Repairs and recycling | S | Keeps equipment usable and reduces waste |
| Workspace & Manipulator Bench | Better tools | S | Makes dismantling and hauling much faster |
| Sanctuary Infirmary | Spark protection | A | Reduces the punishment for losing a vessel |
| Cookhouse & Mess Hall | Food production | A | Creates a reliable food economy |
| Field & Barn Complex | Passive resources | A | Builds a renewable production loop |
| Outpost Armoury | Weapons and armor | A | Improves survival in deeper layers |
| Cannery Station | Food preservation | B | Excellent logistics upgrade |
| Mutation Lab | Rot management | B | Becomes increasingly important later |
| Outpost Outfitters | Vendors and contracts | B | Provides useful trading and bounty options |
Tier 1: Build These First
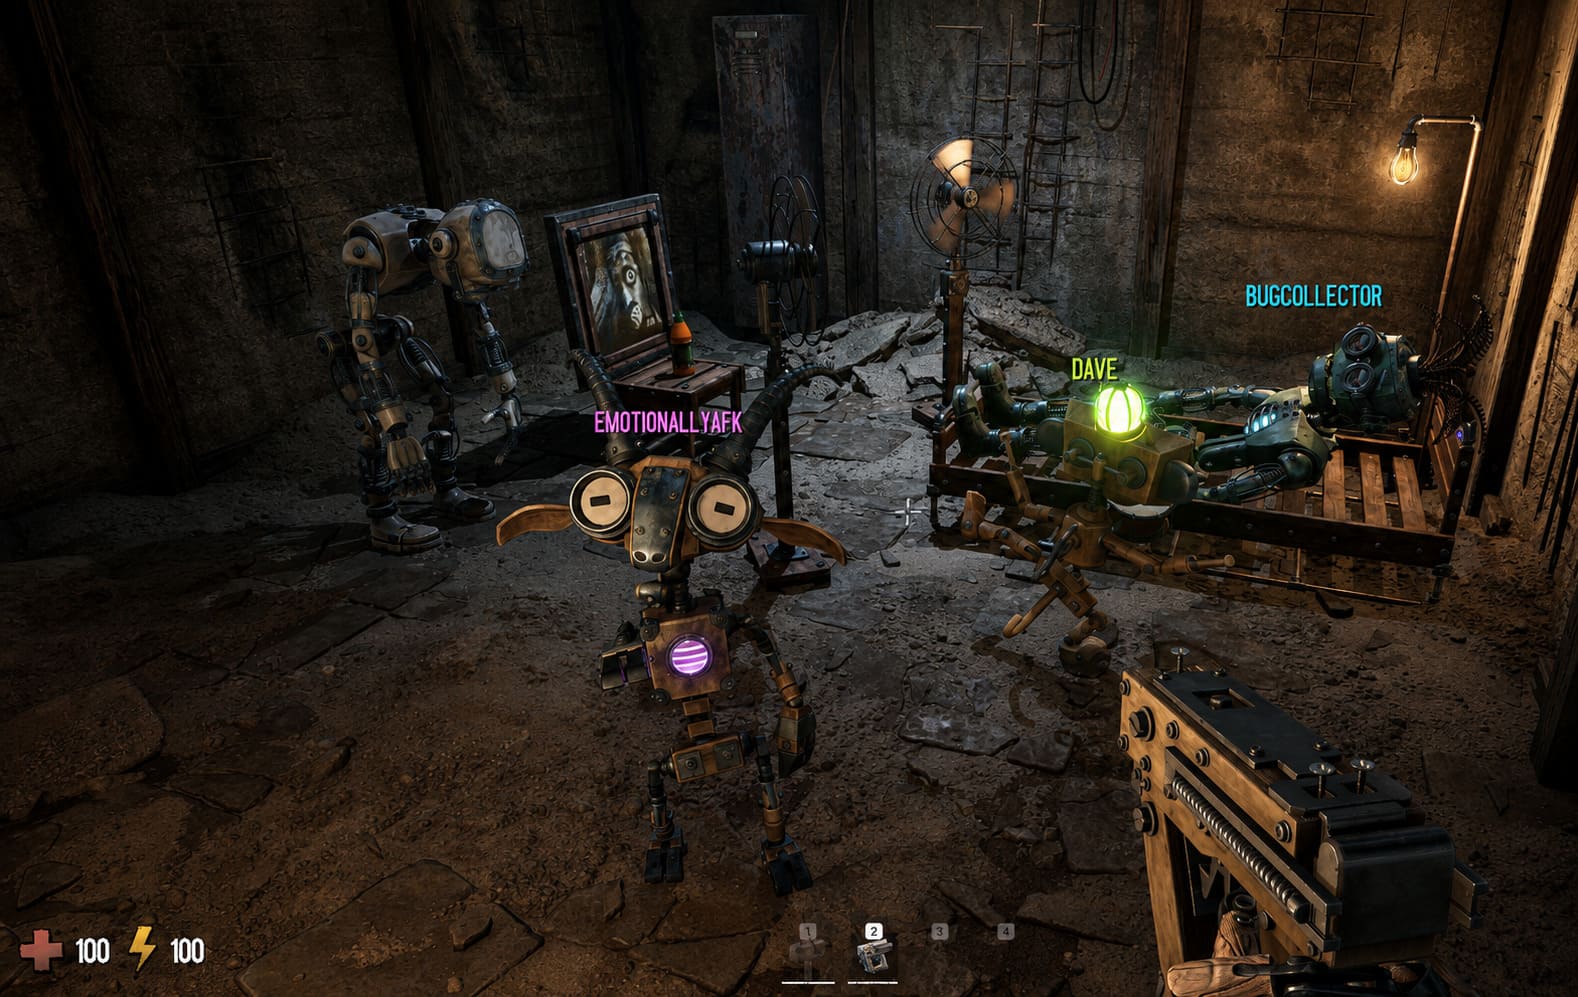
Repair Bench and Recycler
If I had to recommend only one early upgrade, this would be it.
The Repair Bench is incredibly practical because your wooden vessels are not exactly famous for their durability. Fire, enemies, environmental hazards, and even your own teammates can turn a perfectly good body into a pile of kindling.
The Recycler is equally useful. Instead of throwing every unwanted item into the grinder, you can break down duplicate weapons and miscellaneous junk directly at the Outpost.
The reported cost is 40 Scrap Metal and 20 Base Wood, making it relatively affordable for such a fundamental upgrade.
For me, this is the definition of a boring-but-essential building. You might not screenshot it for your friends, but you’ll appreciate having it every time you return from a terrible run.
Workspace and Manipulator Bench
This is arguably the most satisfying early-game upgrade.
Grain Rot’s furniture destruction is funny for about five minutes. Then you realize just how much time you’re spending dragging, carrying, smashing, and repositioning things.
The Workspace improves that entire process.
With a cost of 50 Base Wood, 15 Scrap Metal, and 5 Old-World Coins, it unlocks early tool modifications, including mechanical Manipulators, magnetic holders, and heavy-duty Chains.
The difference is noticeable because better equipment doesn’t just make you stronger. It makes you faster.
And in an extraction game, faster usually means safer.
Sanctuary Infirmary
The Infirmary is the upgrade you start appreciating after your first genuinely disastrous expedition.
When your wooden body gets destroyed, your Living Spark can be forced out of its vessel. You can sometimes find another body underground, but repeated destruction has long-term consequences.
The Spark Stabilizer system gives you some protection against that progression loss and helps manage early corruption.
Its cost is 60 Raw Bio-matter and 30 Scrap Metal.
I wouldn’t necessarily put it ahead of the Repair Bench, but once your runs become more ambitious, the Infirmary becomes extremely difficult to ignore.
Tier 2: Start Building Your Resource Economy
Once the basic survival infrastructure is established, Grain Rot shifts from “How do I survive?” to “How do I make my Outpost work for me?”
That’s where the Cookhouse and agricultural buildings become important.

Cookhouse and Mess Hall
The Cookhouse introduces something I really like about the Outpost system: workers actually matter.
Rescued survivors can be assigned to production, allowing your base to generate supplies while you’re busy exploring.
One basic recipe combines 2 Grain and 1 Wood to create 4 Basic Rations over 20 hours. The Efficient Cooking upgrade reduces that time to 16 hours.
You can also process monster meat. Combining 3 Meat and 1 Wood produces 5 High-Calorie Rations over 16 hours, with the upgraded timer dropping to around 12.8 hours.
These numbers might look slow, but that’s exactly why you want to establish the production chain early.
Your Outpost should be working while you aren’t.
Automated Barn and Field Complex
This is where the resource economy starts getting interesting.
A basic Field produces 3 Grain every 40 hours per assigned worker, increasing to 4 Grain with the Farming trait. Fertilizer can dramatically improve the output, pushing it to 9 Grain.
The Barn then converts 1 Grain into 2 Meat and 1 Fertilizer every 14 hours.
Once the system is running properly, you have the foundations of a renewable food chain.
The construction cost is significant — 100 Base Wood, 60 Scrap Metal, and 25 Raw Bio-matter — but I consider this one of the best mid-game investments.
Don’t think of it as a farm.
Think of it as removing one more reason to gamble your life underground.
Outpost Armoury
Eventually, a hammer stops being funny and starts being a liability.
The Armoury costs 120 Scrap Metal, 50 Base Wood, and 15 Old-World Coins, but gives you access to weapon crafting, ammunition management, and armor modifications.
That last part is especially valuable because the game’s wooden vessels have a rather unfortunate relationship with fire.
The Armoury won’t make you invincible, but it gives you considerably more control over how your vessel performs against environmental hazards and hostile creatures.
For deeper expeditions, I’d consider this a mandatory upgrade.
Tier 3: Endgame Utility
Once your Sanctuary starts looking like an actual functioning settlement, the upgrades become less about basic survival and more about efficiency.
Cannery Station
The Cannery is one of those upgrades that doesn’t sound exciting until your storage starts becoming a nightmare.
It converts 2 Rations and 1 Metal into 3 Canned Foods, taking approximately four hours per worker slot.
The huge advantage is preservation.
Canned Food doesn’t spoil, making it considerably easier to stockpile supplies and prepare for long expeditions. It can also serve as a valuable trade item with elite surface merchants.
At 150 Scrap Metal, 80 Base Wood, and 30 Old-World Coins, it’s expensive, so I wouldn’t rush toward it during the opening hours.
Once your basic economy is stable, though, it becomes an excellent quality-of-life upgrade.
Mutation Lab
This is where Grain Rot’s weirdness really starts showing.
The deeper you go, the more dangerous the Rot becomes. Corruption can alter your vessel, affect movement, and produce strange negative effects that can make an already chaotic run even more unpredictable.
The Mutation Lab turns that problem into something more interesting.
Instead of treating every mutation as purely negative, the facility allows you to experiment with controlled mutations and potentially convert some of the Rot’s effects into useful bonuses.
The price is steep: 200 Raw Bio-matter, 100 Scrap Metal, and 20 Old-World Coins.
This is absolutely a late-game investment, but for players pushing into the deepest layers, it’s one of the more interesting systems in the Outpost.
Outpost Outfitters
The Outfitters building is relatively cheap compared with some of the other advanced facilities, requiring 75 Scrap Metal and 12 Old-World Coins.
It introduces vending machines and a telephone system.
The vending machine gives you another way to spend Old-World Coins on useful components, while the telephone opens access to bounty contracts from distant survivors.
It’s not the first building I’d spend resources on, but once your core infrastructure is complete, it provides a nice additional source of materials and objectives.
My Recommended Upgrade Order
If you’re starting a fresh Sanctuary and don’t want to waste resources experimenting, this is the order I’d personally follow:
- Repair Bench & Recycler
- Workspace & Manipulator Bench
- Sanctuary Infirmary
- Cookhouse & Mess Hall
- Field & Barn Complex
- Outpost Armoury
- Cannery Station
- Mutation Lab
- Outpost Outfitters
The exact order can change depending on how your group plays. A team that constantly loses equipment may want the Infirmary earlier, while a highly coordinated group focused on aggressive looting can prioritize the Armoury and production economy.
The Compass Trick Can Save a Run
One of the most useful extraction tricks currently circulating among experienced players involves the Compass.
Normally, reaching an extraction point requires finding a working fuse to activate the escape mechanism. That can force your team into additional searching when your inventory is already packed with valuable loot.
However, the Compass can reportedly be used as a substitute for the standard fuse.
If the mechanic works consistently in your run, it can completely change your extraction strategy.
Imagine finding a room filled with valuable furniture, having almost every inventory slot occupied, and then realizing you don’t need to search another dangerous section for a fuse.
You simply use the Compass, activate the extraction system, and get out.
Whether you’re carrying rare materials or simply trying to avoid one more encounter with the Corrupted, knowing when to extract is just as important as knowing what to loot.
Don’t Waste Your Rescued Survivors
The survivor system is easy to overlook, especially when you’re focused on surviving the dungeon itself.
Don’t.
Once you rescue NPCs and bring them safely back to the Sanctuary, assign them to production wherever possible.
Your Fields, Barns, and Cookhouses should rarely be sitting idle.
The biggest mistake is treating survivors like decorative NPCs. They are essentially another resource in your base economy.
Skills such as Farming and Efficient Cooking become increasingly valuable because they reduce production bottlenecks over time.
A worker producing resources while you’re offline is effectively giving you free progression.
GRAIN ROT Guide: Living Spark Mechanic Explained & What Happens When Your Vessel Breaks
Co-op Strategy: Divide the Team
Grain Rot becomes much more manageable when everyone has a job.
I’ve found that the easiest way to avoid chaotic runs is to divide the squad into two basic roles.
Two players should concentrate on dismantling and hauling, grabbing furniture, wood, relics, and other valuable materials.
The other two should focus on security, keeping enemies away and protecting the team’s carriers.
This sounds obvious, but the physics-driven nature of Grain Rot makes coordination surprisingly important.
Your wooden body isn’t exactly a tank, and friendly fire can turn an otherwise successful expedition into a comedy of errors.
Don’t have all four players fighting over the same chair while a Corrupted creature approaches from behind.
One person carries.
One person breaks things.
One watches the corridor.
One covers the retreat.
It isn’t glamorous, but it works.
GRAIN ROT Multiplayer Guide: Max Lobby Size and Friendly Fire Trolling Mechanics Explained
Final Verdict: Build Efficiency, Not Just a Pretty Sanctuary
The Sanctuary Outpost is arguably the system that gives Grain Rot more depth than its chaotic presentation initially suggests.
The game may look like a ridiculous cooperative destruction simulator where friends throw furniture around underground, but underneath that chaos is a surprisingly serious progression system.
The trick is to stop thinking of every building as an isolated upgrade.
The Repair Bench protects your equipment. The Manipulator Bench makes gathering faster. The Infirmary protects your progression. The Cookhouse, Fields, and Barn create a sustainable economy. The Armoury prepares you for deeper layers, while the Cannery and Mutation Lab become increasingly valuable once you’re operating at an advanced level.
If you’re just starting out, don’t blow your early resources on whatever looks coolest.
Build the infrastructure that makes every future expedition better.
That’s the real secret to the Grain Rot Outpost progression system. The strongest Sanctuary isn’t necessarily the one with the most buildings. It’s the one that keeps producing, repairing, feeding, and preparing your team while you’re underground risking everything for another truckload of scrap.
And honestly, that’s what makes coming back to the surface so satisfying.
You aren’t just escaping the ruins.
You’re bringing something home.