Forensics Crime Scene Detective Full Walkthrough: Guide and Case Solutions
When I first launched Forensics: Crime Scene Detective, I expected another detective game where you click on glowing objects until the game tells you what happened. Five minutes later I realized I was completely wrong.
This is one of those rare investigation simulators that actually expects you to think. It doesn’t hand over clues, it doesn’t magically combine evidence for you, and it absolutely punishes rushing through a crime scene. Every fingerprint, blood sample, photograph, and digital device matters. Skip one important step, and the entire investigation can fall apart.
After spending hours working through the tutorials, replaying the opening investigation, and experimenting with different evidence collection methods, I found that success isn’t about speed. It’s about discipline. If you approach every location like an actual forensic investigator instead of an action-game detective, the whole experience becomes far more rewarding.
This guide covers the mechanics that matter most, walks through the opening murder investigation, and shares the habits that made every case much easier to solve.
Why This Game Feels Different
Most detective games focus on storytelling.
Forensics: Crime Scene Detective focuses on procedure.
Almost everything follows real forensic workflows. Instead of instantly collecting evidence, you’re expected to document it first, preserve the chain of custody, process it correctly in the laboratory, and only then begin connecting the facts.
That slower pace might surprise new players, but it’s also what makes solving a case feel genuinely satisfying.
One overlooked fingerprint can completely change your suspect list.
One forgotten photograph can reduce your investigation score.
One damaged storage chip can permanently erase critical evidence.
The game constantly reminds you that forensic science isn’t guesswork—it’s careful documentation.
Understanding the Investigation Loop
Every investigation follows two major stages.
| Phase | Primary Goal | Biggest Mistake |
|---|---|---|
| Crime Scene | Find and properly collect evidence | Picking up objects before documenting them |
| Laboratory | Analyze and compare evidence | Ignoring secondary analysis options |
Neither phase works without the other.
Collect poor evidence in the field and the laboratory becomes almost useless.
Likewise, gathering excellent samples means nothing if you never perform the proper analysis afterward.
Always Document Before Collecting
This became my biggest lesson during the opening tutorial.
The correct workflow almost never changes:
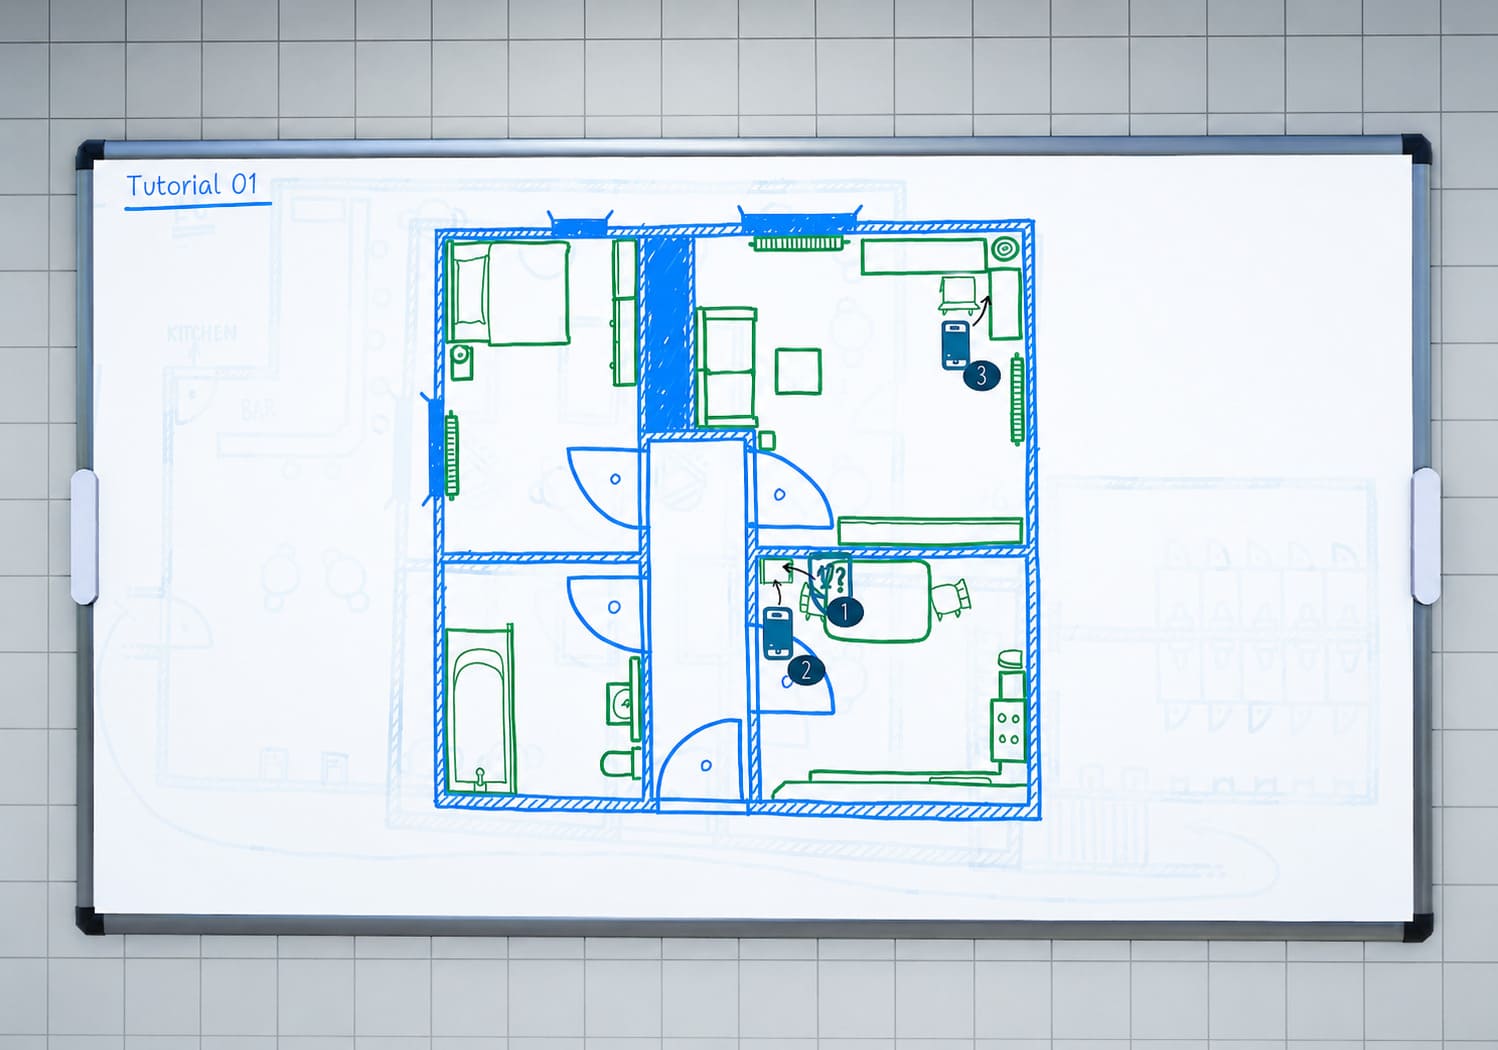
- Place an evidence marker
- Take clear photographs
- Inspect the object
- Collect the evidence
- Package it safely
It sounds simple, but after a few hours you’ll naturally want to rush.
Don’t.
The game tracks your investigative professionalism, and sloppy work quickly affects your overall performance.
Treat every object as if it will later appear in court.
Fingerprints Are More Complicated Than Expected
Unlike many detective games where fingerprints magically appear after pressing one button, here they’re surprisingly interactive.
You’ll first need to set up the forensic lighting equipment.
Position the tripod.
Adjust the flashlight angle.
Slowly move the light across reflective surfaces until the hidden print becomes visible.
Only then should you begin dusting.
I actually enjoyed this mechanic much more than expected because every successful print feels earned instead of scripted.
Common places worth checking include:
- Door handles
- Coffee mugs
- Glass bottles
- Windows
- Countertops
Many players ignore ordinary objects, but they’re often where the strongest evidence appears.
Blood Evidence Can Completely Change a Case
One mechanic I didn’t appreciate until later involves chemical detection sprays.
Crime scenes often look clean.
That doesn’t mean they actually are.
Spraying suspicious areas frequently reveals blood traces that someone attempted to wipe away.
Those hidden stains eventually become DNA samples, and DNA evidence is usually far stronger than eyewitness testimony.
Whenever a room looks “too clean,” I immediately start searching for invisible biological evidence.
More often than not, something important appears.
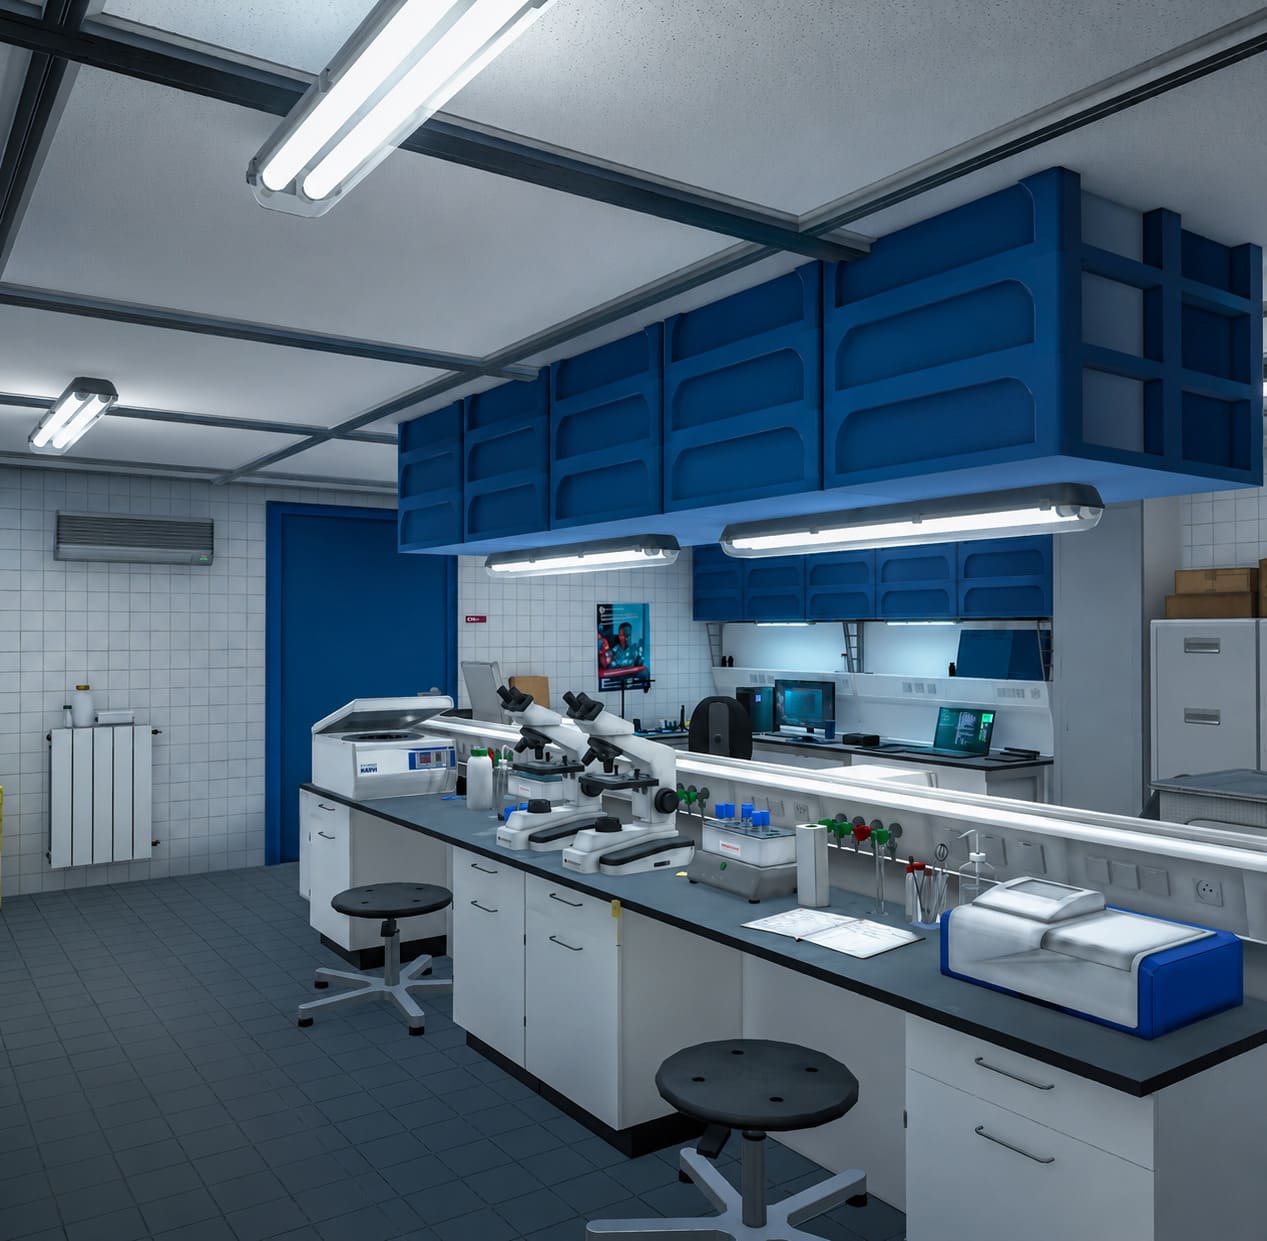
The Laboratory Is Where Cases Are Actually Solved
Returning to headquarters doesn’t simply end the mission.
It’s where the investigation truly begins.
Several workstations become available, each serving a different forensic specialty.
DNA Analysis compares collected biological material against existing databases and suspect profiles.
Digital Forensics recovers deleted conversations, phone records, and location history from damaged electronic devices.
Ballistics matches bullets to firearms while reconstructing shooting trajectories.
One detail I really appreciated is that digital evidence isn’t automatic.
Recovering data from destroyed smartphones requires physically removing the storage chip before reading it.
Mess up the heating process, and you’ve destroyed the evidence yourself.
That adds a level of tension many detective games simply don’t have.
Tutorial Walkthrough
The tutorials aren’t optional filler.
They’re essentially teaching the language of the entire game.
During the first training mission you’ll learn how to:
- Mark evidence
- Photograph objects
- Package evidence correctly
- Recover deleted smartphone data
The second tutorial focuses on:
- Latent fingerprint recovery
- Lighting setup
- Adhesive lifting techniques
- Bullet trajectory reconstruction
These lessons return repeatedly throughout later investigations, so they’re worth mastering instead of rushing through.
Case 1 Walkthrough – The Locked Office Murder
The first real investigation immediately tests everything you’ve learned.
At first glance, the office appears straightforward.
A victim lies dead inside a locked room.
Police suspect robbery.
The evidence tells another story.
Search the Office Carefully
Don’t wander randomly through the room.
Instead, move slowly while examining obvious evidence first.
The coffee mug is especially important.
After photographing it, dust the handle for fingerprints before placing it into evidence storage.
Nearby you’ll discover the blood-covered marble paperweight.
This quickly becomes the primary murder weapon once laboratory testing confirms the victim’s DNA.
The office window initially looks suspicious, but its fingerprints ultimately lead nowhere.
That misleading clue is a clever reminder that not every piece of evidence matters equally.
Finally, collect the damaged smartwatch from the victim.
It doesn’t seem important at first.
Later it becomes one of the strongest pieces of evidence in the entire investigation.
Processing the Evidence
Back at headquarters the investigation starts changing dramatically.
DNA testing confirms the victim’s blood on the paperweight.
Secondary analysis reveals additional skin cells belonging to another individual.
Meanwhile, fingerprint analysis links the coffee mug directly to the Graduate Assistant.
Digital recovery from the smartwatch provides perhaps the most damaging discovery.
Health monitoring data shows the victim died significantly later than claimed by the Assistant’s statement.
Suddenly the timeline falls apart.
That’s exactly the kind of contradiction the game wants you to uncover.
The Hidden Trick Behind the Locked Room
The locked office initially feels impossible.
Everything suggests nobody could have entered or escaped.
The breakthrough comes from inspecting the locking mechanism itself.
Small scratches around the deadbolt reveal that someone manipulated the lock from outside after leaving the room.
Rather than proving suicide or robbery, the locked door was simply staged.
This is one of my favorite moments in the opening investigation because the solution feels logical instead of unbelievable.
The game rewards careful observation rather than random guessing.
Building the Final Case Board
Before submitting your report, connect every critical piece of evidence together.
Your strongest links include:
| Evidence | Why It Matters |
|---|---|
| Fingerprint on mug | Places the suspect near poisoned drink |
| DNA on paperweight | Connects suspect with murder weapon |
| Smartwatch timeline | Breaks suspect’s alibi |
| Damaged lock | Explains staged crime scene |
If everything has been processed correctly, the final accusation becomes straightforward.
The investigation succeeds not because of one dramatic clue but because dozens of smaller observations support one conclusion.
That’s exactly how the best detective games should work.
Tips That Helped Me Later
After replaying the early investigations, a few habits consistently improved my results.
- Never trust the obvious explanation. Crime scenes are frequently staged, and the most convincing theory usually isn’t the correct one.
- Search every trash bin. Receipts, tissues, handwritten notes, and discarded packaging often become valuable evidence later.
- Watch electronic recovery carefully. Older storage chips can be surprisingly fragile, so rushing through extraction risks permanently losing important information.
- Don’t fill your inventory with junk. Focus on objects that show fingerprints, biological traces, digital evidence, or obvious signs of criminal activity.
Final Thoughts
After spending quite a bit of time with Forensics: Crime Scene Detective, what impressed me most wasn’t the graphics or even the realistic laboratory equipment.
It was the respect the developers have for actual investigative work.
Every successful arrest feels earned because you built the case yourself. You aren’t solving mysteries through scripted dialogue choices or glowing objective markers. You’re comparing fingerprints, recovering damaged data, reconstructing timelines, and slowly eliminating possibilities until only one explanation remains.
That deliberate pace won’t appeal to everyone. Players looking for fast action may find the methodical workflow demanding. But if you’ve ever wanted a detective simulator that treats forensic science seriously, this is one of the most convincing experiences in recent years.
Take your time, photograph everything, double-check every sample before leaving a crime scene, and never assume the first suspect is the guilty one. In this game, patience is just as valuable as evidence, and the smallest overlooked clue can be the difference between solving a murder and accusing the wrong person.