Ascenders Beyond The Peak Rope Mechanics & Scout-Sapper Duo Tutorial
If you thought climbing games were all about pressing buttons and timing jumps, Ascenders: Beyond The Peak will turn that assumption upside down. This isn’t just another roguelite—you’re not solo, and you’re not just climbing.
Every step you take is a calculated risk, because your team is literally connected by a rope. Misjudge the physics or ignore your teammate’s limits, and one wrong move can send the whole expedition plummeting into disaster.
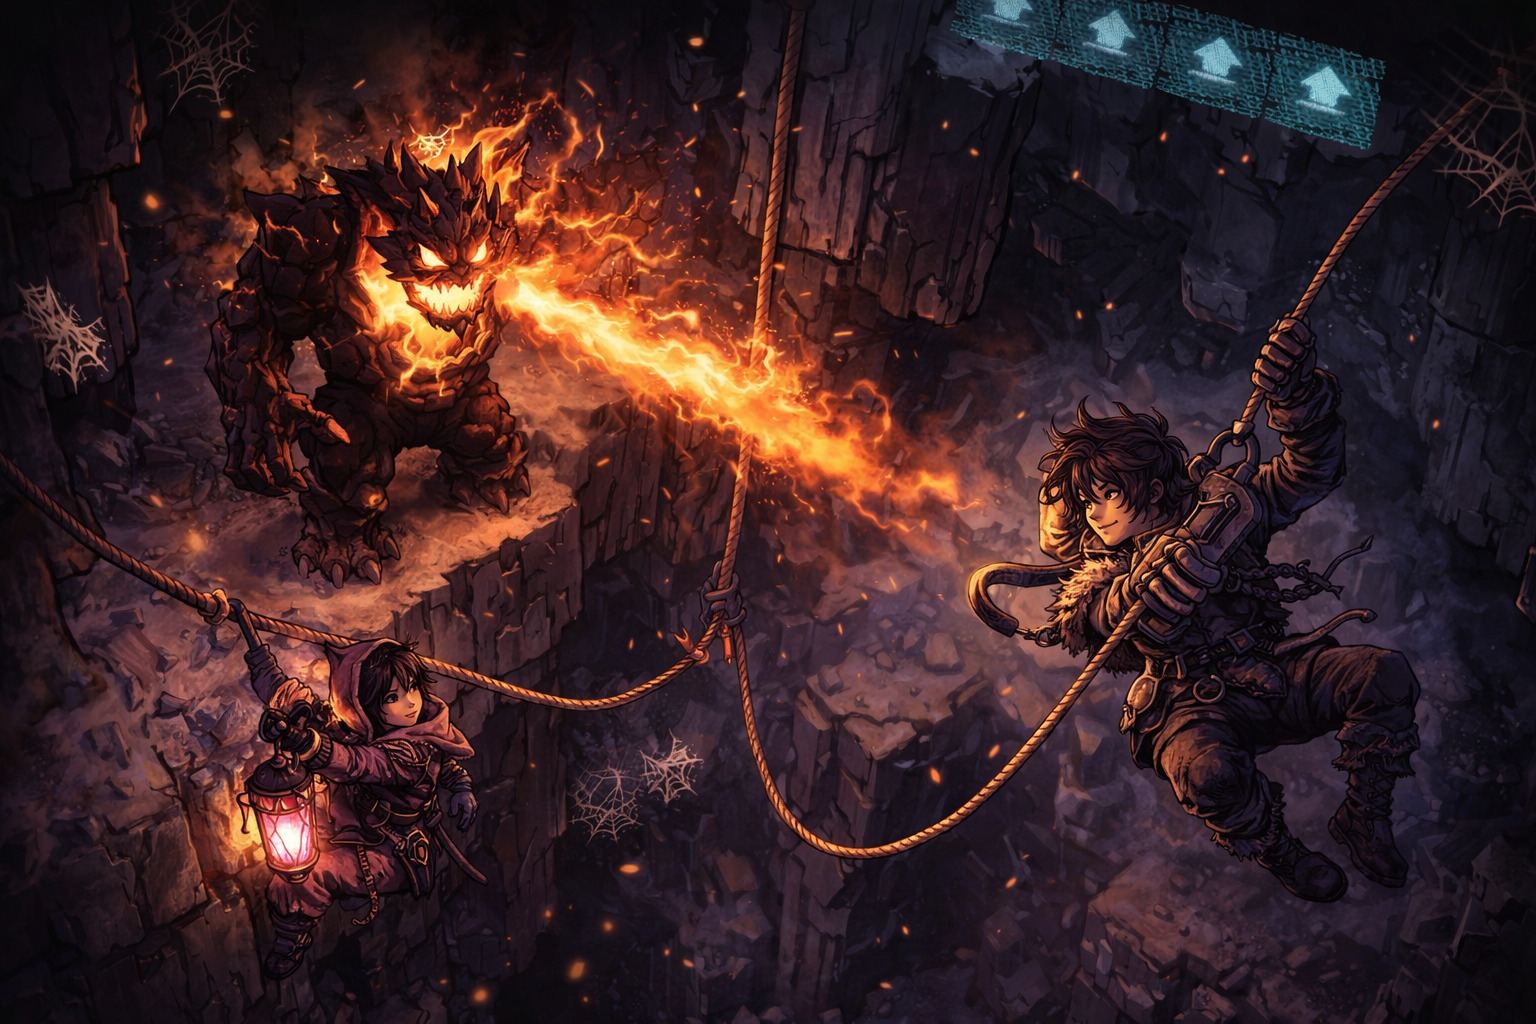
As someone who’s obsessed with both roguelites and challenging strategy games, I found this rope-based system exhilarating. It forces you to think beyond your own stamina bar. Below, I break down everything you need to know to survive—and thrive—on the cursed peaks.
How to Unlock Tental in Temtem Swarm: Evolution Guide & Best Builds (2026)
1. Understanding the Linked Rope System
The real magic of Ascenders isn’t the jagged cliffs or the occasional avalanche—it’s the rope that binds your team together. Think of it as a double-edged sword:
- Mutual Support: A steady climber becomes your anchor, preventing catastrophe and even helping others up when they’re about to fall.
- Shared Risk: If one climber slips without proper anchoring, everyone else is at risk. It’s tension you feel in your chest, literally.
- The Hard Decisions: Sometimes, extreme choices like cutting the rope are unavoidable. This saves the survivors but comes at a high cost: permanent loss of a climber, their resources, and serious mental trauma for the remaining team.
It’s this push-and-pull between cooperation and sacrifice that makes the game feel alive. You’re never just climbing; you’re navigating a living system of trust and strategy.
2. Essential Rope Tools
Survival in Ascenders hinges on how well you manage your gear. Each tool has a very specific purpose, and knowing when to use it can mean the difference between life and a tragic fall.
- Rope Spool: The bread-and-butter of climbing. Extend your reach, connect distant points, and always keep a spool handy.
- Pitons: Anchor points aren’t optional—they’re your lifeline. Missing one can turn a simple climb into a death trap.
- Rope & Chain Launchers: Perfect for creating long-range connections or scaling sheer faces quickly.
- Shelf Fungus: The quirky wildcard. Toss it to create temporary standing platforms, catch a breath, or gain a few extra feet of height.
It’s not just about what you have, but how creatively you use it. Veteran players often surprise themselves by turning something as odd as a fungus into a lifesaving tool.
3. Advanced Climbing Techniques
This game rewards experimentation. Some “hidden” tricks that seasoned climbers swear by include:
- The Double Grab Lunge: Let go and grab again mid-air to cover more vertical distance—but remember, it consumes double stamina.
- Strategic Lunging: Always make your final lunge just before stamina depletion to maximize distance efficiency.
- The Head Jump Boost: Jump and place a rope at your peak reach to climb further than normal, even when stamina is low.
- Lateral Movement (Spider Tech): Sometimes the vertical path is impossible. Move sideways to find hidden holds or easier paths.
These techniques make climbing feel less like a repetitive grind and more like solving a vertical puzzle with physics as your unpredictable co-pilot.
4. Team Composition & Class Synergies
The right team can make or break your climb. Each class has unique abilities that interact with the rope system:
| Class | Key Rope/Vertical Ability |
|---|---|
| Scout | Grappling hook for rapid repositioning and scouting |
| Highlander | Defensive positioning; can shove enemies off cliffs |
| Sapper | Uses explosives to reshape terrain and create holds |
Choosing a balanced team means you can manipulate both the environment and the rope network, ensuring safer, more efficient ascents.
5. Stamina and Resource Management
Climbing is exhausting—and Ascenders makes sure you feel it. Managing stamina and resources is just as important as mastering the rope.
- Stamina Buffs: Items like cooked food, “Pocari Sweat,” or “Purple Needleberries” increase your maximum stamina.
- Weight Reduction: Carrying “balloon bunches” reduces weight and stamina consumption.
- Environmental Recovery: Certain terrain allows you to “walk into the mountain” and regain stamina safely.
Every decision counts. Do you push your team to the next ledge, or pause to recover, knowing a single mistake could be fatal?
6. Why This Game Stands Out
Unlike traditional climbing games, Ascenders: Beyond The Peak isn’t about flashy graphics or mindless platforming. It’s a roguelite of decisions and consequences, where rope mastery, stamina management, and team coordination all intersect. Permanent death means every climb feels meaningful, every misstep brutal, and every summit triumphantly earned.
For anyone craving a climbing experience that challenges both your strategic thinking and your nerve, this is a must-play. It’s tense, punishing, and incredibly rewarding—the kind of game you tell friends about because it’s more than a climb; it’s a story your team writes together, one rope at a time.
Mastering Vertical Challenges: The Scout & Sapper Duo in Ascenders: Beyond the Peak
If you’ve ever tried scaling the vertical, unpredictable cliffs in Ascenders: Beyond the Peak, you know that not all treasures are meant to be found through brute force alone. Some artifacts hide in precarious overhangs, icy pockets, or crumbling ledges where a solo climb is a recipe for disaster.
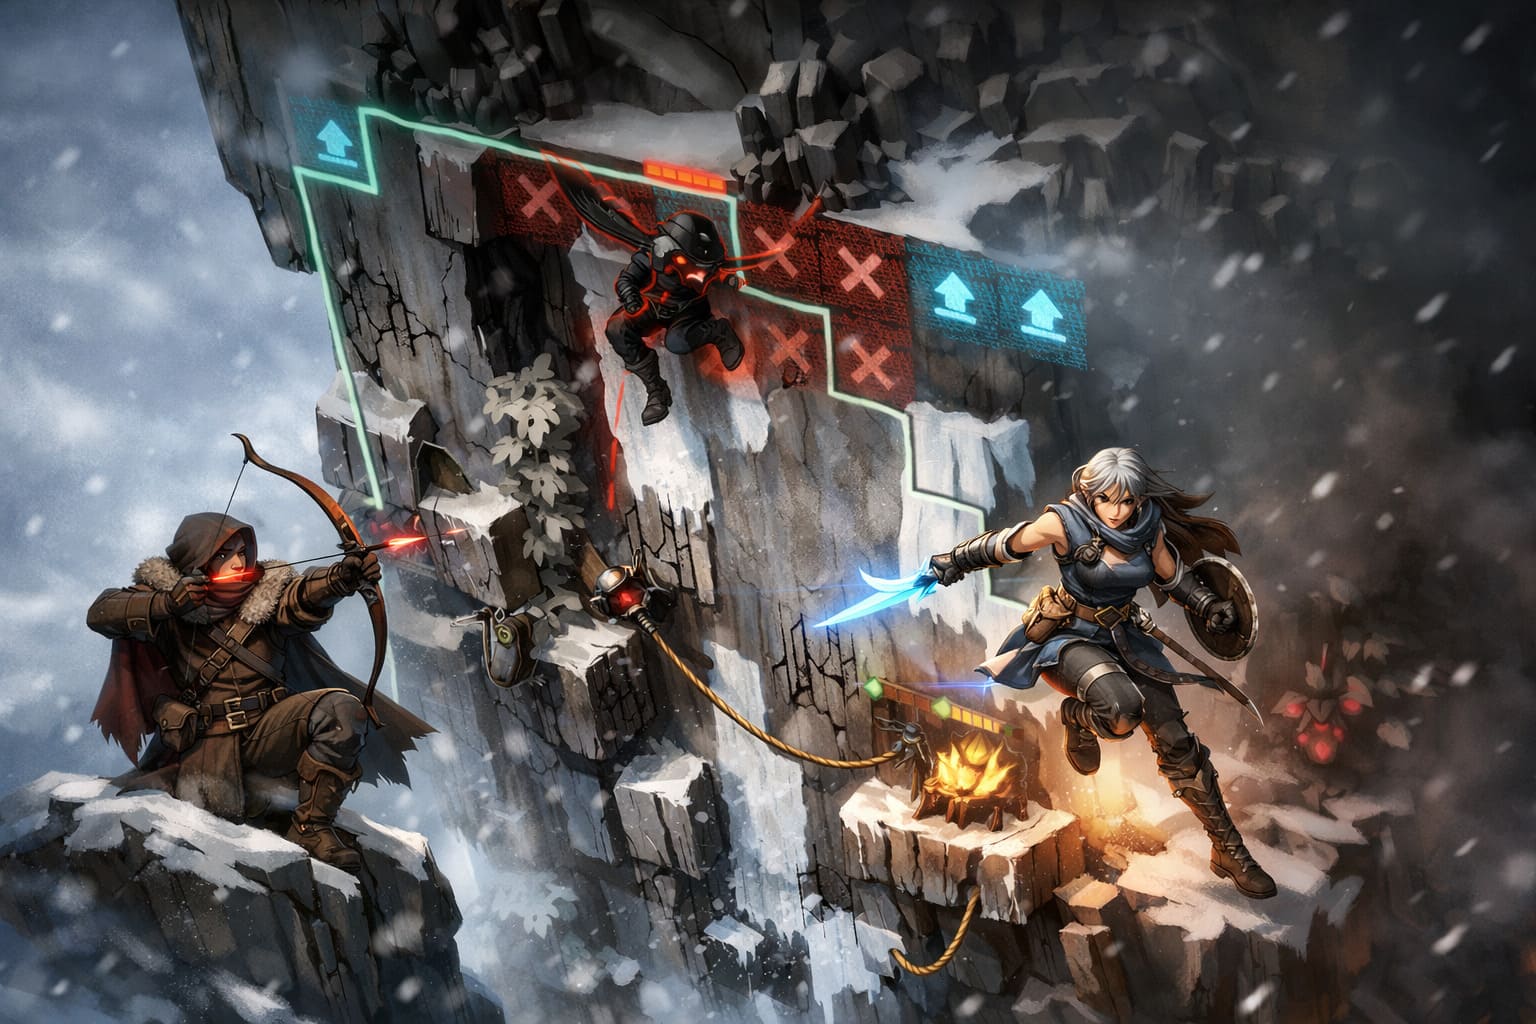
This is where the Scout and Sapper synergy shines, turning a deadly climb into a strategic adventure. Having played through countless peaks myself, I can confidently say this combo is the gold standard for elite players hunting high-tier artifacts. Let’s break it down.
Why the Scout & Sapper Combo Works
At first glance, these classes might seem like an odd pairing. The Scout is fast, agile, and built for vertical recon, while the Sapper thrives on environmental manipulation and explosives. But together? They become a climbing powerhouse capable of turning cliffs into temporary staircases and gaps into springboards.
Here’s the beauty of the duo:
- Mobility + Manipulation: The Scout handles high-risk positioning while the Sapper alters the environment.
- Stamina Efficiency: Anchored teamwork allows both characters to conserve energy during long ascents.
- Creative Problem Solving: Explosives and grapple mechanics can bypass challenges that no solo player could handle.
1. Anchored Tether: Vertical Recon Done Right
Think of the Scout as your eyes in the sky. When an artifact is tucked under a jagged overhang or behind a thick ice wall, a normal climb will drain stamina fast—and likely end in a painful fall. Here’s how the Scout can take control:
The Move: Use the Grappling Hook to reach a point above the artifact. Stay anchored and stable.
Team Synergy: The Scout acts as a human pulley, letting the Sapper dangle below safely. Instead of relying on grip strength, the Sapper can focus entirely on excavation and navigation.
From experience, having a Scout who can read the wall like a map changes the game. You’re no longer guessing your way down; you’re strategically positioning the team for maximum efficiency.
2. Controlled Demolition: Sapper in Action
Once the Sapper is hanging safely below the Scout, it’s time to clear the obstacles that would normally make you throw your controller.
Key Moves:
- Blast-Hole Pockets: Use Micro-Charges to carve cavities in “Cursed Granite” or ice walls.
- Safe Zones: These cavities double as rest points, letting both characters recover stamina mid-face.
- Artifact Access: With a clear area, the Sapper can extract treasures without fear of slipping or depleting stamina.
Personally, this is where I fall in love with the game mechanics. Watching a tough rock face transform into a manageable platform with just a few carefully placed charges never gets old.
3. Slingshot Recovery: High-Momentum Artifact Hunting
Some artifacts aren’t just hidden—they’re isolated on pillars or over gaping chasms. This is when the Scout & Sapper duo really feels like a superhero team.
Step-By-Step:
- The Sapper places a Concussive Mine on a nearby wall, far enough to avoid collateral damage.
- The Scout lines up a leap toward the artifact.
- The Sapper detonates the mine, giving the Scout a wind boost to cross the impossible gap.
This move takes timing, trust, and a bit of thrill-seeking. In my sessions, nailing this on the first try feels incredibly satisfying—and missing it reminds you why checkpoints exist.
4. Emergency Extraction: The Blast-Jump
Cliffs crumble. Ice cracks. Sometimes the mountain wants to remind you who’s boss. The Blast-Jump is your get-out-of-jail-free card.
Execution:
- The Sapper sets a Timed Charge below the team.
- The Scout launches their Ascension Dash simultaneously.
- Boom. The combined force propels both characters upward, potentially saving your team from a fatal fall.
A warning from personal experience: this maneuver deals minor health damage, so it’s not without risk. But let’s be real—what’s a good climb without a little danger?
Essential Loadouts for Maximum Effectiveness
Success isn’t just about skills; it’s about gear. Here’s what I pack every climb:
| Role | Must-Have Gear | Purpose |
|---|---|---|
| Scout | Lightweight Carabiners | Reduce rope drag for smoother maneuvers |
| Falcon Eye | Highlights artifact glints through stone or ice | |
| Sapper | Thermal Charges | Melt ice safely without causing rockslides |
| Reinforced Harness | Allows extra carry weight without hindering the Scout |
Even a perfect synergy can falter without proper preparation. Trust me, I’ve lost hours because I underestimated rope tension or weight distribution.
Personal Tips for Players
- Communication is Everything: Even if you’re using voice chat, simple callouts like “rope tight” or “charge set” prevent deadly mistakes.
- Scout Practice: Learn anchor points like a parkour expert. The better you understand rope physics, the safer the descent.
- Experiment with Charges: Not every wall is meant to blow up the same way. Test different positions to create optimal pathways.
- Use Cavities as Staging Areas: Micro-Charge pockets aren’t just for rest—they can be springboards for your next move.
- Timing > Speed: In vertical synergy, patience beats rushing. One mistimed blast or leap can end your run.
Final Thoughts
The Scout & Sapper duo in Ascenders: Beyond the Peak isn’t just a strategy—it’s an experience. It combines precision, timing, and a dash of daring, making artifact hunting more than just a fetch quest. From grappling to blasting, this partnership turns the vertical world into a playground of opportunity.
If you want to climb smarter, conserve stamina, and pull off jaw-dropping maneuvers, this synergy is the one to master. Personally, I can’t imagine reaching the highest artifacts without this combo—it’s like climbing with a wingman who’s both a strategist and demolition expert rolled into one.