Anymaker Engine Building Guide: How to Design, Wire, and Tune Your Modular Motor
If there is one part of Anymaker that perfectly captures what this game is trying to do, it is the modular engine system. This isn’t one of those vehicle builders where you drop a pre-made engine into the chassis, connect a couple of buttons, and call it a day. You actually have to build the thing.
And yes, that sounds fantastic right up until you’re standing next to a dead vehicle wondering why the starter is spinning, the fuel tank is full, and the engine still refuses to cooperate.
Geometa’s vehicle-building survival game makes powertrain construction feel more like engineering than conventional crafting. The physics-driven systems, mechanical components, fluid networks, electrical logic, and thermal behavior all interact. Get them working together and you have a machine that feels genuinely yours. Get one connection wrong and you’re basically driving a very expensive metal box.
I’ve found that the easiest way to approach Anymaker’s modular engines is to stop thinking of the motor as one object. Think of it as several systems that have to cooperate: mechanical rotation, fuel and air, exhaust, cooling, and electrical control. Once you look at it that way, the whole process becomes much less intimidating.
What You Actually Need for an Anymaker Engine
Before throwing components onto the chassis, it helps to understand what each part is doing. There are a lot of blocks involved, but the important thing is knowing which system each one belongs to.
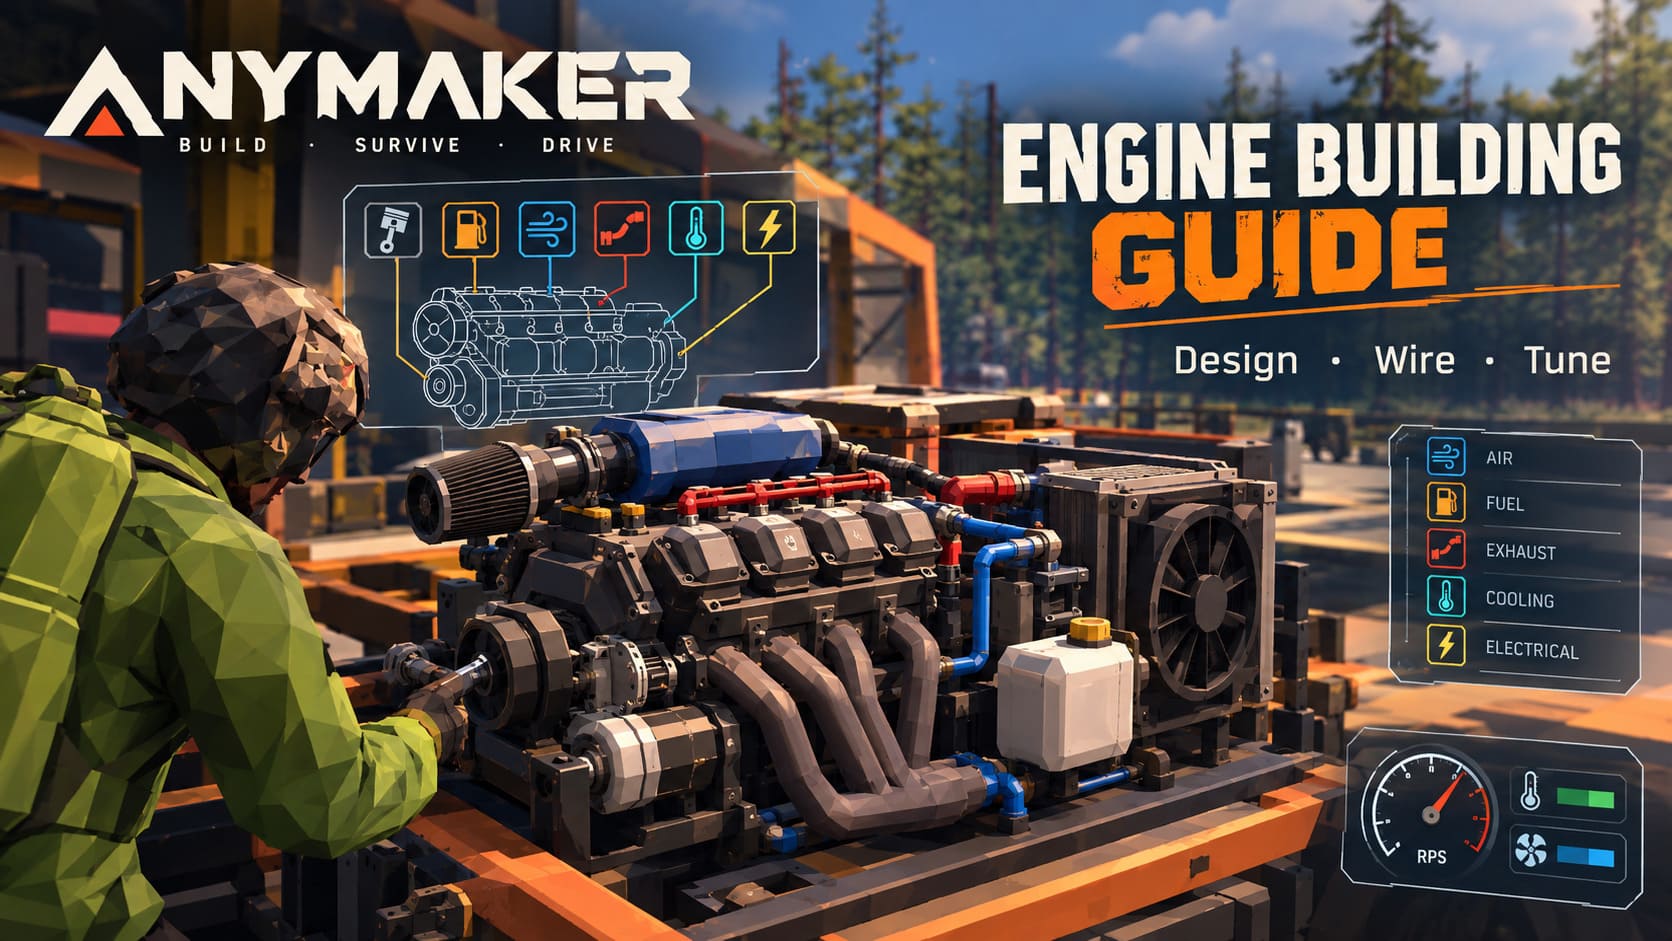
| Component | Purpose | What To Watch |
|---|---|---|
| Crankshaft Blocks | Convert piston movement into rotational power | Engine layout and available space |
| Piston Cylinders | Create combustion and mechanical force | More cylinders mean more power and fuel use |
| Starter Motor | Spins the engine during startup | Requires electrical power |
| Air Manifold | Supplies intake air | Throttle and airflow control |
| Fuel Manifold | Feeds fuel into the engine | Fuel-to-air ratio |
| Exhaust Manifold | Removes combustion gases | Blocked exhaust can kill the engine |
| Coolant Manifold | Moves coolant through the engine | Temperature and pump operation |
| Clutch | Connects engine power to the drivetrain | Load management and stalling |
For a first serious build, I wouldn’t immediately go crazy with a giant multi-cylinder monster. A compact three- or four-cylinder inline engine is much easier to understand, troubleshoot, and fit into a practical vehicle.
That’s especially important because crashes matter. Components aren’t simply abstract inventory items. Your engine bay is part of the physical vehicle, so a beautifully engineered motor doesn’t help much if one collision can rip half of it apart.
Building the Mechanical Core
Start with the crankshaft blocks. Keep them centered and aligned with the direction you want the rest of the drivetrain to follow. This is the backbone of the entire engine, so I strongly recommend planning the space around it before placing everything else.
Next, attach your piston cylinders. Make sure they’re oriented consistently. It sounds obvious, but this is exactly the sort of small construction mistake that can turn a ten-minute test into half an hour of staring at disconnected parts.
Once the cylinders are in place, install the drive belt assembly at the appropriate end of the crankshaft and position the starter motor beside it. The starter exists for one simple reason: your engine needs initial rotation before combustion can take over.
After that comes the output side. Connect the crankshaft to the clutch, then route the drivetrain toward the transmission, differential, wheels, tracks, or whatever ridiculous contraption you’re building. Keep the clutch in the system during early testing. It makes troubleshooting dramatically easier because you can run the engine without immediately loading the entire vehicle.
Don’t Ignore the Four Manifolds
This is where an engine starts looking like an actual machine rather than a collection of blocks.

- Air manifold: supplies oxygen to the combustion process.
- Fuel manifold: delivers fuel to the cylinders.
- Exhaust manifold: carries combustion gases away.
- Coolant manifold: circulates coolant and removes heat.
The exhaust side deserves special attention. If you’re testing an engine and it repeatedly starts before dying almost immediately, don’t automatically assume the fuel logic is broken. Check the exhaust route. A badly configured or restricted exhaust system can create enough backpressure to prevent the engine from running properly.
The same principle applies to cooling. The engine isn’t going to politely wait for you to remember the radiator. Thermal management is part of the engine design.
Plumbing the Fuel, Exhaust, and Cooling Systems
The fuel system is the easiest place to begin. Connect your fuel tank to the fuel manifold using the appropriate fluid piping. If the tank is located far from the engine, an inline pump can help maintain reliable flow.
Then build the exhaust route. Run the exhaust manifold toward the exterior of the vehicle and give the gases a clear path out. You can incorporate exhaust pipes and mufflers depending on your design, but the basic rule is simple: don’t trap the exhaust inside your vehicle.
Cooling is slightly more involved. Connect the coolant manifold into a closed loop leading toward the radiator. A cooling fan is useful for vehicles that spend a lot of time stationary or moving slowly, while faster vehicles can benefit from airflow through the radiator.
I’d still recommend using an electric pump in a serious build. It adds another component that can fail, sure, but consistent coolant circulation is much better than discovering your cooling system isn’t moving enough fluid after the temperature has already gone through the roof.
Wiring Your Engine: The Part That Makes Everyone Swear
The mechanical assembly is only half the job. Now you need electricity and logic.

Start by connecting the main battery to the starter motor. From there, make sure your active components receive power as well. Depending on your setup, that can include coolant pumps, radiator fans, control systems, and dashboard instruments.
This is also the point where instrumentation becomes incredibly useful. Put an RPS gauge somewhere visible and connect it to the engine’s RPS output. Do the same with your temperature sensor and coolant temperature gauge.
Don’t underestimate this. A working gauge is basically free debugging information. Instead of guessing whether the engine is spinning or overheating, you can actually see what is happening.
The Fuel-to-Air Ratio Trick
This is probably the most important piece of logic for a basic Anymaker engine.
You can’t simply connect the same throttle signal directly to both the air and fuel manifolds and expect a perfect mixture. Doing that can create an incorrect fuel ratio and lead to an engine that runs badly or floods.
A simple starting configuration is to connect the throttle lever directly to the air manifold. Then split that signal and send the second branch through a function block using:
x / 2
Here, x represents the throttle input. Send the function block’s output to the fuel manifold.
This gives you a straightforward starting ratio without immediately building some enormous microcontroller monster. It isn’t necessarily the final configuration for every engine, but it is a much cleaner baseline for getting your first motor running.
How to Start Your Anymaker Engine
Once everything is connected, resist the urge to immediately slam the throttle to maximum. That’s a great way to make troubleshooting harder.
- Switch on the main electrical breaker.
- Set the throttle to roughly 10–15%.
- Hold the starter control.
- Watch the RPS gauge as the crankshaft begins turning.
- Once the engine reaches roughly 4 RPS and remains stable, release the starter.
If the engine continues running after you release the starter, congratulations: you have crossed the most annoying part of the build.
If it immediately dies, don’t rebuild the entire engine. Check the systems individually. Fuel flow, air input, exhaust routing, electrical power, and throttle logic are the obvious places to start.
Tuning the Engine Without Destroying It
Getting the engine running is only the beginning. A functional motor can still be a terrible motor.
For idle behavior, experiment with your base throttle settings and aim for a stable idle around 8–12 RPS with the clutch disengaged. The exact behavior will depend on your construction, but stability matters more than chasing an impressive number.
Then watch the temperature.
Let the engine sit at idle for a few minutes and monitor the gauge. If temperatures continue climbing rapidly instead of settling into a reasonable range, stop tuning the power output and fix the cooling system first. Check the coolant loop, verify the pump is powered, inspect the radiator arrangement, and consider adding additional cooling capacity.
There’s no point squeezing more performance out of an engine that cooks itself during the first long drive.
Engine Sound Is More Useful Than It Looks
One of the fun little details in Anymaker is the ability to modify engine behavior through the properties tools, including its acoustic character.
That’s not going to magically make the vehicle faster, obviously, but it adds personality to a build. A heavy utility truck sounds much more convincing with a deep, industrial engine note, while a lightweight performance vehicle feels better with a higher-revving character.
It’s a small feature, but these are the details that make a vehicle feel like something you actually built rather than another collection of blocks from a crafting menu.
Anymaker PC Download Size, System Requirements, and Full Gameplay Guide (2026)
Common Anymaker Engine Problems
| Problem | Likely Cause | First Thing To Check |
|---|---|---|
| Engine won’t start | No electrical power or incorrect starter setup | Battery and starter wiring |
| Engine starts then dies | Fuel, air, exhaust, or unstable logic | Manifold connections and throttle ratio |
| Temperature keeps rising | Weak or inactive cooling loop | Pump, radiator, and coolant routing |
| Engine struggles under load | Drivetrain engagement or insufficient power | Clutch and output connection |
| Fuel disappears too quickly | Excessive fuel delivery | Fuel-to-air logic |
Final Thoughts: Build Small, Test Often
The biggest mistake you can make with Anymaker’s modular engine system is trying to build the perfect powertrain immediately. Don’t. Build something small, get every subsystem working, and only then start adding complexity.
A basic inline engine teaches you almost everything you need to know: mechanical assembly, fluid plumbing, electrical distribution, logic signals, cooling, clutch behavior, and performance tuning. Once that foundation makes sense, experimenting with larger engines and more complicated vehicle designs becomes much more enjoyable.
And honestly, that’s what makes the system work so well. When the vehicle finally starts, the RPS climbs, the temperature stabilizes, and you pull away under your own power, it feels earned. You’re not just equipping an engine. You’re debugging a machine you built yourself.
Keep the fuel ratio under control, give the exhaust somewhere to go, never ignore the cooling system, and test every change before adding another one. Your first Anymaker engine probably won’t be pretty. It doesn’t have to be. It just needs to run.