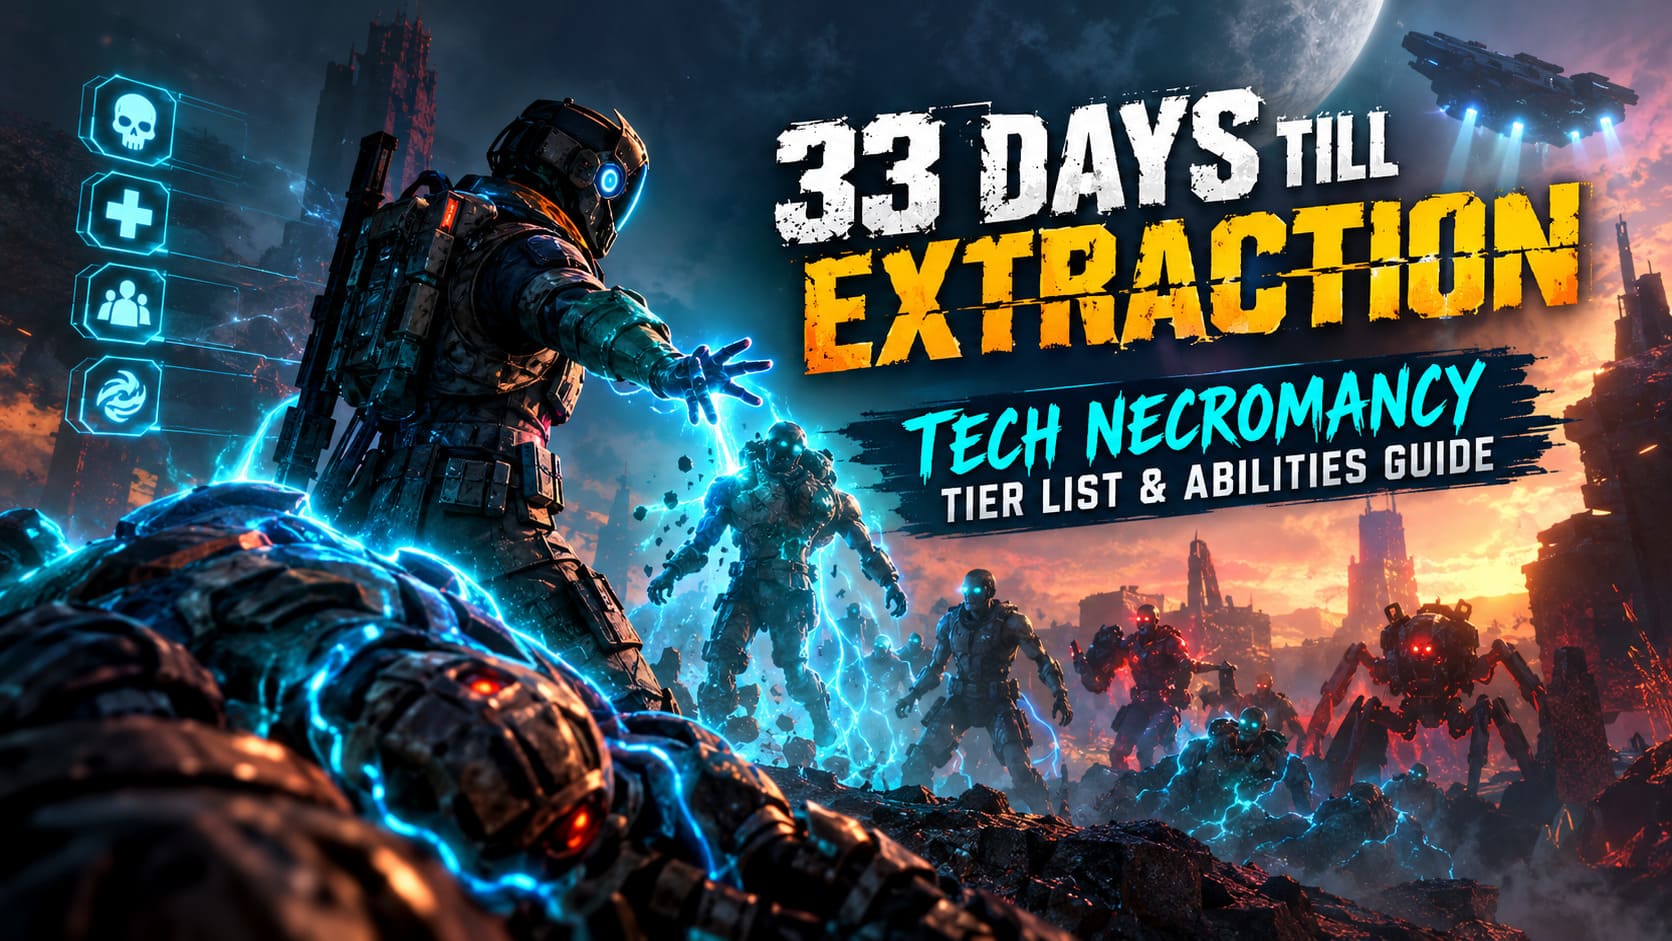
33 Days Till Extraction Tech Necromancy Tier List: Ultimate Abilities Guide
There are plenty of games where the skill tree looks impressive on paper and then turns out to be a collection of abilities you barely think about after the first few hours. 33 Days Till Extraction is thankfully not one of those games. Its Tech Necromancy system is weird, aggressive, and surprisingly flexible, mixing battlefield resurrection, life-draining abilities, energy manipulation, and temporary control of enemies. After spending time with different kinds of action roguelikes and top-down shooters, I appreciate systems like this because they give you something to experiment with rather than simply telling you which weapon has the highest damage number.
The basic premise already puts pressure on every decision. You are stranded on a shattered planet, nighttime raids are dangerous, resources are limited, and the clock is constantly moving toward extraction. You don’t have the luxury of building a perfect character over dozens of hours. Every run has to count, and that makes the difference between a mediocre Tech Necromancy ability and a genuinely useful one much more obvious.
My tier list below is based less on theoretical damage and more on how much an ability actually helps when a run starts going sideways. An ability that looks spectacular against one isolated enemy isn’t worth much if three patrols, robotic spiders, and an elite squad suddenly surround you. The strongest choices are the ones that continue working when the battlefield becomes absolute chaos.
How I Judge the Tech Necromancy Meta
Tech Necromancy basically revolves around three ideas: bringing enemies or allies back into the fight, stealing biological energy, and manipulating the energy economy of your build. These mechanics overlap constantly, which is where the system becomes interesting.
For me, the best abilities are those that solve more than one problem at once. A resurrection ability isn’t just defensive if it gives you another fighter to create pressure. A lifesteal ability isn’t just healing if it lets you stay aggressive instead of retreating for medical supplies. Likewise, a temporary puppet isn’t merely extra damage when it can stand between you and a dangerous elite enemy.
There is also a major difference between an ability being powerful in a controlled test and being powerful during an actual night raid. Crowd control, distraction, sustain, and recovery become increasingly valuable as enemy numbers increase. That is why my ranking puts several utility-heavy abilities above options that might look stronger in a simple damage comparison.
S-Tier Tech Necromancy Abilities
These are the abilities I would build around without much hesitation. They offer enormous value, don’t need ridiculous amounts of setup, and remain useful when the difficulty starts punishing every mistake.
1. Elite Squadmate Reanimation — S Tier
This is probably the easiest S-Tier pick on the entire list.
Losing one of your specialized squadmates during a difficult mission can completely change the shape of a run. You might suddenly be missing a particular weapon, defensive option, or tactical role, and replacing that specialist isn’t always straightforward. Elite Squadmate Reanimation effectively turns a disaster into another chance.
What I like most about it is that it doesn’t simply restore a generic body. Bringing back an elite squadmate with some of their distinctive traits intact means the resurrection has immediate strategic value. If your best specialist gets dropped while fighting through a difficult zone, having them return for another push can be the difference between reaching extraction and watching the entire run collapse.
For deep progression runs, I’d consider this almost mandatory.
2. Bio-Energy Siphon — S Tier
If you prefer playing aggressively, Bio-Energy Siphon is ridiculous.
Health management is one of those things that sounds simple until a long raid starts wearing you down. You take a few hits here, get clipped by a projectile there, and suddenly you’re burning through medical resources faster than expected. Bio-Energy Siphon gives you another answer by allowing you to drain life from nearby enemies while continuing to move.
The important part is that this isn’t just a traditional static lifesteal mechanic. Its ability to connect with multiple nearby targets makes it much more useful when surrounded. Instead of retreating whenever your health gets low, you can sometimes turn the enemies around you into your emergency healing supply.
That creates a very fun risk-reward loop. You have to get close enough to benefit from it, but if you play confidently, the same enemies threatening your health can help restore it.
3. Corrupted Nano-Swarm — S Tier
I have a soft spot for abilities that create chaos on the battlefield, and Corrupted Nano-Swarm is exactly that kind of tool.
Raising groups of fallen mechanical or organic enemies gives you a disposable frontline that enemies are forced to acknowledge. The swarm doesn’t necessarily need to kill everything itself. In fact, its ability to absorb attention is arguably more valuable than its direct damage.
This becomes especially useful against elite patrols and bounty hunters. If a group of enemies is focusing entirely on you, your options are limited. Give them a cloud of reanimated targets instead and suddenly you have time to reposition, reload, use another ability, or line up a powerful plasma shot.
That kind of breathing room is extremely valuable in a game built around escalating encounters.
A-Tier Tech Necromancy Abilities
A-Tier abilities can be incredible, but they usually ask for more from the player. You may need the right weapon, positioning, enemy type, or build before they reach their full potential.
1. Overcharged Necro-Explosion
This is one of those abilities that becomes more satisfying the better you understand enemy positioning.
Instead of turning a corpse into another fighter, you turn it into a bomb. That’s already useful, but the real appeal comes from using it against enemies that naturally bunch together during patrols or defensive encounters.
The ability becomes particularly nasty when used on a high-health target. The bigger the corpse, the more attractive the explosion becomes, making elite enemies surprisingly useful even after you’ve killed them.
There is something wonderfully nasty about killing a heavily armored enemy only to use their remains to wipe out everyone standing nearby.
2. Essence Harvest
Essence Harvest is less flashy than Bio-Energy Siphon, but I would not underestimate it.
This passive gives you health and shield restoration whenever nearby enemies die. Individually, the amount restored may not feel impressive, but this is exactly the kind of perk that gets stronger over the course of an entire raid.
If you’re constantly fighting small groups of enemies, the healing gradually adds up. The real benefit is resource preservation. Every bit of health you recover passively is another medical item you don’t have to waste before reaching a harder encounter.
I especially like it for players who prefer sustained machine-gun or rapid-fire builds where enemies are constantly dropping around them.
3. Cybernetic Puppeteer
Cybernetic Puppeteer is probably one of the coolest abilities conceptually because it lets you turn an elite enemy into your own weapon.
Taking control of a fallen enemy while retaining its armor and powerful equipment can completely change an encounter. Suddenly the enemy’s expensive-looking laser or ballistic loadout is working for you instead.
The reason I don’t put it in S-Tier is simple: energy cost and duration matter. You can’t treat this as an endlessly renewable army. You need good targets, and you need to make those temporary seconds count.
Still, controlling a powerful enemy during a difficult fight is exactly the kind of moment that makes Tech Necromancy stand out from more conventional ability systems.
B-Tier Tech Necromancy Abilities
B-Tier doesn’t mean bad. These abilities can be very effective, but I wouldn’t automatically choose them for every run.
1. Soul-Link Conduit
Soul-Link Conduit is an interesting defensive option because it distributes some of the damage you receive across your reanimated units or co-op allies.
For a dedicated minion build, this can be extremely useful. You effectively turn your summoned units into a secondary health pool. The problem appears when the incoming damage becomes overwhelming.
A heavy bombardment or concentrated enemy attack can chew through your summons surprisingly quickly, leaving you without the protection you expected. It’s a strong specialist tool rather than a universally safe pick.
2. Kinetic Reanimation Spike
Kinetic Reanimation Spike rewards precision.
The idea is simple enough: activate the ability, kill the target during the relevant window, and get an immediate reanimation effect. The problem is that combat rarely behaves as neatly as a tooltip suggests.
If the enemy moves away, gets healed, disappears behind cover, or simply survives longer than expected, you’ve potentially wasted the energy. It works beautifully with powerful plasma weapons, but you need to understand your damage output before relying on it.
3. Sapping Aura
Sapping Aura provides a useful defensive effect by weakening nearby enemies and returning a small amount of energy to you.
The catch is the range.
In tight corridors and enclosed military structures, it can be surprisingly effective because enemies naturally have to get close. In open areas, however, activating a short-range defensive aura can encourage you to stand closer to danger than you really want to.
Good ability, questionable universal value.
C-Tier Tech Necromancy Abilities
C-Tier is where I start asking myself whether the ability is actually solving a problem that the higher tiers don’t already solve better.
1. Fragile Reanimation
The cheap energy cost is attractive, and creating a large number of basic scavenger minions sounds great until you watch them get shredded almost instantly.
Against enemies with rapid-fire weapons and sweeping laser attacks, these fragile summons can disappear before they meaningfully influence the battle. They might still have value as temporary distractions, but I wouldn’t build a serious run around them.
The concept is fun. The execution is simply too fragile for the game’s nastier encounters.
2. Feedback Loop
Feedback Loop sounds like the perfect ability for a minion-focused build because it restores some casting energy when your reanimated units die.
On paper, that suggests an endless cycle: create minions, let them die, recover energy, create more minions.
In practice, the conversion rate makes the loop much less impressive. You’re usually better off managing your energy through normal resources and upgrades rather than deliberately sacrificing an army for tiny returns.
My Preferred Tech Necromancy Combinations
The biggest mistake would be treating this tier list as a collection of isolated abilities. The real strength of Tech Necromancy comes from combinations.
| Build Idea | Key Abilities | Why It Works |
|---|---|---|
| Aggressive Sustain | Bio-Energy Siphon + Essence Harvest | Constant combat creates multiple sources of healing. |
| Corpse Bomb Build | Overcharged Necro-Explosion + Plasma Weapons | High-damage weapons create valuable explosive corpses. |
| Minion Frontline | Corrupted Nano-Swarm + Soul-Link Conduit | Summons absorb pressure while protecting the player. |
| Elite Control | Cybernetic Puppeteer + Reanimation Abilities | Powerful enemies become temporary frontline units. |
| Squad Recovery | Elite Squadmate Reanimation + Essence Harvest | Keeps specialists alive while preserving resources. |
My personal favorite is the aggressive sustain setup. I’ve played enough games with healing mechanics to know that passive recovery can look boring until you’re twenty minutes into a difficult run and realize you’ve barely touched your medical supplies. Combining Essence Harvest with Bio-Energy Siphon gives you both reliable emergency healing and long-term sustain.
The corpse-explosion build is probably the most entertaining, though. There is something satisfying about using plasma weapons to weaken a powerful target, finishing them off, and then turning their corpse into the center of another attack. It makes the battlefield feel like a resource rather than simply a collection of enemies.
How to Build Around Tech Necromancy
Your weapons should support your abilities rather than compete with them. A high-capacity ballistic weapon works nicely with healing-focused builds because it allows you to maintain pressure on several targets while extracting value from Essence Harvest.
Plasma weapons make more sense if you’re interested in Overcharged Necro-Explosion, particularly when you can manipulate enemy positioning and create a dense group around a high-health target. The important thing is to think about what happens after the enemy dies, not just how quickly you can kill them.
Energy management is another huge part of the equation. A spectacular ability with a massive casting cost can become a liability if you’re constantly running out of resources. I would rather have a slightly less explosive build that I can use consistently throughout an entire raid than one that looks amazing for thirty seconds and then leaves me waiting for energy.
Does the Tech Necromancy Meta Need More Balancing?
Probably.
That isn’t necessarily a criticism. 33 Days Till Extraction is still the sort of game where balance can change dramatically as developers gather player data and adjust progression. Abilities that feel weak today can become essential after a few numerical changes, while an overperforming combination can easily get brought back into line.
The areas I’d watch most closely are minion health scaling, energy costs, resurrection limitations, and the effectiveness of passive healing. Small changes to any of those systems could completely rearrange the tier list.
That’s actually one of the more appealing things about playing a game like this during its development. The meta isn’t carved into stone yet. Players are still discovering combinations, developers are still adjusting the numbers, and the best build today may not be the best build after the next major update.
Final Tech Necromancy Tier List Verdict
If I had to choose only a handful of abilities for a serious run, Elite Squadmate Reanimation, Bio-Energy Siphon, and Corrupted Nano-Swarm would be my starting point. They cover three things I value most in a difficult action game: recovery, sustain, and battlefield control.
The A-Tier abilities are where things become more interesting because they reward players who understand the systems rather than simply equipping the strongest-looking option. Overcharged Necro-Explosion and Cybernetic Puppeteer can produce some spectacular situations, while Essence Harvest quietly becomes better the longer a raid lasts.
The lower tiers aren’t useless, either. They’re just harder to justify when the stronger alternatives exist. If you’re experimenting with unusual builds or playing co-op with a coordinated group, even B- and C-Tier abilities can find a niche.
For me, that’s the best part of 33 Days Till Extraction’s Tech Necromancy system. It doesn’t feel like another skill tree where everyone eventually follows the same path. There is enough room for aggressive healing builds, disposable minion armies, corpse-based explosives, and temporary enemy control. With only 33 days standing between you and extraction, finding the combination that fits your playstyle could be just as important as surviving the next night.