Valheim Deep North Crossbow Build: 1.0 Endgame Stealth Guide
If there is one thing I’ve learned after spending far too many hours in Valheim, it’s that the best endgame builds are not always the ones with the biggest armor numbers or the most ridiculous-looking weapon.
Sometimes, the strongest build is the one that lets you decide when the fight actually begins.
That is exactly why I’ve become such a fan of the crossbow stealth playstyle in Valheim 1.0.
With the release of the Deep North, the game’s final biome pushes combat even further toward careful positioning, brutal enemy damage, and making good use of the terrain. Running directly into every encounter with a giant weapon works until it suddenly doesn’t. One bad pull, one unexpected patrol, or one enemy appearing behind you can turn a confident expedition into another corpse run.
The stealth crossbow approach feels completely different.
You watch. You wait. You pick the target. You fire.
And if everything goes right, the enemy never gets close enough to understand what happened.
For me, that is what makes this Valheim Deep North crossbow build so satisfying.
Why I Prefer the Crossbow for Deep North
I’ve always enjoyed bows in Valheim, but crossbows bring something special to a stealth-focused character.
The biggest advantage is the way the weapon fits into a patient combat rhythm.
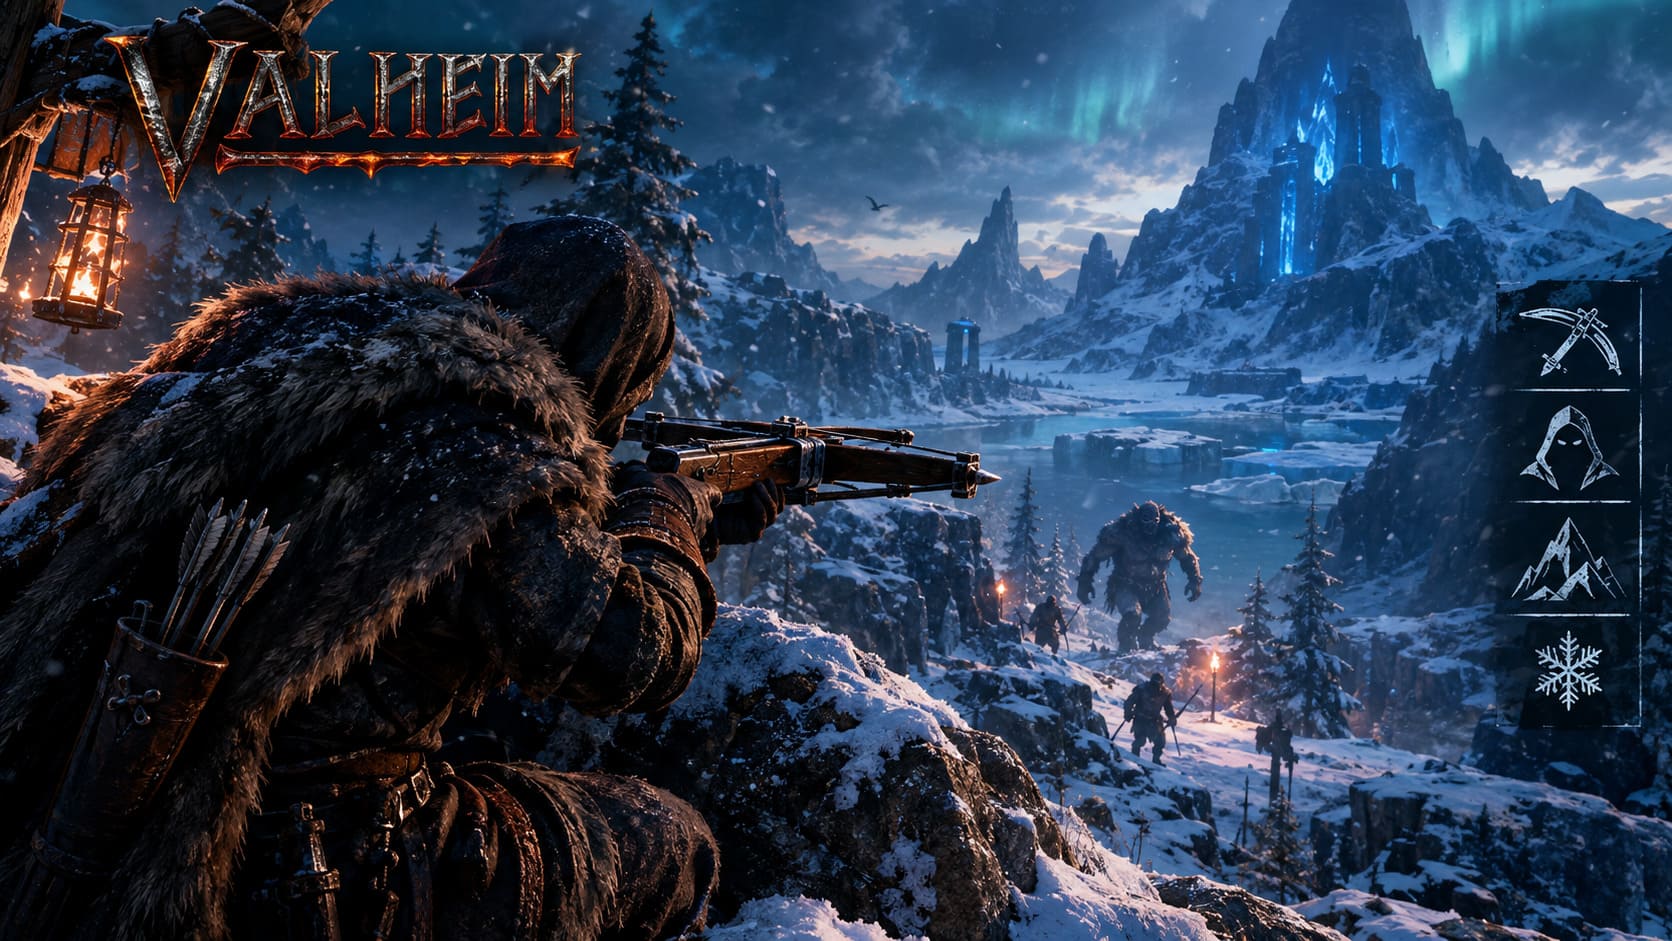
Instead of constantly holding a bowstring and worrying about stamina management while aiming, the crossbow lets you prepare your shot, get into position, and take your time. Once the weapon is ready, you can concentrate on the important part: where you are standing and whether the enemy has actually detected you.
That matters enormously in the Deep North.
The biome encourages vertical movement, long sightlines, cliffs and uneven terrain. Rather than treating all of that as an inconvenience, I like turning the environment into my personal sniper tower.
A good ridge can be worth more than another few points of armor.
The basic idea is simple:
- Prepare the crossbow somewhere safe.
- Move into stealth.
- Find an isolated target.
- Take the first shot while undetected.
- Relocate immediately.
- Let the enemy investigate the wrong position.
- Prepare another shot and repeat.
It feels less like traditional Viking combat and more like hunting.
And honestly, that’s the fun part.
My Endgame Crossbow Setup
For a Deep North expedition, I want my equipment to support three things above everything else:
damage, mobility and stamina management.
The goal isn’t to become completely invisible. Valheim isn’t built around that kind of stealth system. Instead, I want enough mobility to stay outside melee range while using sneak attacks to heavily damage or eliminate dangerous enemies before they reach me.
Here is how I would approach the loadout.
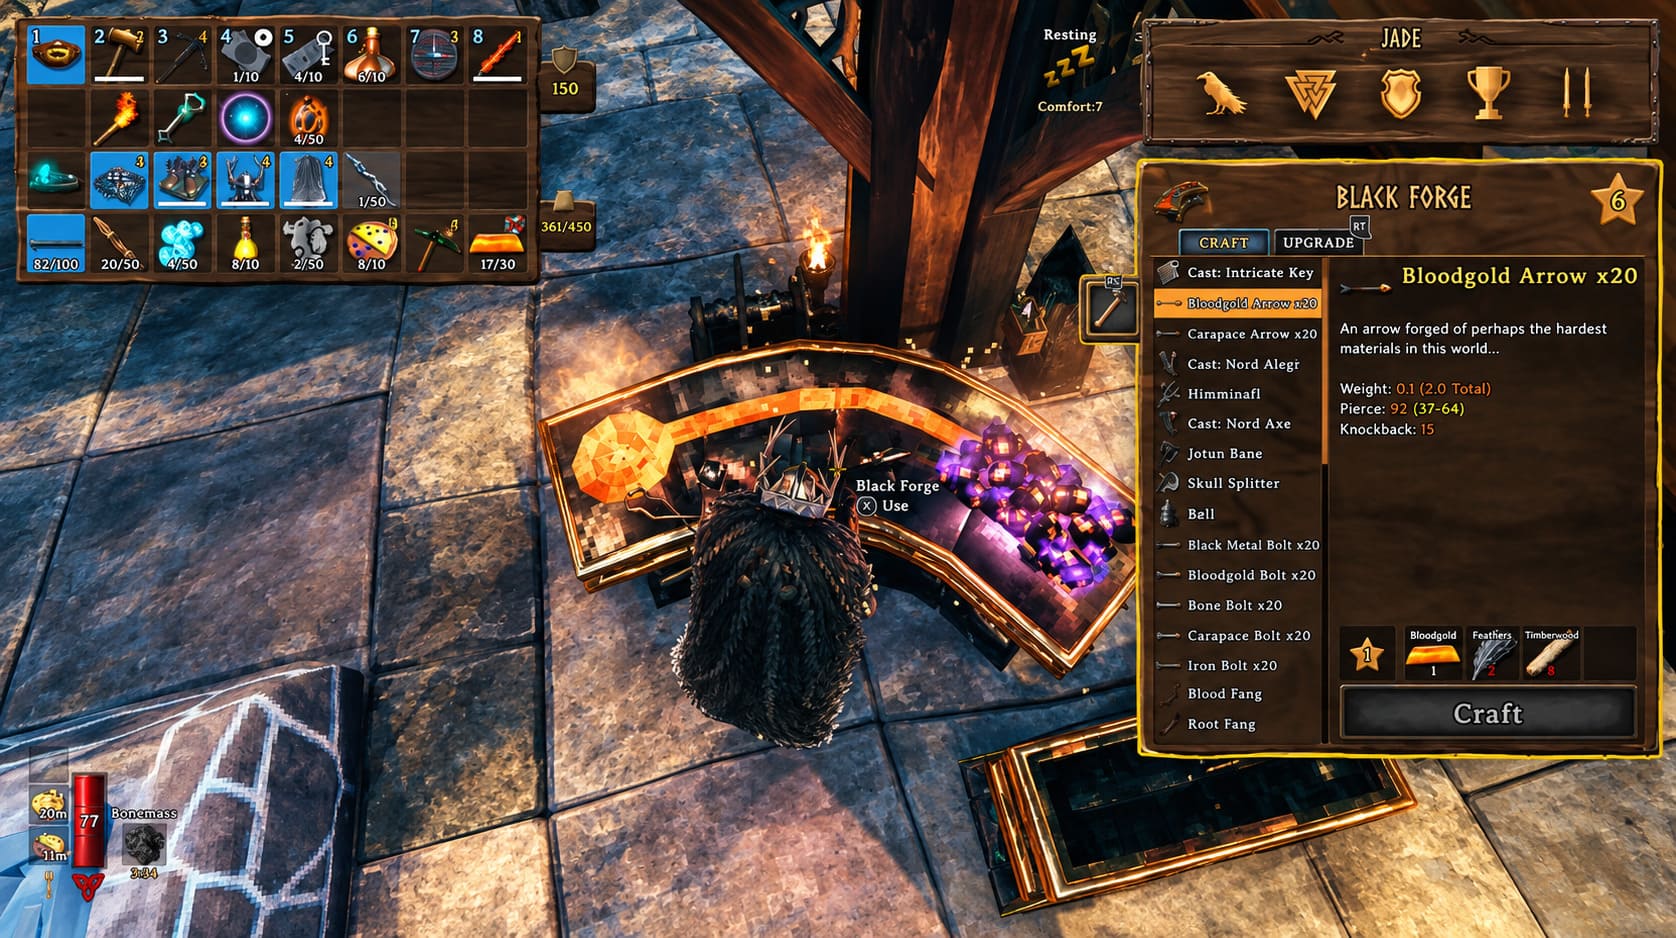
| Slot | Preferred Approach | Why |
|---|---|---|
| Main Weapon | High-level Crossbow | Huge opening-shot potential |
| Ammunition | Best available bolts | Maximizes damage per shot |
| Armor | Light / mobility-focused gear | Better movement and stamina economy |
| Cape | Best available frost-resistant option | Helps with Deep North exploration |
| Food | Stamina-heavy combination | Supports stealth and repositioning |
| Potions | Stamina + Frost Resistance | Gives you a safety net |
If you’re coming directly from the Ashlands, the Ripper crossbow is an obvious centerpiece for this style of build. Its raw piercing damage makes it extremely attractive for opening attacks.
Personally, I would rather invest heavily in weapon quality and skill than simply stack armor and hope I can survive whatever comes running at me.
Blood or Root? Which Crossbow Variant Would I Use?
This is where things get interesting.
If you have access to different high-end crossbow variants, I don’t think there is one universal answer.
It depends on how you actually play.
Blood Variant — My Pick for Aggressive Sniping
If your goal is to erase priority targets before the fight develops, the Blood variant is the one I’d lean toward.
The whole philosophy of this build is based on getting maximum value from the first hit. If I’m sitting on a snowy ridge with a fully prepared shot, I don’t want to merely annoy the enemy.
I want that bolt to hurt.
The Blood option fits that mentality particularly well because it complements a high-damage opening attack.
For solo players, that can make a huge difference. Removing one dangerous enemy before the rest of the group notices you is often more valuable than having a weapon that is slightly better once the entire battlefield has turned into chaos.
Root Variant — Better for Control
The Root variant is more interesting if you prefer a safer, more controlled playstyle.
Additional damage-over-time effects and the possibility of controlling an enemy can give you more breathing room when your first shot doesn’t finish the job.
And that’s important because eventually you’re going to miss.
It happens.
Even after hundreds of hours in Valheim, I still occasionally fire what I thought was a perfect shot directly into a rock.
The Root option gives you a little more forgiveness when things don’t go according to plan.
Don’t Ignore Your Armor
One mistake I see with ranged builds is treating armor as an afterthought.
The answer isn’t necessarily to wear the heaviest set available, though.
For this particular build, I value mobility over maximum armor.
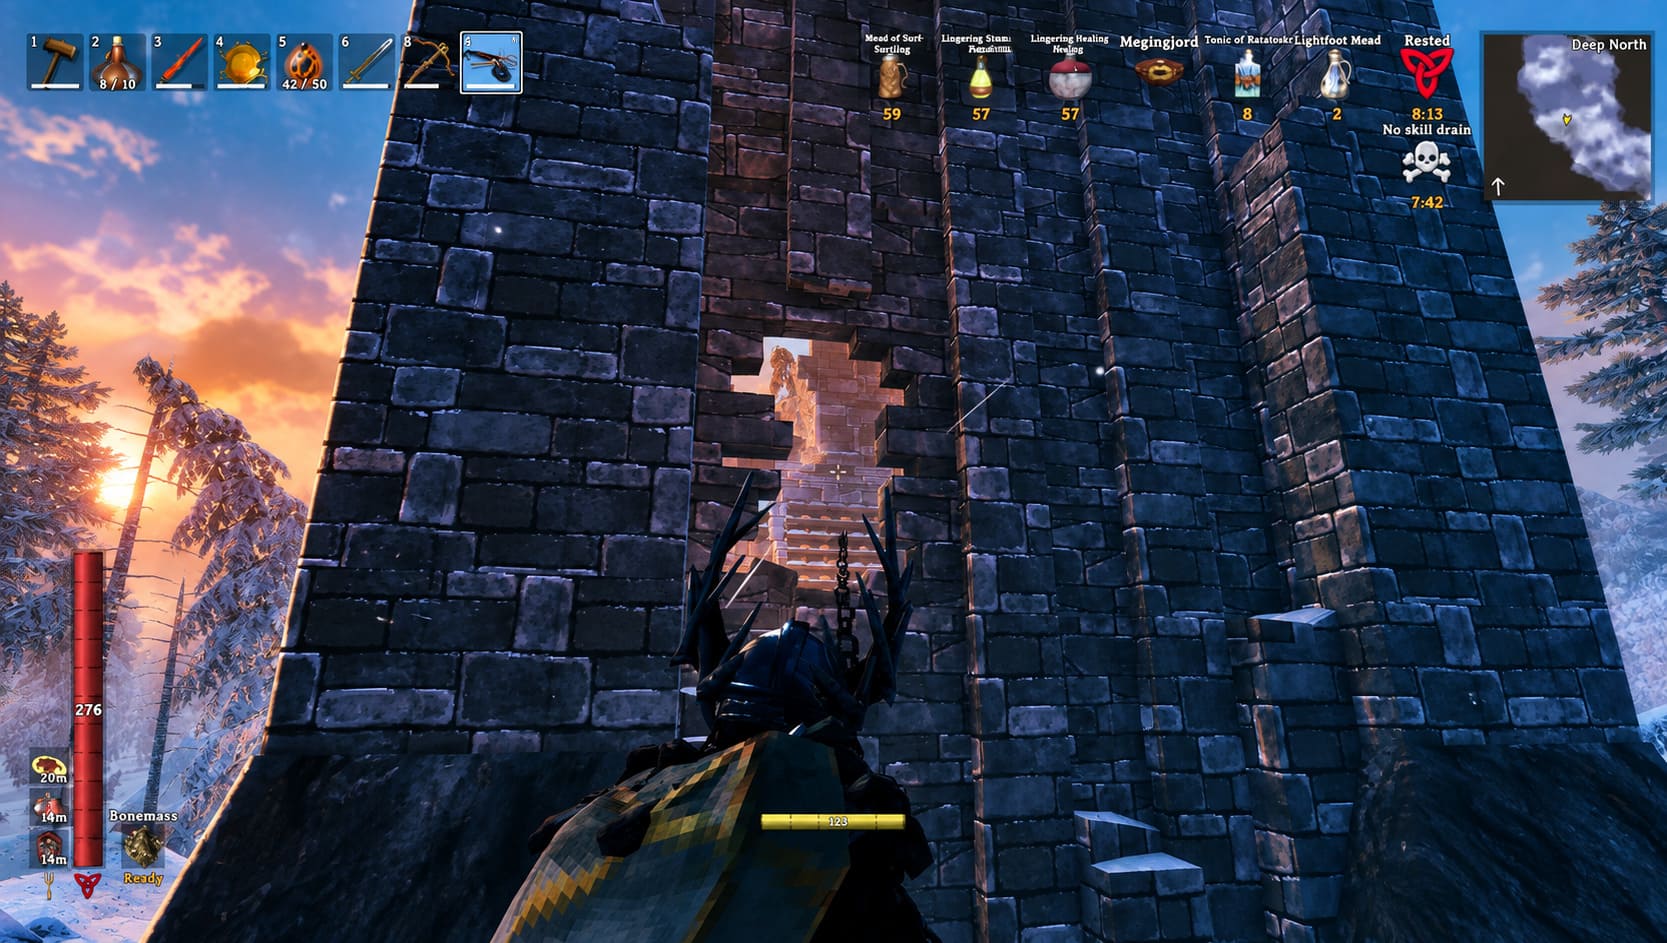
Heavy armor can make repositioning more expensive, and stealth builds are all about movement. You’re constantly moving between firing positions, climbing slopes, sprinting away from angry enemies and looking for another line of sight.
That’s why I prefer a mixed or lighter setup when the situation allows it.
The Root Harnesk is an interesting option for players who want to squeeze more performance out of a ranged build, while later-game lightweight equipment can provide a better overall mobility package.
I wouldn’t blindly follow a “best armor” list here.
Instead, ask yourself:
Can I survive one mistake, and can I escape after making it?
If the answer is yes, you’ve probably found a better setup for your playstyle than simply equipping the highest armor rating.
Food: Stamina Is Your Real Ammunition
This is one of the most important parts of the entire build.
Your crossbow may fire the bolts, but stamina keeps the build alive.
A stealth sniper needs stamina for sneaking, climbing, sprinting away, dodging and repositioning. If you burn the entire bar before your first shot, you’ve already made the fight harder than it needed to be.
For Deep North exploration, I prefer a food setup that gives me a strong stamina pool while still leaving enough health to survive an unexpected hit.
My general philosophy is:
- Two stamina-focused foods
- One reliable health/balanced food
- A stamina potion for dangerous situations
- Frost resistance when your equipment or situation requires it
You don’t need to turn every encounter into a spreadsheet exercise.
Just remember one rule:
A sniper with no stamina is just a lightly armored Viking waiting to be hit.
The Stealth Combat Loop I Actually Recommend
This is where the build becomes more than just “equip crossbow and crouch.”
The rhythm matters.
Step 1 — Reload Before the Fight
Do not reload in the middle of an enemy group if you can avoid it.
Prepare the crossbow somewhere safe before approaching your target.
This sounds obvious, but it becomes surprisingly important when you’re dealing with multiple enemies.
Step 2 — Enter Stealth
Once you’re in position, crouch and watch the detection indicator.
Don’t rush the shot.
If the enemy hasn’t detected you, you have the advantage.
Step 3 — Find the Priority Target
Don’t automatically shoot the closest enemy.
Look for the creature that represents the biggest threat to your escape route.
Sometimes that’s the strongest enemy. Sometimes it’s the enemy that moves fastest. Sometimes it’s simply the one standing in the worst possible location.
Think like a hunter, not a DPS meter.
Step 4 — Take the Shot
This is your moment.
Aim carefully and make the first bolt count.
A sneak attack from a powerful crossbow can remove an enormous amount of health, and against weaker targets it may end the fight instantly.
Step 5 — Move
This is the part I think many players get wrong.
Do not stay in the same place after firing.
The shot gives the enemy a reason to investigate your position. Even if they don’t know exactly where you are, remaining beside the original firing point is asking for trouble.
Move sideways, retreat behind terrain or change elevation.
Step 6 — Reload Somewhere Else
Once you’ve created enough distance, reload.
Then do it all over again.
That loop is the heart of the build:
Prepare → Hide → Shoot → Relocate → Reload → Repeat.
Once you get comfortable with it, the Deep North starts feeling very different.
Use the Deep North Terrain Like a Weapon
This is probably my favorite part of the entire build.
The Deep North isn’t just a backdrop.
The terrain is part of your equipment.
Ice cliffs, rocky ridges, elevated snowbanks and other natural formations can completely change an encounter.
High ground gives you several advantages at once:
- Better visibility
- More time to react
- Safer shooting angles
- Easier enemy tracking
- More opportunities to break line of sight
And there is something incredibly satisfying about watching a dangerous enemy struggle to reach a position that took you five seconds to climb.
Just don’t get overconfident.
The Deep North can punish players who assume that being on high ground makes them invincible. Always keep an escape route.
What About Bolts?
This isn’t the place to save materials.
If you’re fighting endgame enemies, use the best bolts you can reasonably craft.
A powerful crossbow with cheap ammunition is still a powerful crossbow, but if your entire strategy revolves around maximizing the value of a small number of carefully selected attacks, ammunition quality becomes even more important.
I also like carrying different bolt types when practical.
You don’t necessarily need to use the most expensive ammunition against every random creature wandering through the snow.
Save your premium bolts for enemies where the extra damage can genuinely change the encounter.
Leveling Crossbow Skill Before the Deep North
If you’re serious about making this build work, don’t arrive in the Deep North with a freshly crafted crossbow and expect miracles.
Weapon skill matters.
One of the traditional ways to train ranged skills is to find a relatively safe enemy-spawning location and repeatedly attack enemies from a protected position.
A Draugr or skeleton spawning area can work well because you can create a controlled firing lane and practice without constantly worrying about being surrounded.
The important thing isn’t finding some magical exploit.
It’s building a safe environment where you can consistently land shots.
That also has another advantage: you’re learning the weapon.
You’ll get a better feel for projectile travel, positioning, reload timing and how much distance you actually need between yourself and a target.
By the time you reach the Deep North, those instincts can be more valuable than a few extra skill points.
My Biggest Mistakes With This Build
If I had to give one piece of advice to someone trying this setup, it would be this:
Don’t become addicted to the perfect shot.
The stealth sniper playstyle encourages patience, but too much patience can become dangerous.
I’ve spent too long waiting for the “perfect” opening while another enemy wandered into the area behind me.
I’ve also stayed on a great firing position for too long because I wanted to land one more shot.
That is exactly how a good expedition turns into a corpse run.
The best stealth players aren’t necessarily the ones who deal the most damage.
They’re the ones who know when to leave.
If the enemy has detected you, stop trying to force the original plan. Break line of sight, create distance and start again.
There is no shame in retreating.
In fact, retreating is part of the build.
Best Valheim Graphics Settings for High FPS on RTX 40 Series (2026 Guide)
Is the Crossbow Stealth Build Really the Best Endgame Option?
I wouldn’t say it’s objectively the best build for every player.
If you love blocking, parrying and fighting enemies face-to-face, this setup may feel overly cautious.
If you play with a coordinated group, another player may prefer to act as the frontline while you provide ranged support.
But for solo exploration, I think the stealth crossbow approach is one of the most entertaining ways to approach the Deep North.
It gives you control.
You’re not simply reacting to enemies.
You’re deciding where the battle happens, which enemy gets attacked first and when it’s time to disappear.
And that’s what makes this build so satisfying.
How to Fix Valheim Crossplay Disconnected from Server Error (Xbox & PC Game Pass 2026 Guide)
Final Verdict: Become the Viking in the Shadows
The Deep North is supposed to be terrifying.
That’s part of the appeal.
But instead of charging directly into every frozen battlefield, try slowing the game down.
Take the high ground.
Load your crossbow.
Watch the patrol.
Wait for the opening.
Then put a bolt through the most dangerous thing you can see.
The Valheim 1.0 stealth crossbow build isn’t about standing still and farming easy kills. It’s about understanding the game’s detection system, managing stamina, using terrain intelligently and knowing when to disengage.
For me, the perfect Deep North expedition isn’t the one where I kill everything in sight.
It’s the one where I walk into an enemy-infested valley, eliminate the biggest threat without being noticed, relocate before the survivors arrive, and walk away without ever giving them a clean chance to hit me.
That feels like mastery.
And honestly, after fighting my way through Valheim’s other biomes, there’s something incredibly satisfying about becoming the hunter instead of the hunted.
The Deep North may belong to the monsters.
But from a snowy ridge with a loaded crossbow?
They don’t always know that I’m there.