Sephiria 1.0 Ultimate Great Sword Upgrade Tree and Best Endgame Builds Guide
Ever since Sephiria officially launched in version 1.0, I’ve found myself returning to it almost every evening. As someone who has spent years playing roguelites like Hades, Dead Cells, Dungreed, Astral Ascent, and dozens of lesser-known indie gems, I can honestly say Sephiria has something special. It doesn’t simply reward fast reflexes—it rewards planning, experimentation, and understanding how every upgrade interacts with your build.
Among every weapon I’ve tested extensively, the Great Sword remains my personal favorite. At first glance, it feels slow and almost punishing compared to faster weapons, but after learning the upgrade tree and discovering the right Artifact combinations, it transforms into one of the strongest and most satisfying weapons in the entire game.
If you’re aiming to clear Hard Mode consistently or simply want to understand which upgrade paths deserve your resources, this guide covers everything I’ve learned after countless runs.
Sephiria 1.0 Best Wisdom Talent Level 20 Build Guide (TEAM HORAY 2026)
Why the GSephiria 1.0 Best Wisdom Talent Level 20 Build Guide (TEAM HORAY 2026)reat Sword Is Better Than Most Players Think
Many newcomers abandon the Great Sword after their first few attempts because its attacks feel heavy and recovery animations leave little room for mistakes. I made the exact same mistake during my first hours. Once I unlocked more weapon evolutions and started understanding enemy attack patterns, everything changed. The Great Sword isn’t designed to spam attacks. Instead, it rewards positioning, timing, and choosing the right moment to unleash devastating damage.
Its biggest strengths become more obvious as the difficulty increases. While lighter weapons often rely on mobility alone, the Great Sword combines incredible burst potential with excellent survivability, making it one of the safest choices for long Hard Mode runs.
- Massive burst damage
- Excellent crowd control
- High stagger potential
- Strong defensive synergy
- Outstanding late-game scaling
Understanding the Great Sword Upgrade System
One of Sephiria’s biggest strengths is that weapon progression doesn’t follow a traditional RPG formula. Instead of upgrading one sword forever, every run becomes a fresh opportunity to build something unique. The permanent progression system and mid-run evolutions constantly encourage experimentation, which is one of the reasons the game remains enjoyable even after dozens of hours.
Permanent Unlocks
Outside your dungeon runs, you’ll invest talent points into the Destiny Inscription system inside the village. These upgrades permanently unlock new weapon branches and improve your overall character progression. After unlocking a new weapon variation, don’t forget to speak with Moro in the training grounds. It’s an easy step to overlook, but it’s required before those new evolutions begin appearing during future adventures.
Weapon Evolution During a Run
Every Great Sword evolves through several stages during a run, and each decision influences your final build. Unlike many roguelites where upgrades simply increase damage numbers, Sephiria introduces completely new mechanics through its evolution tree.
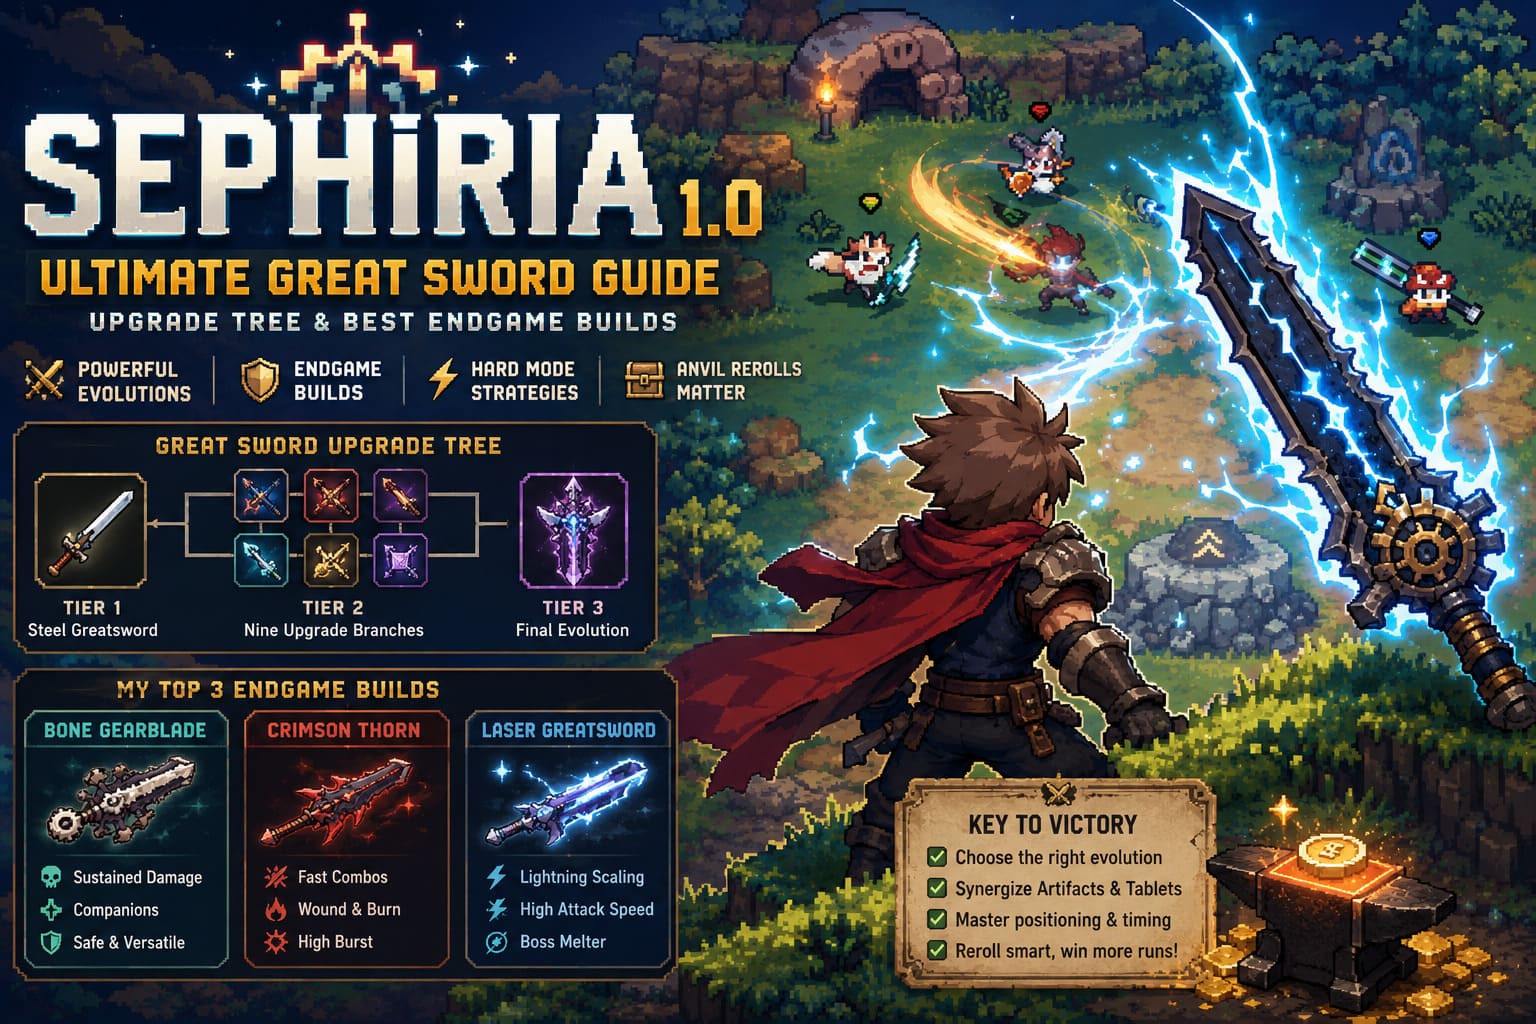
| Tier | Description | Purpose |
|---|---|---|
| Tier 1 | Steel Greatsword | Starting weapon |
| Tier 2 | Nine upgrade branches | Defines your primary playstyle |
| Tier 3 | Final evolution | Adds unique mechanics and powerful abilities |
The final stage is where the Great Sword truly becomes one of the strongest weapons in the game. Every Tier 3 choice creates a dramatically different experience, allowing players to specialize in range, elemental effects, attack speed, or survivability.
Bone Gearblade – My Personal Favorite
If someone asked me to recommend only one Great Sword evolution, I’d immediately choose Bone Gearblade. This path completely changes the weapon’s identity. Instead of slowly smashing enemies one swing at a time, activating Reassemble extends the blade dramatically and lets you attack from surprisingly safe distances.
The first time I unlocked this evolution, I immediately noticed how much easier elite encounters became. Enemies that previously forced risky positioning suddenly couldn’t reach me before taking multiple hits. The ability costs mana, but the payoff is enormous throughout longer boss encounters.
- Extended attack range
- Additional flat damage on every strike
- Safer positioning
- Excellent sustained boss pressure
Pairing Bone Gearblade with Creaking Spine makes the build even stronger. The longer your combo continues, the faster your attacks become, transforming the normally heavy Great Sword into something surprisingly fluid without sacrificing its incredible damage.
Crimson Thorn Is Perfect for Aggressive Players
Not everyone enjoys slow, calculated combat. If your preferred playstyle involves constant movement and relentless offense, Crimson Thorn deserves serious consideration. Rather than relying on massive individual hits, this path focuses on applying the Wound status while rapidly chaining attacks together.
The real highlight is Crimson Vortex. Instead of one heavy slash, your attacks become a fast three-hit combo. Individual strikes deal slightly less damage, but the increased hit frequency dramatically improves status application and Artifact synergies. During Chapter 6 boss fights, I often found this setup more reliable because landing multiple quick attacks was easier than waiting for one perfect opening.
Black Iron Halberd Makes Clearing Rooms Almost Effortless
Some players struggle more with regular enemy waves than boss fights. If that’s you, Black Iron Halberd is one of the safest evolutions available. Its Whirlwind attack dramatically expands your area damage while providing slight movement during the animation.
That additional mobility makes a bigger difference than most players expect. Instead of standing still while swinging, you’re constantly repositioning and avoiding incoming attacks without sacrificing damage output. While it may not be the absolute best option for single-target boss damage, it’s outstanding for progressing through difficult stages filled with dangerous enemy groups.
Laser Greatsword Is Surprisingly Powerful
The community wasn’t exaggerating when players started calling the Laser Greatsword one of the strongest late-game upgrades. Unlike the traditional Great Sword experience, this evolution almost completely removes the weapon’s sluggish feel. Attack animations become incredibly fast, allowing constant pressure on bosses while triggering every on-hit effect in your inventory.
The build becomes especially devastating when combined with attack speed bonuses, critical hit modifiers, lightning effects, cooldown reduction, and Artifacts that activate on every successful strike. I’ve watched bosses disappear before they even completed their second attack pattern, proving just how explosive this evolution can become with the right setup.
My Favorite Endgame Builds
Choosing the correct weapon evolution is only part of creating a successful character. Your Artifacts and Tablets should always complement your chosen weapon rather than simply providing random stat increases.
Build 1 – Bone Gearblade Companion Build
| Component | Recommendation |
|---|---|
| Weapon | Bone Gearblade + Creaking Spine |
| Focus | Skill damage and sustained attacks |
| Artifacts | Companion summons, Planets, MP regeneration |
| Tablets | Mana regeneration and defensive bonuses |
This remains my most successful setup for Hard Mode. Companion-focused Artifacts constantly pressure enemies while you focus on positioning. Planet companions are particularly valuable because they intercept hostile projectiles, making chaotic encounters far more manageable. I usually prioritize comfortable mana regeneration before investing heavily into defensive bonuses.
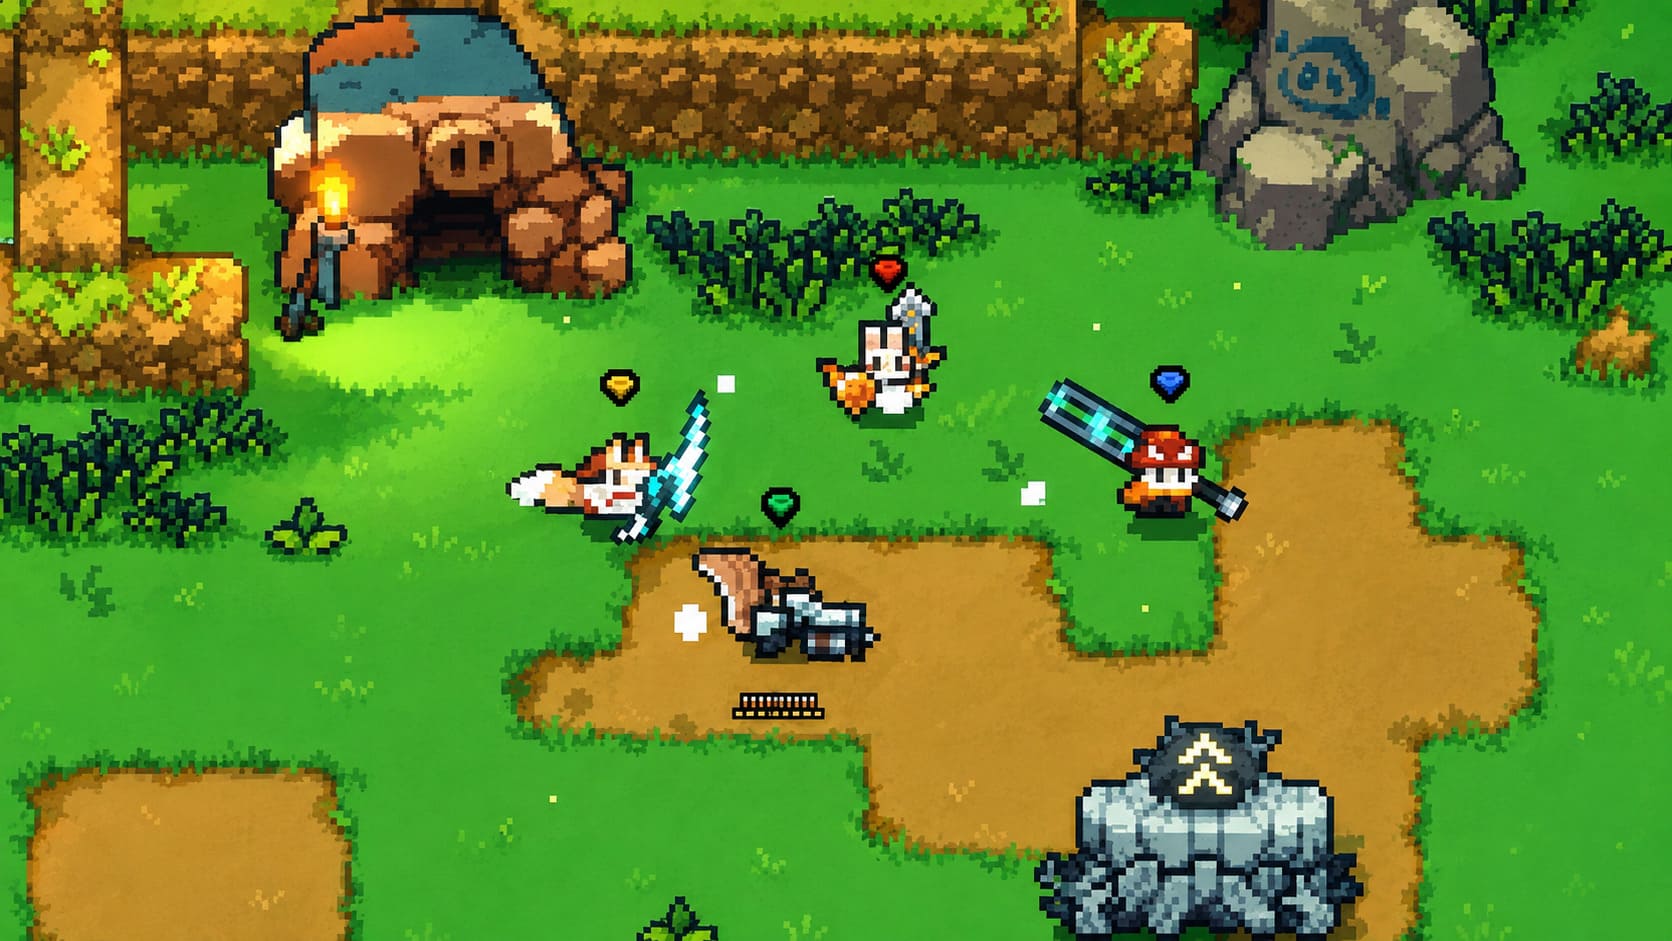
Build 2 – Lightning Shield Build
| Component | Recommendation |
|---|---|
| Weapon | Laser Greatsword or Magic Equipment |
| Focus | Lightning scaling |
| Artifacts | Armor, Shields, Evasion |
| Tablets | Cooldown reduction |
This setup sacrifices a little raw damage in exchange for incredible survivability. Repeated lightning attacks eliminate large enemy groups while shield generation protects you from costly mistakes. For players still mastering Chapter 6 mechanics, this is probably the safest Great Sword build available.
Build 3 – Fire Critical Build
| Component | Recommendation |
|---|---|
| Weapon | Crimson Thorn |
| Focus | Burn and Critical Damage |
| Artifacts | Fire damage, Critical Chance, Attack Power |
| Tablets | Offensive scaling |
If your goal is deleting bosses before they become dangerous, this build delivers incredible burst potential. It rewards aggressive gameplay and good positioning while combining burn effects, critical strikes, and rapid combo attacks into one devastating offensive package.
Don’t Ignore Anvil Rerolls
One lesson I learned far too late was the importance of rerolling. During my first dozen hours, I simply accepted whatever upgrades appeared. That approach works during early progression, but Hard Mode demands much more consistency.
Saving enough gold for Anvil rerolls dramatically increases your chances of finding the exact Tier 3 evolution your build requires. Sometimes spending resources on a reroll provides significantly greater value than purchasing another random Artifact. Learning when to reroll and when to commit to your current build becomes one of the most valuable skills in Sephiria.
Final Thoughts
After spending countless hours experimenting with every Great Sword evolution introduced in Sephiria 1.0, I still believe it’s one of the most rewarding weapons in the game. It asks for patience during the early stages, but once you understand how each evolution changes your combat style, the weapon reveals an incredible amount of depth that few other roguelites manage to achieve.
If you’re chasing consistent Hard Mode clears, Bone Gearblade remains my overall recommendation because of its excellent balance between safety, damage, and versatility. Players who enjoy aggressive combat will probably fall in love with Crimson Thorn, while those who value survivability should strongly consider the Lightning Shield setup. And if luck is on your side during rerolls, the Laser Greatsword can transform even the toughest bosses into surprisingly short encounters.
Perhaps my favorite thing about Sephiria is that no single build guarantees victory. Smart decisions, adapting to your Artifact drops, understanding enemy patterns, and knowing when to reroll are just as important as choosing the strongest weapon evolution. That’s exactly what keeps every run exciting and why I expect the Great Sword to remain one of the game’s defining weapons for a long time.