PolyClassic: Wild Beginner’s Guide and All Levels Walkthrough (2026 Edition)
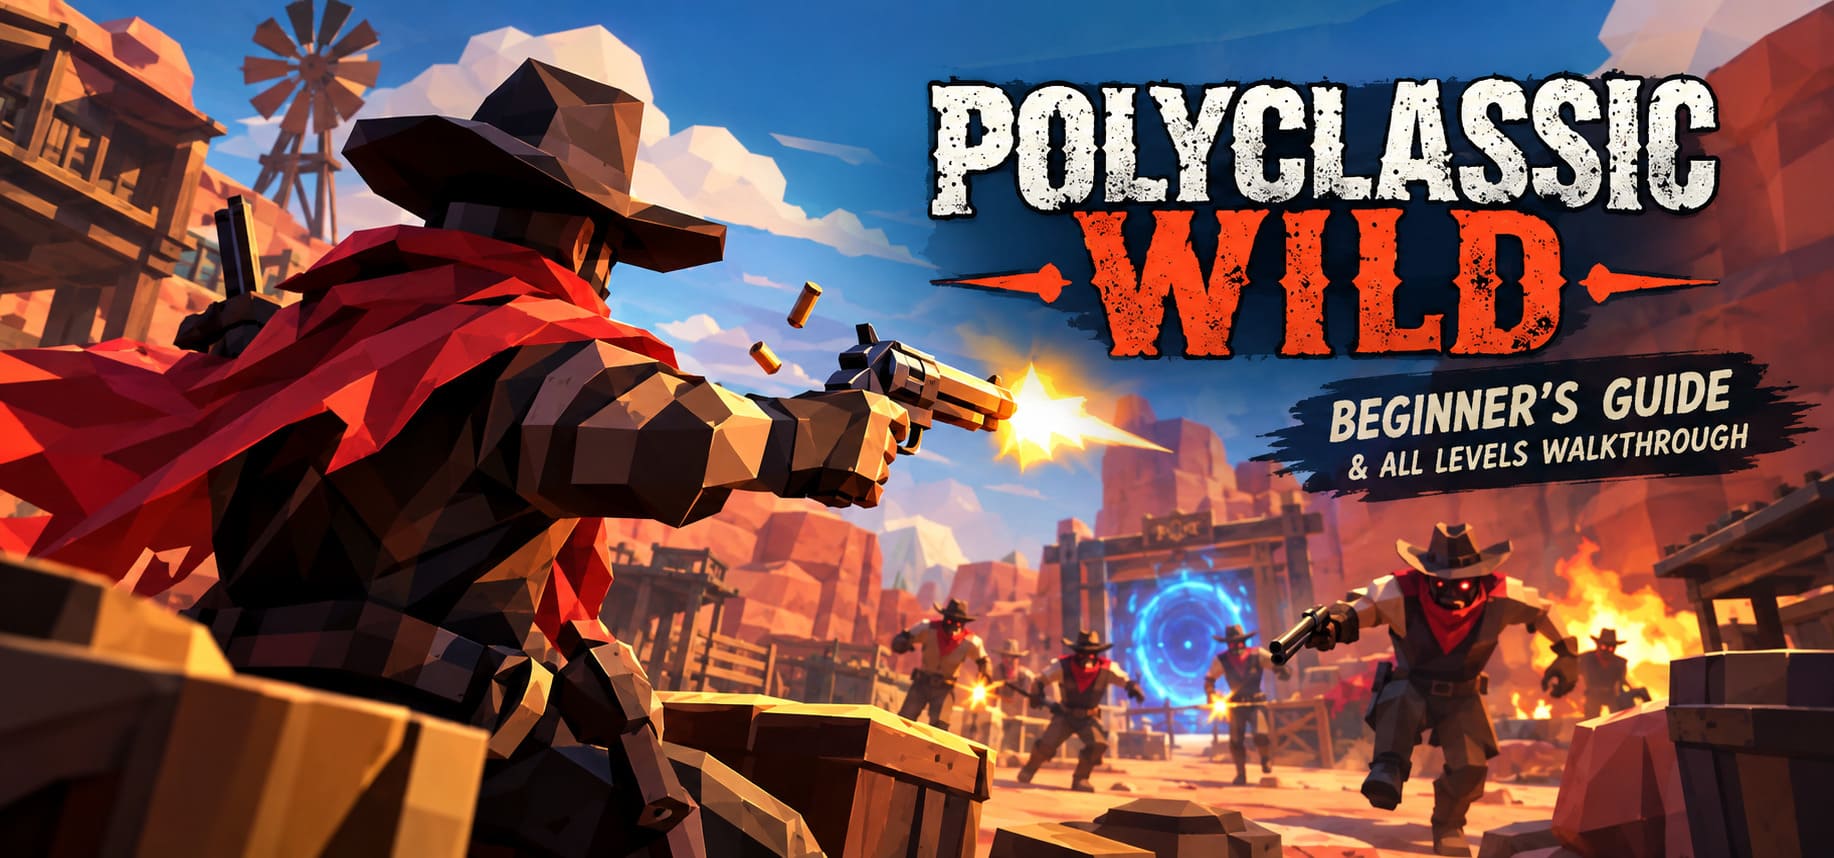
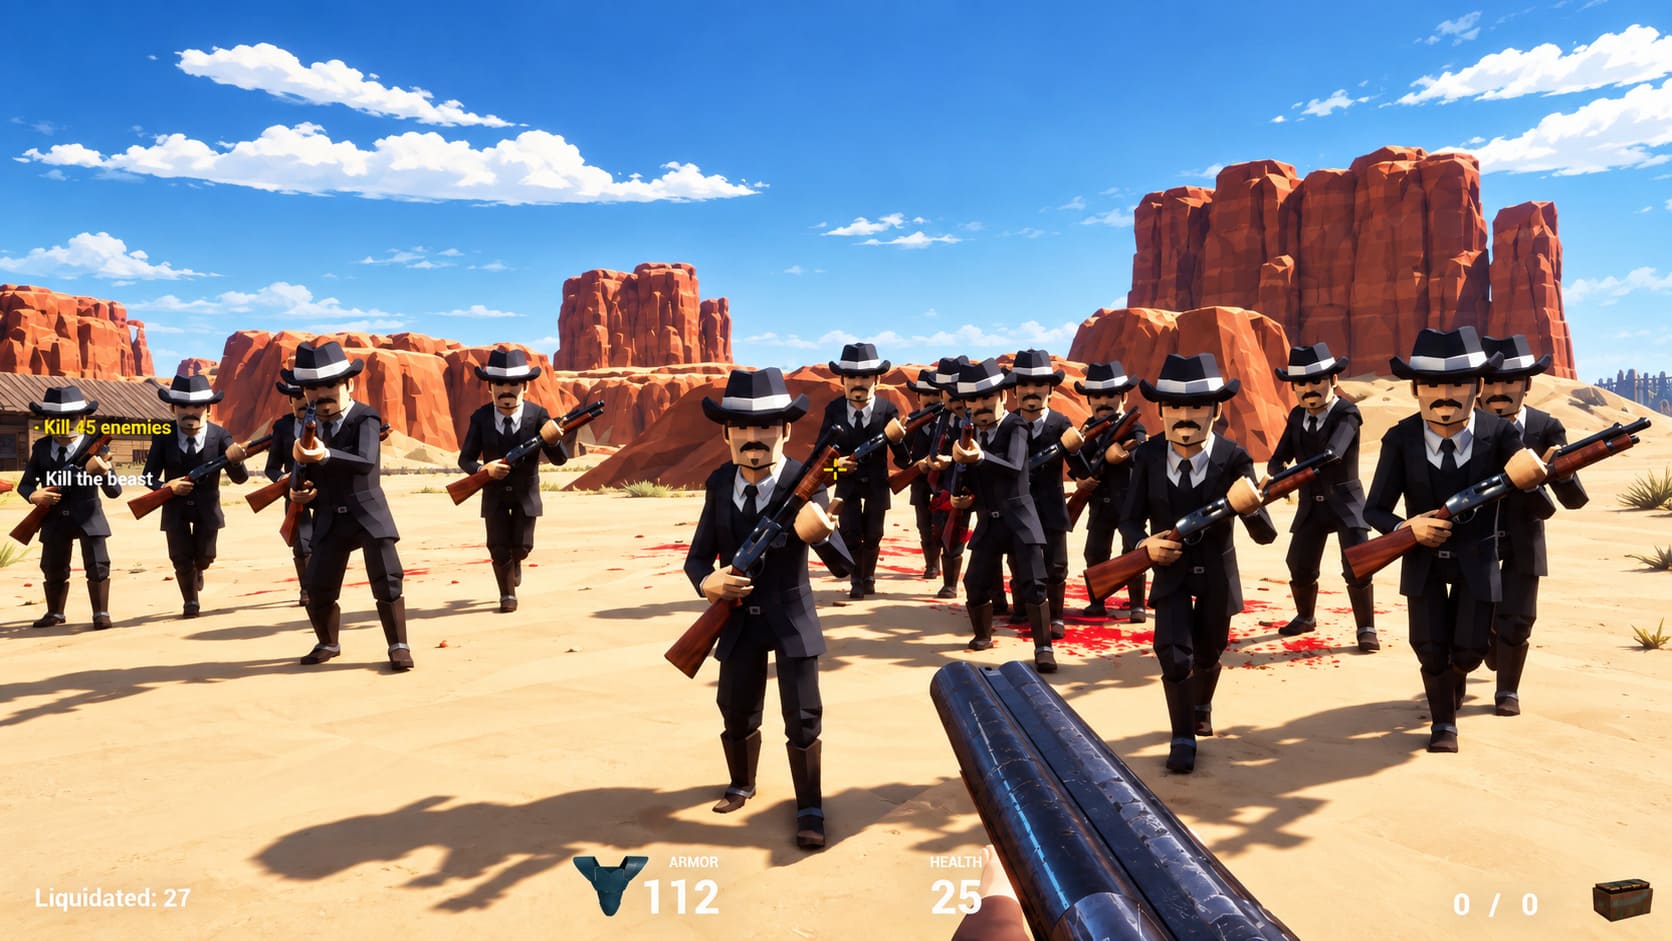
There are games that carefully explain every mechanic before letting you touch the first enemy, and then there is PolyClassic: Wild. It throws you into a low-poly Wild West arena, hands you a gun, points you toward a bunch of angry cowboys, and basically says: good luck.
Honestly, I love that about it.
Developed by Quacky Games and published by Whale Rock Games, PolyClassic: Wild feels like someone took the aggression of classic 1990s arena shooters, dropped it into a bizarre spaghetti-western playground, and then turned the whole thing into a colorful low-poly fever dream. There is no elaborate campaign narrative to get distracted by. The objective is brutally simple: move, shoot, survive, and kill everything standing between you and the exit.
That simplicity can be deceptive, though. Once the enemies start stacking up, the game’s unusual mouse behavior, hitscan weapons, cramped arenas, and surprisingly aggressive AI can punish mistakes very quickly.
After spending time figuring out what actually works instead of blindly charging every encounter, I’ve put together this PolyClassic: Wild beginner guide and complete walkthrough covering the weapons, enemies, movement tricks, settings advice, and all six levels.
What Makes PolyClassic: Wild So Addictive?
The first thing that stood out to me is how little the game cares about modern shooter conventions.
There are no giant skill trees, elaborate quest logs, crafting systems, or cinematic interruptions. You enter an arena, find weapons and pickups, and start causing problems.
That old-school design gives the game a surprisingly satisfying rhythm:
Enter arena → collect gear → kite enemies → prioritize dangerous targets → clear the map → reach the portal.
The catch is that standing still is basically asking to get deleted.
The movement system feels heavily influenced by games like Quake and Doom. You can sprint continuously because there is no stamina system, and that changes how you should approach almost every fight. Movement isn’t something you do between attacks. Movement is your defense.
If you’re new to PolyClassic: Wild, my biggest recommendation is simple: stop trying to fight like a modern tactical shooter.
You don’t want to crouch behind one piece of cover and slowly clear the room. You want to keep moving, manipulate enemy positioning, create space, and turn a chaotic mob into something you can control.
The Mouse Sensitivity Problem You Should Know About
This is probably the least glamorous part of the game, but it can have a huge impact on your first few hours.
PolyClassic: Wild has some strange mouse behavior, particularly the difference between horizontal and vertical sensitivity. The vertical movement can feel considerably quicker than horizontal aiming, and there is also noticeable mouse acceleration.
For me, this makes aggressive flick shots much less reliable than they should be.
A practical workaround is to lower your mouse DPI to around 400–800 and rely more on broad horizontal movements. It isn’t a perfect solution, but it makes the aiming behavior easier to predict.
| Setting / Mechanic | My Recommendation | Why |
|---|---|---|
| Mouse DPI | 400–800 | Helps reduce overly fast aiming |
| Movement | Constant strafing | Standing still is extremely dangerous |
| Horizontal aim | Broad movements | Easier to compensate for uneven sensitivity |
| Vertical aim | Small adjustments | Vertical sensitivity feels faster |
| Sprint | Use constantly | There is no stamina bar |
| Heavy weapons | Save for groups | Ammo is too valuable to waste |
If your aim feels weird at first, don’t immediately assume you’re terrible at FPS games. The game itself takes some getting used to.
Pickups Can Completely Change a Fight
Health and armor are obvious, but the Infinite Ammo pickup deserves special attention.
Don’t burn it just because you see it.
When a large wave is about to overwhelm the arena, that’s when the power-up becomes ridiculous. Rocket launchers and other heavy weapons suddenly become much more useful when you don’t have to worry about ammunition.
I tend to think of the pickups as emergency resources rather than ordinary collectibles.
Health Packs restore part of your health, while Armor Shards provide additional protection against incoming damage. If you know a difficult encounter is coming, try not to consume everything beforehand.
Saving a health pickup until you’re genuinely hurt can easily be the difference between finishing a level and restarting it.
Every Weapon Has a Job
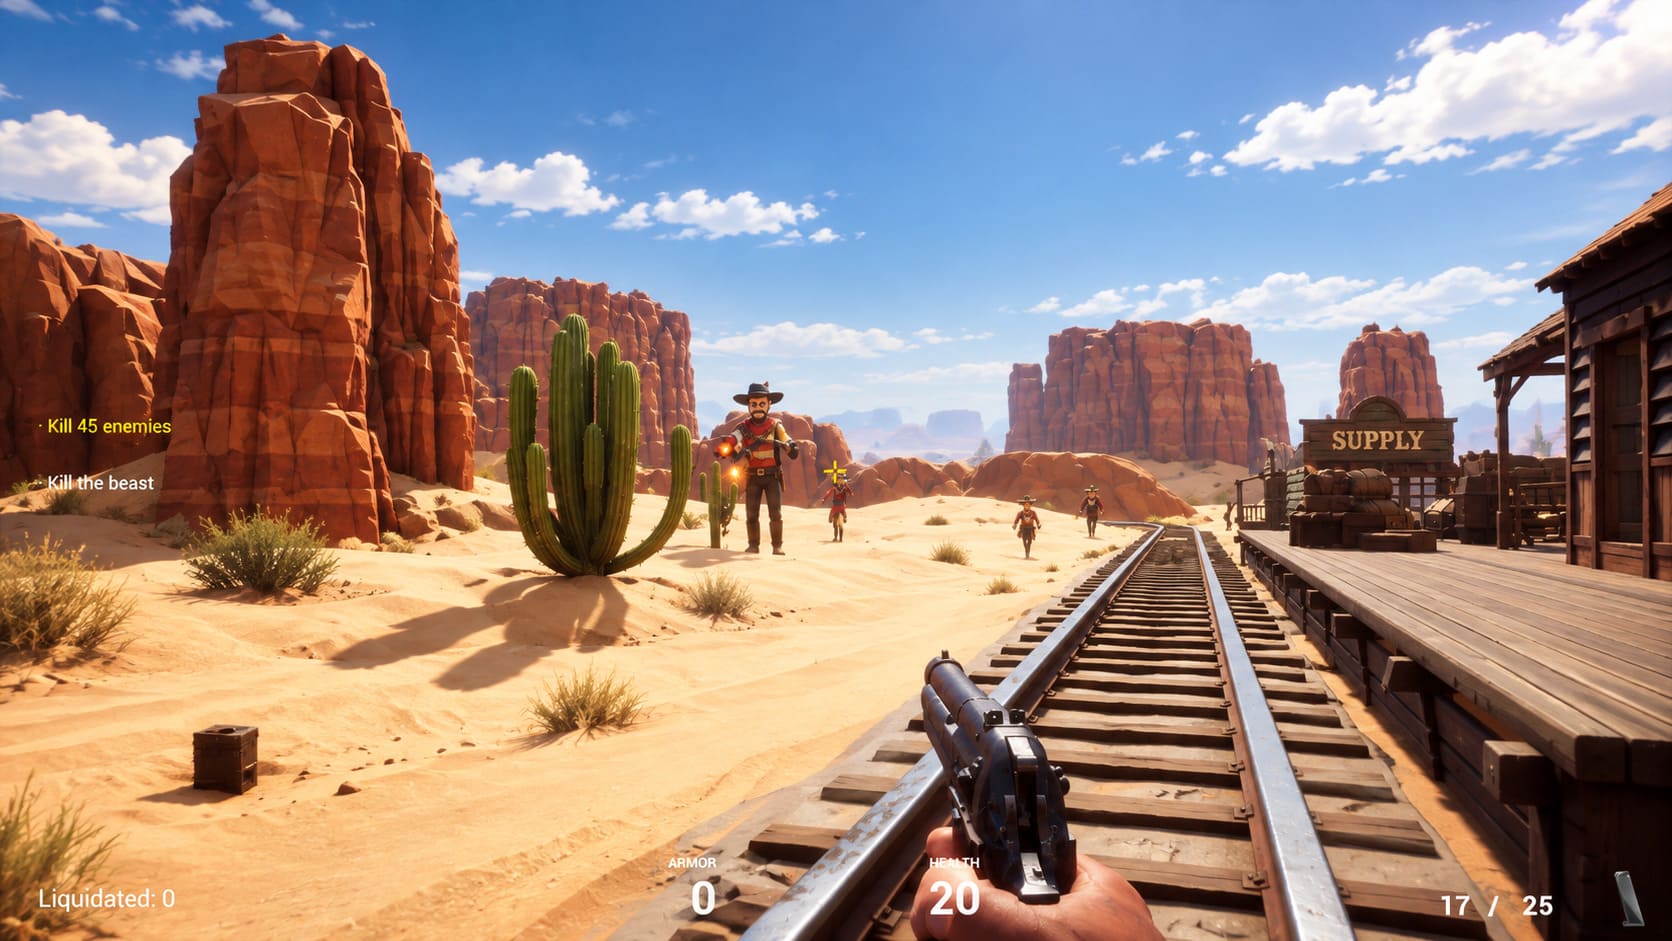
One thing I appreciate about PolyClassic: Wild is the weird weapon lineup. The Wild West setting would normally suggest revolvers and rifles, yet the game happily throws modern pistols, miniguns, rocket launchers, and plasma weapons into the same arena.
And somehow, it works.
Fists and Sledgehammer
These are your emergency melee tools.
The sledgehammer can hit surprisingly hard, but getting close enough to use it safely is another story. I wouldn’t build your strategy around melee combat. Use it when you’re dealing with weaker early enemies or when you’ve somehow managed to burn through your ammunition.
M9 Pistol
The pistol isn’t exciting, but it’s useful.
Its low damage makes it a poor choice against tougher enemies, but it works nicely for finishing weakened targets and dealing with enemies at longer ranges. It’s also handy for shooting explosive objects from a safer distance.
Pump-Action Shotgun
This is your dependable close-range weapon.
Against fast melee cowboys, the shotgun is incredibly satisfying. Let them close the distance, line up multiple targets, and make one blast count.
Just remember that the reload can leave you vulnerable.
Double-Barreled Shotgun
This is where the shotgun starts feeling nasty.
The double-barrel can erase mid-tier enemies with a properly placed blast and is especially useful against dangerous enemies that have already gotten too close.
The obvious drawback is the reload cycle. After firing, you’re going to need another moment before you can unleash another blast.
Minigun
The minigun is basically your answer to “What if I don’t want this entire crowd to exist anymore?”
It chews through ammunition, but against large groups of melee enemies it can be devastating.
Use it aggressively, but keep an eye on the ammo counter.
Rocket Launcher
The rocket launcher is one of the most important weapons in the later levels.
Don’t obsess over direct hits. Shoot near the enemy’s feet.
The splash damage lets you hit several enemies simultaneously, which is exactly what you want when the arena starts filling with targets.
Laser Cannon
The Laser Cannon, or plasma-style weapon, is your high-end problem solver.
When tougher enemies start appearing in larger numbers, this is where the weapon really earns its place. I prefer saving it for serious threats rather than wasting ammunition on a lone melee enemy.
Enemy Priority: Who Should You Kill First?
Not every enemy deserves the same amount of attention.
The fast melee runners are dangerous because they can surround you, but individually they’re usually manageable. The real problem comes from allowing them to push you into the path of a ranged attacker.
Hitscan shotgunners should usually be your highest priority.
Their attacks don’t need to travel across the arena like rockets or other projectiles. If they have a clean line of sight, you’re going to get hit.
Flamethrower cowboys sit somewhere in the middle. Their sustained fire can shred your health if you remain in their range, but they’re easier to handle if you keep moving backward and maintain distance.
My general priority is:
- Hitscan shotgunners
- Flamethrower enemies
- Fast melee runners
That order can change depending on the arena, but it gives you a solid starting point.
PolyClassic: Wild — Complete 6-Level Walkthrough
The campaign contains six main arenas. Each requires you to eliminate the necessary enemies before you can leave through the exit portal.
Level 1 — The Outpost Arena
The opening level is relatively forgiving and gives you a chance to understand the basic combat loop.
Grab the Pump-Action Shotgun near the starting area and prepare for the first melee rush.
My approach is to back toward the outer fence while firing into the approaching group. Once those enemies are gone, don’t immediately run into the middle.
Instead, use the buildings as cover and carefully deal with the hitscan enemies.
The pistol is perfectly adequate for picking off exposed targets from safer positions.
Before leaving, check the small structures for health pickups. There is no reason to walk into the portal half-dead if you can avoid it.
Level 2 — The Canyon Passage
This level changes the rules because the environment is much tighter.
The canyon walls limit your ability to dodge horizontally, so positioning becomes more important.
Grab the Double-Barreled Shotgun when you reach the central area. Use the standard shotgun for the fast melee enemies, then bring out the double-barrel when tougher targets close the distance.
The flamethrower enemies introduced here are especially dangerous in confined spaces.
Try to keep moving around the outside of the canyon instead of getting trapped in the center.
Level 3 — The Abandoned Town
This is where the campaign starts becoming considerably more hectic.
The abandoned town has streets, alleys, rooftops, and buildings that create multiple angles of attack. The worst mistake you can make is casually walking straight down the main street.
Find the Minigun and start using the environment intelligently.
Rooftop shotgunners are a serious threat, so don’t expose yourself unnecessarily. Use awnings, interiors, and corners to break their line of sight.
When groups of melee enemies start dropping into the streets, the minigun becomes extremely effective.
Level 4 — The Industrial Depot
The industrial arena is basically designed to test whether you’ve learned to control crowds.
Pick up the Rocket Launcher early.
When several enemies bunch together, fire rockets into the center of the group or at the ground beneath them. The splash damage is much more useful than trying to land perfect direct shots.
Keep the minigun available for survivors, particularly fast melee enemies that manage to slip through the explosions.
One warning: watch your back.
Enemy spawns around containers and structures can catch you completely off guard.
Level 5 — The Fortification
This is the level where I stopped treating every encounter casually.
The combination of hitscan shotgunners and flamethrower enemies can melt your health surprisingly fast.
Grab the Laser Cannon and make it work.
Keep circling the main courtyard instead of entering cramped watchtowers. Those enclosed spaces can become death traps when melee enemies surround you.
If an Infinite Ammo pickup appears, this is an excellent opportunity to unleash your heavy weapons without worrying about conservation.
Level 6 — The Final Confrontation
The final arena takes almost everything you’ve learned and turns the volume up.
You have access to the Laser Cannon, Minigun, and Rocket Launcher, and you’re going to need all three.
Don’t start the final level thinking about killing everything as quickly as possible.
Think about survival first.
Grab the Laser Cannon and Rocket Launcher, then start circling the arena. Your goal is to create one long enemy train behind you instead of allowing separate groups to surround you.
Use rockets against dense clusters and the Laser Cannon against dangerous ranged enemies.
Health and armor pickups should be treated as emergency supplies. If possible, save them until your health falls below roughly 40%.
Once the enemy counter finally reaches zero, you’ve done it.
And yes, the game really does make you work for that final victory.
The Circle-Strafe Trick That Makes Everything Easier
If there’s one technique I’d tell every new player to learn, it’s circle strafing.
Don’t simply run backward in a straight line.
Combine W/S with A/D and continuously move around the arena in a broad circle. You’re effectively forcing enemies to chase your movement pattern instead of letting them attack you from a stationary position.
This is particularly effective against melee enemies because you can gradually collect them into one large group.
Then comes the fun part:
Rocket → shotgun → minigun → repeat.
It feels chaotic, but once you understand the rhythm, the arenas become much more manageable.
Is PolyClassic: Wild Worth Playing in 2026? Gameplay, Price, and Honest Review
Final Thoughts
PolyClassic: Wild isn’t trying to be the deepest shooter of 2026, and that’s exactly why I find it refreshing.
It’s loud, strange, fast, occasionally awkward, and unapologetically old-school. The uneven mouse behavior can be annoying, and some enemy encounters can feel brutal before you learn the movement patterns, but once the circle-strafing starts clicking, the game becomes much more enjoyable.
My biggest advice is to keep moving, prioritize hitscan enemies, save heavy ammunition for groups, and learn the layout of each arena.
Don’t play it like a modern cover shooter.
Play it like an old-school arena FPS where hesitation is basically a death sentence.
Once that mindset clicks, PolyClassic: Wild stops feeling chaotic in a frustrating way and starts feeling chaotic in the best possible way.