Sephiria Best Relic Builds for High Heat: The Ultimate 1.0 Endgame Guide
After spending plenty of time experimenting with different builds in roguelikes, action RPGs, and survival-focused games, I can confidently say that Sephiria 1.0 has one of the most interesting endgame optimization systems I have seen recently. The game looks simple at first, but once you enter High Heat difficulty and start pushing toward Tier 30 Hardmode, everything changes.
Your damage is no longer determined only by your weapon. Random upgrades and flashy attacks are not enough anymore. In the late game, success comes from understanding how Relics, Artifacts, Tablets, and inventory positioning work together. A poorly arranged grid can completely destroy an otherwise powerful build, while the right synergy can turn your character into an unstoppable machine.
The official 1.0 release of Sephiria added more depth to Bunnyville’s endgame, giving experienced players a reason to return and optimize every single slot. After testing different setups and comparing high-level community strategies, these are the best Sephiria High Heat relic builds that consistently perform at the highest difficulty.
Beast of Reincarnation PC Best Graphics Settings for High FPS and Zero Stutter
Best Sephiria High Heat Relic Builds Overview
| Build Name | Main Weapon Style | Strength | Difficulty |
|---|---|---|---|
| Infinite Grimoire Cycle | Staff / Magic | Endless spell damage and safety | Medium |
| Frostbite Nuke | Crossbow / Harpoon | Crowd control and freezing enemies | Easy-Medium |
| Plasma Fusion Burn | Fire / Elemental | Maximum boss melting damage | Hard |
| Greatsword Whirlwind | Melee | High defense and massive physical damage | Medium |
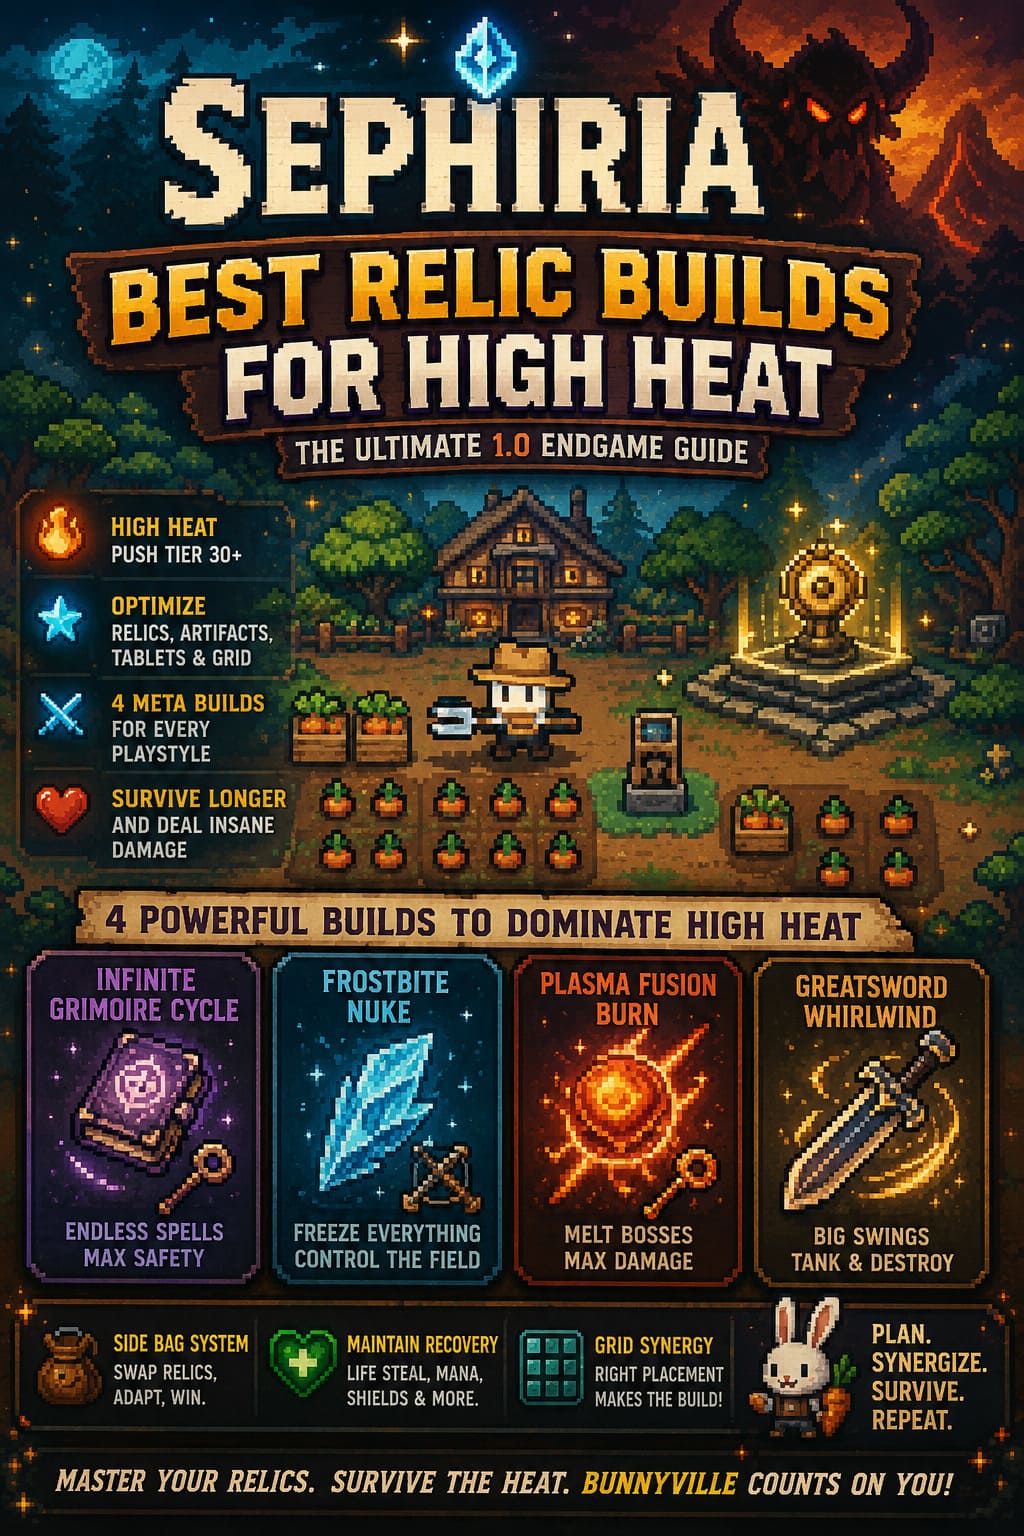
Infinite Grimoire Cycle Build – The Tier 30 Hardmode King
If I had to recommend one build for players who simply want the most reliable way to clear High Heat, the Infinite Grimoire Cycle setup would be my first choice. It reminds me of some of the strongest mage builds from other roguelike games where the goal is not just higher numbers, but creating a loop where your abilities constantly fuel each other.
This build focuses on the Staff weapon class and turns your spell rotation into a nearly endless cycle of elemental reactions, cooldown reduction, and mana recovery. The biggest advantage is safety. Instead of standing close to dangerous enemies, you are constantly throwing spells from a distance while keeping your abilities active almost permanently.
Core Relics and Artifacts:
- Codex of the Archmage – Reduces global cooldowns whenever elemental reactions activate.
- Ancient Grimoire – Increases magic damage depending on the number of spell-based artifacts equipped.
- Sapphire Lens – Improves critical chance for magic projectiles and restores Mana after critical hits.
- Flowing Mana Well – Provides strong passive Mana regeneration based on nearby elemental items.
The most important part of this build is inventory placement. The Ancient Grimoire should be placed near the center of your grid, surrounded by Tablets and artifacts that increase spell power and cooldown efficiency.
When everything connects correctly, the build creates a constant spell storm. Elite enemies disappear before they can even reach you, which makes it one of the safest options for extreme Heat levels.
Frostbite Nuke Build – The Ultimate Crowd Control Setup
High Heat enemies in Sephiria are not dangerous only because they hit harder. They are dangerous because they become faster and more aggressive. A single mistake can end a perfect run.
That is why the Frostbite Nuke build is so effective. Instead of trying to survive enemy speed, it completely removes the threat by freezing everything before it becomes a problem.
This setup is especially strong for players who prefer a controlled playstyle. I always enjoy builds like this because they reward smart positioning rather than simply attacking faster.
Core Relics and Artifacts:
- Glacial Core – Creates freezing novas that slow nearby enemies.
- Permafrost Shard – Greatly increases damage against frozen targets.
- Harpoon Evolution / Crossbow – Applies frost effects while delivering powerful piercing attacks.
- Shatterglass Talisman – Creates explosive chain reactions when frozen enemies die.
The key strategy is using Tablets that increase trigger frequency. Placing frost-related Relics near double-trigger nodes allows you to stack freezing effects much faster.
Against bosses, this build feels almost unfair. Their movement becomes extremely limited, giving you enough time to safely destroy weak points and avoid dangerous attacks. For players learning High Heat mechanics, this is probably one of the most forgiving builds available.
Plasma Fusion & Scorching Galaxies Build – The Burn Damage Meta
Some players do not care about defense. They simply want to see enemy health bars disappear as quickly as possible. For that playstyle, the Plasma Fusion Burn build is the obvious choice.
This setup focuses on stacking elemental reactions, damage-over-time effects, and continuous fire damage. It is one of the most popular choices among players chasing fast clears because bosses can lose massive amounts of HP in a very short time.
The downside is that you need better positioning and stronger game knowledge. Unlike the Frostbite build, this setup does not protect you as much. You win because enemies die before they become a threat.
Core Relics and Artifacts:
- Solar Core / Plasma Engine – Converts physical damage into powerful elemental attacks.
- Amethyst Catalyst – Adds lightning effects to fire attacks, creating Plasma Fusion reactions.
- Scorching Sun Emblem – Boosts burn damage and extends elemental effects.
- Fire Wand / Crimson Relics – Provides health and Mana recovery through fire damage.
Your inventory should follow an alternating fire and lightning pattern. Think of it like building a machine where every attack has multiple chances to activate elemental explosions.
When fully optimized, your character basically creates a burning zone across the entire battlefield.
Greatsword Whirlwind Build – The Unstoppable Melee Monster
Not every player wants to stand in the back and cast spells. Some of us prefer walking directly into danger and destroying everything with a massive weapon.
The Greatsword Whirlwind build is perfect for that aggressive playstyle. Compared to elemental builds, this setup feels much more traditional. You rely on raw power, defense, and huge attack range to survive situations where other builds would instantly fail.

Core Relics and Artifacts:
- Bone Sword Artifact – Increases melee range and attack size.
- Breakplate Gauntlets – Reduces enemy armor with every physical strike.
- Whirlwind Insignia – Provides damage resistance during spinning attacks.
- Sturdy Iron Retainer – Improves defense and grants knockback resistance.
The main goal is increasing your attack area. A properly upgraded Greatsword should cover almost the entire screen, allowing you to destroy enemies and projectiles before they reach you.
This build is not the fastest boss killer, but it is extremely satisfying. Few things in Sephiria feel better than charging into a dangerous room and clearing everything with one giant swing.
Essential High Heat Survival Tips in Sephiria 1.0
Use the Side Bag System Correctly
The new Side Bag feature connected to the Destiny Inscription system is extremely valuable. Do not treat it as extra storage only.
Keep situational Relics there and swap them before difficult encounters. A defensive item that seems useless during normal rooms can completely save a boss fight.
Always Maintain Recovery Options
At maximum difficulty, healing becomes much less reliable. Because of this, having some form of sustain is almost mandatory.
- Life steal effects
- Mana recovery
- Defensive damage reduction
- Shield-related bonuses
A build that deals millions of damage but cannot survive a mistake will eventually fail.
Clean Your Inventory Constantly
One mistake I see many players make is keeping random items because they look powerful. In Sephiria, synergy matters more than individual item strength.
A weaker Relic that activates your entire elemental system is usually better than a stronger item that does nothing for your build.
Final Thoughts – The Best High Heat Build Depends on Your Playstyle
After testing different combinations, I think the biggest strength of Sephiria 1.0 is that there is no single “correct” build. The game rewards experimentation, planning, and understanding how your inventory works.
For the safest Tier 30 clears, the Infinite Grimoire Cycle is incredibly reliable. If you want crowd control and easier survival, choose Frostbite Nuke. Speed-focused players will love Plasma Fusion Burn, while aggressive melee fans should try the Greatsword Whirlwind setup.
High Heat is where Sephiria truly shows its depth. Once you stop chasing random upgrades and start building around real synergy, the game becomes a completely different experience.
Master your Relics, organize your grid, and Bunnyville might just survive the hardest challenges waiting in Sephiria 1.0.