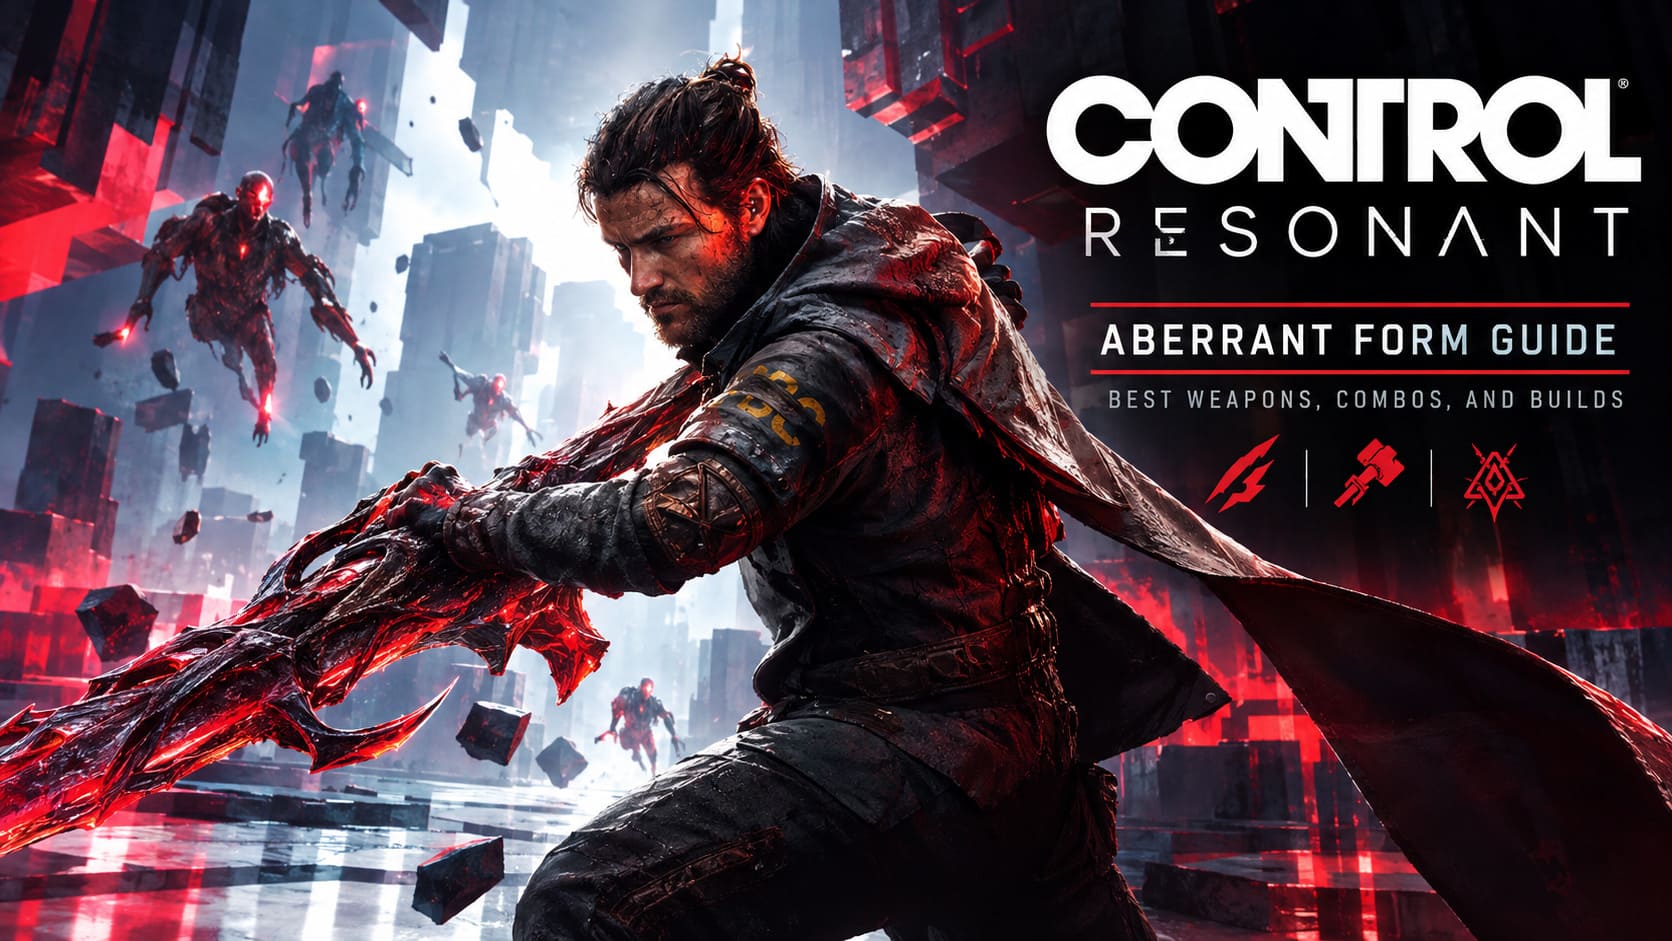
Control Resonant Aberrant Form Guide: Best Weapons, Combos, and Builds
If you came into CONTROL Resonant expecting another round of Jesse Faden casually throwing office furniture at monsters while unloading the Service Weapon, there is a pretty big surprise waiting for you.
Remedy has gone in a very different direction this time.
Instead of Jesse and her gun, CONTROL Resonant puts Dylan Faden in the spotlight and builds much of the combat around a bizarre shapeshifting melee weapon called the Aberrant. The change sounds simple on paper, but it completely alters the rhythm of a fight. Dylan has to get close, stay aggressive, dodge constantly and actually commit to his attacks.
And honestly? That is what makes the Aberrant interesting.
The weapon isn’t simply a replacement for the Service Weapon. It is effectively Dylan’s entire melee loadout, with different forms covering different jobs. You choose a Primary Form, a Secondary Form, and eventually a Combo Finisher, then build your combat style around how those three pieces interact.
After spending time looking at the available forms and how they fit together, I keep coming back to one conclusion: you shouldn’t pick an Aberrant form simply because its damage number looks bigger. The really good builds are about rhythm.
Here’s how I would approach the system.
How the Aberrant Loadout Actually Works
The easiest way to understand Dylan’s weapon is to stop thinking about the Aberrant as one weapon.
Think of it as three weapons sharing the same body.
| Slot | Role | What I Look For |
|---|---|---|
| Primary Form | Fast attacks | Speed, mobility, crits |
| Secondary Form | Heavy attacks | Falter, armor breaking, burst |
| Combo Finisher | End of attack string | Stagger, executions, utility |
Your Primary Form is what you’ll use most often. It controls the basic flow of combat and determines how comfortable Dylan feels when you’re constantly moving between enemies.
The Secondary Form is where things get serious. These attacks are slower and more committed, but they are also where you get the tools necessary to interrupt tougher enemies and create execution opportunities.
Then there’s the Combo Finisher. This is the piece that can make an otherwise ordinary combo suddenly become nasty. Once you’ve completed the required attack sequence, the finisher provides the payoff.
That makes the system surprisingly similar to building a small RPG party: one option handles pressure, another handles problems, and the third provides the finishing punch.
My Favorite Primary Forms
Strike — The One I Would Start With
Strike is the form that immediately makes sense if you like fast action games.
The dual-blade attacks are quick, aggressive and don’t leave Dylan hanging around in an animation forever. That’s incredibly important because CONTROL Resonant wants you to stay mobile. Remedy has emphasized aggression and movement as core parts of Dylan’s combat style, rather than encouraging players to stand back and trade attacks.
At high Aberrant Strength, Strike can reach a 30% Critical Chance, which only makes the fast attack pattern more attractive.
For me, that’s the big selling point: Strike doesn’t ask you to completely change the way you play.
You hit.
You move.
You dodge.
You come back in.
That loop feels natural.
It is also why Strike works so well with Falter-focused secondary attacks. You’re not trying to win the entire fight with your light attacks. You’re building pressure until the enemy gives you the opening for the big hit.
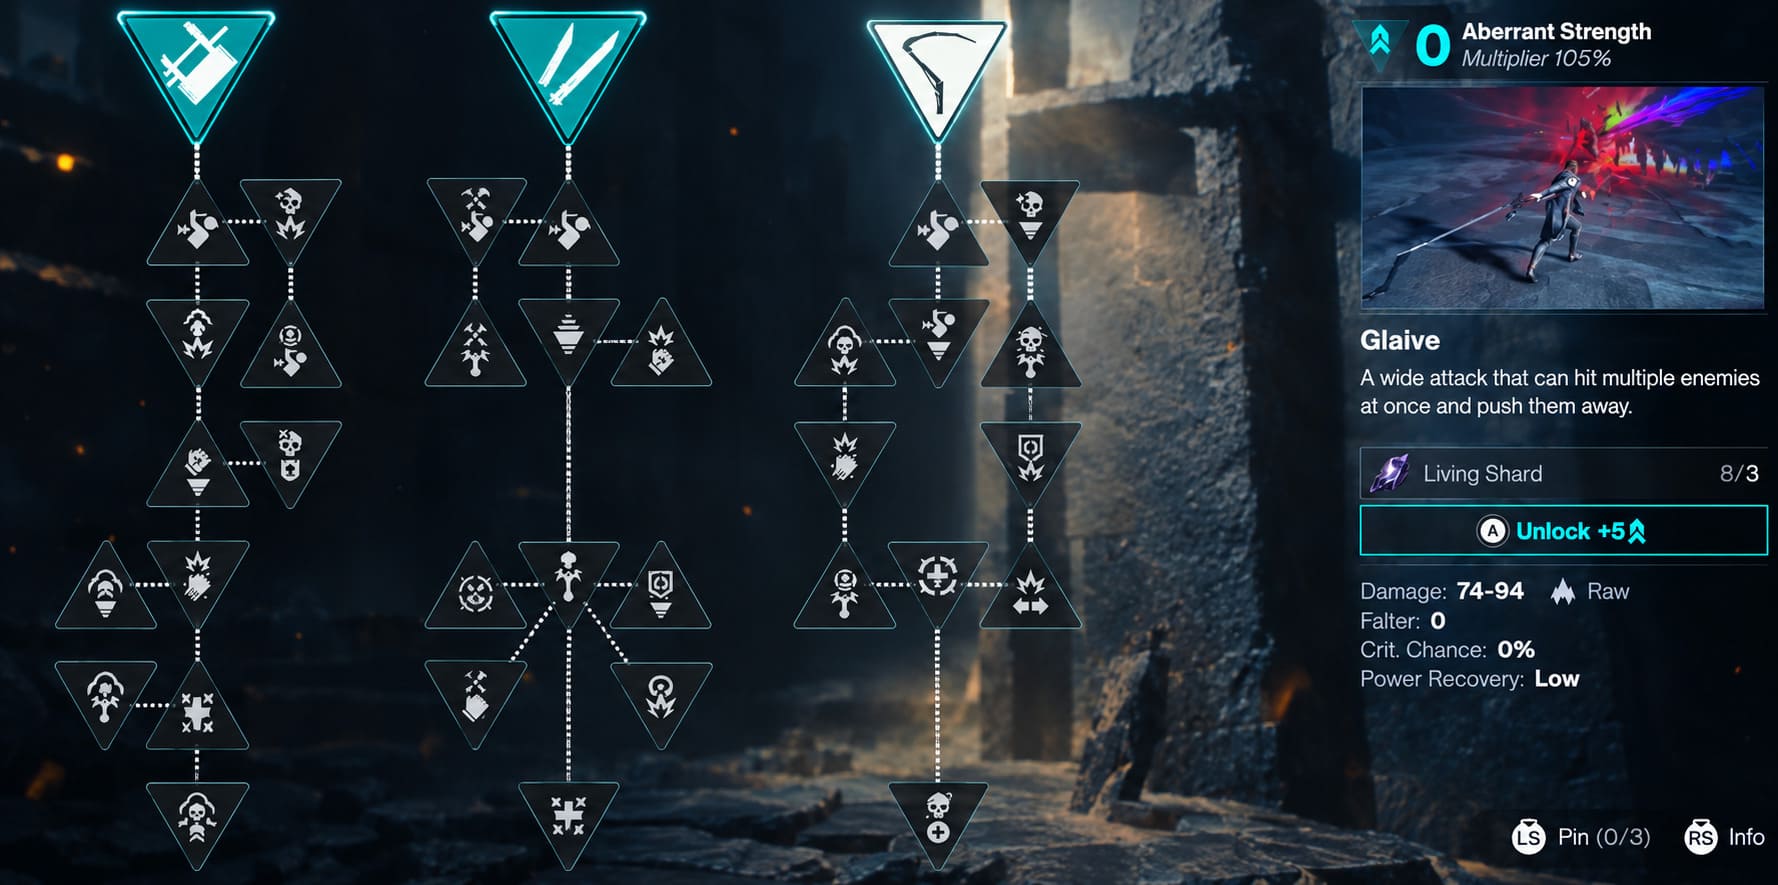
Glaive — When the Screen Gets Crowded
Glaive is the choice I’d make when the game starts throwing groups of enemies at me.
Its sweeping attacks give you significantly better horizontal coverage, making it easier to catch several targets during a single sequence. That’s particularly useful when smaller enemies are surrounding a tougher opponent.
The downside is obvious: Glaive isn’t as nimble-feeling as Strike.
But if your problem isn’t killing one enemy quickly and instead is keeping six angry things from surrounding Dylan, Glaive suddenly makes much more sense.
Cleave — The Skill-Check Option
Cleave is the interesting one.
It rewards players who are constantly thinking about positioning, particularly attacks from behind. If you’re already comfortable using Dylan’s movement abilities to get around enemies, Cleave can become extremely dangerous.
This is not the form I’d recommend to someone who simply wants to mash through encounters.
But if you enjoy learning enemy patterns and deliberately setting up attacks from the rear, Cleave has a much higher skill ceiling.
And that is exactly the sort of build option I like seeing in an action RPG.
Secondary Forms: Where the Real Build Starts
If Primary Forms determine how you fight, Secondary Forms determine how you solve problems.
Crush — The Heavy-Hitter I Keep Coming Back To
If I had to pick one Secondary Form for a general-purpose build, Crush would be it.
It’s slow. It’s heavy. It has a giant hammer-like impact.
And that’s exactly why it works.
Crush is built around Falter, making it particularly useful against tougher enemies that don’t care about your normal attacks. Fully charged attacks can create a powerful impact and give you the kind of stagger pressure that fast attacks simply can’t reproduce.
The trick is not to spam it.
Don’t stand there charging Crush while an enemy is actively trying to kill you.
Use Strike to create the opening. Dodge an attack. Catch the enemy recovering. Then commit to the hammer.
That little change in mindset makes Crush considerably more effective.
Drill — For Players Who Like Watching Health Bars Disappear
Drill is much more specialized.
Against a vulnerable target, it can produce excellent sustained single-target damage. The problem is that you’re committing Dylan to the animation.
That’s fantastic when an enemy is already staggered.
It’s considerably less fantastic when the enemy is standing upright and preparing to flatten you.
So I’d treat Drill as a punishment tool, not an opener.
Get the enemy into trouble first. Then bring out the drill.
Extend — The Safe, Annoying Option
Extend is basically the answer for players who don’t want to stand quite as close to the nightmare creature trying to kill them.
Its extra reach gives Dylan more room to work with, which can be valuable against mobile enemies or situations where closing the distance feels unnecessarily risky.
It doesn’t have the same brute-force appeal as Crush, but sometimes survival is more valuable than another damage number.
Combo Finishers: The Part You Shouldn’t Ignore
I initially think this is the easiest part of the Aberrant system to overlook.
It shouldn’t be.
The finisher determines what happens when you’ve successfully completed your Primary attack sequence, so it can completely change what your basic combo is trying to accomplish.
Concussive Beatdown
This is the finisher I would put into a general-purpose build without thinking twice.
Concussive Beatdown is built around blunt damage and Falter, which makes it a natural partner for Strike and Crush.
The important part isn’t just the damage.
It’s what happens afterward.
You’re trying to push the enemy toward that beautiful moment when the game essentially says: Yes, they’re finally vulnerable. Go ruin their day.
Searing Fracture
Searing Fracture is more about area denial and damage over time.
I like the idea of using it in cramped environments where enemies have fewer options for escaping the burning zone. It also makes more sense in a crowd-control-oriented setup than in a pure single-target boss build.
Resonant Cascade
Cascade is the utility pick.
If your Primary Form is excellent against one target but doesn’t do enough to deal with surrounding enemies, an electrical chain effect can cover that weakness.
That’s one of my favorite things about the system: the “best” finisher depends on what the rest of your loadout is doing.
The Aberrant Build I’d Actually Recommend
If someone handed me the controller and said, “You have one build. You have to play the entire game with it,” I’d start here:
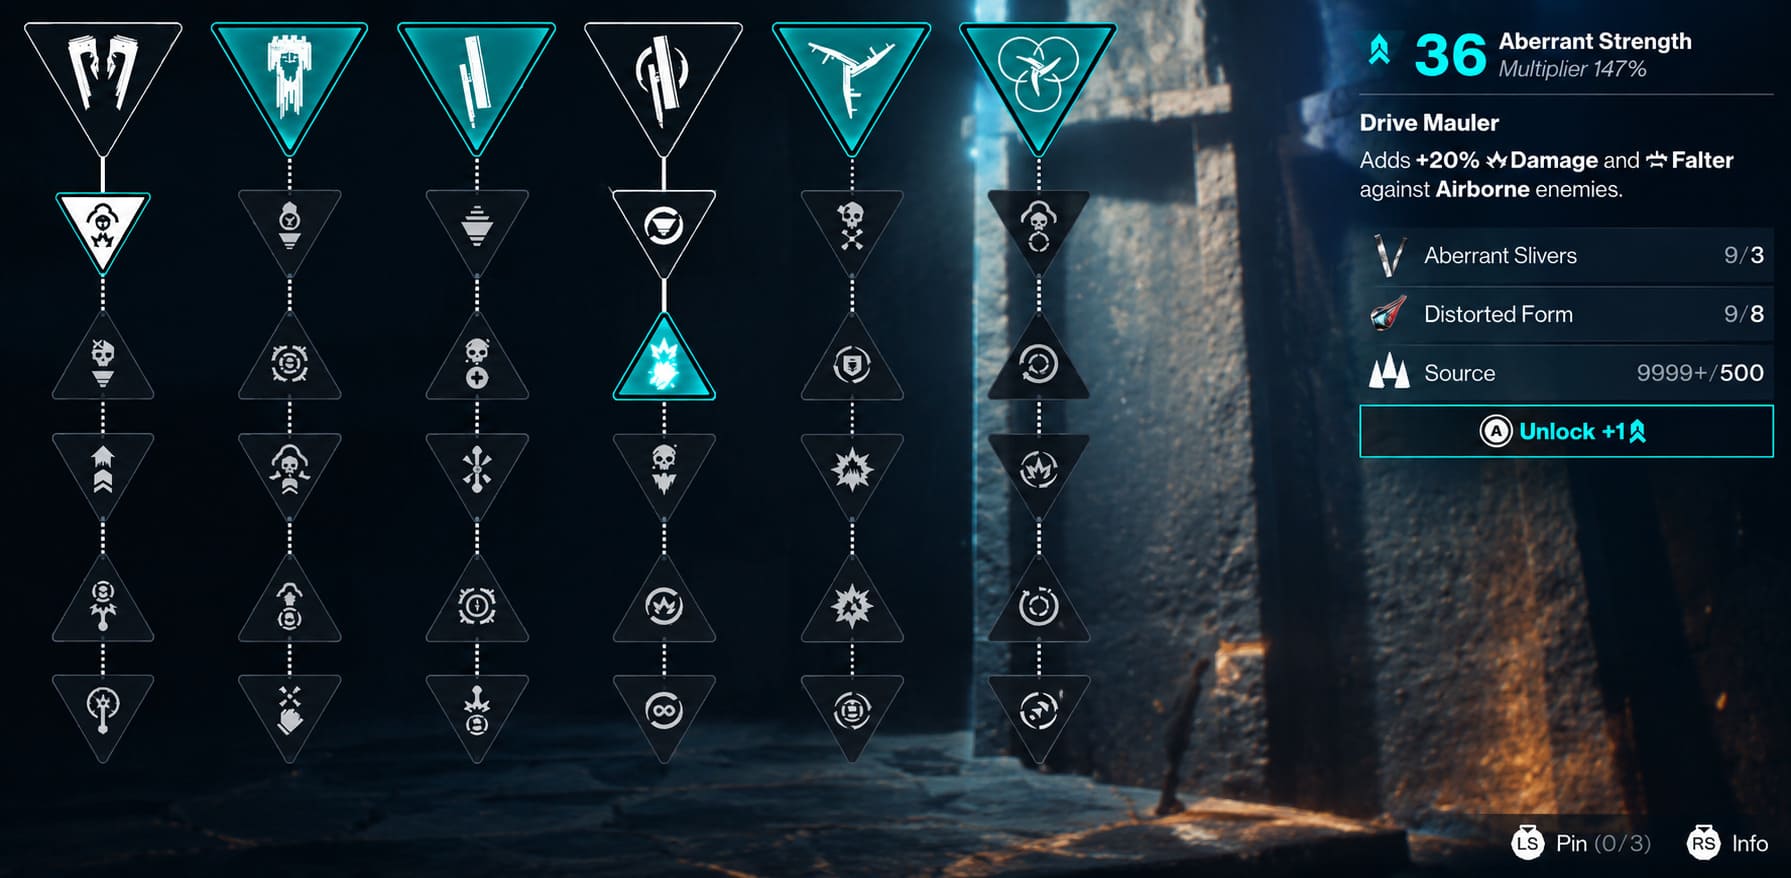
| Loadout Slot | Choice |
|---|---|
| Primary | Strike |
| Secondary | Crush |
| Finisher | Concussive Beatdown |
This combination has a very simple philosophy:
Fast pressure → Falter → execution.
Start with Strike.
Use the fast attacks to build pressure and take advantage of its crit potential. Don’t overstay your welcome. If the enemy swings, get out of there.
Complete the sequence when you can and let Concussive Beatdown add another chunk of Falter.
Then, when the opening is there, commit to a charged Crush attack.
That’s the part I like most about this setup. Every component has a different job.
Strike isn’t trying to replace Crush.
Crush isn’t trying to replace Strike.
And Concussive Beatdown isn’t just another damage button.
They feed into each other.
But Don’t Treat the “Meta” Like a Rulebook
Here’s where I’d push back slightly against calling one loadout the absolute best.
Yes, Strike + Crush + Concussive Beatdown is an extremely sensible all-rounder.
But CONTROL Resonant is built around giving players ways to create distinctive builds, and the Aberrant has enough different functions that specializing can be more interesting than simply copying the most popular setup.
If you prefer crowd control, Glaive starts making more sense.
If you love positional attacks, Cleave becomes much more attractive.
If you’re comfortable waiting for openings, Drill can turn vulnerable targets into shredded health bars.
And if you hate getting close, Extend gives you another way to approach encounters.
That’s why I wouldn’t blindly chase a “tier list.”
Build around the way you actually play.
Control Resonant Best Supernatural Abilities Loadout Guide (2026 Meta)
Don’t Waste Your Upgrade Materials
One of the more useful aspects of the progression system is that you’re not necessarily expected to discover everything through random enemy drops.
Specialized vendors can provide resources for your Aberrant upgrades, while the Gap acts as your central customization space.
More importantly, testing new forms before fully committing can save you from spending resources on something that looks incredible on paper but feels terrible in your hands.
And believe me, that matters.
A weapon can have fantastic theoretical DPS and still be the wrong choice if its animation timing constantly gets you hit.
The Upgrade Priorities I’d Use
If you’re unsure where to put your resources, I’d generally focus on:
- Falter and stagger potential for difficult enemies.
- Critical damage/chance if you’re running Strike.
- Mobility and dodge improvements if your build depends on staying aggressive.
- Damage bonuses against vulnerable or status-affected enemies when building around specialized finishers.
The goal isn’t to make every stat equally strong.
The goal is to make your three chosen forms better at doing their specific jobs.
How to Fix Control Resonant Crash on Launch on Steam (2026 Guide)
Final Verdict: Build for a Combat Rhythm, Not a Spreadsheet
The Aberrant is one of the biggest departures CONTROL has made from its original formula. Jesse’s Service Weapon encouraged a ranged, ability-heavy shooter mentality; Dylan’s weapon pushes you into a much more intimate and aggressive style. That’s a deliberate change, not a cosmetic one.
And personally, that’s why I find the build system more interesting than simply asking which form has the highest damage.
My favorite setup remains:
Strike + Crush + Concussive Beatdown.
It’s fast enough to stay mobile, heavy enough to deal with armored targets and built around one of the most satisfying combat loops in the game: hit, dodge, stagger, execute.
But if you find yourself constantly fighting groups, try Glaive. If you’re obsessed with positioning, experiment with Cleave. If you like punishing staggered enemies, Drill is worth a serious look.
The real trick is to stop thinking of the Aberrant as a single weapon.
It’s your entire combat language.
Once your Primary, Secondary and Finisher start speaking the same language, Dylan stops feeling like a character carrying a weird supernatural weapon and starts feeling like a one-man paranormal wrecking crew.
And that’s when CONTROL Resonant‘s melee combat finally starts to click.